
'Slice of Nice' Antweight Battlebot V2 Wedge 1lb
Print Profile(1)
Description
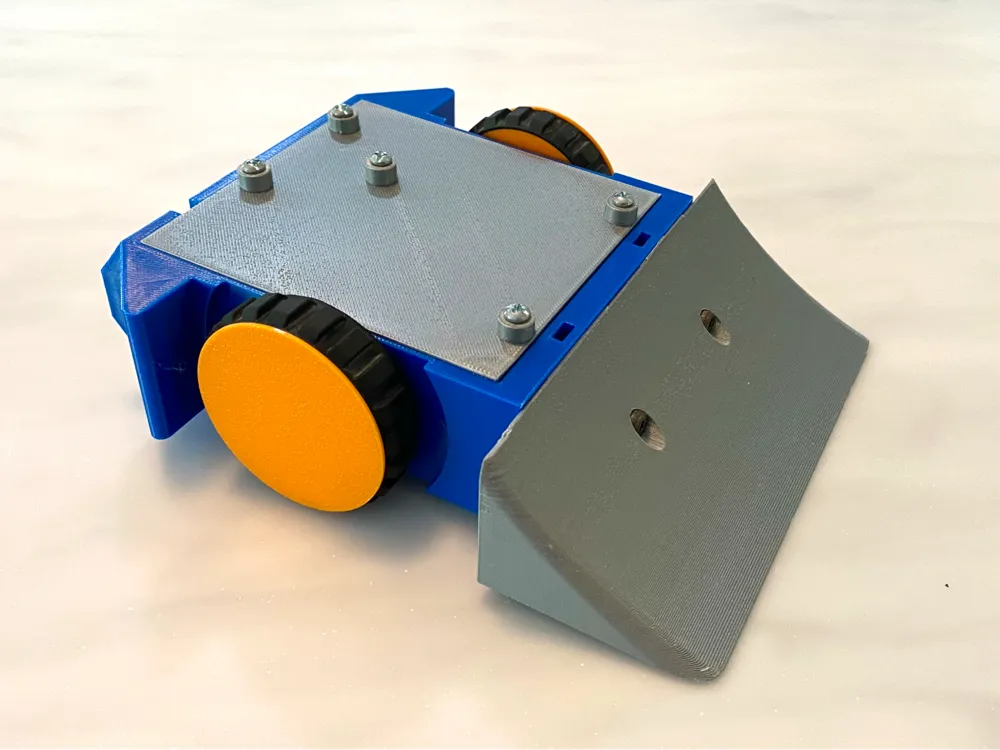
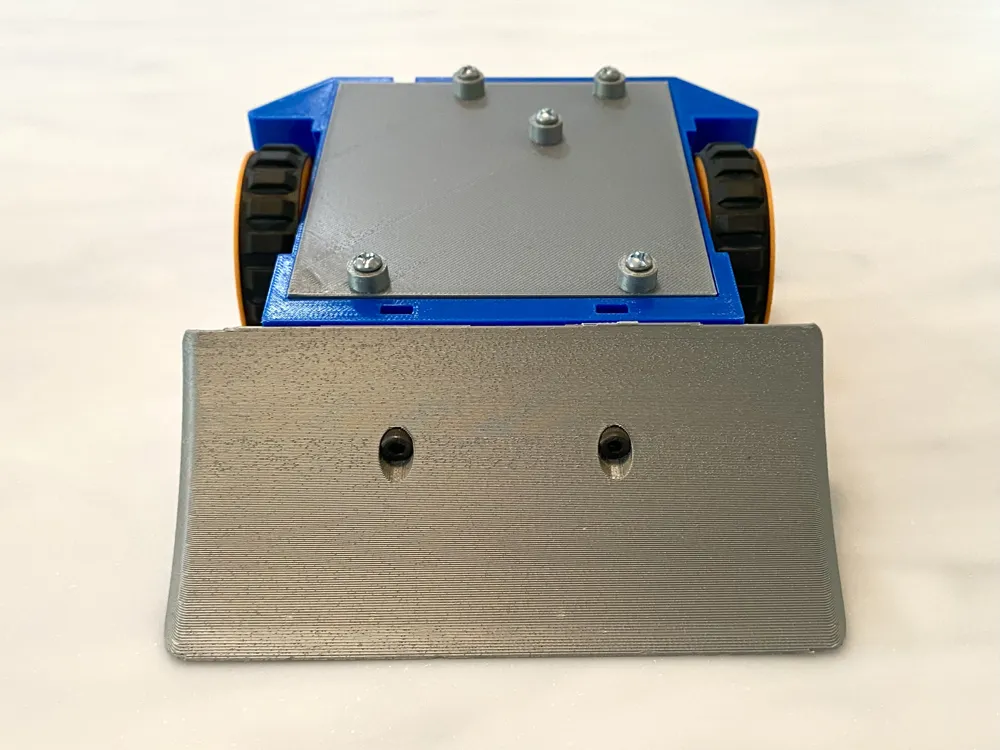
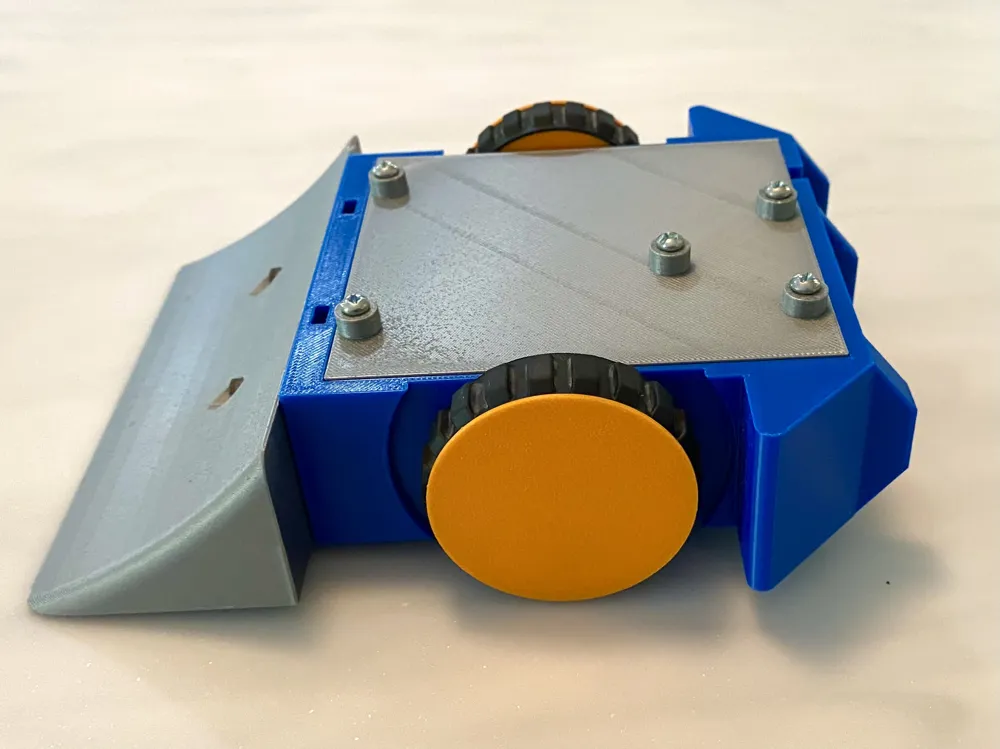
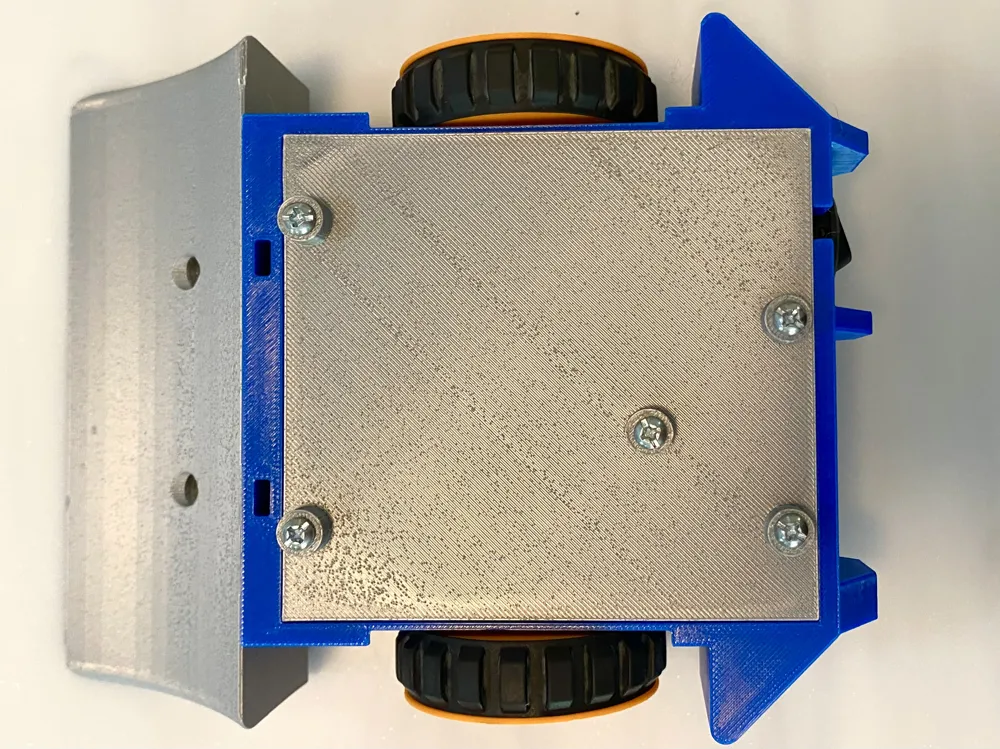
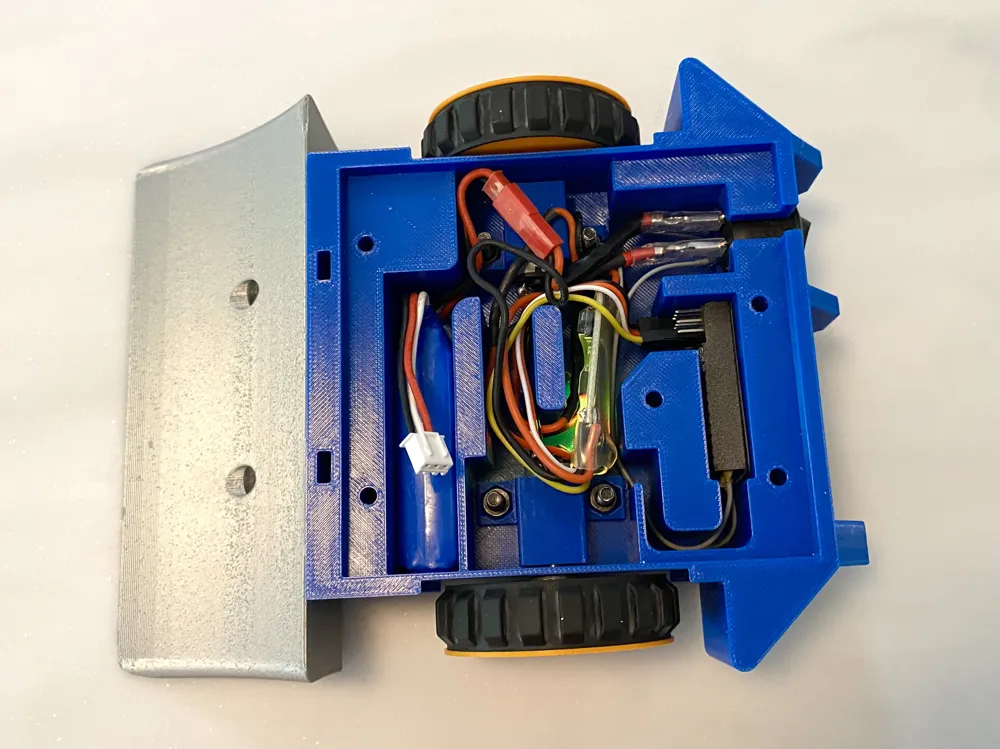
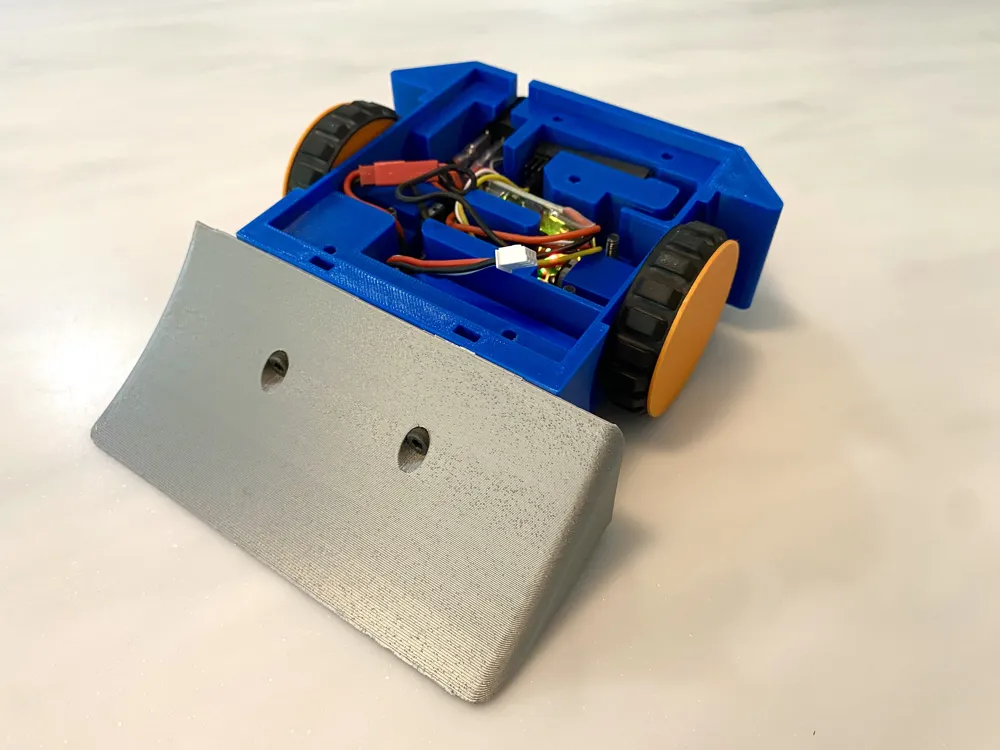
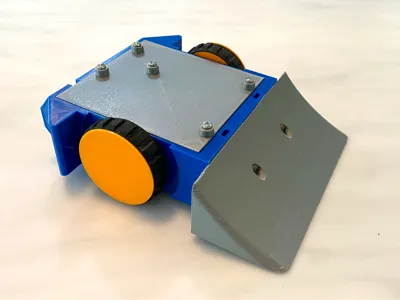
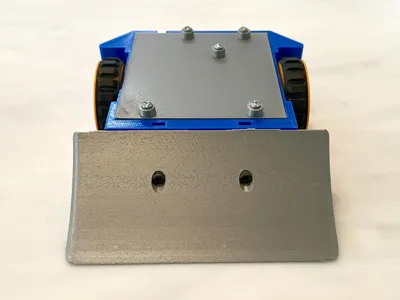
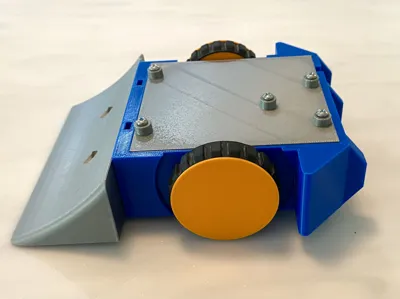
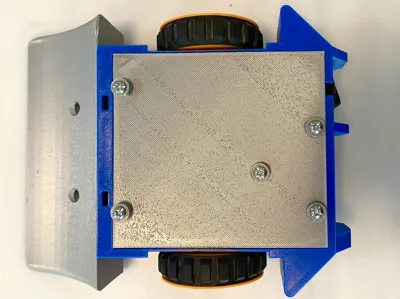
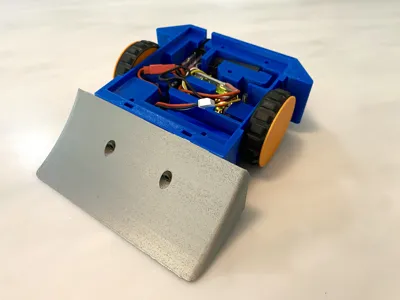
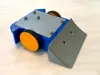
Hello, I’m back with a new antweight battlebot titled “Slice of Nice” — a non-destructive wedge bot designed for control and reliability. Compared to V1, I’ve redesigned almost everything, including a more secure lid, a more effective wedge, and a more compact overall layout. It’s also slightly heavier while still staying under the 1 lb antweight limit, making it less likely to get launched during matches. On top of that, the design is much simpler and more beginner-friendly, with a stronger focus on practicality and consistency.
Boost Me (for free)
This model took a while to design, and boosting is one of the best ways to support my work. I use boosts to buy Bambu filament, which helps me design and test new models for you. Thanks for the support!
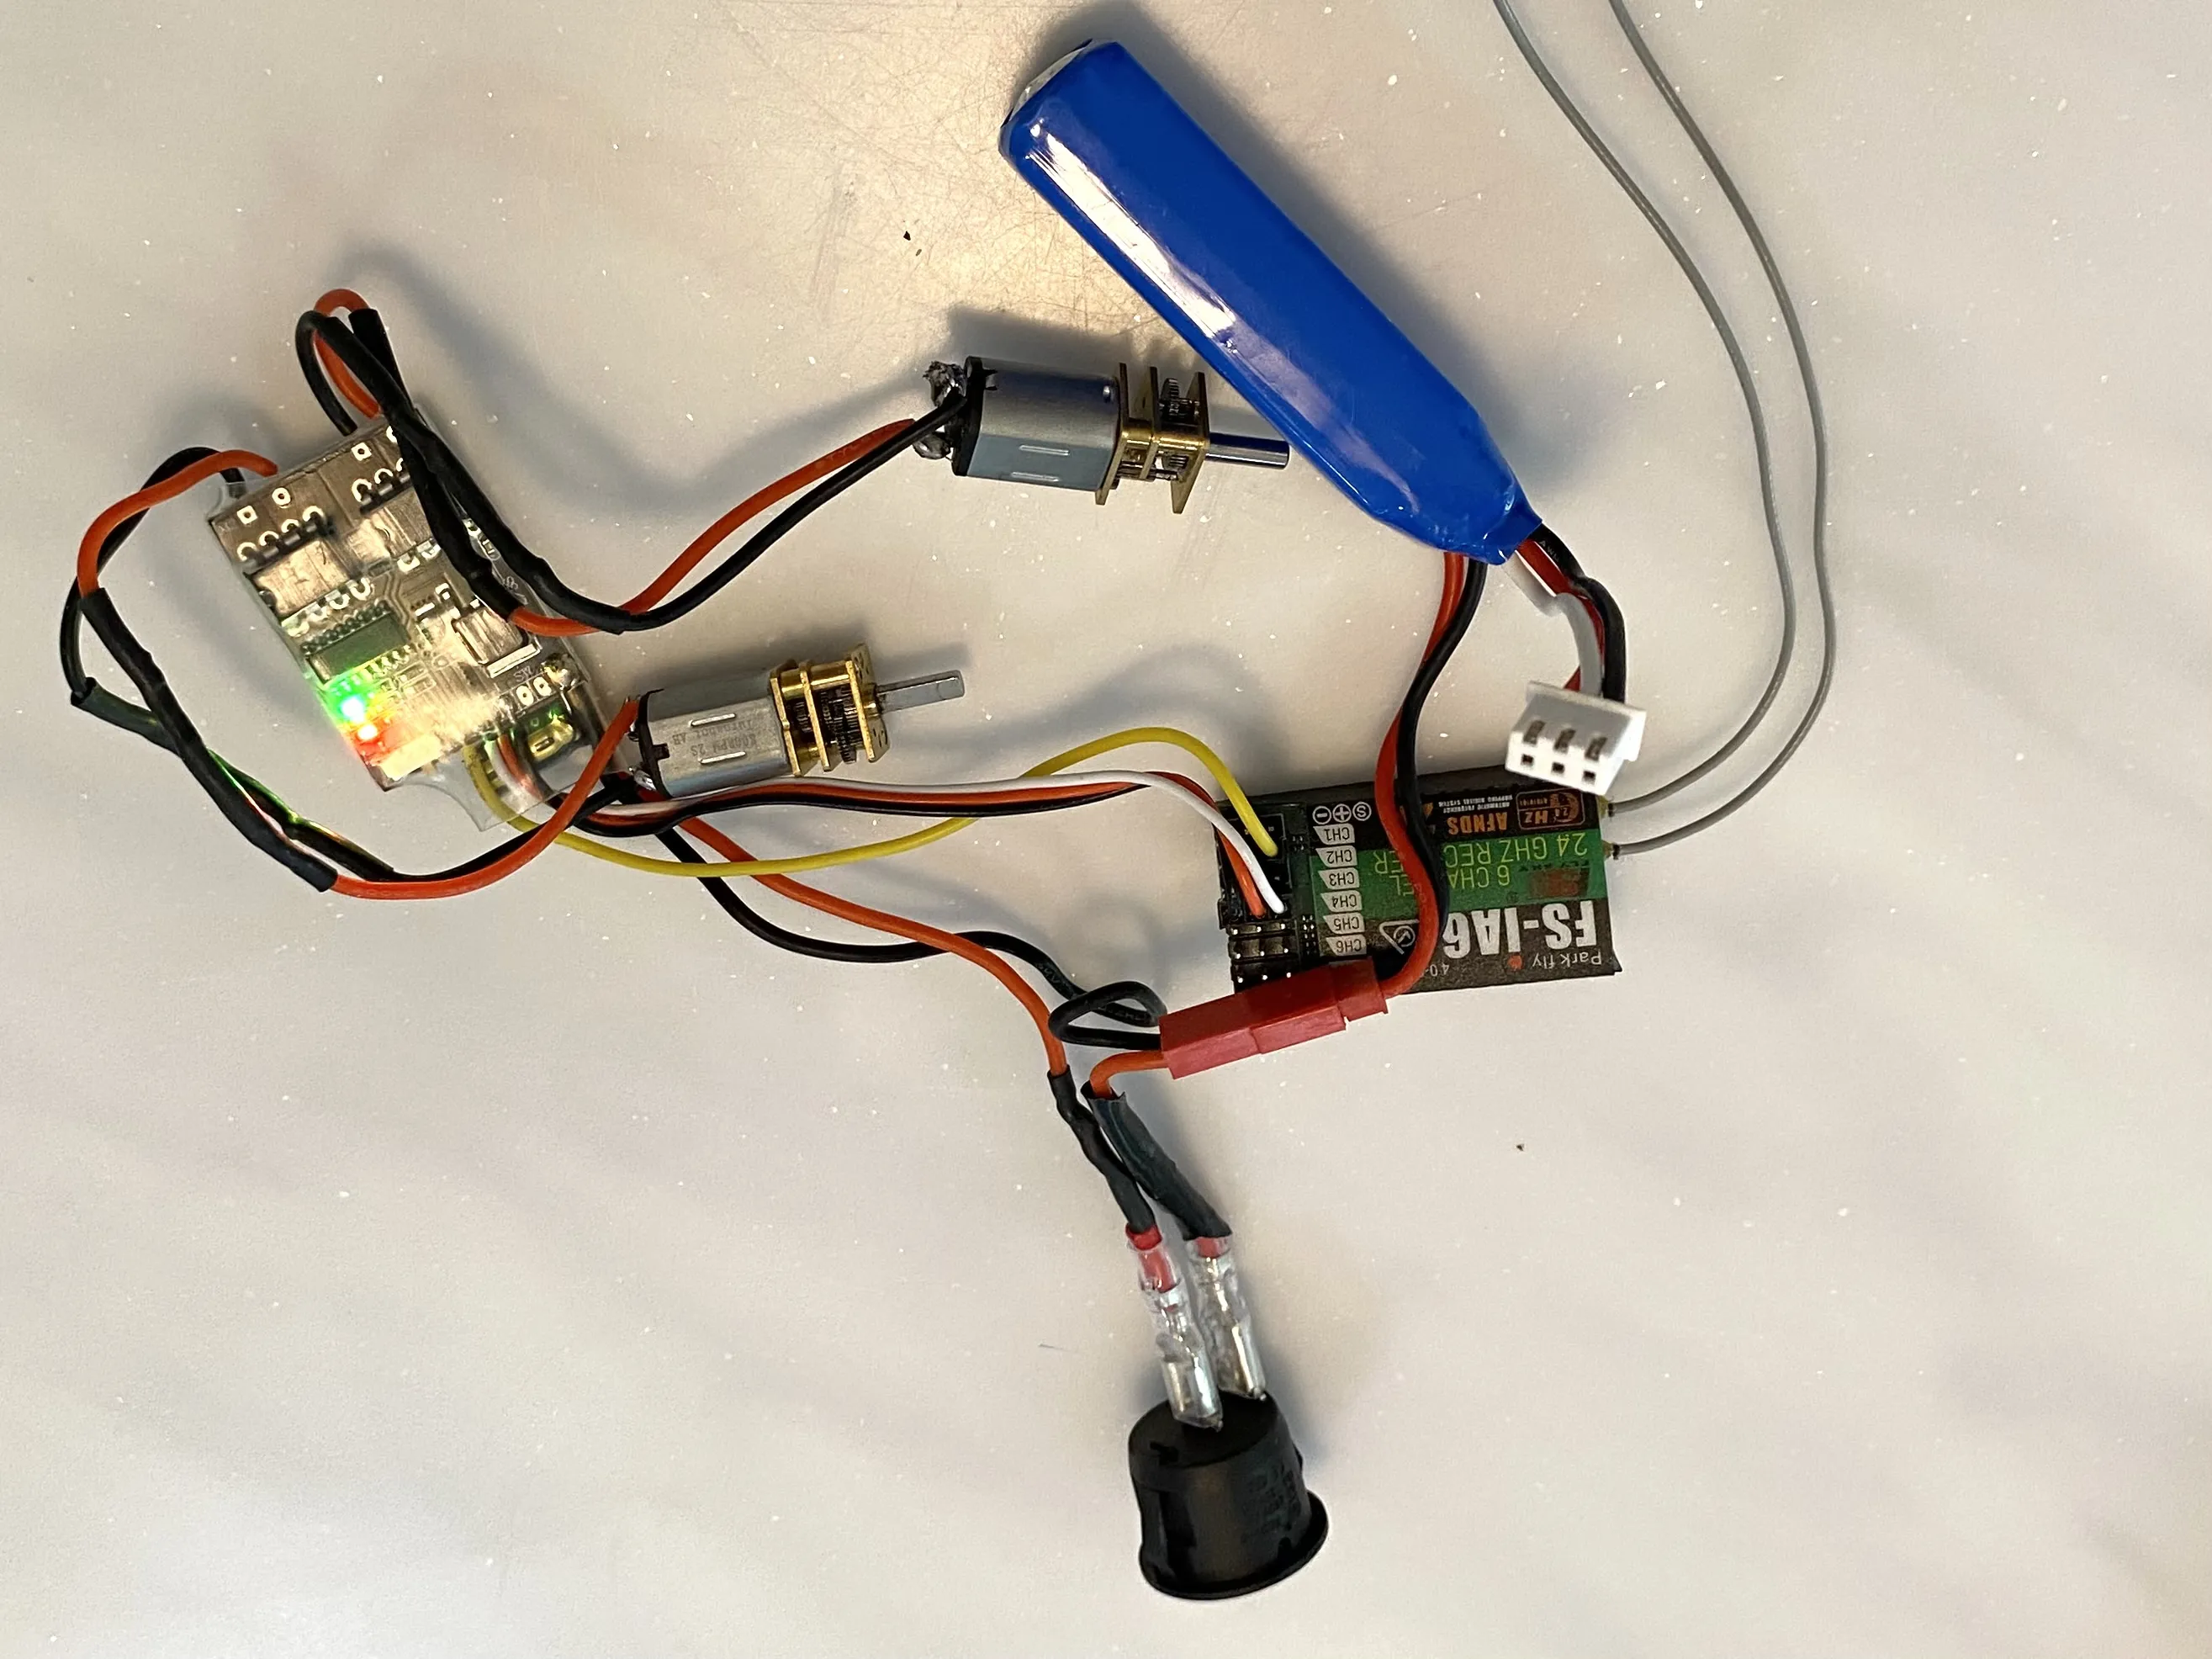
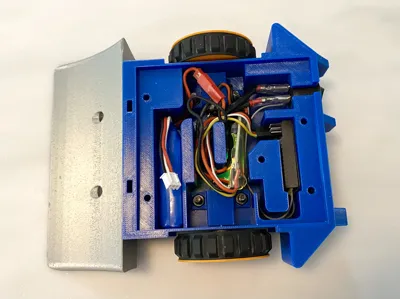
The photo shows how everything should be connected. The dual brushed ESC has two pairs of wires that should be soldered to the N20 motors. It should also have a set of wires connected to the receiver. The white, red, and black connector should be plugged into channel 4 of the receiver (white wire on the signal pin), while the yellow wire should be connected to the signal pin of channel 2.
Next are the ESC power wires, which connect to the battery. The red wire should be cut and soldered to a switch so the robot can be powered on and off easily.
For the electronics, you will need a battery to power the robot (I used this one):
https://www.amazon.com/Cecicebb-Battery-Rechargeable-Airplane-Charger/dp/B0DH26S3FS
Then, you will need an ESC, which stands for Electronic Speed Controller, which controls the speed of the motors. (I used these — it’s worth getting the 4-pack.)
https://www.amazon.com/FPVDrone-Brushed-Speed-Controller-Bidirectional/dp/B083WDRP24
The next parts you will need are the N20 motors. Turnabot brand N20 motors are unrivaled in speed and torque, and usually need their speed tuned down in the Flysky radio for the best control. (I used Turnabot’s N20 800 variant. They are sold separately!)
https://turnabot.com/products/high-power-n10?variant=40166099976257
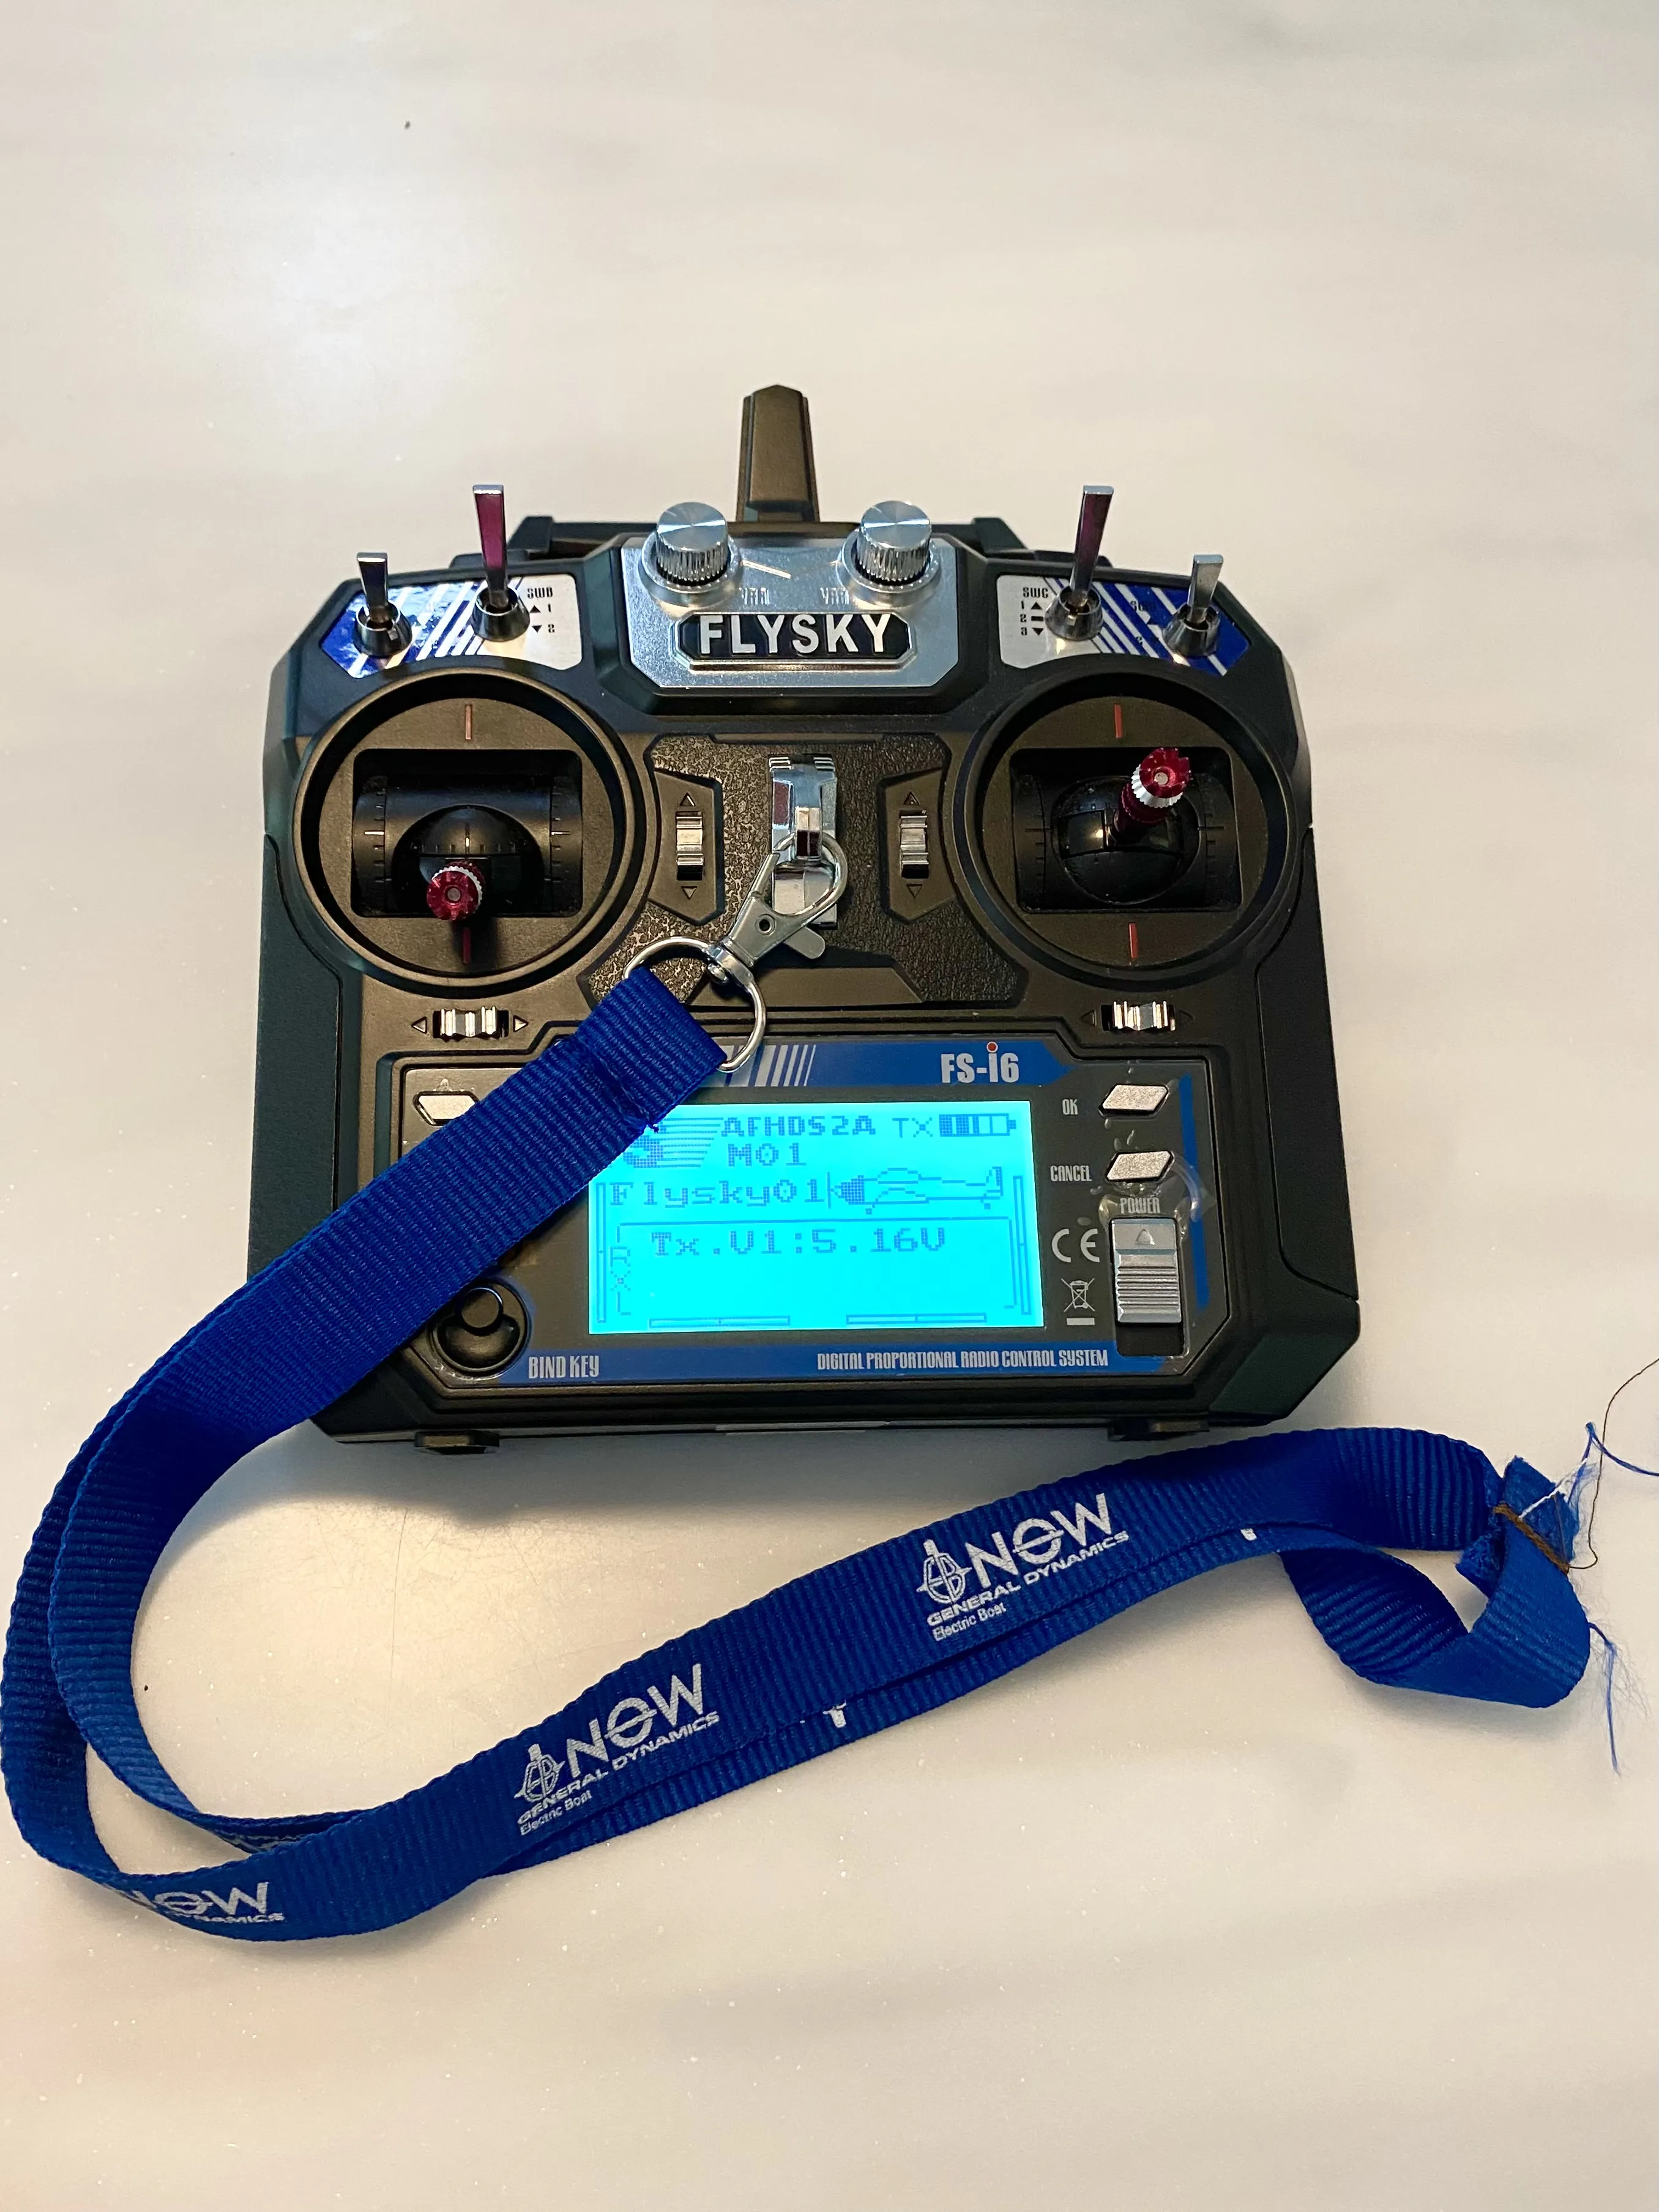
Next, we have the Flysky radio and receiver, which are usually sold together. The radio is the controller for the robot, while the receiver pairs with it and sends signals to the ESC, allowing you to control the bot’s movement. There are tons of YouTube videos on how to adjust the settings, so I won’t bother putting instructions here.
https://www.amazon.com/Flysky-Transmitter-Controller-Helicopter-Quadcopter/dp/B07CWBQ2HM
Finally, we have the switch. I first used a weak 3-pin RC switch that fried one of my first ESCs — don’t do that! Instead, I found these, which are a bit bulkier.
https://www.amazon.com/DaierTek-Listed-Switches-Automotive-KCD1-5Pack/dp/B07S1MV462?th=1
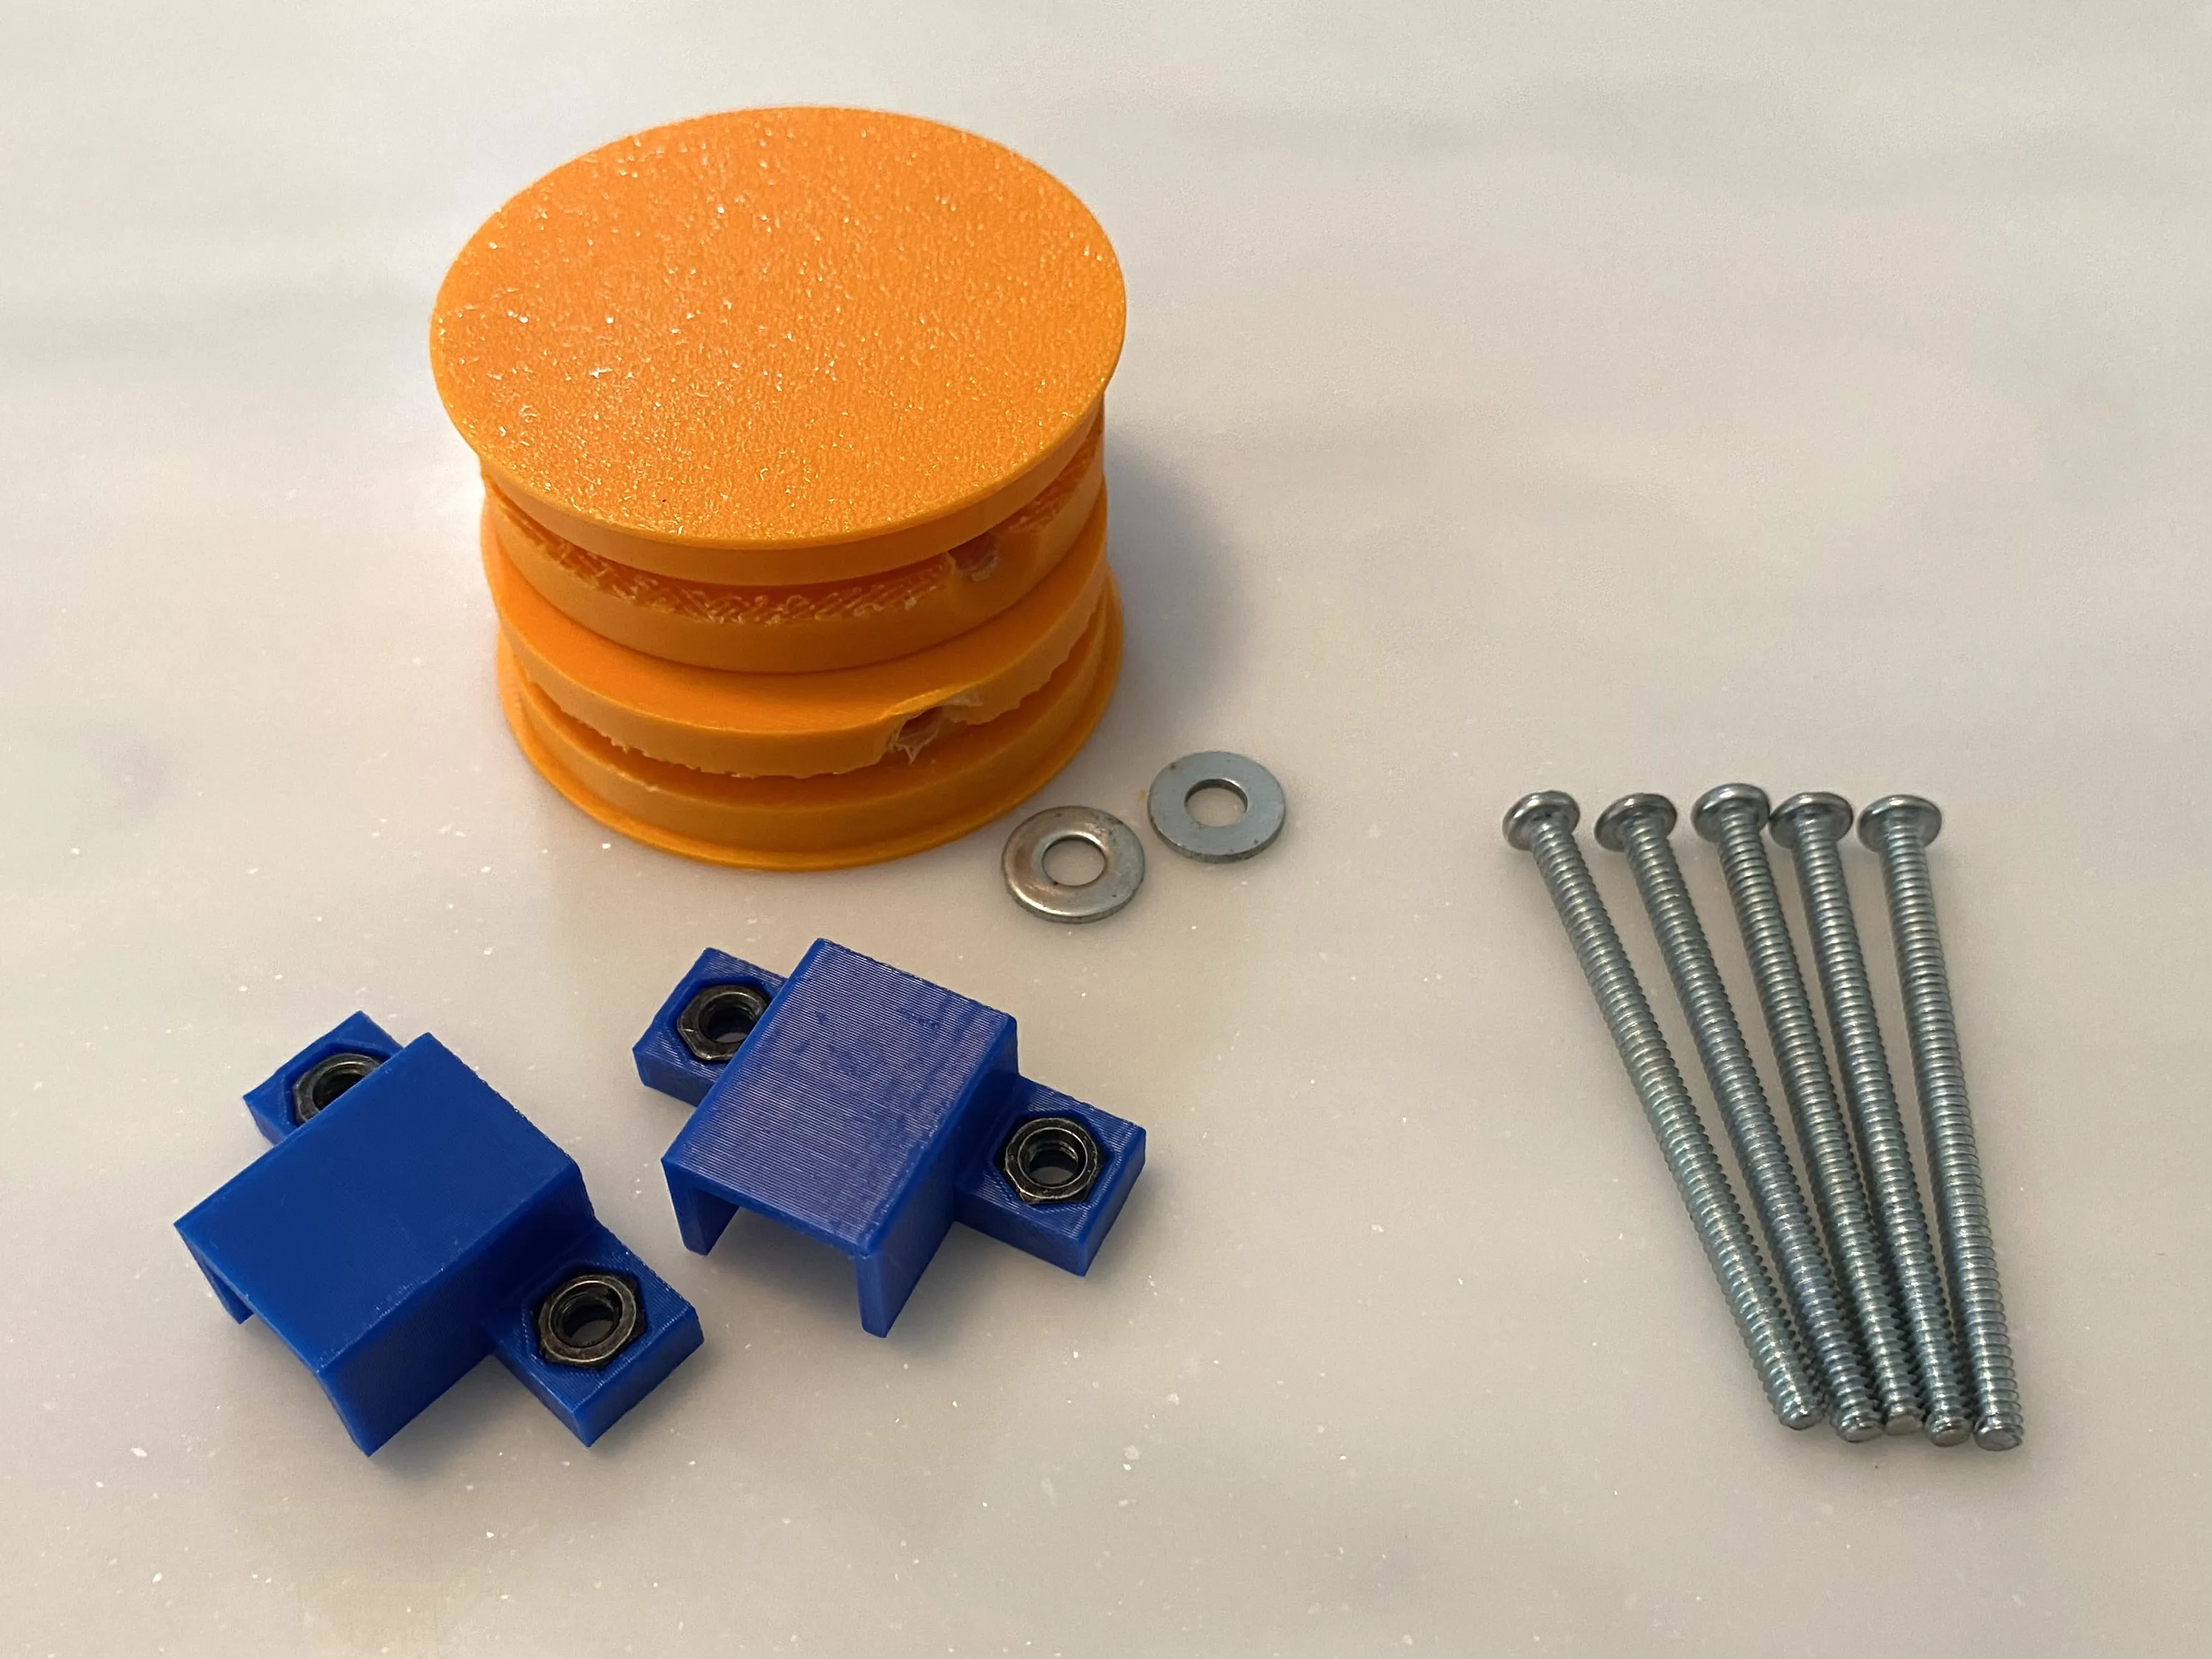
Next, we have the hardware. I don’t have links to all of these as I did for the electronics, because I found most of these screws around the house or from previous projects. I do know I used this assortment pack (https://www.amazon.com/Washers-1200PCS-Sutemribor-Assortment-Wrenches/dp/B07H4MG7TC) for most of the nuts, and some of the screws, but it won’t cover all of the hardware needed.
I used four of the M4 nuts from the kit for the motor mounts, and I used two washers to keep the wheel from rubbing against the chassis when mounted on the N20 shaft.
The five long screws are used to keep the lid on. I don’t have any information about these screws, except that they are around 45–50 mm long.
The wheels need a grub/set screw to keep from sliding off of the N20 shaft. I forget which, but two in this assortment pack should work (https://www.amazon.com/Install-Furniture-Electronic-Fixtures-Stainless/dp/B0DG33QN2B/).
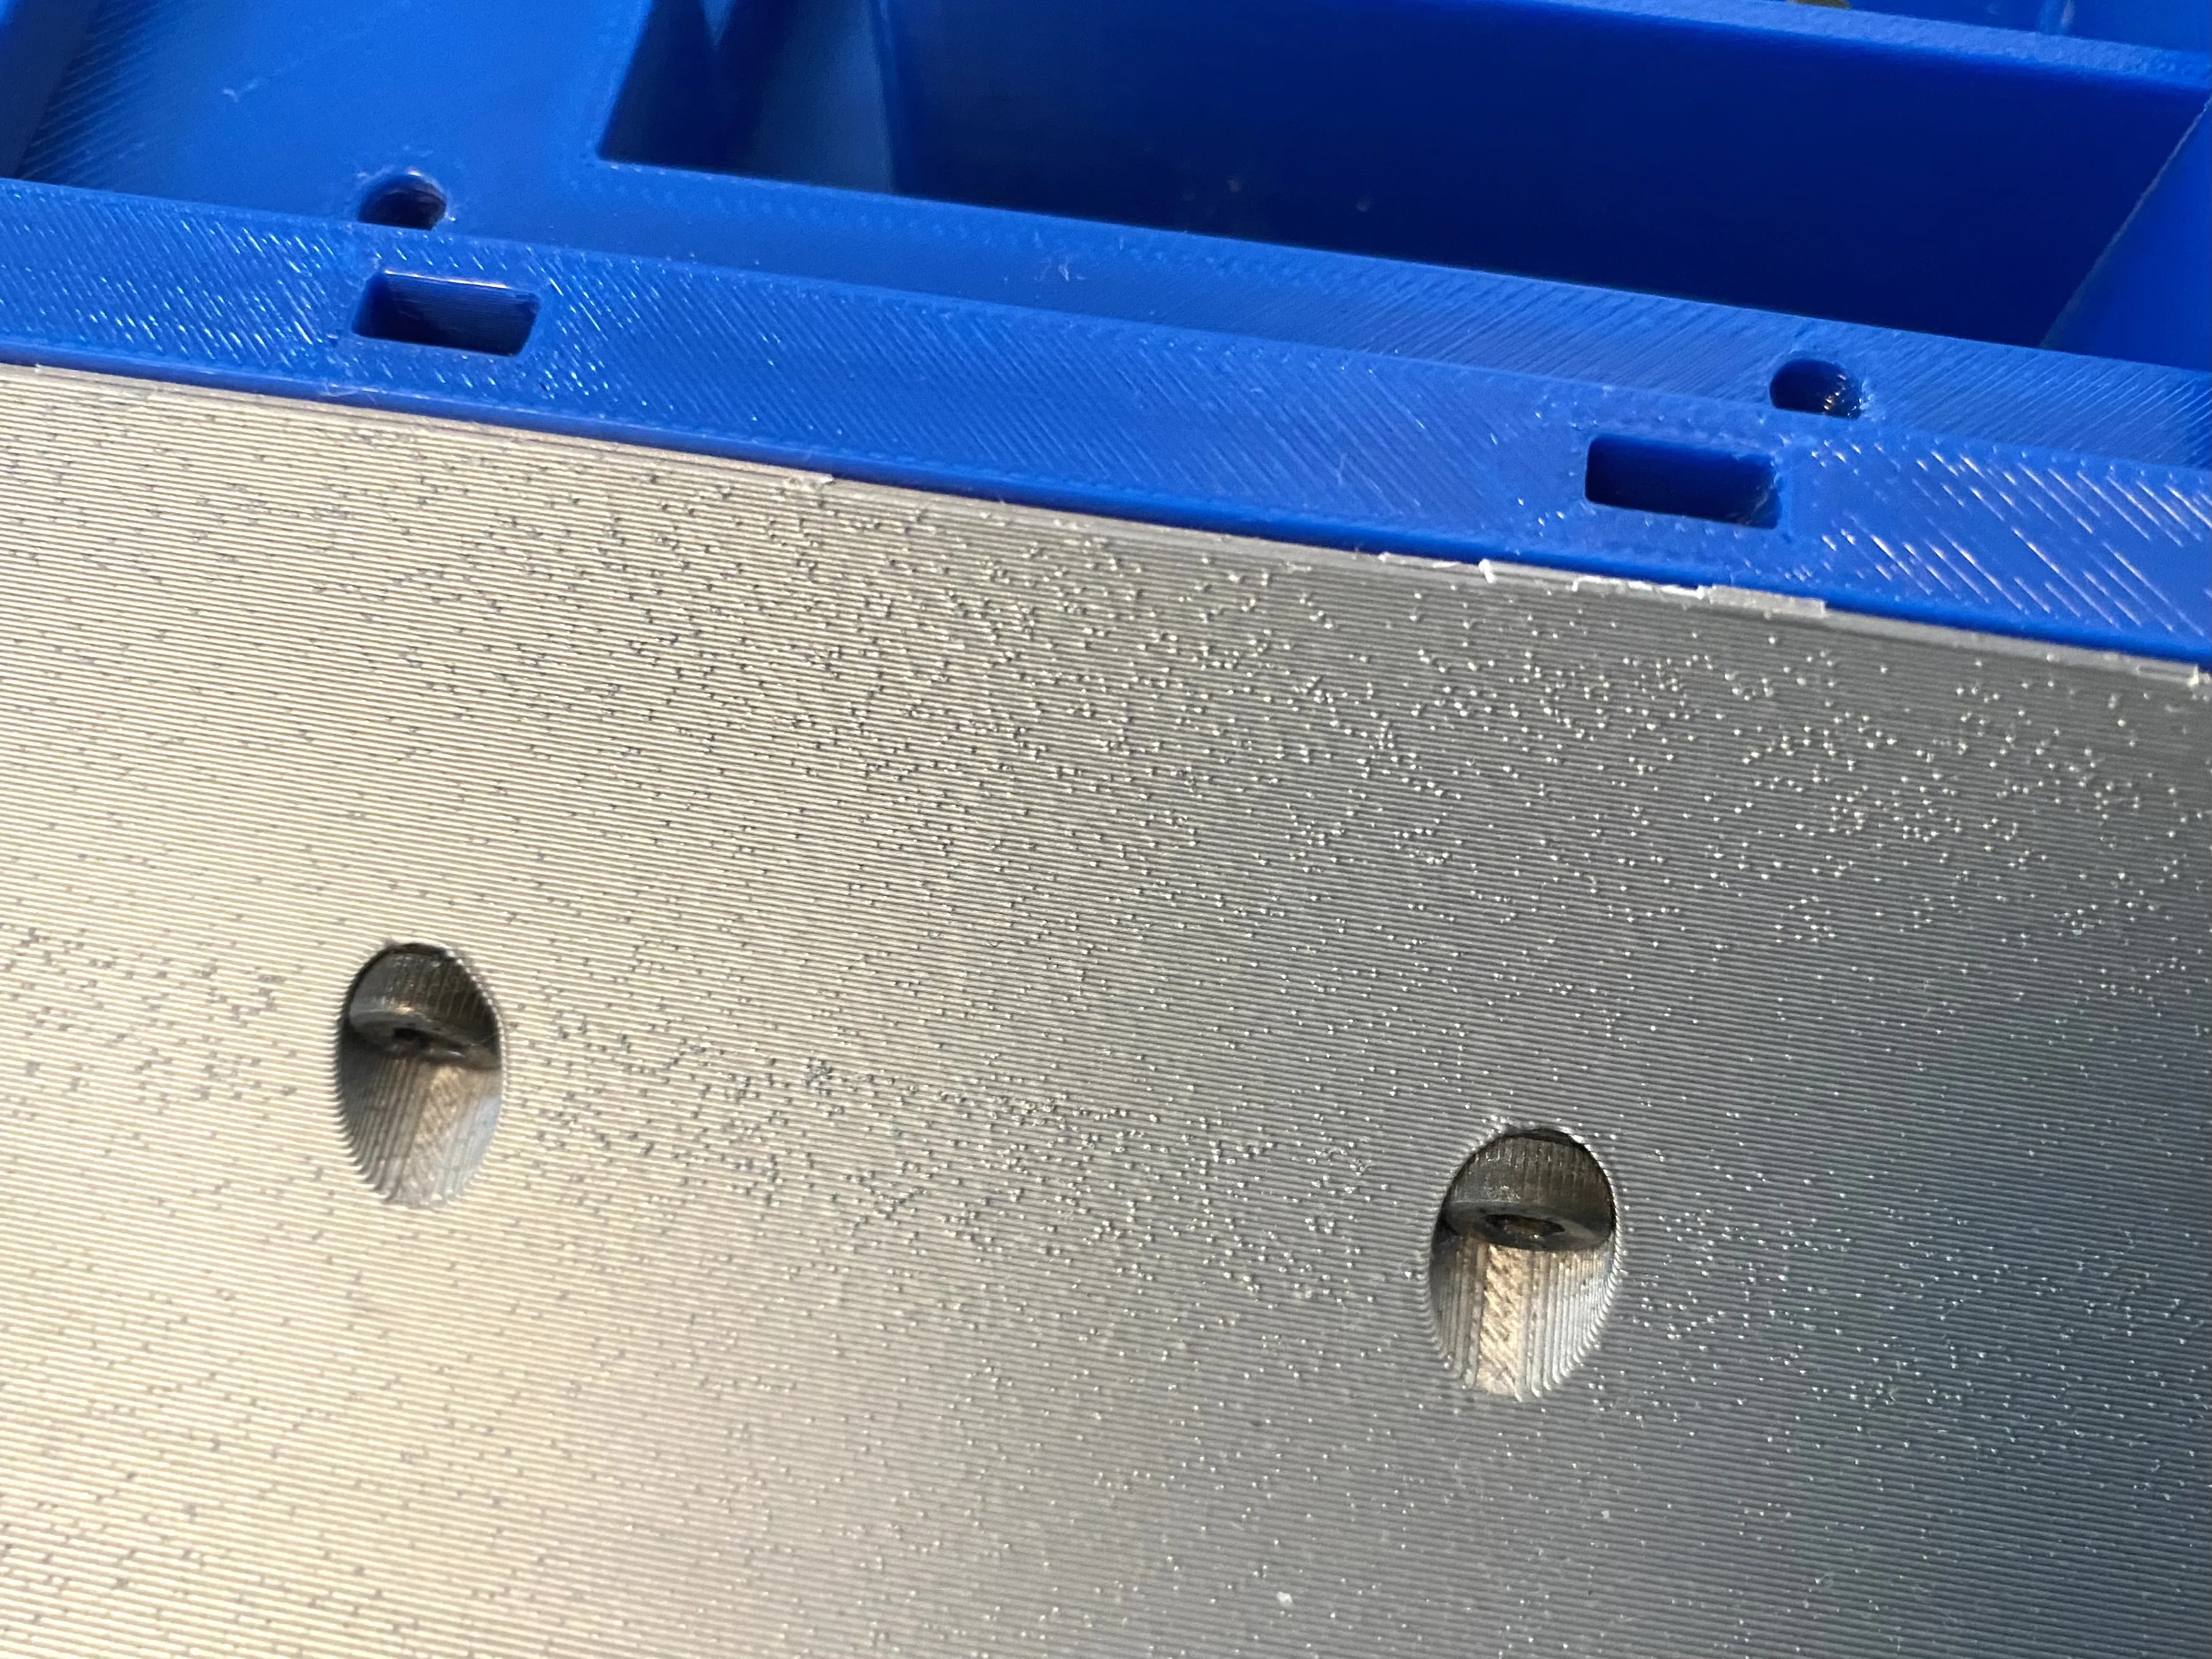
In Image 4, the two rectangular slots are for M4 nuts to slide into, allowing the wedge to have a secure place to screw onto. The M4 screws and nuts can be found in the previous screw assortment kit.
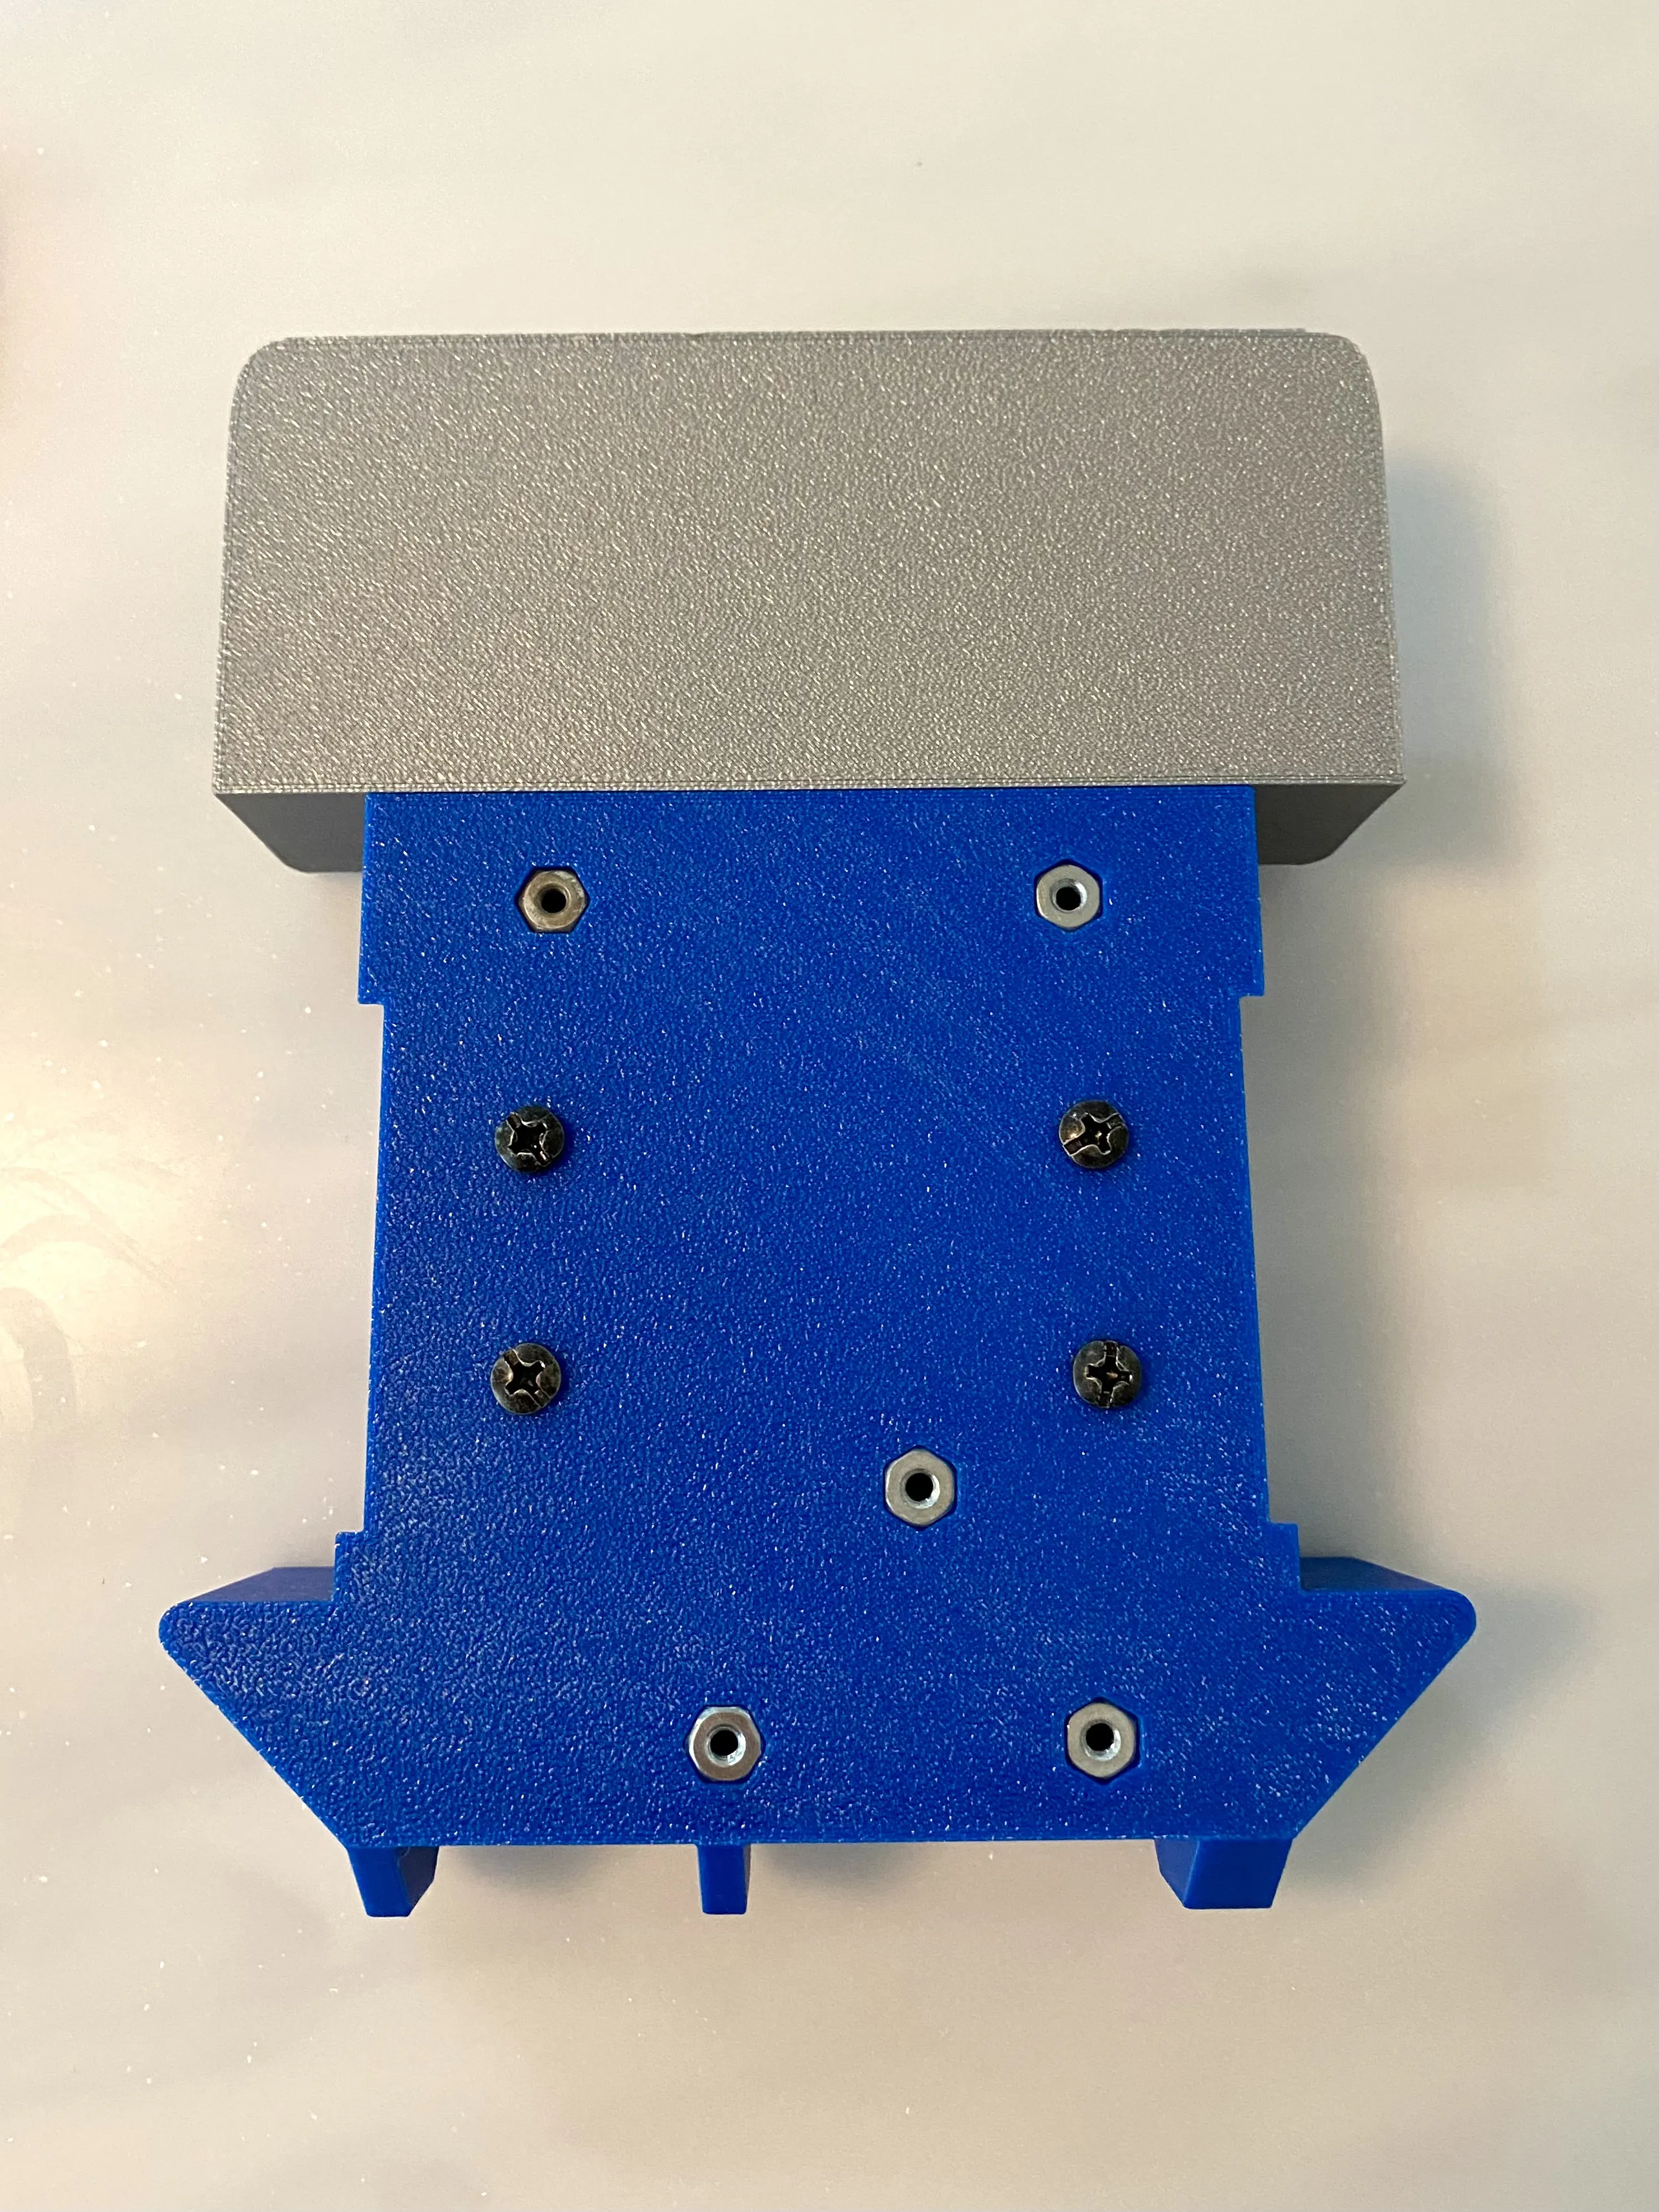
In image 5, you can see I used five nuts compatible with the 45–50 mm long lid screws and four M4 screws for the N20 mounts.
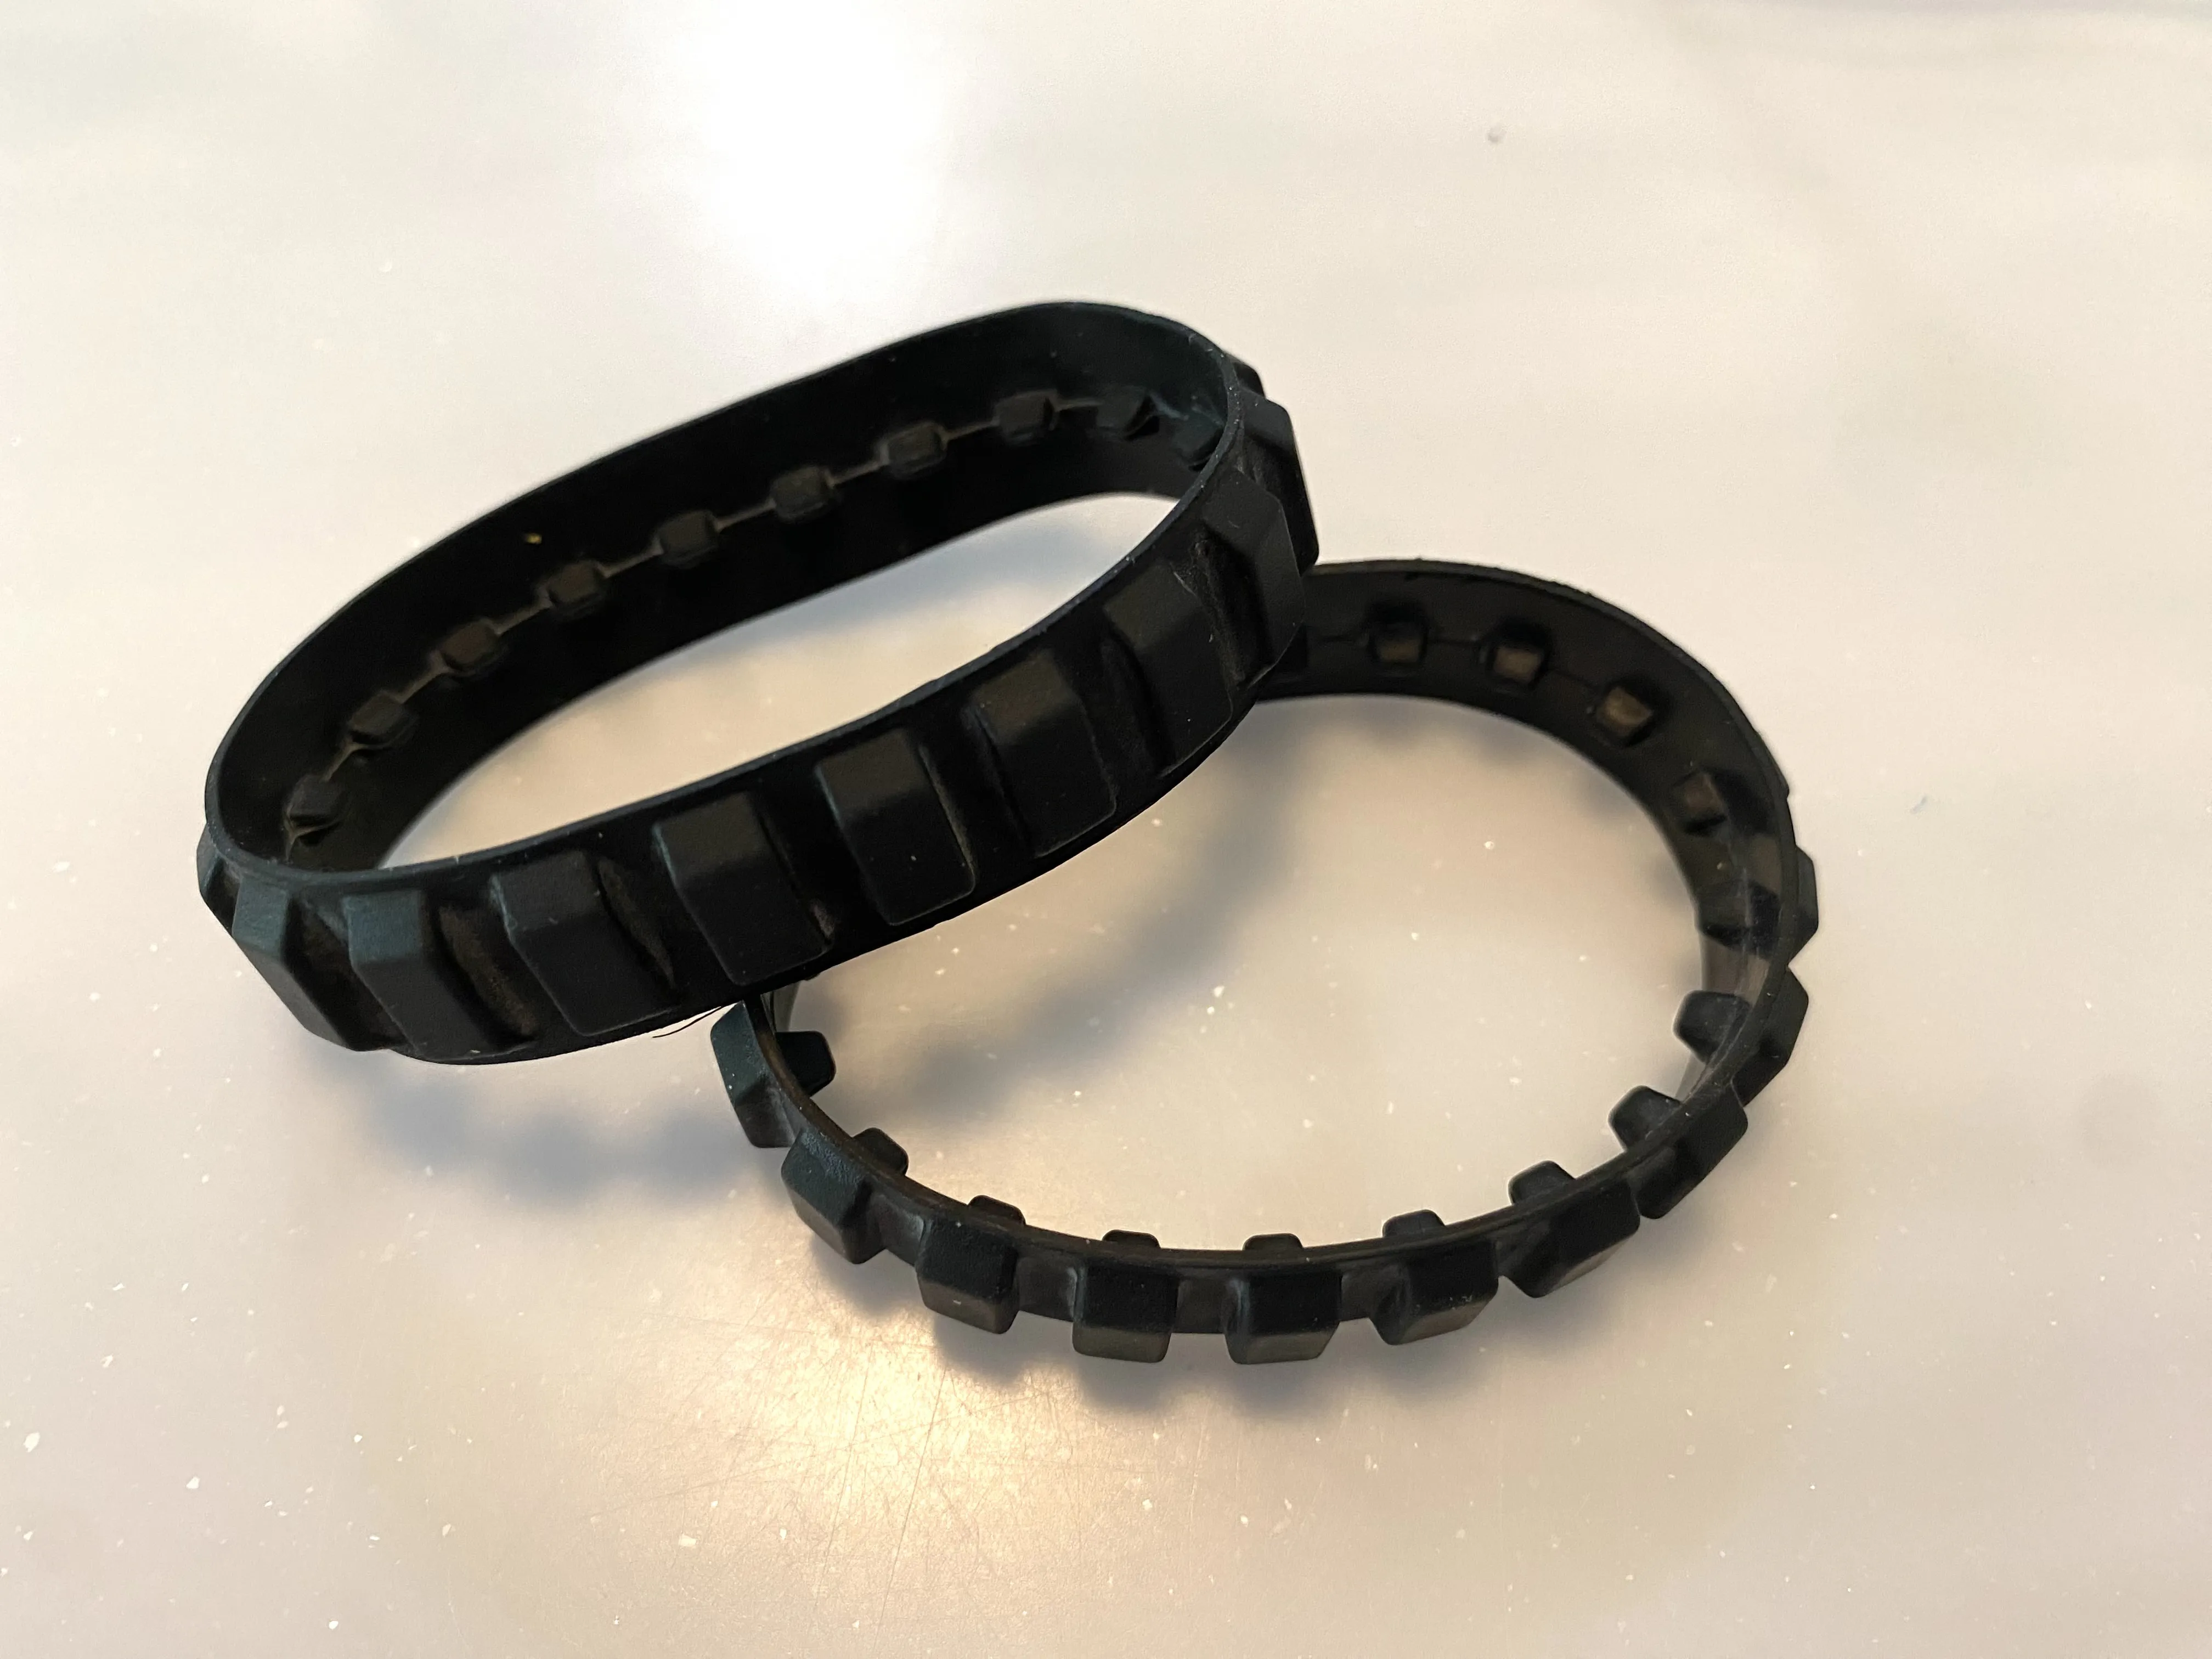 I used two L3GO brand treads as tires for my wheels. They can be found pretty cheap on Brickowl around like 20 cents per tread. Because of their brand, i can't upload a link, but if you use the piece number inside brickowl it should be ‘43903 Technic Small Tread’.
Ok, so I actually took this bot to a fight on 5/16/2026. The bot was able to contend and probably would’ve won against a slightly defective horizontal spinner if the tip of the wedge hadn’t gotten stuck on the edge of the arena. That was probably my driving, though. I also learned that if you’re up against a vertical spinner, your ABS wedge will get destroyed. Use TPU for the wedge — it’s just better (:
Boost Me (for free)
The material list took a while to write, and if you found it helpful and want more for my future models, remember to leave a boost!
If you have any questions feel free to ask in comments section below, or privately via DM.
License

You shall not share, sub-license, sell, rent, host, transfer, or distribute in any way the digital or 3D printed versions of this object, nor any other derivative work of this object in its digital or physical format (including - but not limited to - remixes of this object, and hosting on other digital platforms). The objects may not be used without permission in any way whatsoever in which you charge money, or collect fees.


Comment & Rating (6)