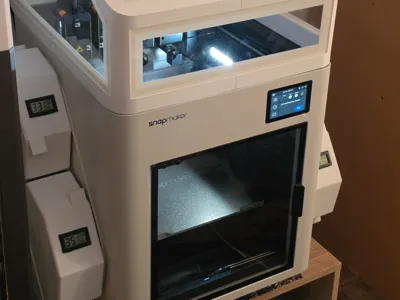
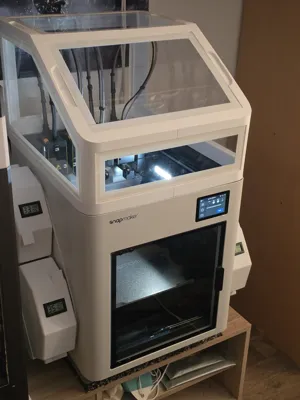
SnapmakerU1 Filament DryBox System NFC Compatible


Print Profile(0)
Description
The standard filament holders from Snapmaker U1 are only "good" and offer no protection against humidity or dust/dirt
That's why I developed something myself
The system is designed for most spools (Sunlu, Snapmaker, Prusa, ......) the only one I couldn't test is the Amazon one (due to the extra-wide spool)
If needed, I can also design one for larger spools
No locking mechanism is necessary for the box to stay dry/closed (The friction from the sealing lip is sufficient to prevent humidity from entering / the box stays closed during printing)
Parts list: Muke, Spuke, and a lot of imagination
For 4x the dry box, you need the following parts, everything else will be printed. All in PETG
-1x thin superglue (Head to the TEDI store for 1€ XD)
-32 x 693ZZ mini ball bearings
-4 x digital mini hygrometer with LCD
-4x 45mm PTFE tube
-4x PC4-M6 pneumatic connectors
(-1 x Silica Gel 1kg = Optional if you want to use the drying function :D)
Here are the links for the parts I bought:
-https://www.amazon.de/gp/product/B0GCW42B42?smid=AZ4D6UAFSY5TX&psc=1
-https://www.amazon.de/gp/product/B0DK4P9RDS?smid=A4A07LJ4IP97B&th=1
-https://www.amazon.de/dp/B07R9JXQF4
(-https://www.amazon.de/gp/product/B0DJQWXVK7?smid=A3NCGPGAY5WDC1&psc=1 )
Drybox 1x = 345g PETG ==> 4x = 1.380kg PETG
Mount 1x = 348g PETG (with support) ==> 2x = 700g PETG
Sealing lips Large + Small = 10g TPU ==> 8x = 80g TPU
In total, I managed with approx 2kg of PETG
After printing all parts, you can assemble the dry box completely without gluing
For the mount, however, I recommend that you definitely wear disposable gloves, otherwise, all the stuff will stick to your skin everywhere
It is best to split the SnapmakerFixClip in the middle and then print it => Increases precision + strength
The mount holds well with the clips, but 2kg is too heavy in the long run, which is why I designed the clip so that you can use the original screws on the filament spool holders to improve stability
________________________________________________________________________________________________________________________________
Assembly of 1x DryBox
All printed parts + 8x bearings + 1x hydrometer


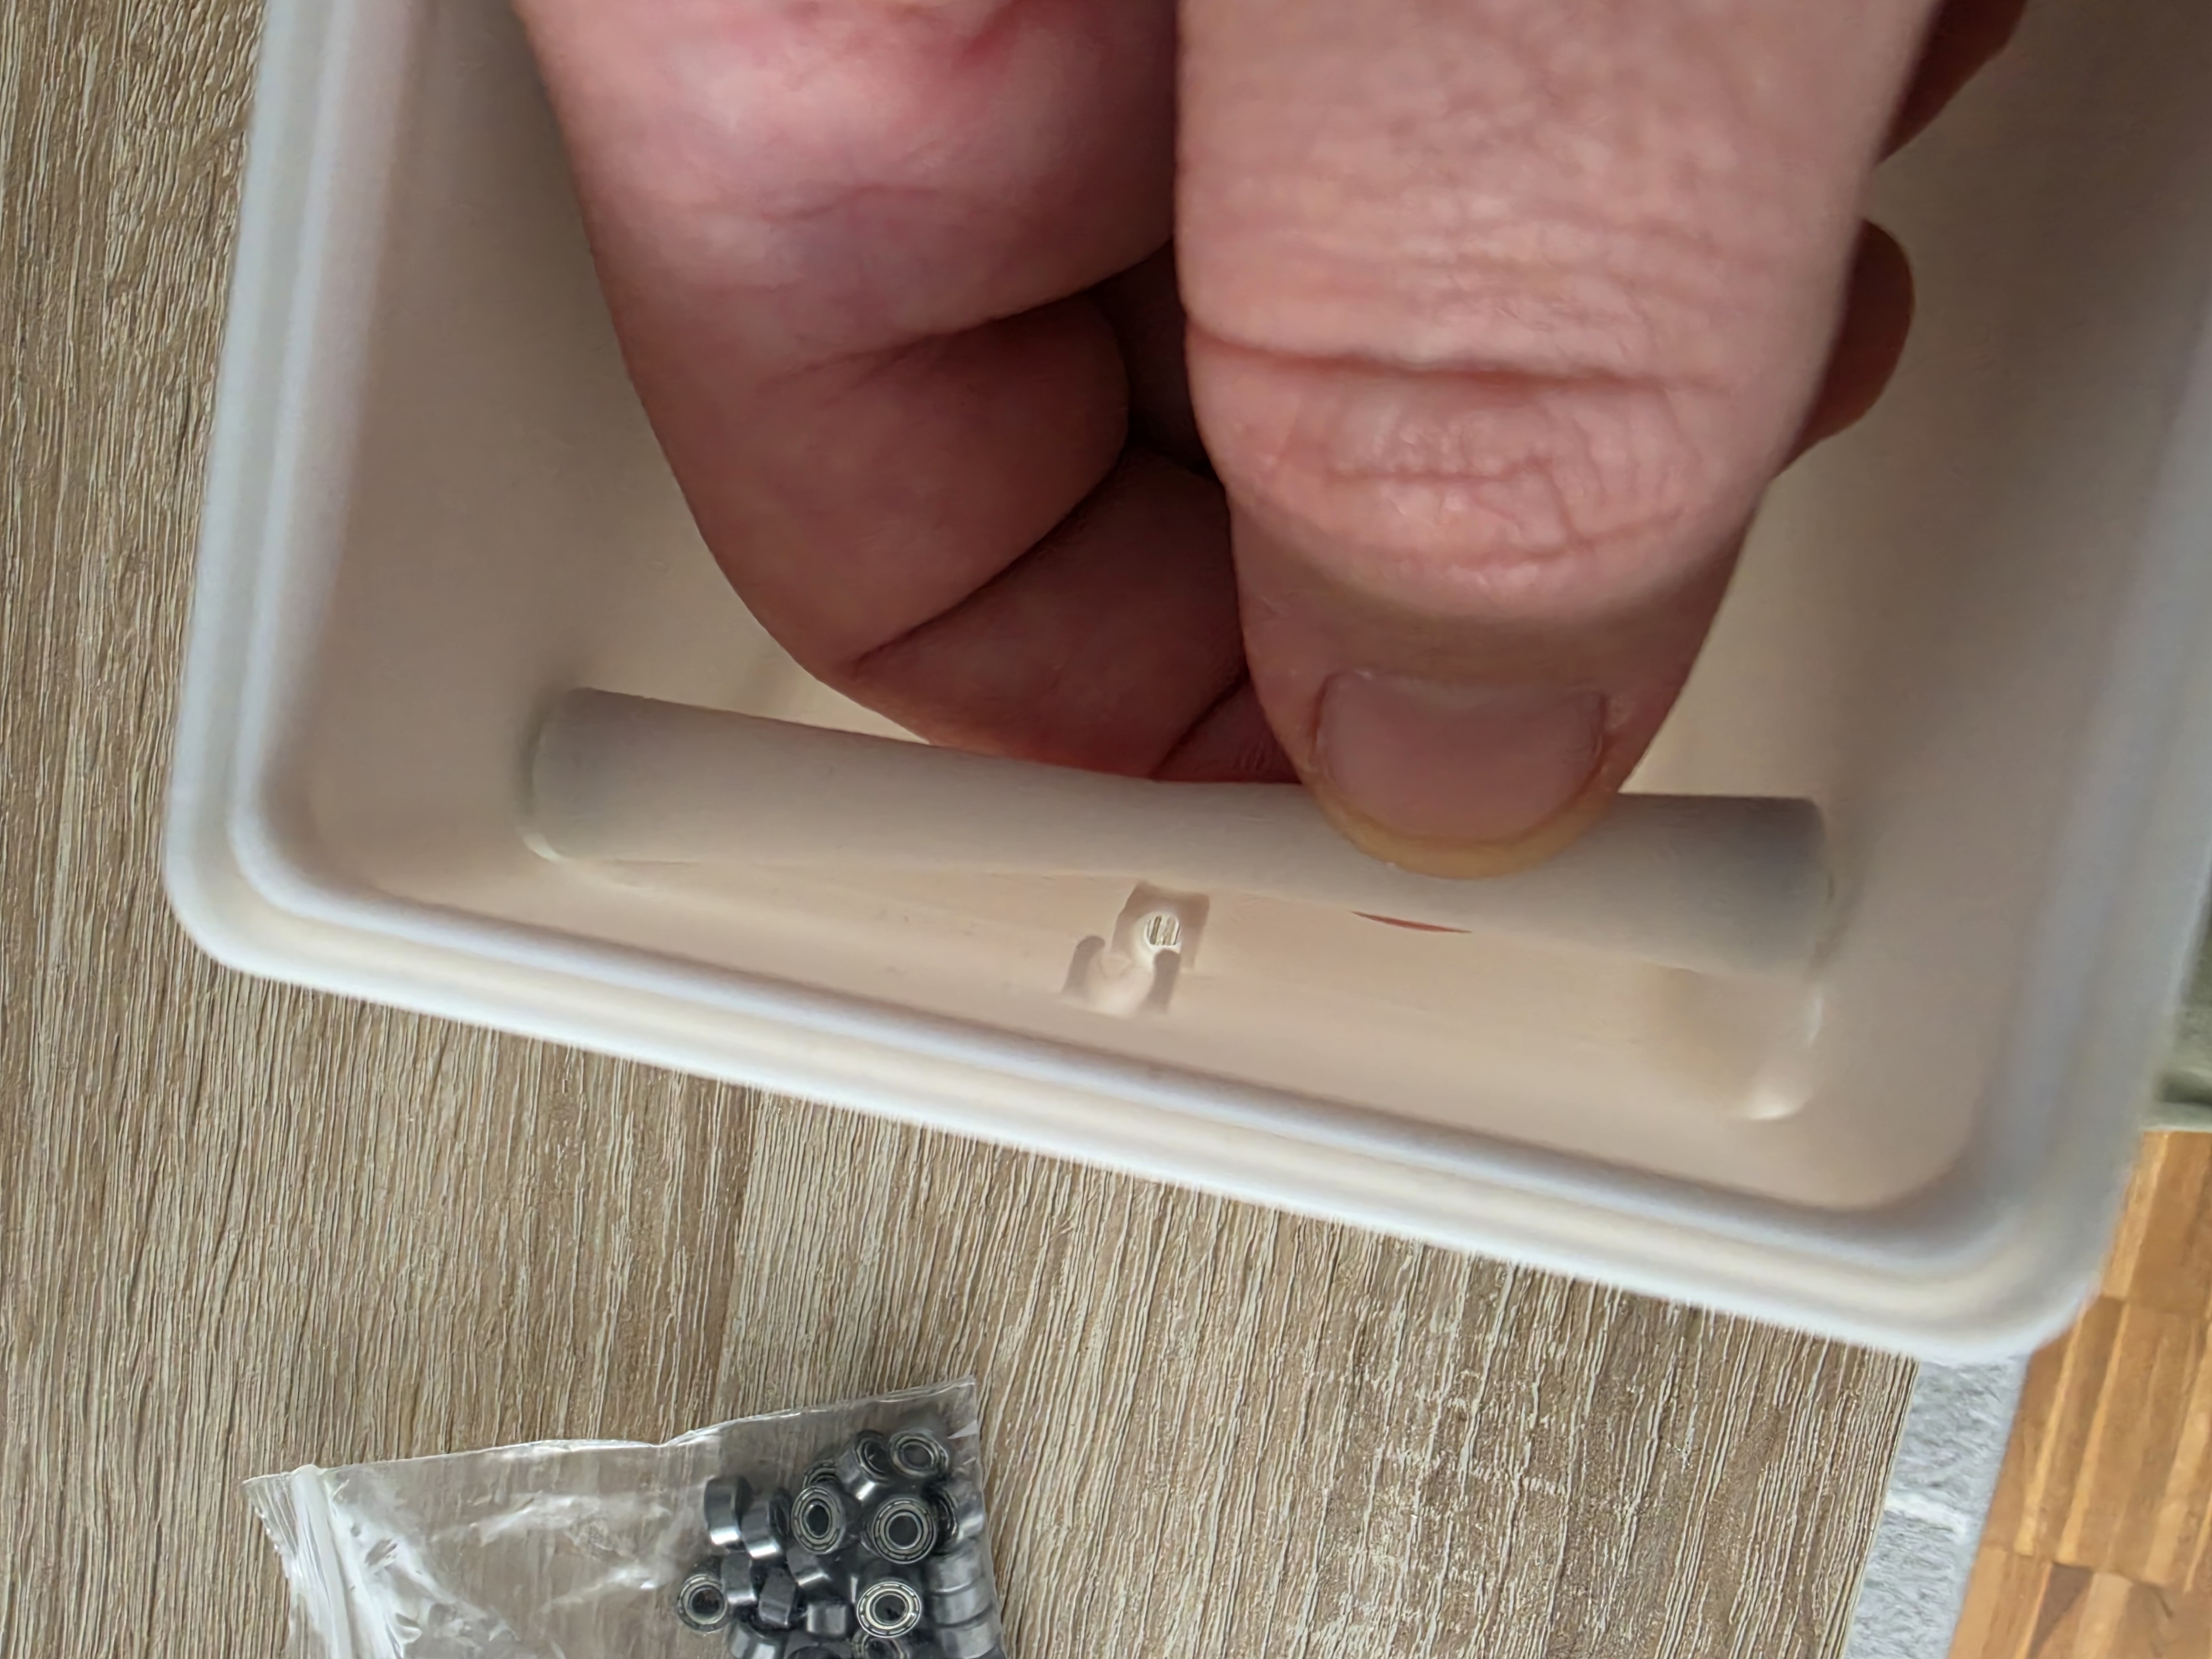
Assemble shafts + insert bearing fixes for attachment

Press against a table edge to fully insert the bearing (it was made extra tight for this reason)


Now you have 4x shafts with 8x bearings
Just insert the bearing fix per side (2 pieces)
"The bearing fixes fall out quite easily, so be careful when moving them"

Installation of the shafts into the housing:
-First, insert one bearing fix (Be careful not to let it fall out)

Then push in the other bearing fix (it's a bit stiff, but otherwise the shafts won't hold)
This is what it should look like 4x

If the shafts do not turn easily, you can press them together again from the outside to bring the bearings to zero play
Afterwards, install the sealing lip into the groove, and then it looks like this

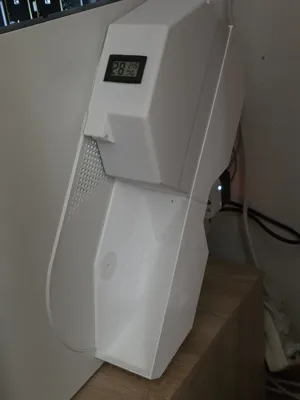
Now you install the hygrometer + hygrometer seal

This is what it should look like in the end (for 2 of the 4 dry boxes, you need to turn the hygrometer)

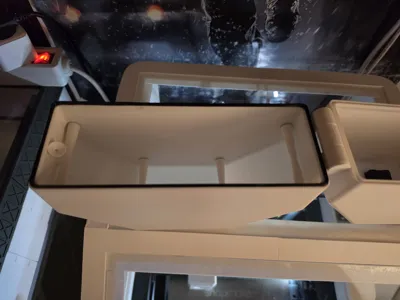
Now just assemble the top and bottom dry box using the bolts
Also use a table edge here if you have difficulty pushing them in


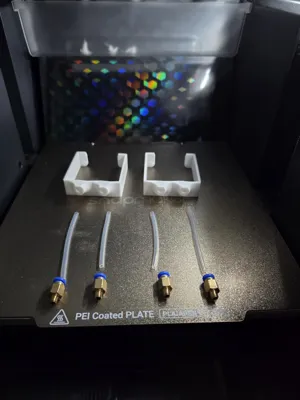
Now just install the funnel + PTFE tube and the dry box is ready
The length of the tube is 45mm (for me, 40mm also worked well --> doesn't interfere with the sealing lip)

First, put the funnel onto the PTFE tube (this makes it easier to push into the fitting)

Press the funnel with the PTFE tube down until no gap is visible at the bottom

Install silica container (Optional)
Fill the silica container (+ seal, I taped the hole with a piece of Tesa so that nothing flies out during installation)
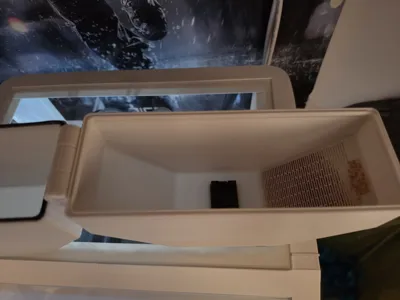
The upper part of the box has an extra retention lip at the bottom and 2x fastening pins at the top

First, insert the silica container into the retention lip at the bottom

Then slowly position the silica container towards the fastening pins, and then simply push in the corners until the container is secure

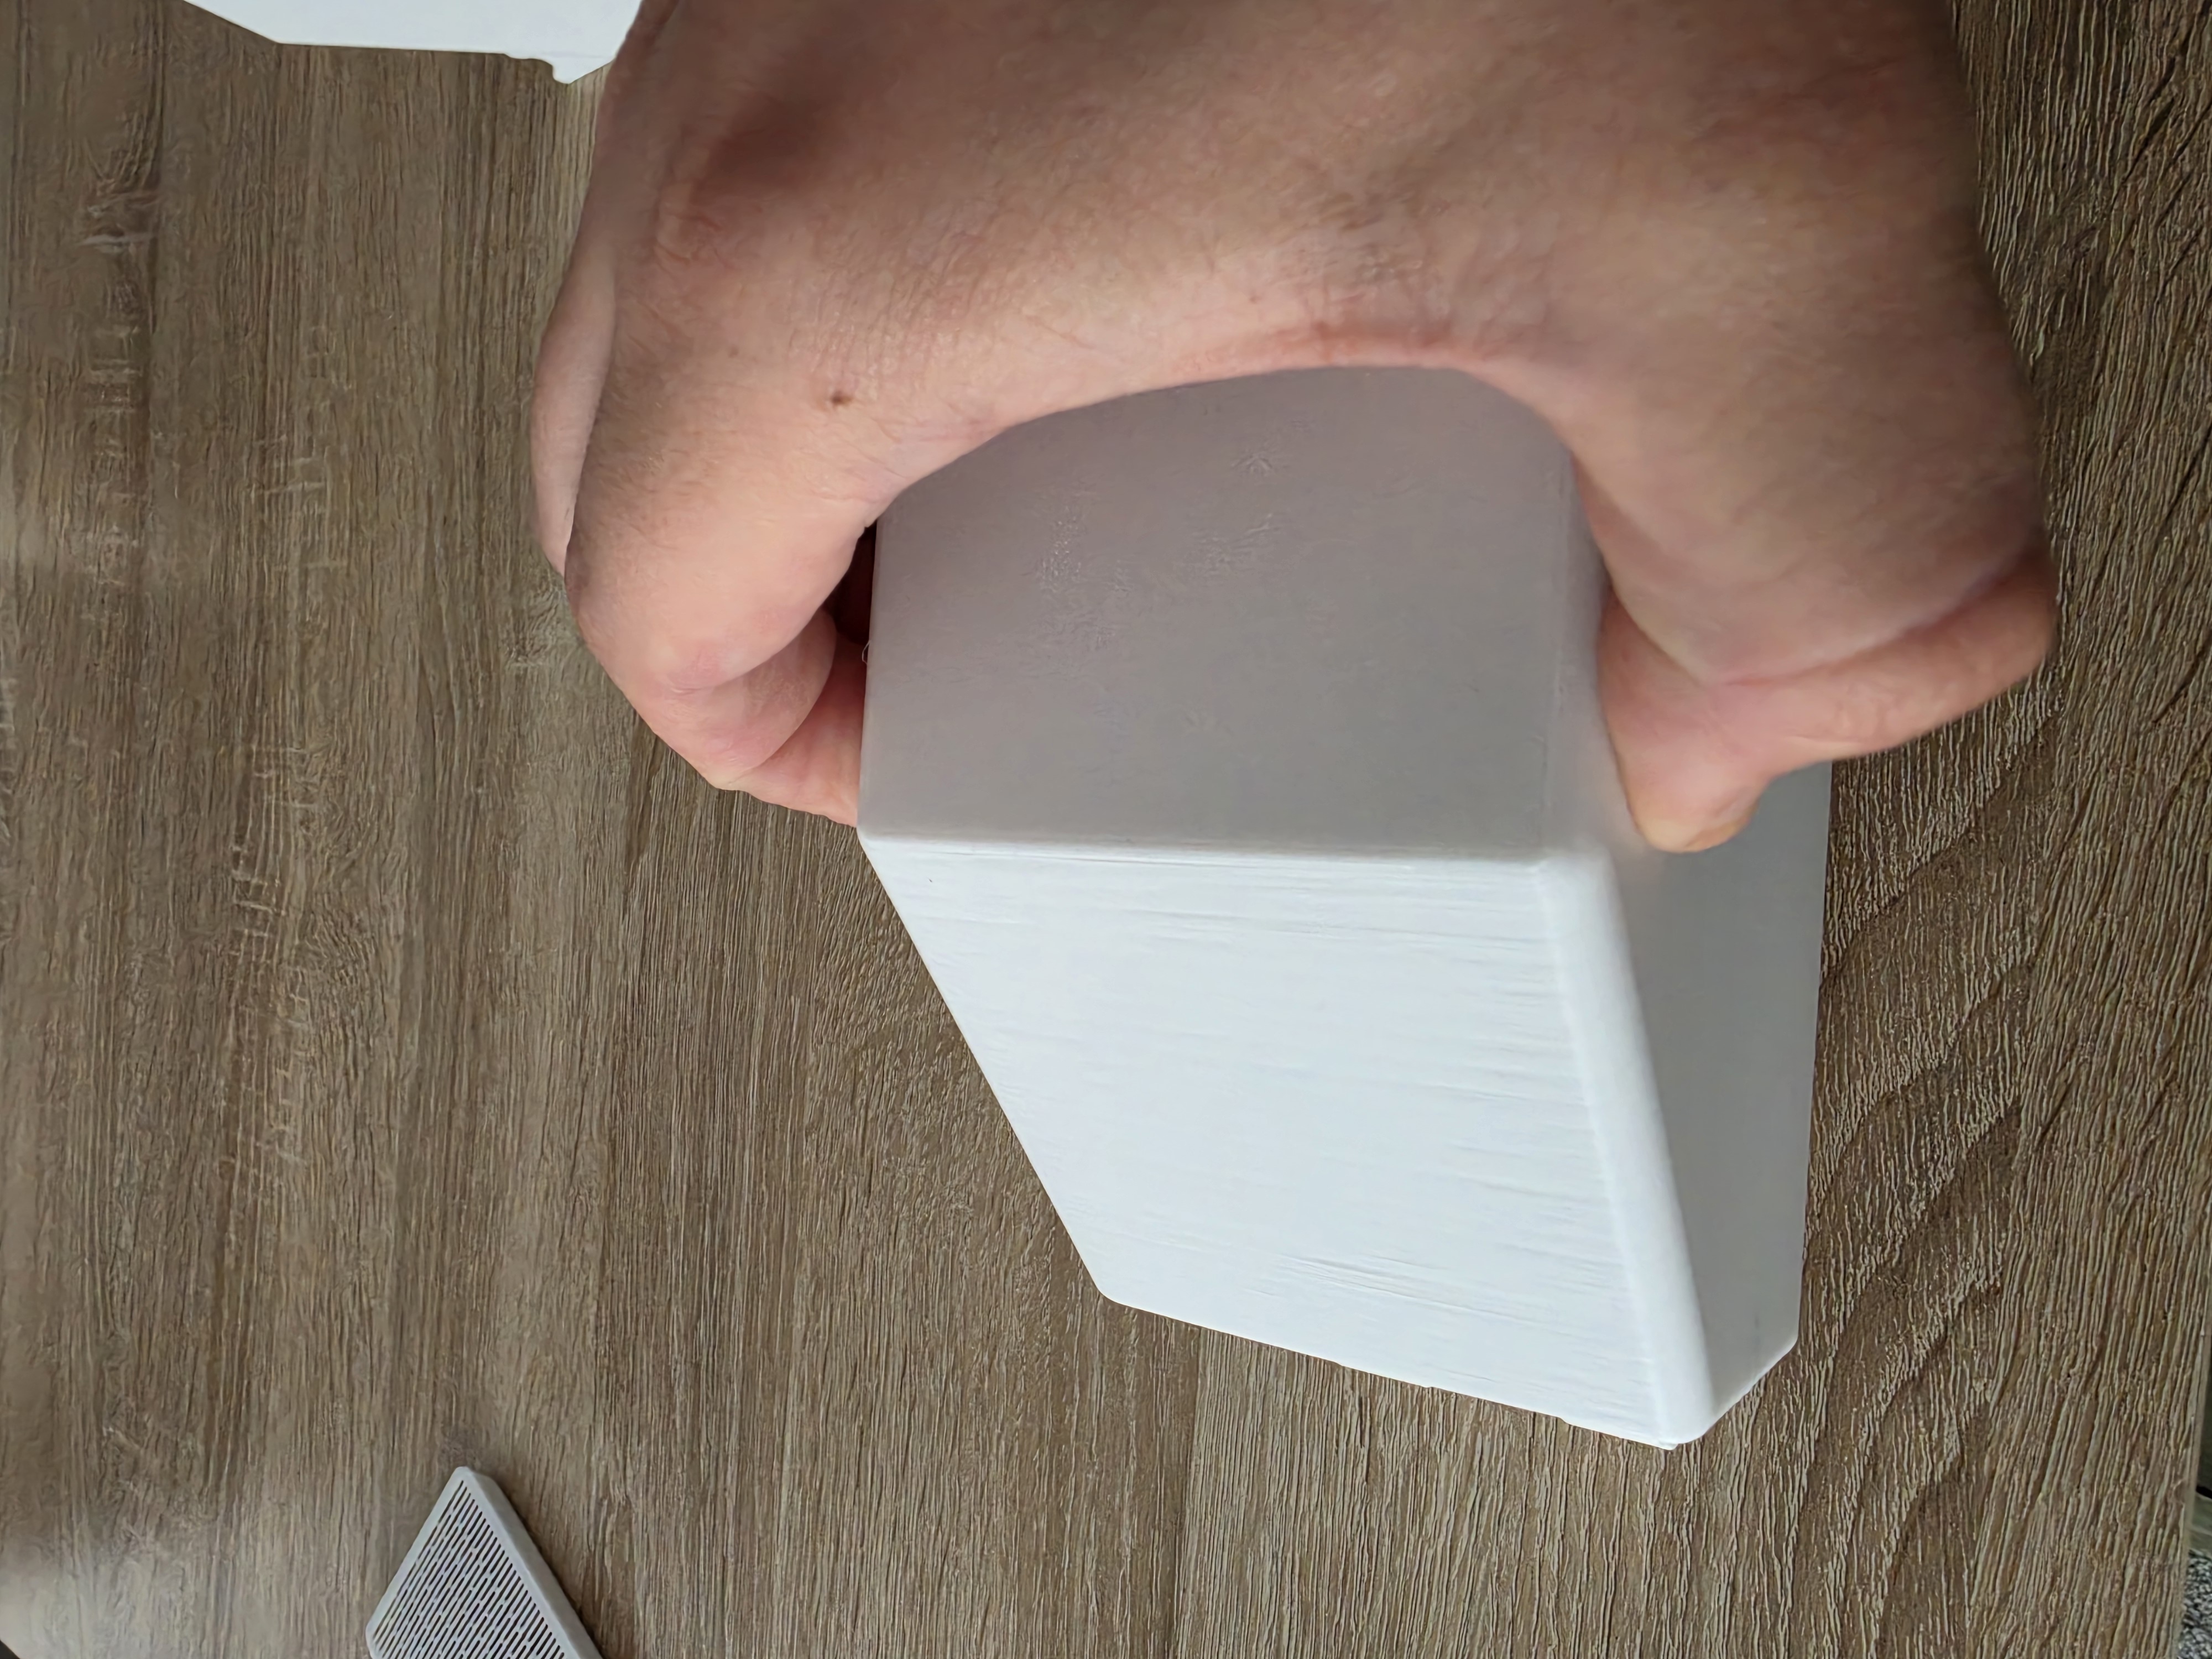
This is what it should look like in the end


The dry box is finished
Now just assemble it 3 more times :D
________________________________________________________________________________________________________________________________
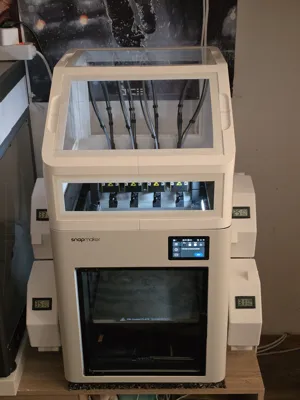
Assembly of Mount + Snapmaker Clip + Filament Loader Guide (Modified to PTFE tube only)
(Credits)
https://www.printables.com/model/1634011-snapmaker-u1-ptfe-adapter
You will need:
1x superglue
4x PTFE Adapter M6
2x PTFE tube 85mm
2x PTFE tube 70mm


________________________________________________________________________________________________________________________________
First, simply glue the mount together (for safety, I would wait at least 5 hours before continuing to work with it)
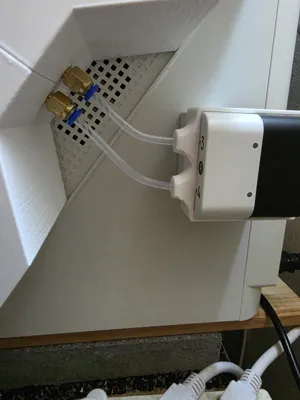
Then screw in the M6-PTFE adapters 4x
Install the filament guide 2x
Insert the tubes 4x
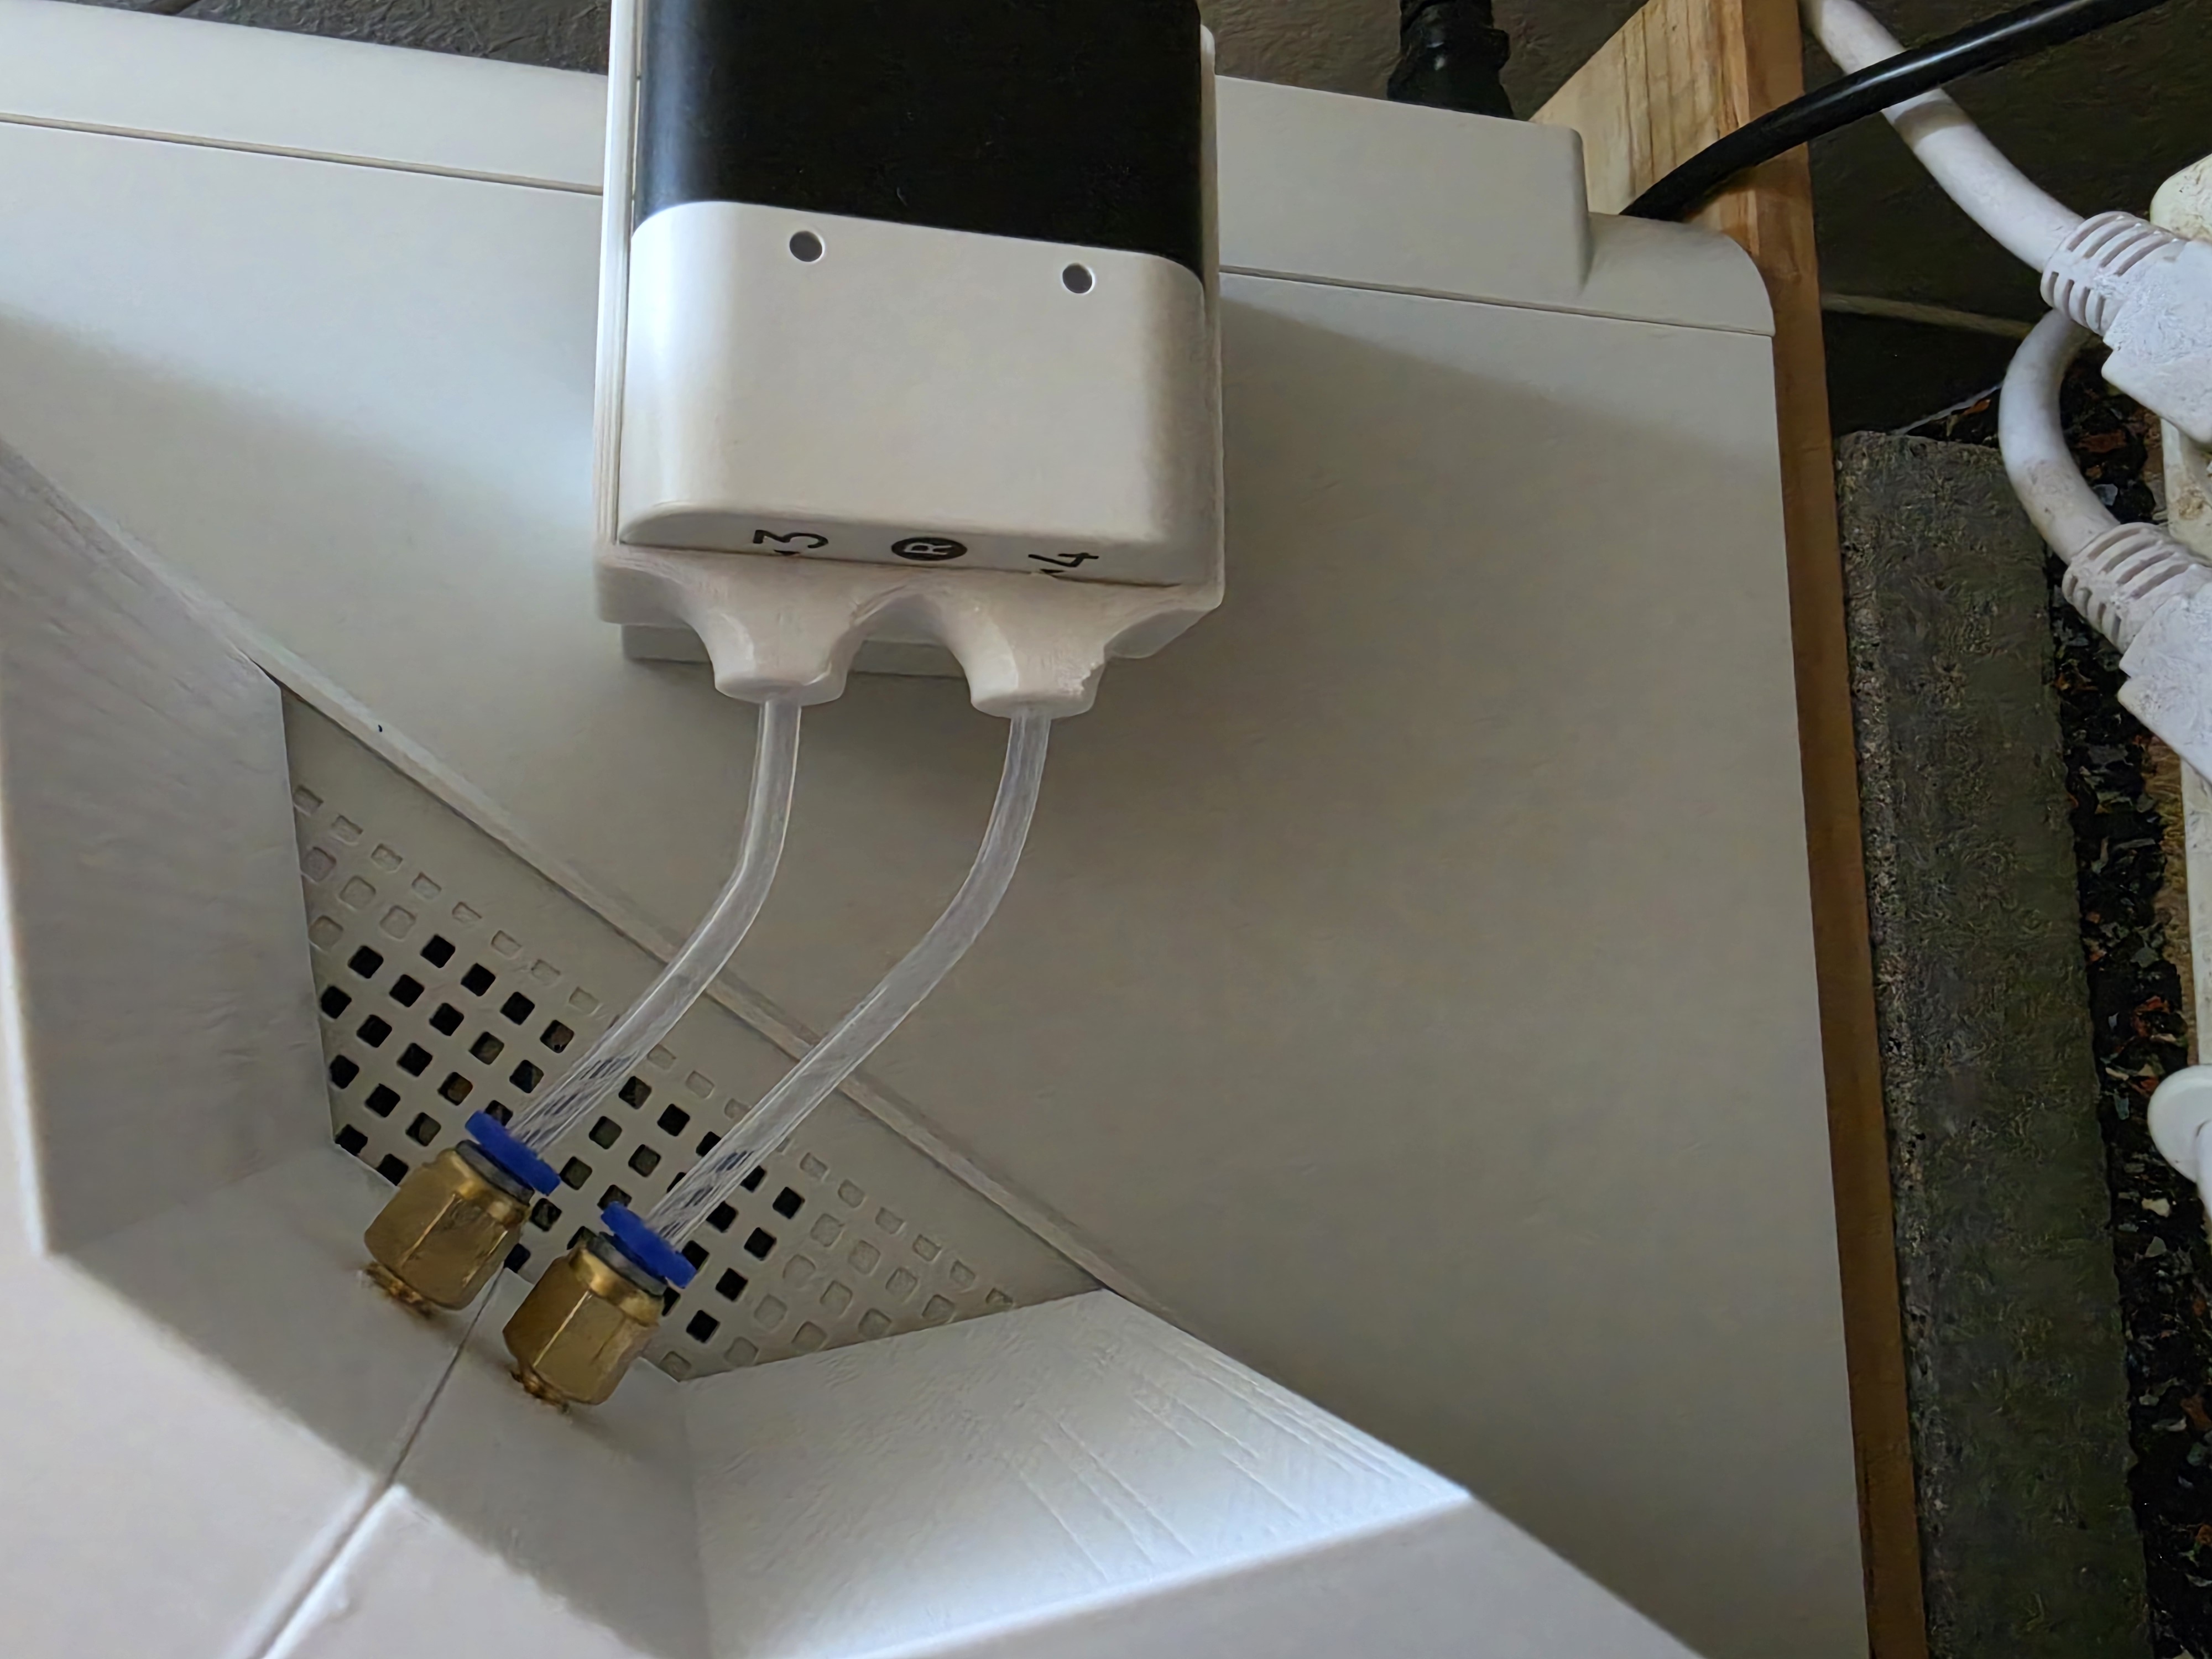
This is roughly what it should look like, and with that, it's all finished
Have fun and success with rebuilding it :D
Whoever finds spelling mistakes can keep them <3
License
You shall not share, sub-license, sell, rent, host, transfer, or distribute in any way the digital or 3D printed versions of this object, nor any other derivative work of this object in its digital or physical format (including - but not limited to - remixes of this object, and hosting on other digital platforms). The objects may not be used without permission in any way whatsoever in which you charge money, or collect fees.
Comment & Rating (3)