


Print Profile(1)
Bill of Materials


Description
Model also fits A1 mini, no AMS needed
!! for both LED kit 001 and LED strips !!
Recommendations:
-COB LED strips for best light distribution
-Use my print profile for best print and adhesion (open in Bambu Studio or download as 3mf)
-If you download the file as STL, please adjust your print settings accordingly. (Mentioned in the print profile)
-Use dry filament
-Let the print cool down before removing it from the print bed (especially plate “2” and “5” due to small details)
-When using LED Kit 001 or similar LEDs (not all are 100% identical), you can briefly warm the fixture's holder with a hairdryer or a kitchen torch if needed, so the clips can be easily bent.
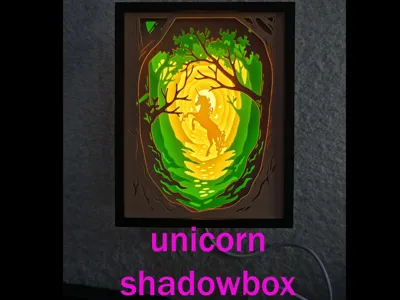
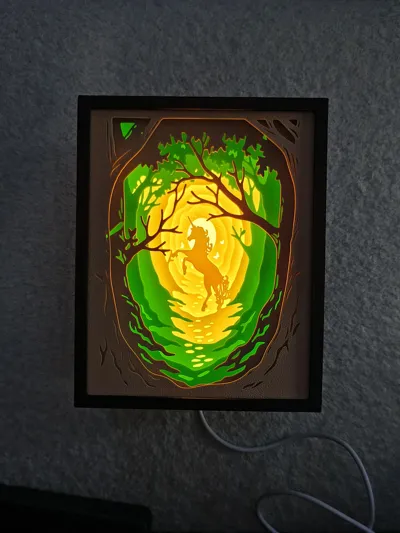
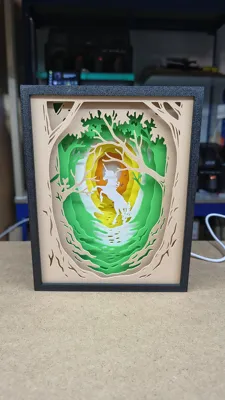
-The colors in the profile are the same as used in the photo, these can of course be individually adjusted, but for the box I recommend black so that the light is not visible from the outside.
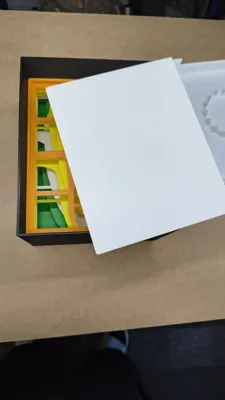
I have completely revised the model and adapted it for 3D printing. A completely different box was created for it, so that the individual plates can be pushed into the box much more easily.
Remix of a model by zorroronoa on thingiverse that is intended for wood CNC:
https://www.thingiverse.com/thing:6241250
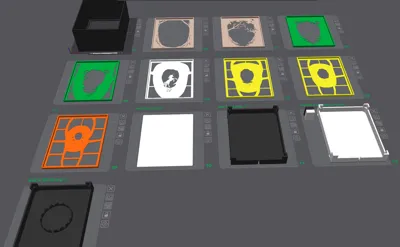
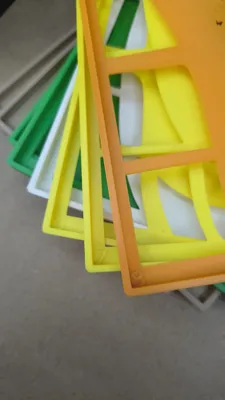
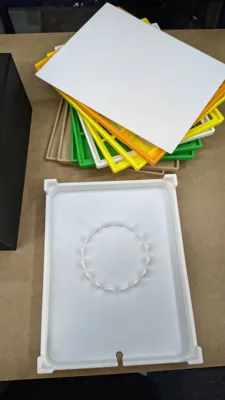
All plates have a spacer integrated into the print so that the necessary distances are automatically maintained.
They are all marked with a number on the bottom left, making it easy to insert them into the box in the correct order.
After the model plates, there is a simple white or transparent intermediate plate that serves as a diffuser for the light.
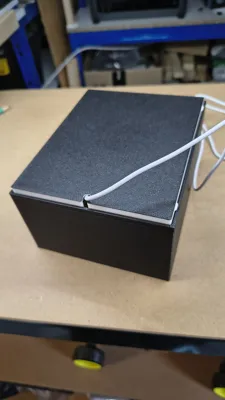
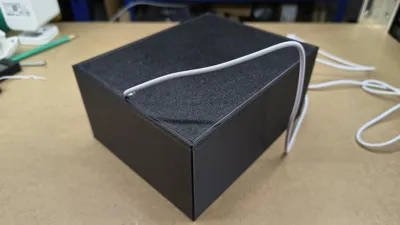
The backplate has a gap to route the LED cable and is simply clipped into the box after all plates have been inserted.
The backplate is rounded all around so that attaching an LED strip is easy and can simply be glued on.
Versions:
There are 3 different backplates:
These are all included in the print profile marked as alternatives; you only need to print one of them!
1.Standard
Single color for LED strips
I recommend using a “COB” LED strip (50cm is sufficient) as these produce an almost continuous light compared to a normal LED strip. (Available online for a few €/$ , with dimming function and/or on/off switch.
2. Standard 2-color (one color change)
black outside, white inside to enhance luminosity.
This is automatically printed with an AMS.
If you don't have an AMS, add a pause at layer height 6 and then change the color.
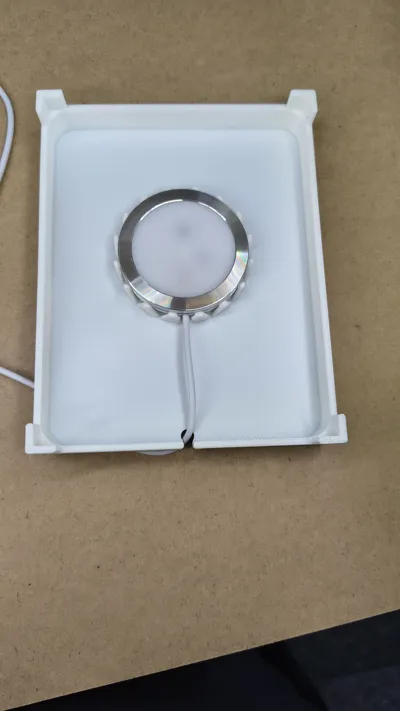
3. Bambu LED Kit 001 Clip Holder
Backplate with clip holder for the “LED Lamp Kit 001” from Bambu Lab.
(In this, both the attachment of an LED strip and the LED Lamp Kit 001 from Bambu Lab are possible, but the luminosity of an LED strip may be slightly reduced by the additional parts)
The outer box can be printed without problems with thicker layers or a larger nozzle. For the “picture plates,” I recommend the standard 0.20mm layer height so that they are stable enough and still translucent.
Assembly:
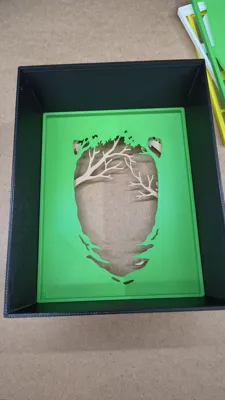
The print plates are arranged in the order they are inserted into each other, and the individual plates are marked with a number on the bottom left, as can be seen in the photos.
Place the box on the table and simply insert all plates from 1-8 one after another so that the number is on the bottom left.
Then insert the diffuser plate.
Backplate: Thread the cable through the designated small hole and firmly glue the COB LED strip around it; there is a rounding at the corners to facilitate mounting. (For LED Kit 001, simply clip the lamp into the designated mount).
The cable can also be secured at the bottom exit with hot glue or other adhesive to make it more stable, but this is not mandatory.
Now make sure that the cable is not pinched and that it exits downwards before you insert the backplate into the box. It needs to be pressed a bit firmly until it snaps into place, then it will hold on its own and does not need to be glued (but can be if desired).
Now connect it to a power source and enjoy this beautiful shadow box.
I hope you like it and look forward to any feedback.
Boost Me (for free)
Even though it's a remix, creating these boxes to be as easy to print as possible and allowing for simple assembly requires a lot of adaptation work. Therefore, I would also appreciate your support.
Please consider that adapting such models, creating test prints, and printing multiple boxes for which I actually have no need requires a lot of filament, so I appreciate any support. Thank you for your understanding.
If I find the time, I will create more models for 3D printing.
Don't forget to visit zorroronoa's page on thingiverse!

Comment & Rating (2)