
Rockband Drums Mesh Mod
Print Profile(1)
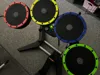
Description
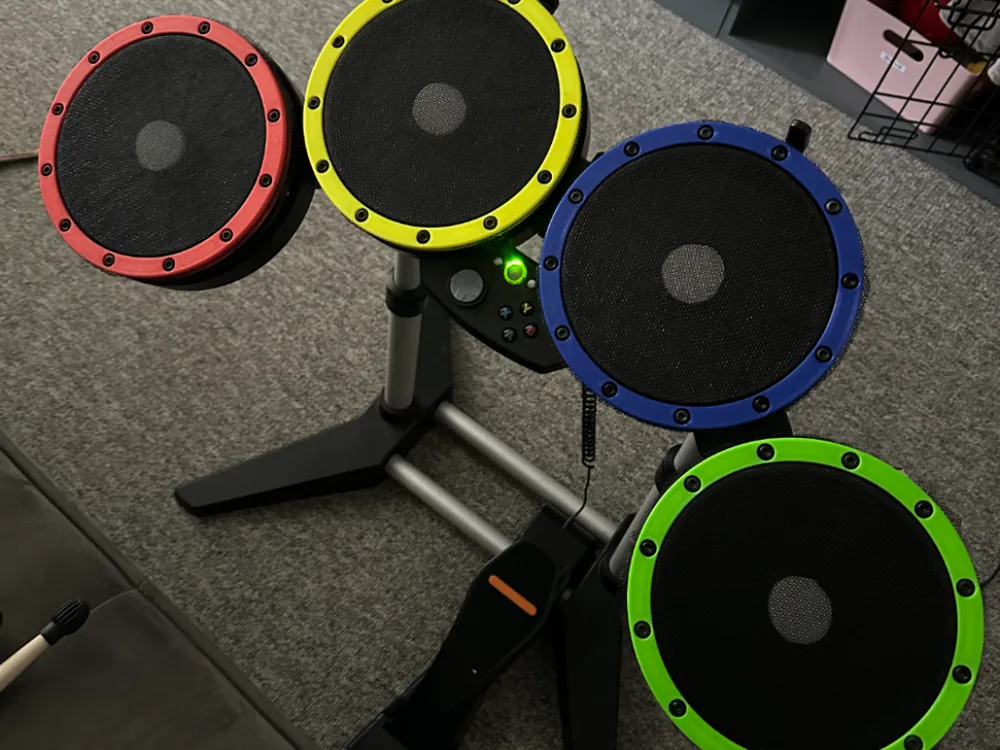
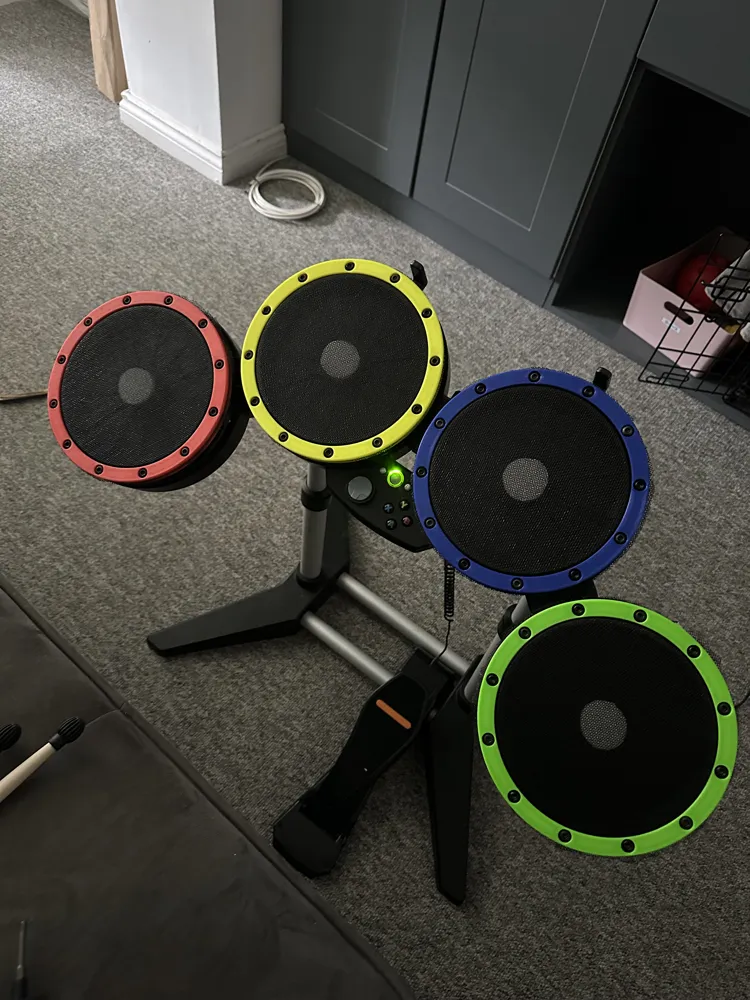
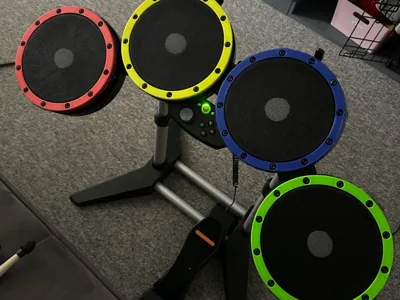
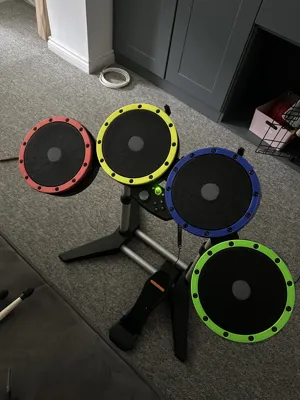
This is my version of the mesh mod created by @aapsis .
- I have modified the design to use approximately 25% less material, increase the performance and longevity of the parts.
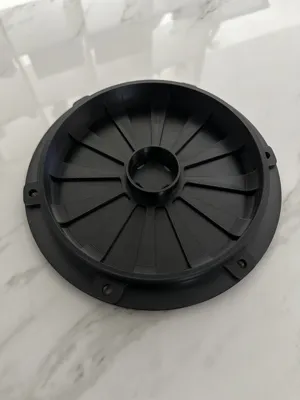
- Instead of a single part clamping ring , it is now 2 parts similar to the way the GoodWoodMods Mesh Mod worked way back when.
- The 2 parts ring includes a locking profile to better (hopefully) prevent the mesh slipping over time.
- I have used heat set inserts to allow a better experience when increasing tension on the mesh.
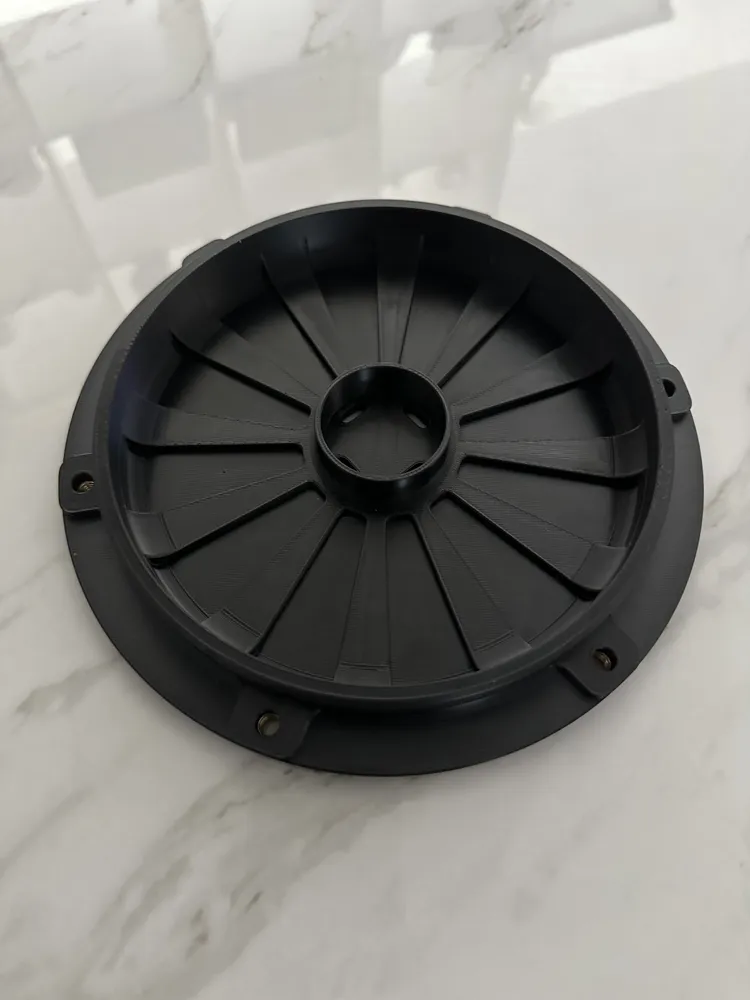
- There is a hollow in the centre of the drum to allow you to easily line up the foam inserts.
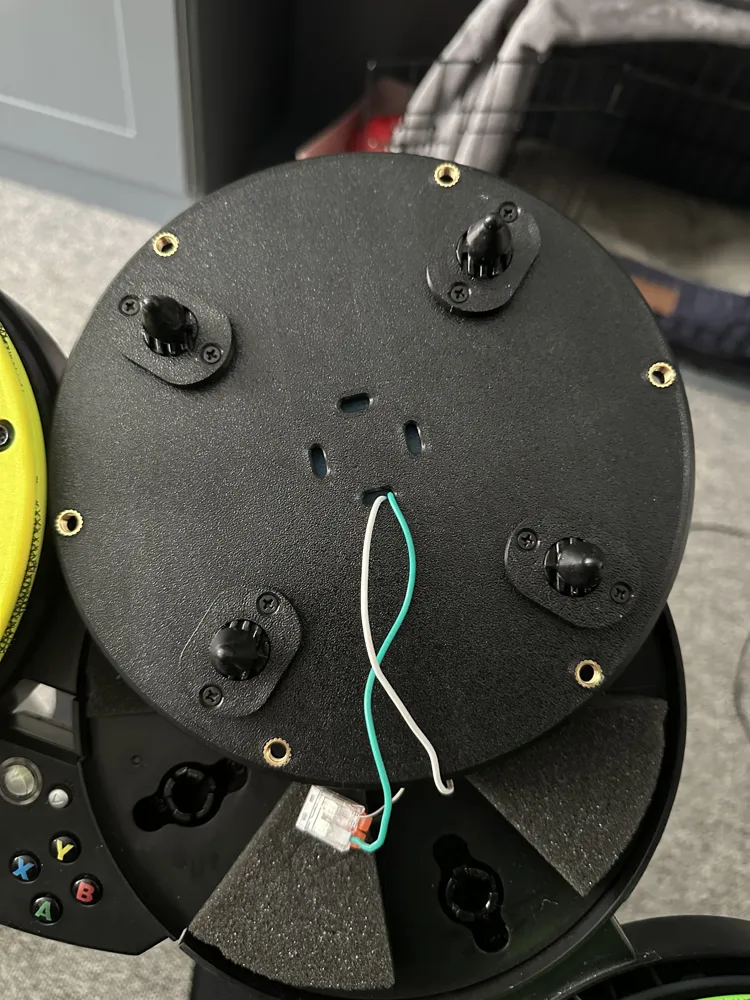
- The wiring hole now runs underneath the foam so they are no longer visible and do not require covering.
Parts List (For all 4 drums):
- 48 off - M6 x 8 x 5 Heat Set Inserts
- 32 off - M3 x 5 x 4 Heat Set Inserts
- 24 off - M6 x 10 Button Head Bolts
- 24 off - M6 x 25 Button Head Bolts
- 4 off - Ø38mm x 10mm “Medium” Foam
- 4 off - Ø38mm x 10mm “Hard” Foam
- 4 off - 27mm Piezo Sensor
- 8 off - 2 port WAGO connector (if using)
- Mesh (I used this: Insect Mesh)
Assembly steps:
- Print all you parts, start with your “Drum” part.
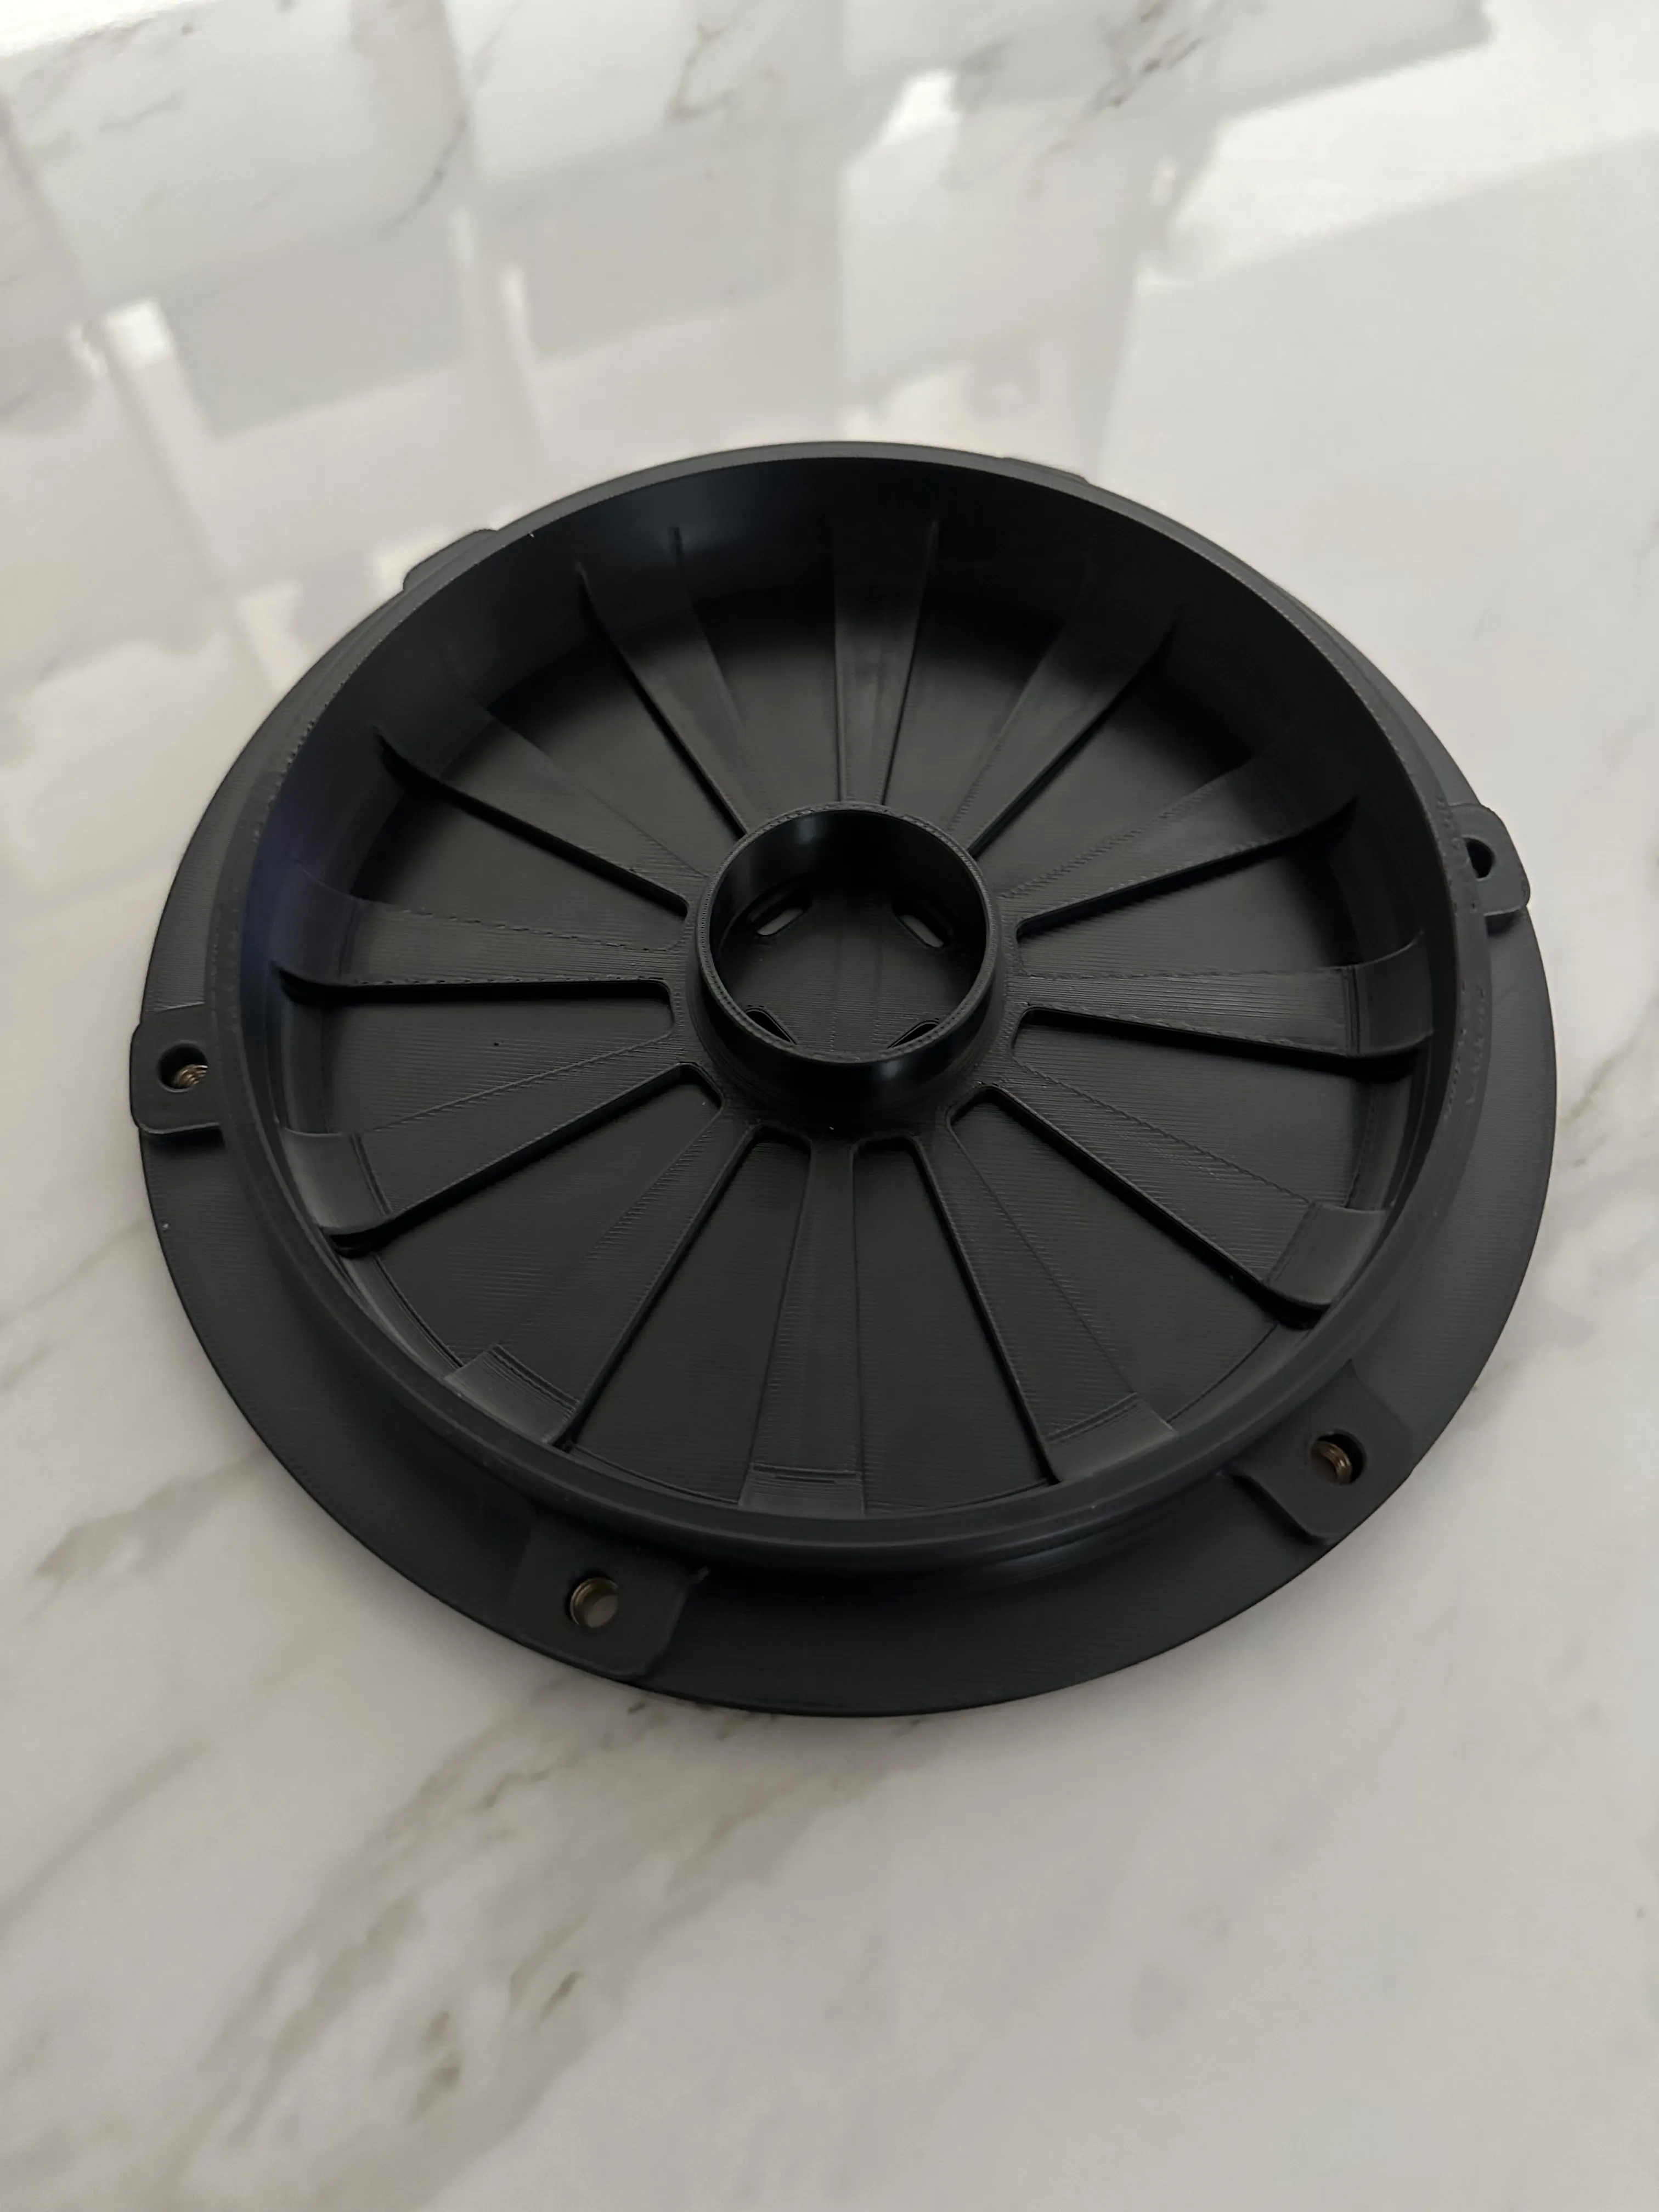
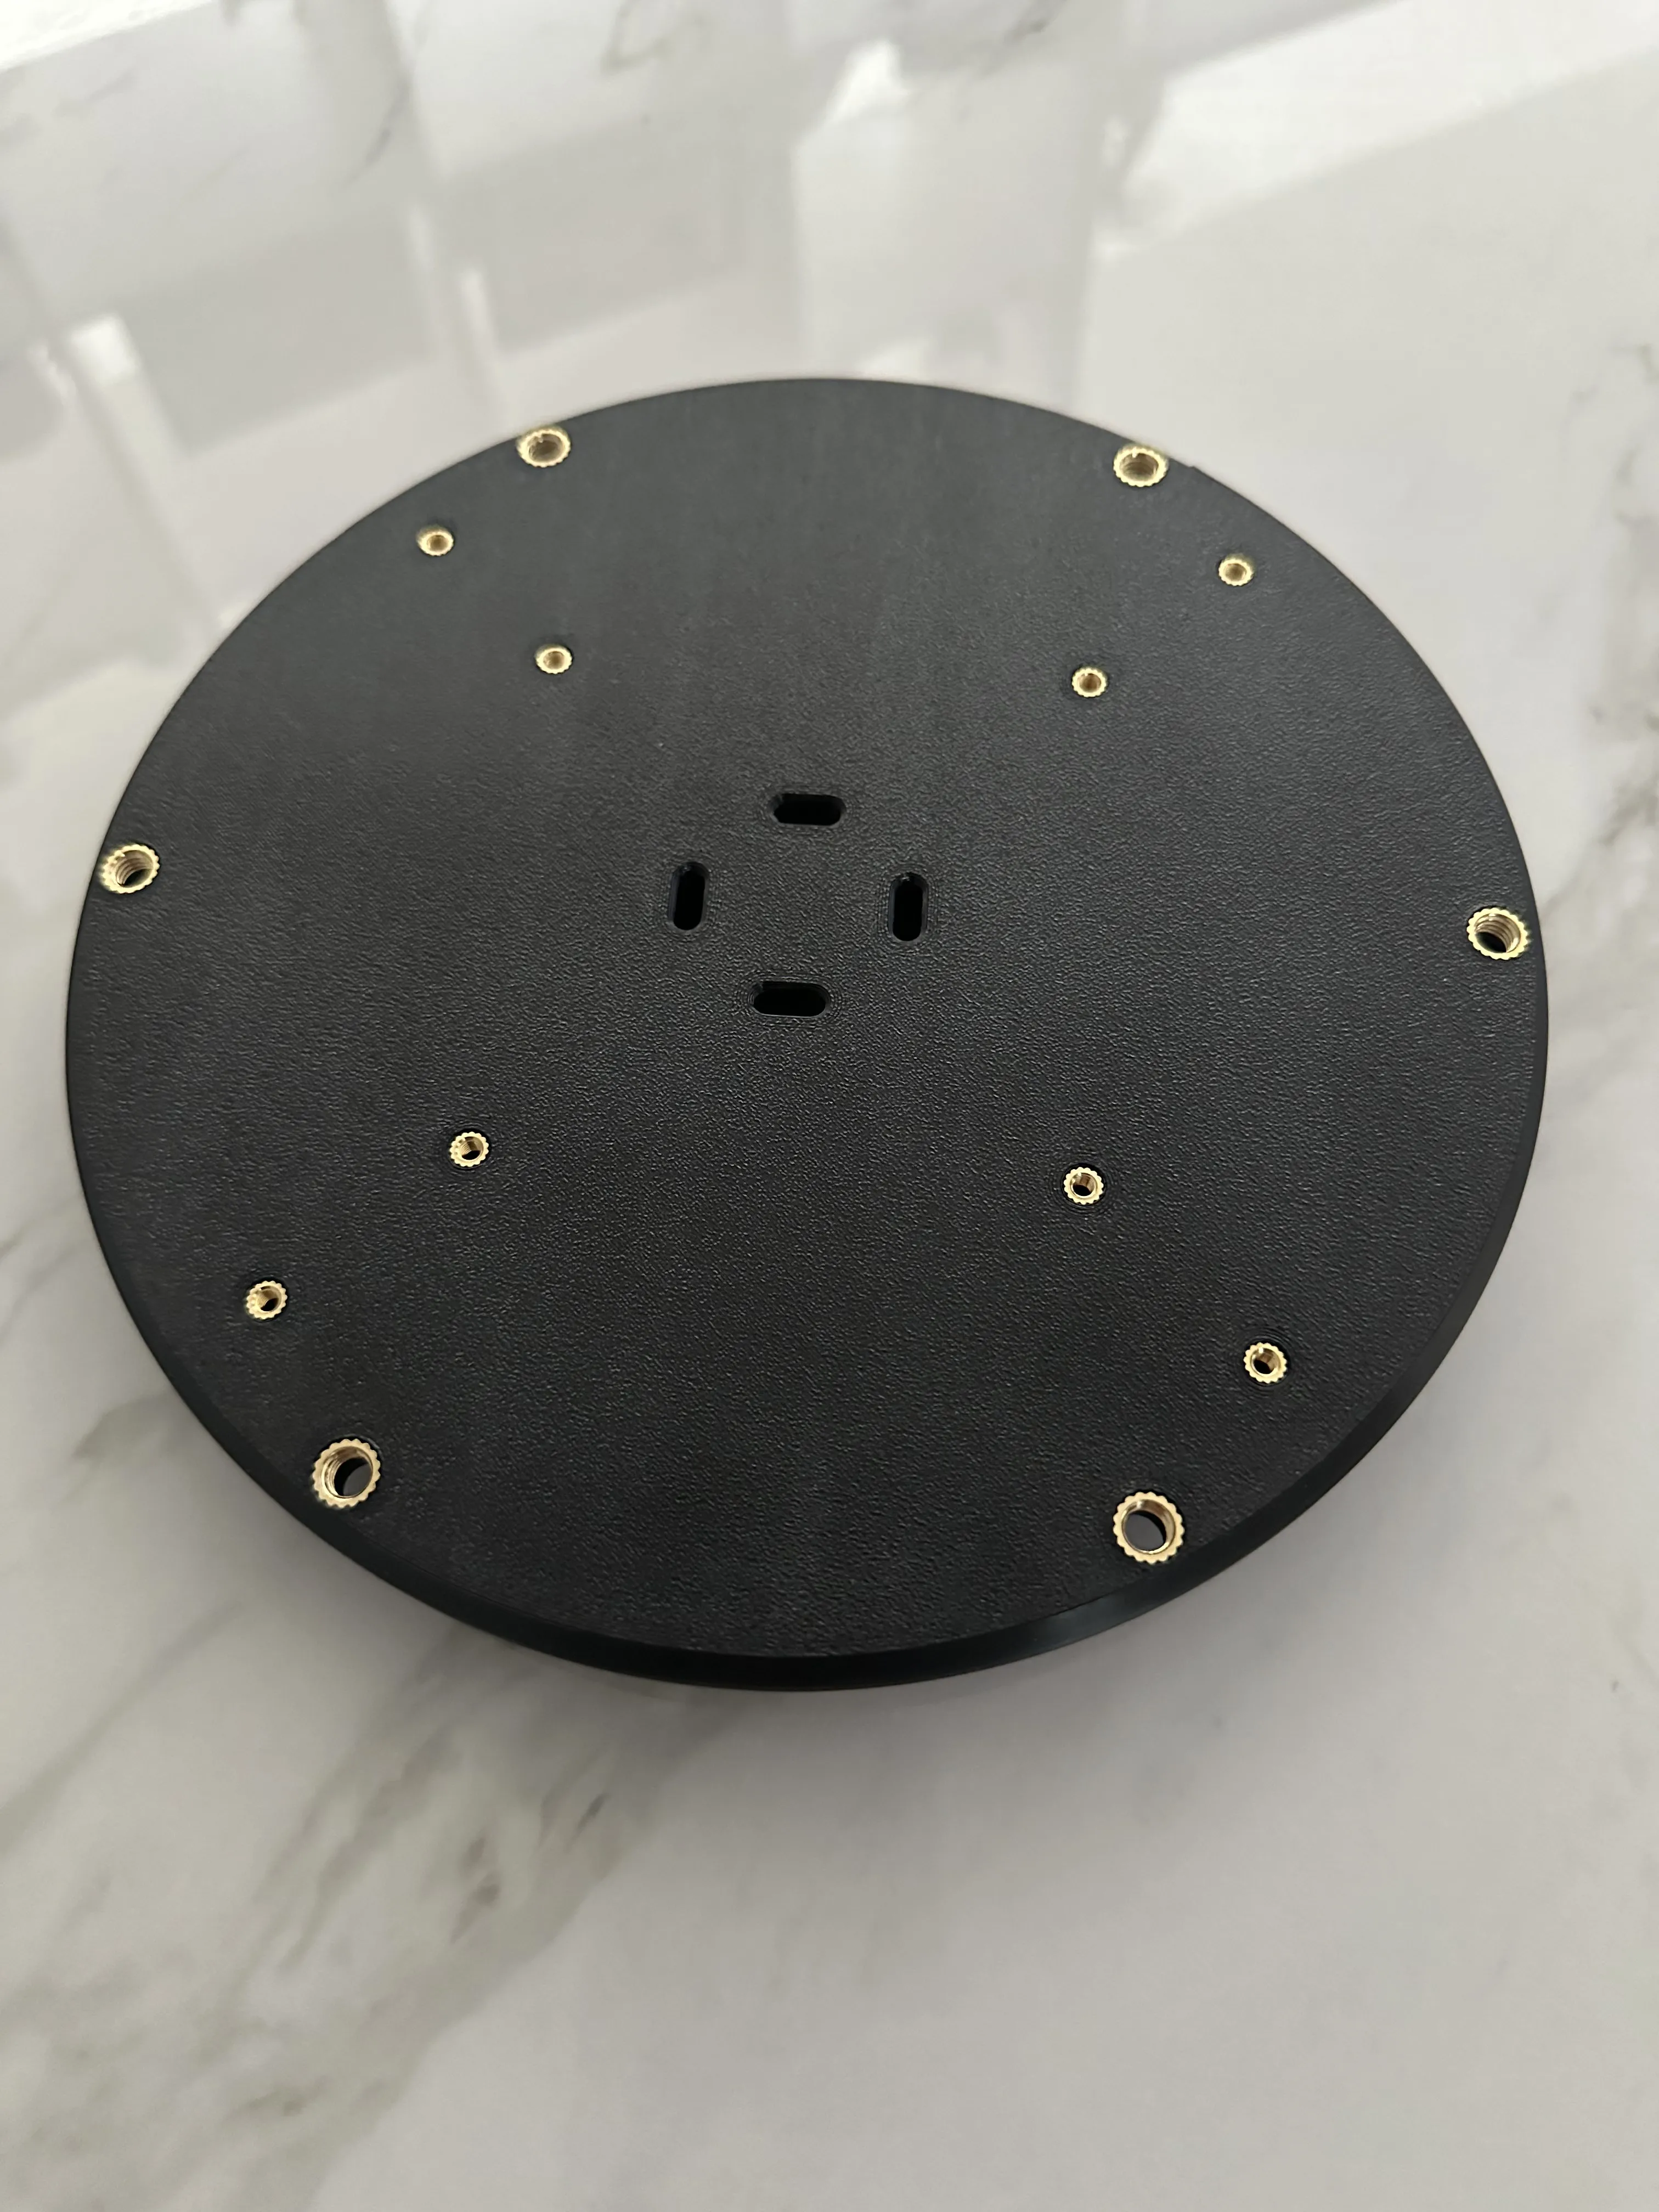
2. Insert your heat set inserts: 4 off M6 x 8 x 5 & 8 off M3 x 5 x 4 (For Drum) & 6 off M6 x 8 x 5 in every second hole in the bottom drum skin ring (Apologies I don't have any photos of this, the holes are the supported ones in the print profile.
3. Using double-sided tape stick the piezo sensor to the “medium” foam (Ø38 x 10), tear the foam to allow the wires to slide through.
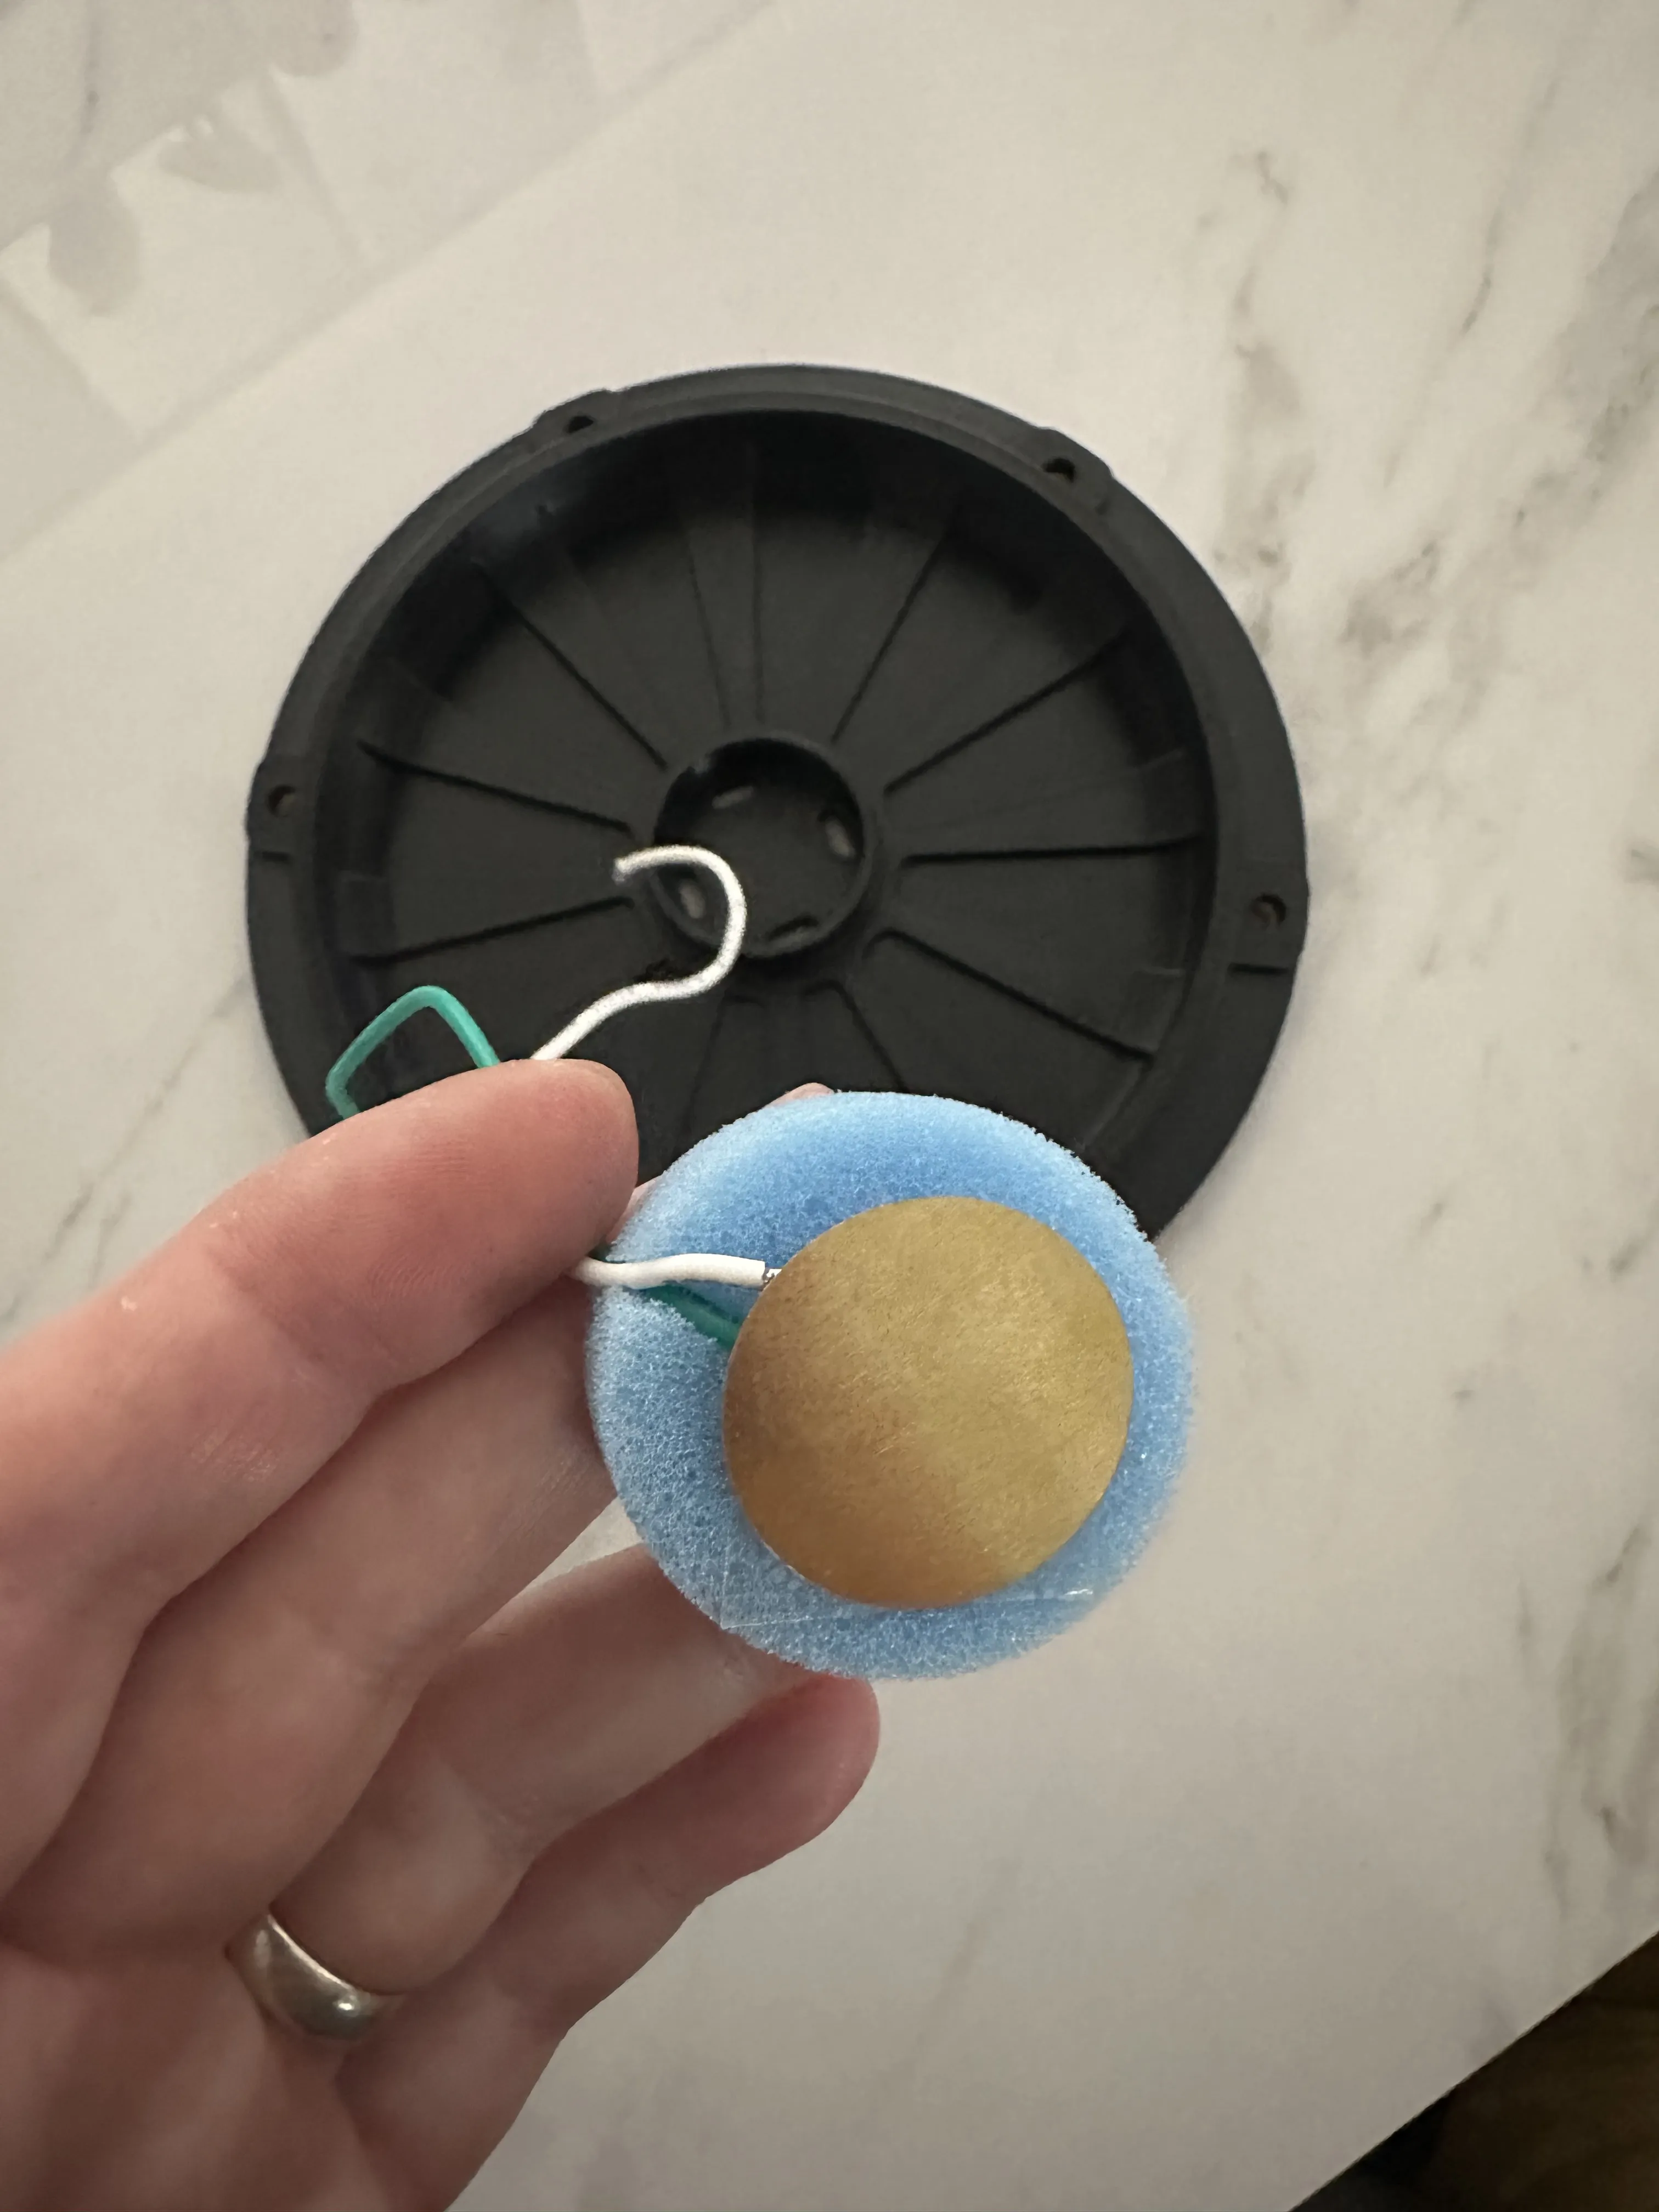
4. Insert foam into the drum centre, making sure you feed the wires through one of the slots.
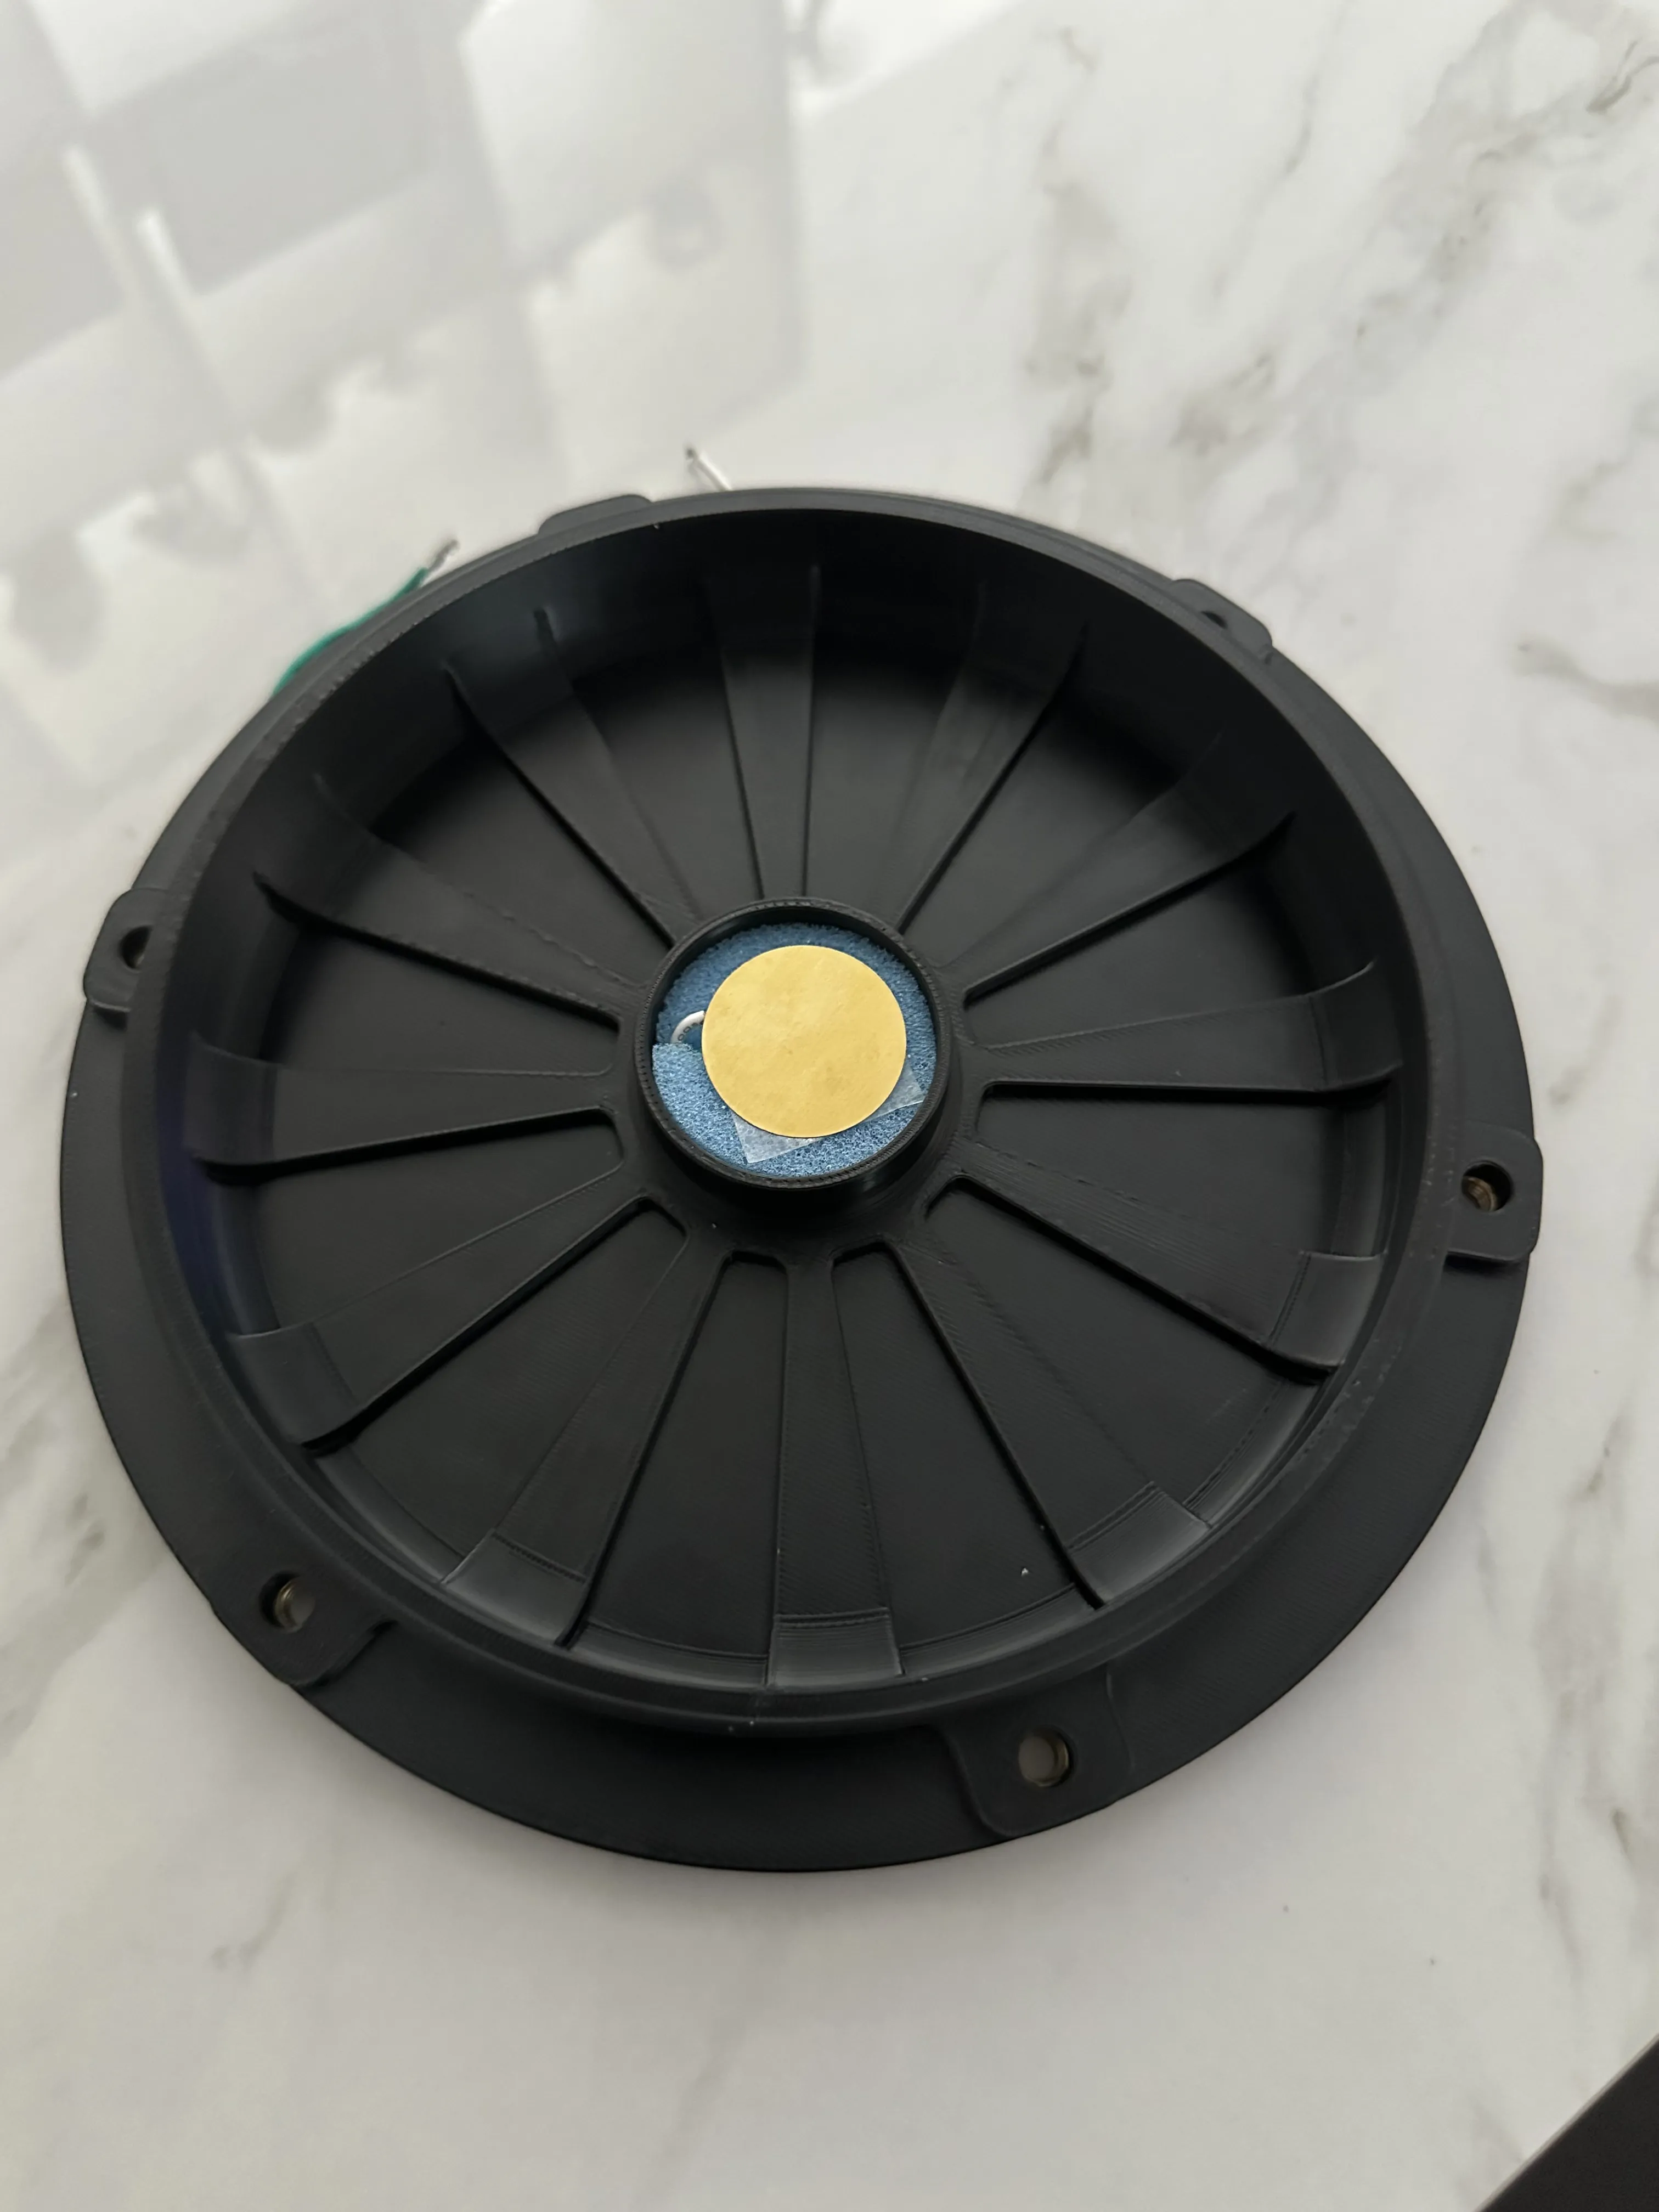
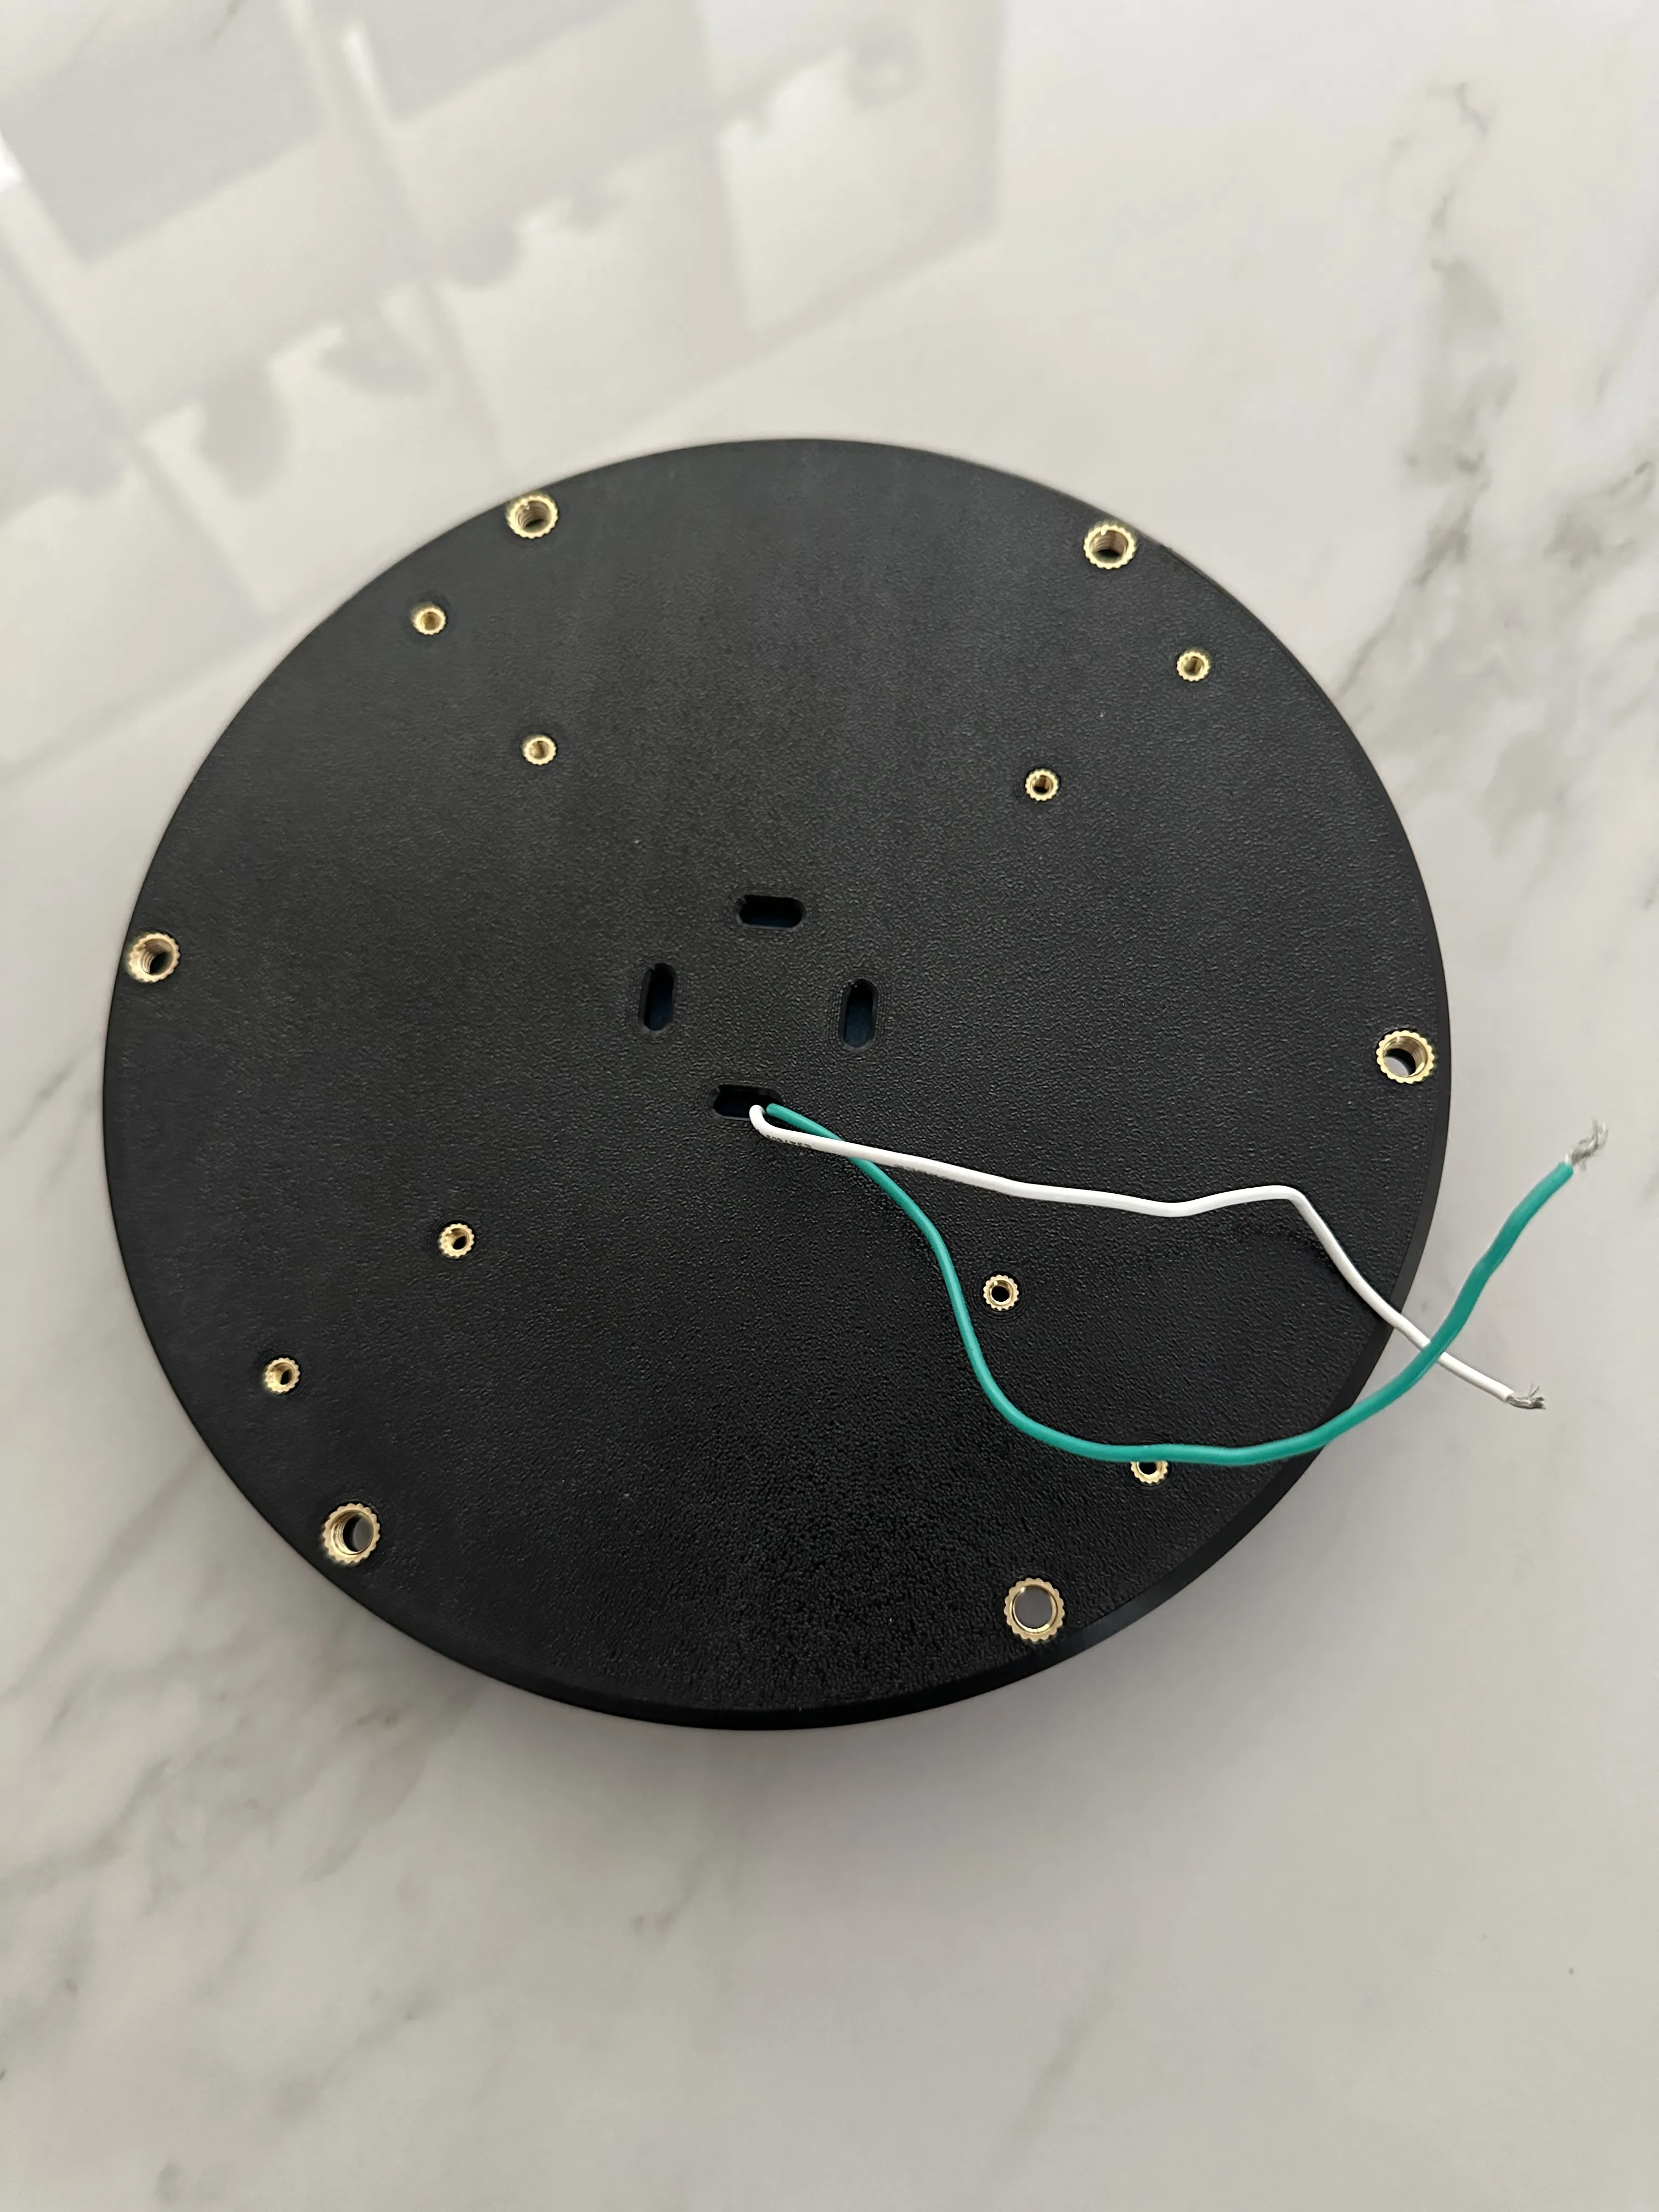
5. Using double-sided tape, stick the “Hard” foam (Ø38 x 10) to the top of the piezo sensor.
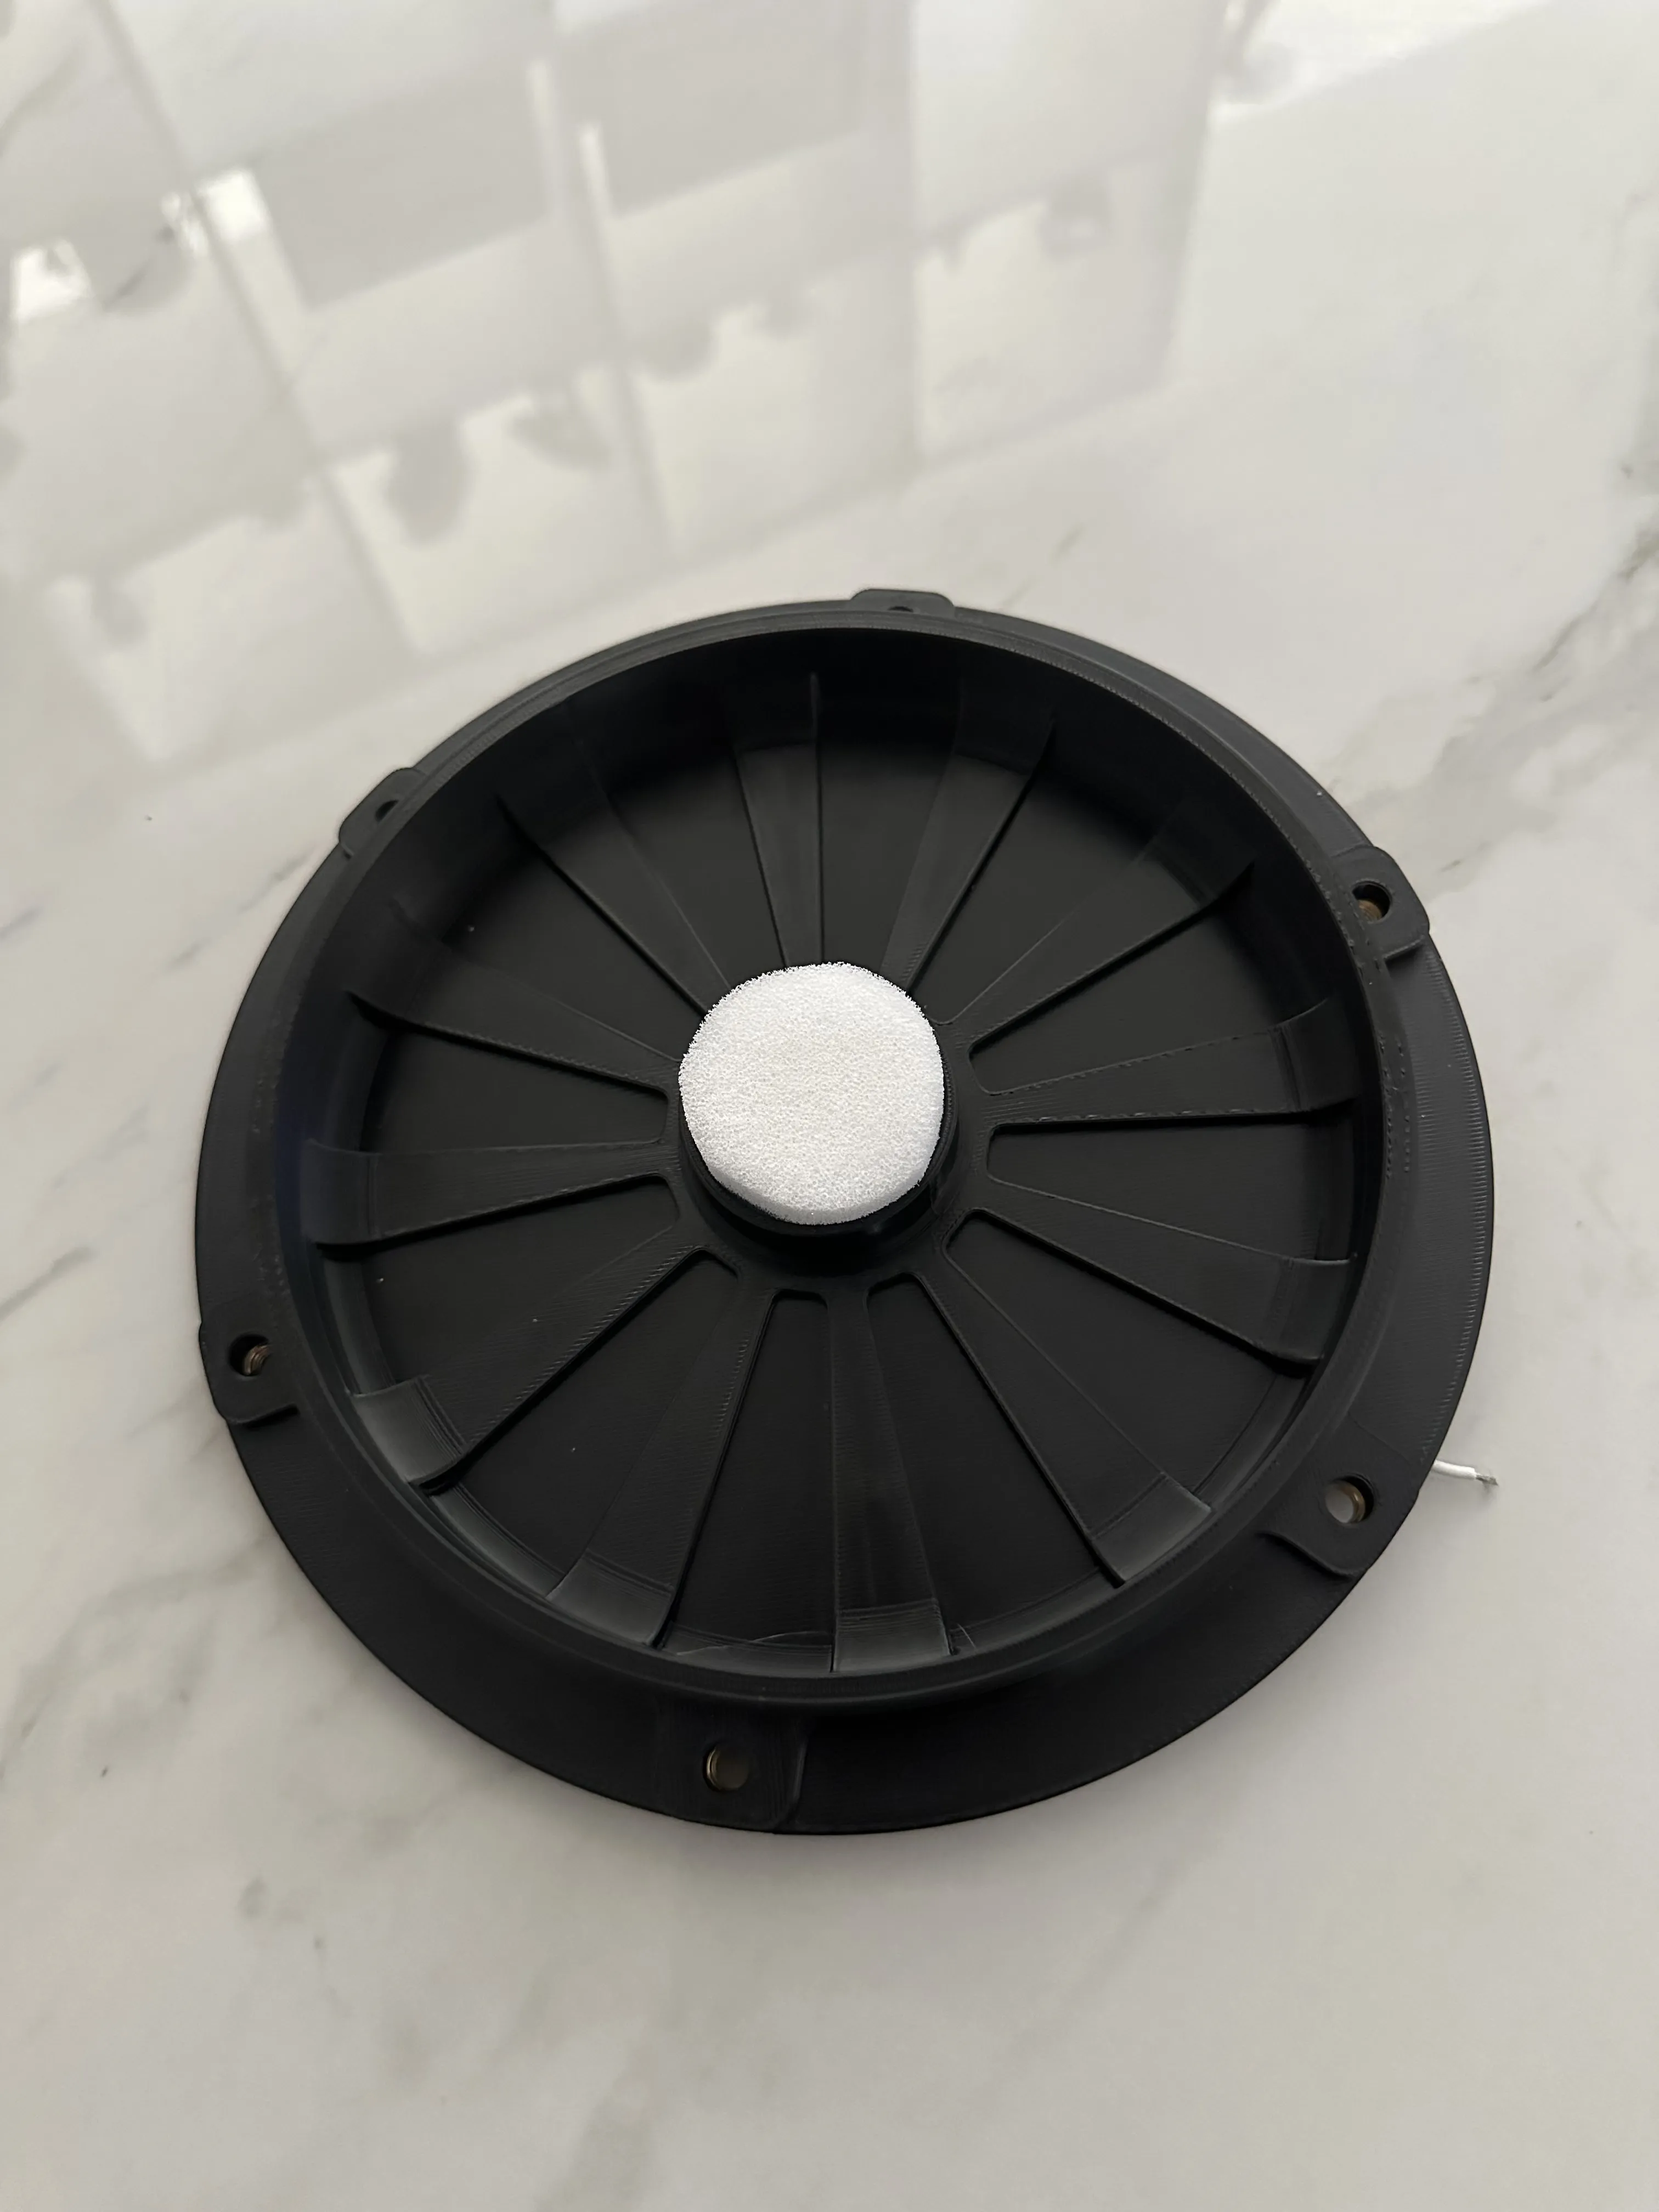
6. Remove existing drums by pulling on the outer edge of the top panel, there are four rubber retaining pegs on each drum, it takes a little bit of force but you should not need to go crazy! Be careful as the wires are thin and they are joined to the pads!
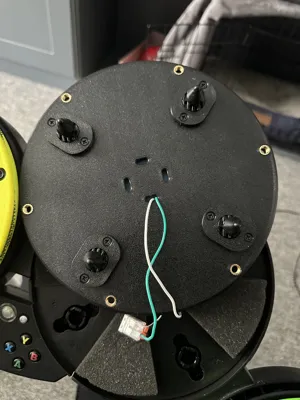
7. Snip the wires to the existing pads, remembering to leave yourself a decent amount of slack, prepare the wires for joing to the new wires (I have used WAGO fittings.
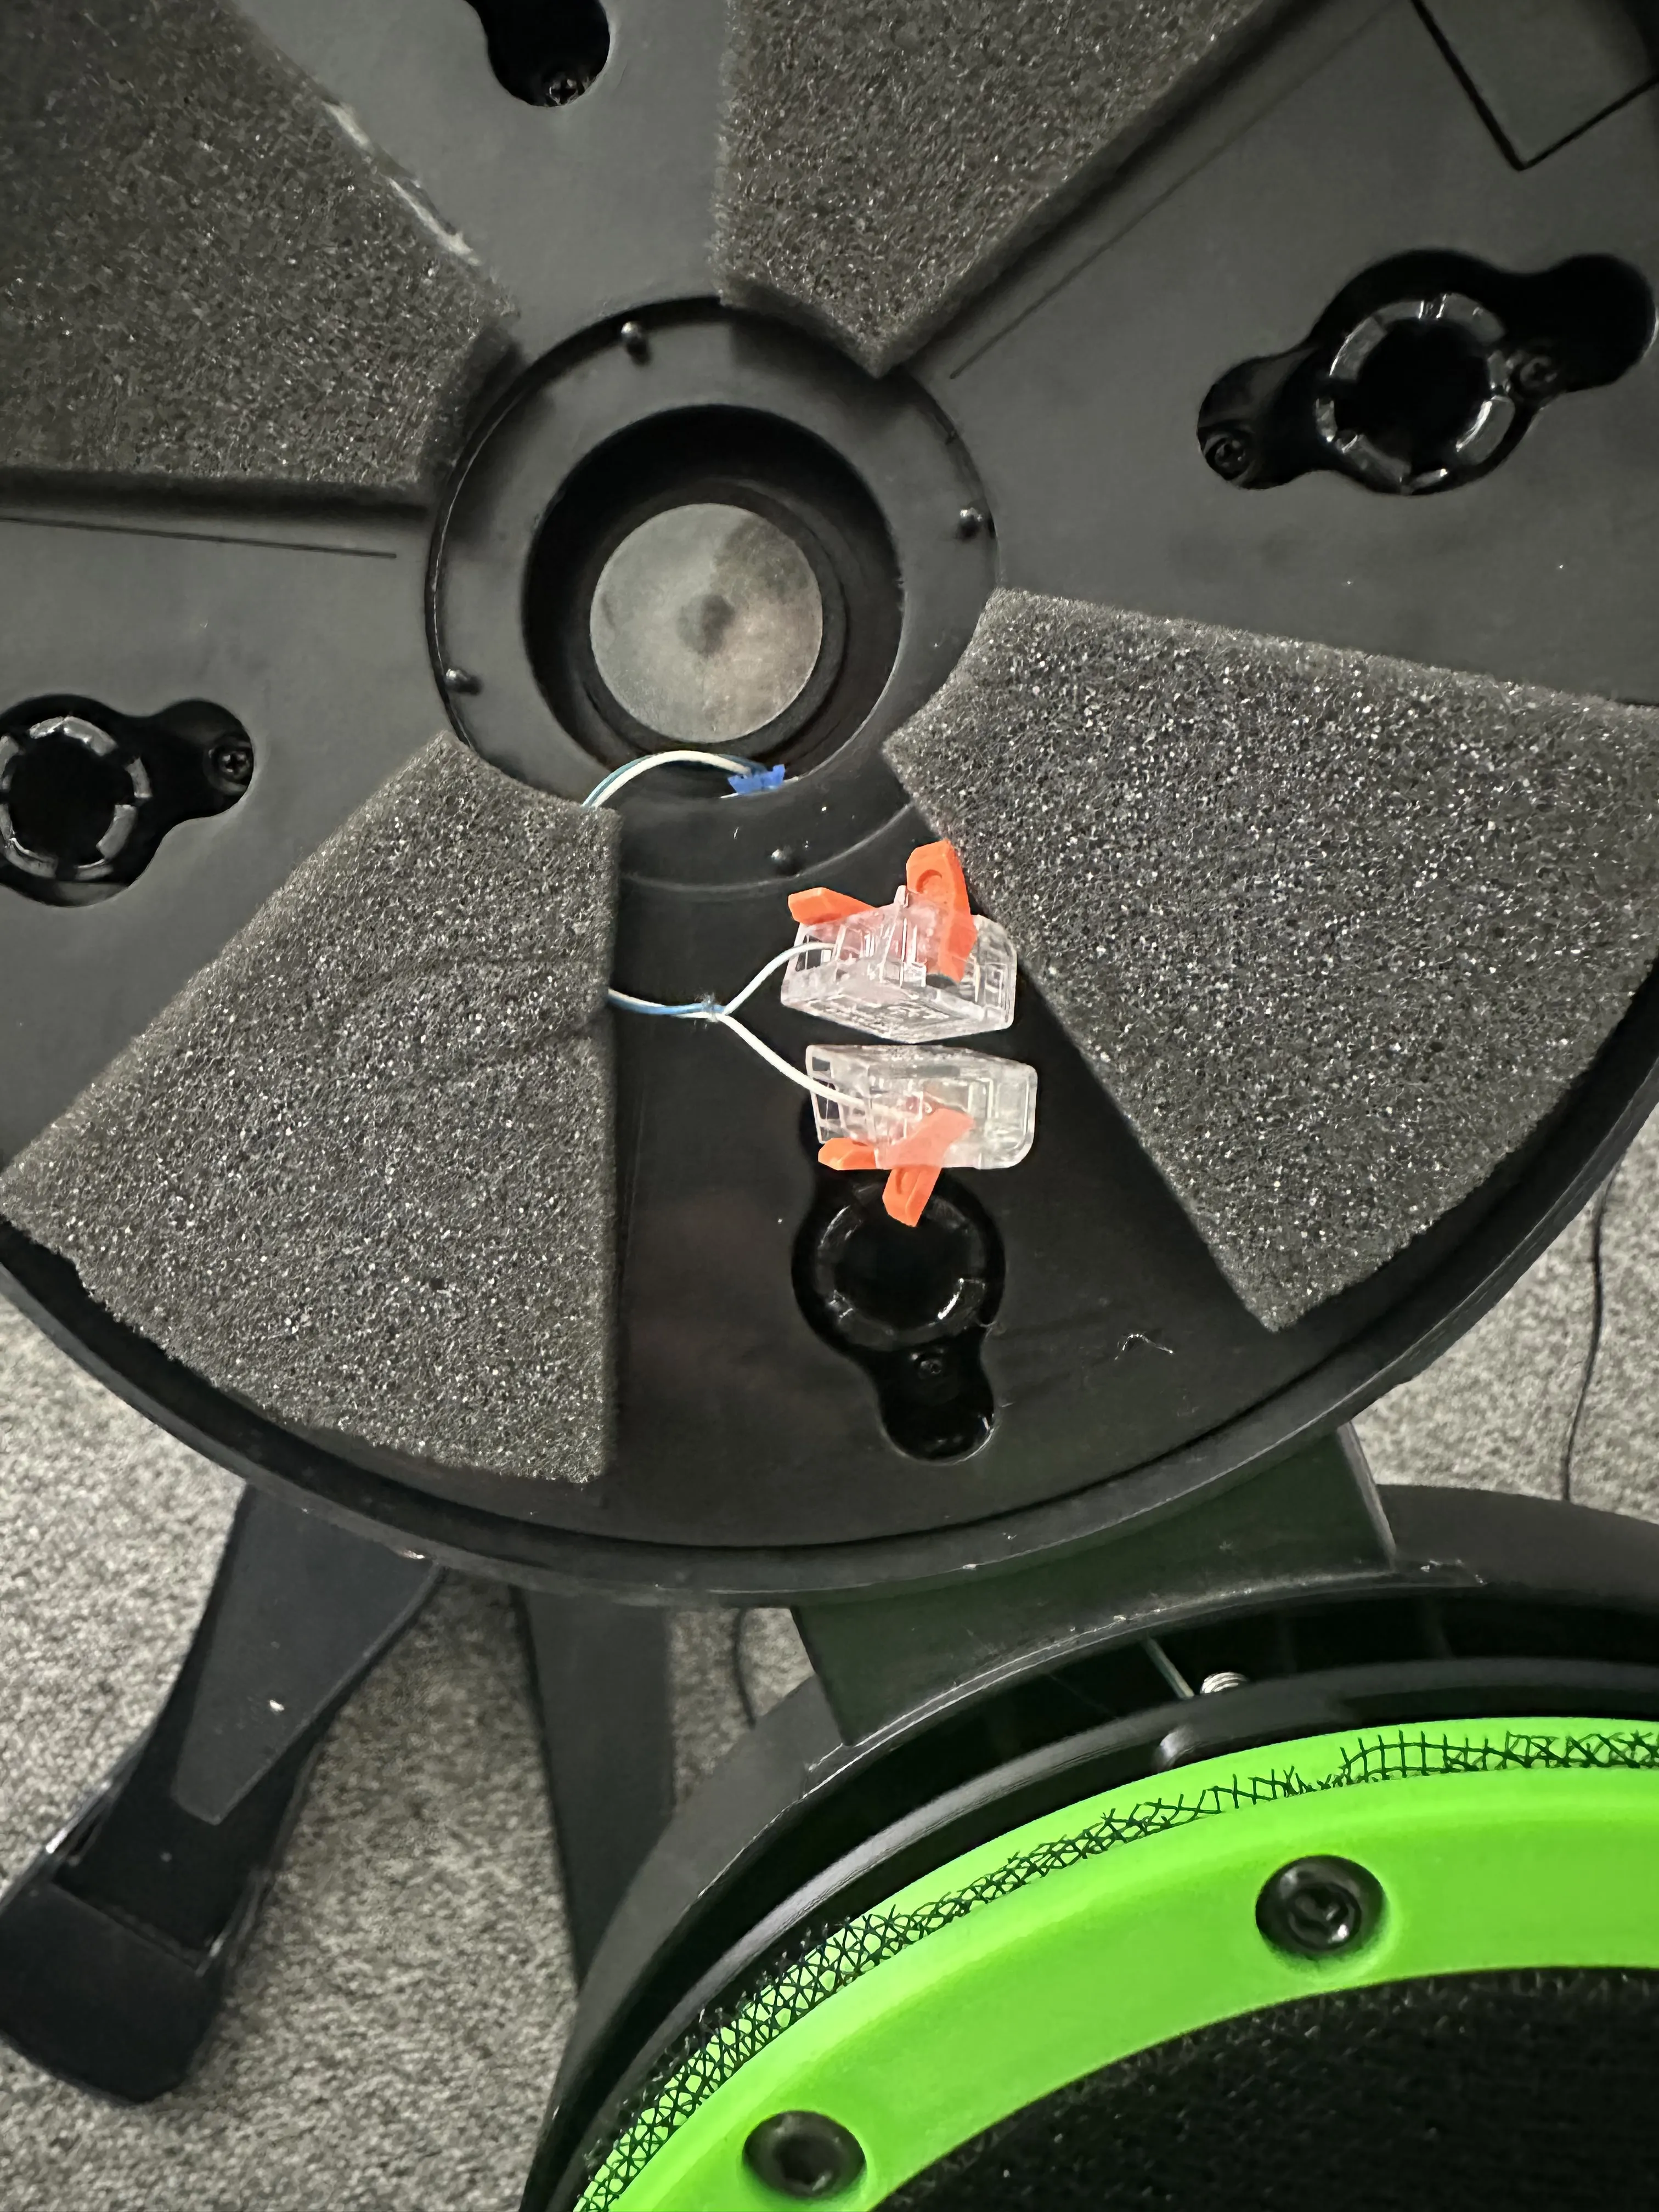
8. Unscrew the rubber peg mounts from the existing drums and fit the rubber pegs along with your new printed mounts to the base of the drum. 8 off M5 x 8 coutersunk bolts.
9. Secure your new wires into the WAGO connectors/join the wires how you see fit.
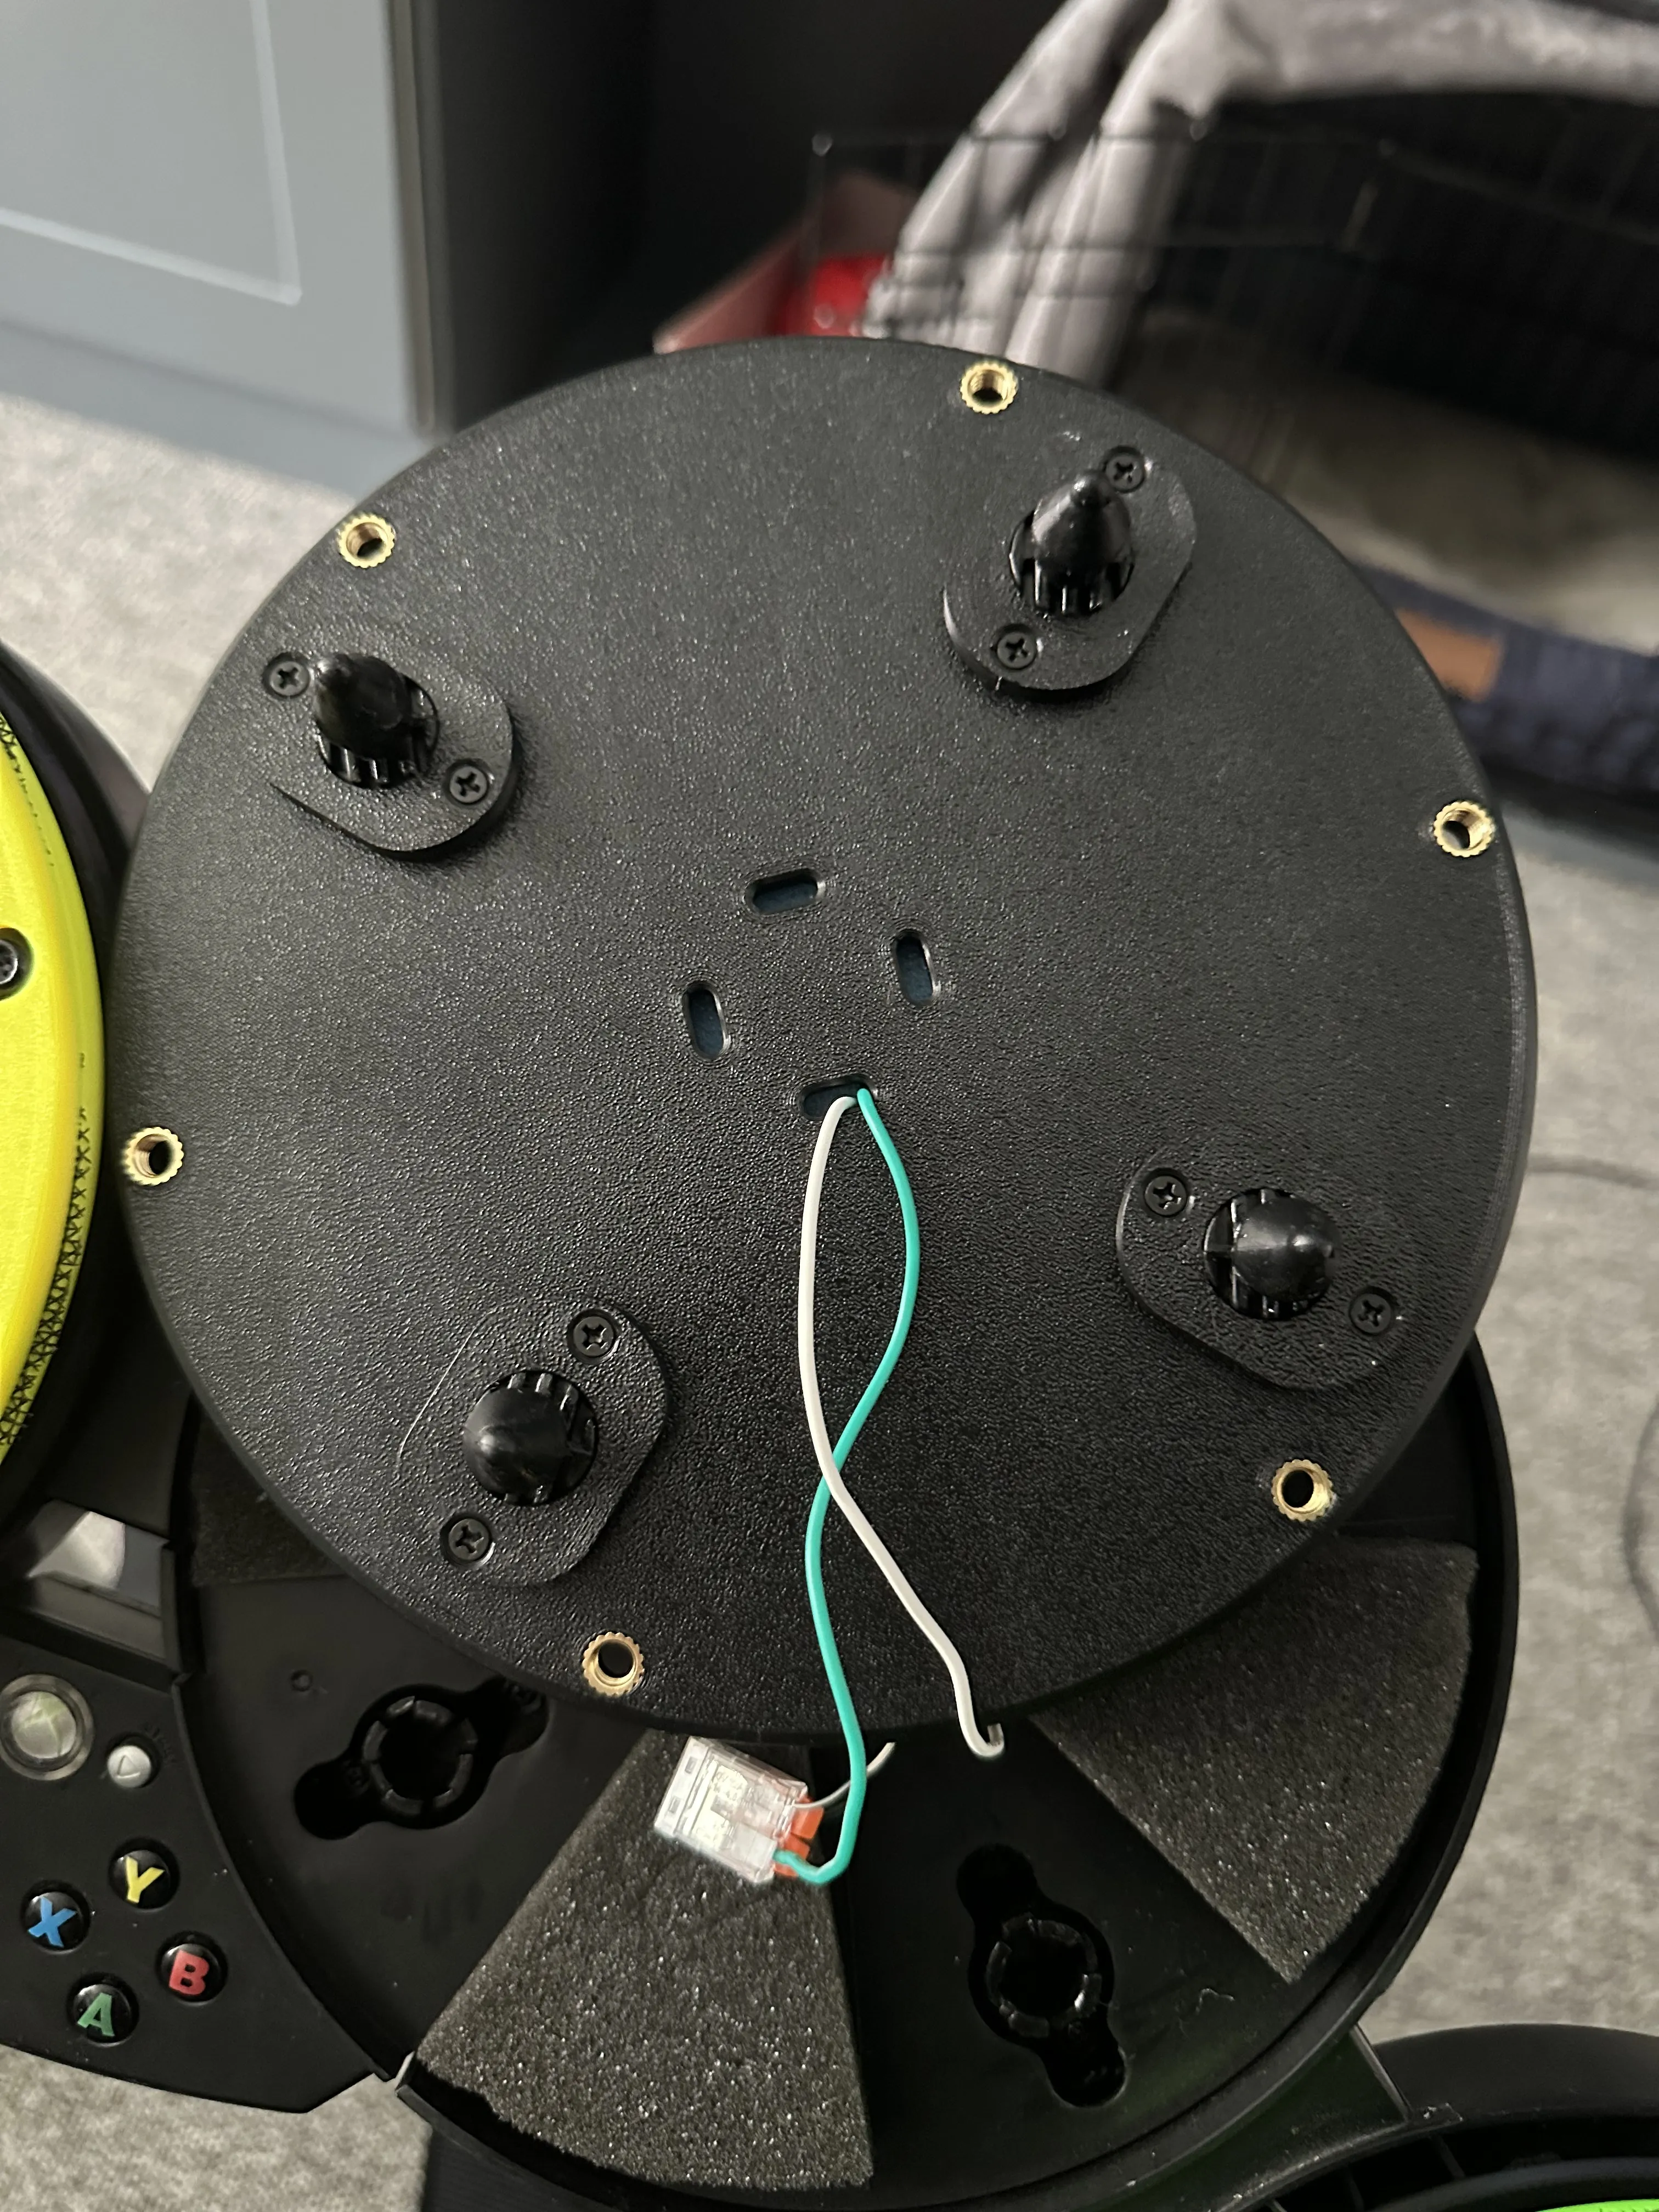
10. Cut mesh into squares larger than your drum skin rings, you can use 1 or 2 mesh squares for each drum, I would recommend 2. Place them over the bottom ring. Place your top ring on top and line up the holes. Using 6 off M6 x 10 button head bolts secure the 2 rings together ensuring you use the threaded inserts in the bottom ring (The mesh does not have to be very tight!!). This is based on the GoodWood mods technique seen here (2 meshes should be placed at 45° to each other):
11. Place the completed mesh ring on top of your drum and using 6 off M6 x 25 button head bolts in the remaining holes, join the mesh ring to the drum. Screwing the bolts down further will increase the tension on the mesh ring, try your best to do this evenly.
12. Push the new drums into the kit using the rubber pegs, ensuring they are located correctly and your wiring is not in the way.
13. ROCK OUT!
Note: You may find that your foam is on the bottom of the drum you remove rather than within the kit, if that is the case you will need to either recover that foam and use it again or insert your own “soft” foam.
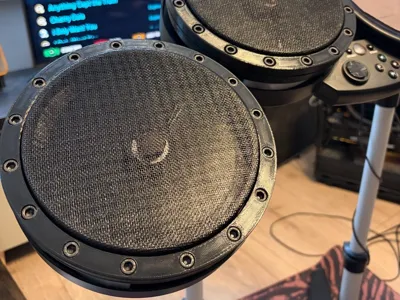
This remix is based on

License

You may create derivative works based on this object, provided that all such derivative works are published exclusively on the MakerWorld platform and include proper attribution to the original creator. You may not share, upload, host, distribute, or publish this object—or any derivative work of this object—on any other digital platform, marketplace, or distribution channel. Commercial use of this object and any derivative works is strictly prohibited. This includes, but is not limited to, selling, renting, sublicensing, or using the object in any context in which you receive monetary compensation or other financial benefits.


Comment & Rating (1)