
Mesh Print Pattern for Art and Creative Projects
Print Profile(1)
Bill of Materials
.jpg)






Description
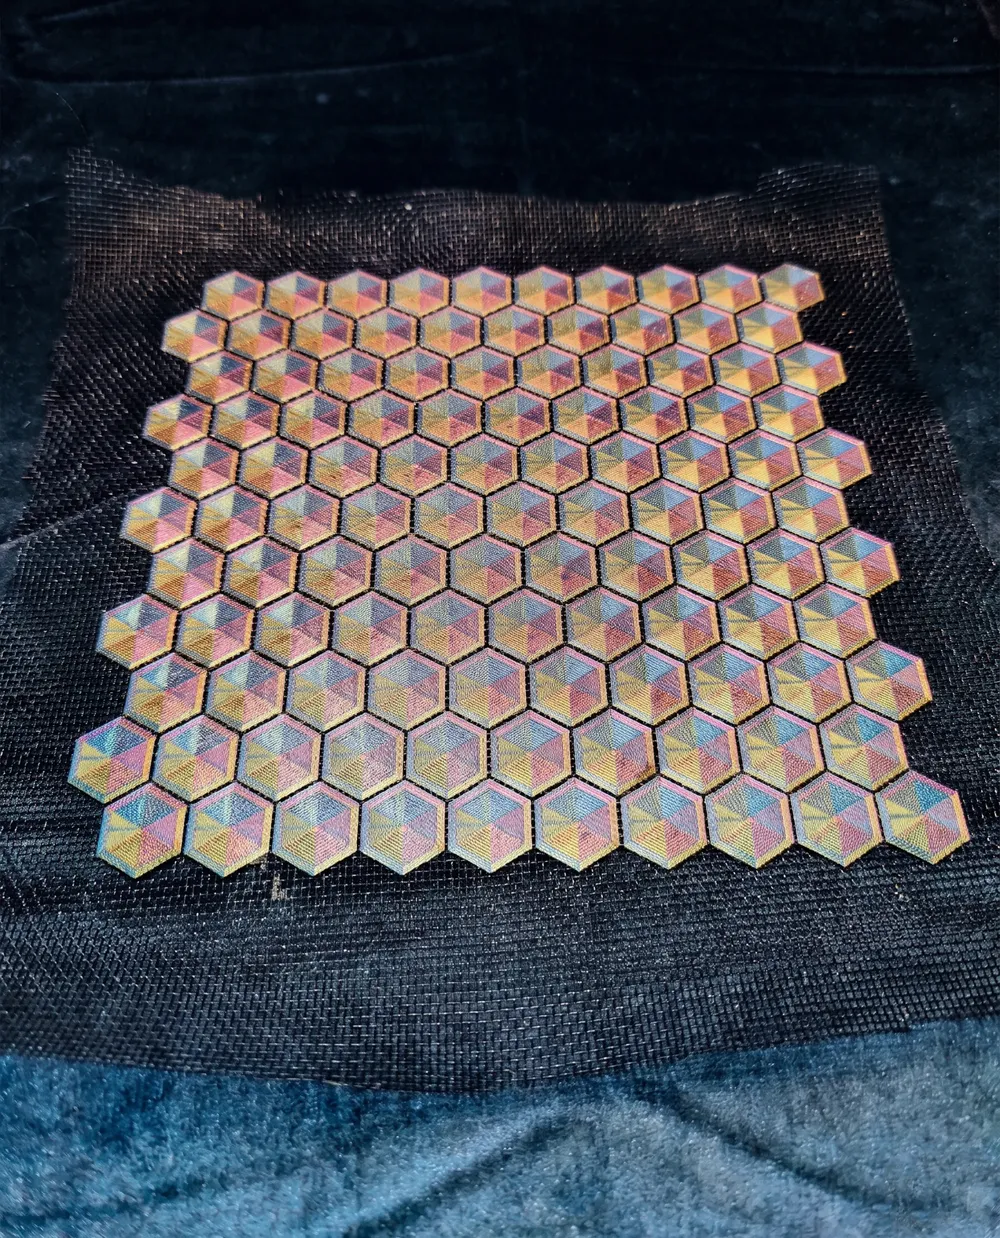
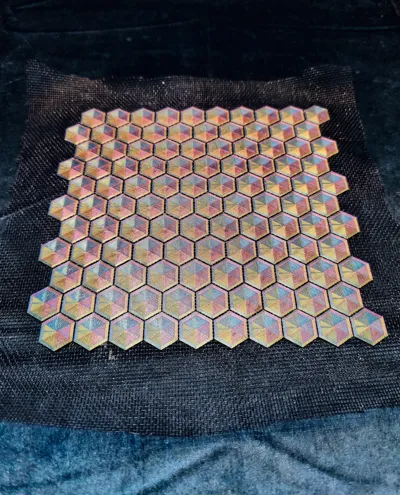
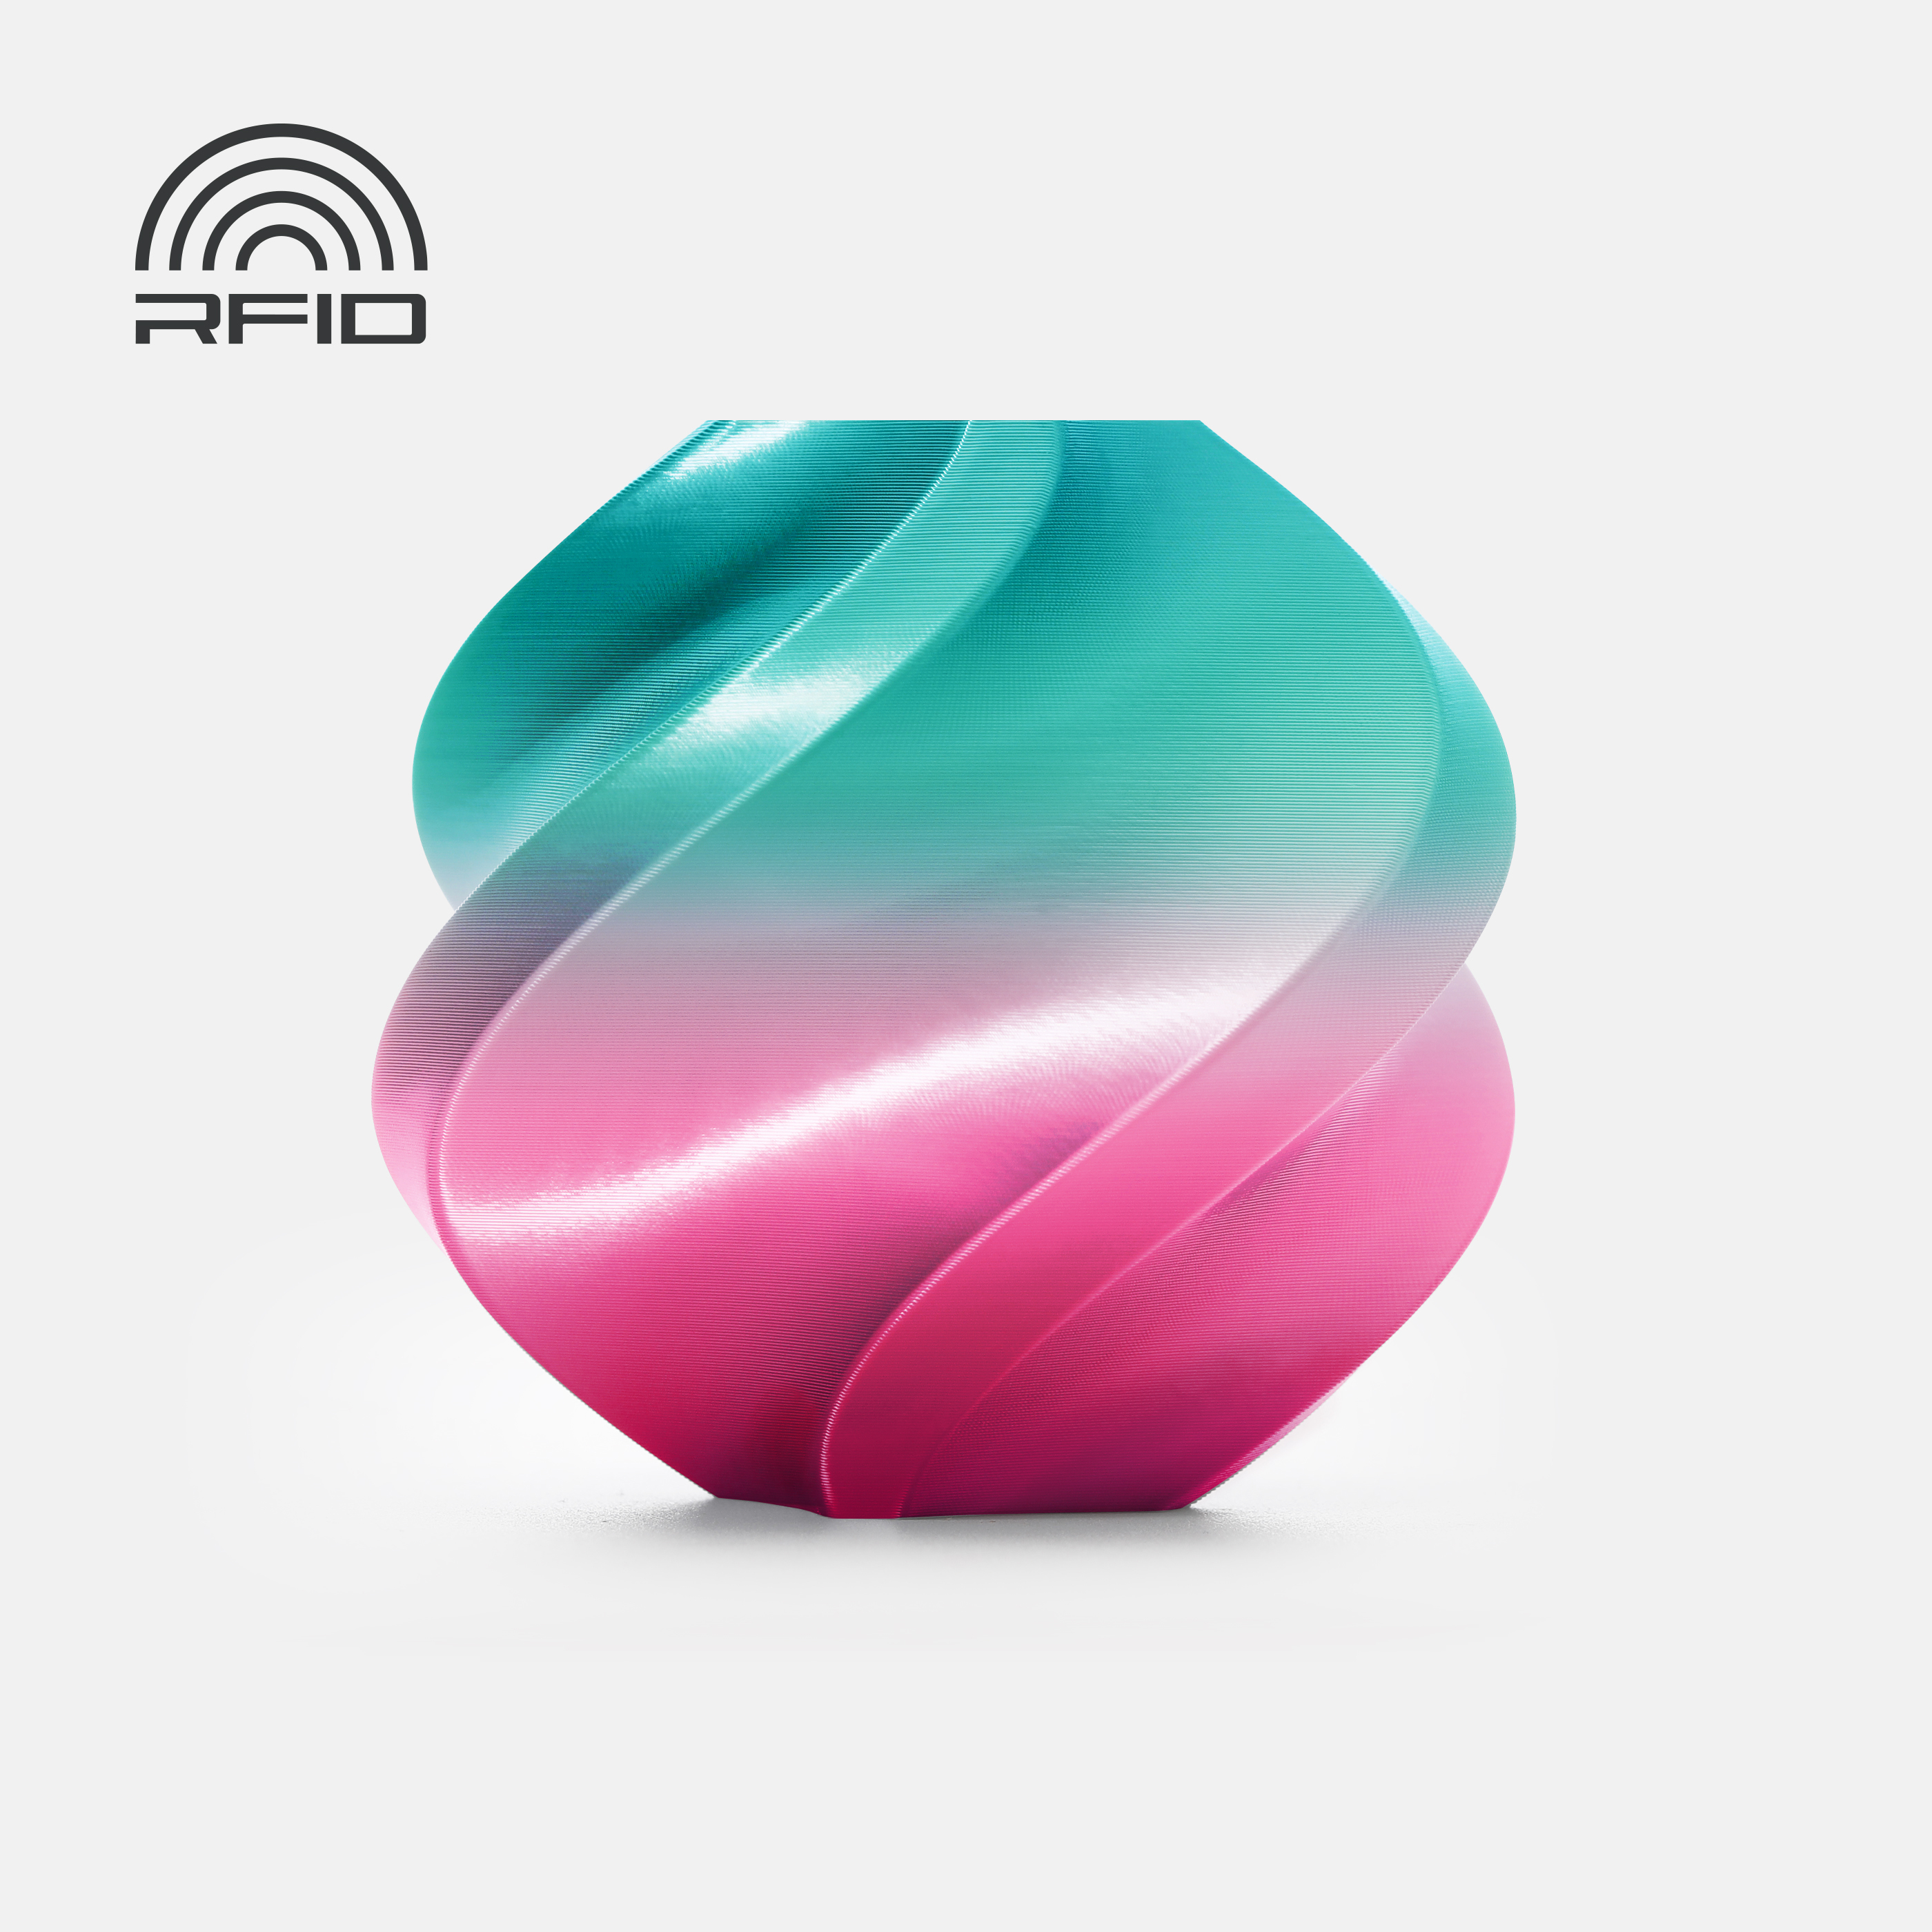
🎨 Mesh Print / 3D-Fabric Pattern (Multicolor Silk)
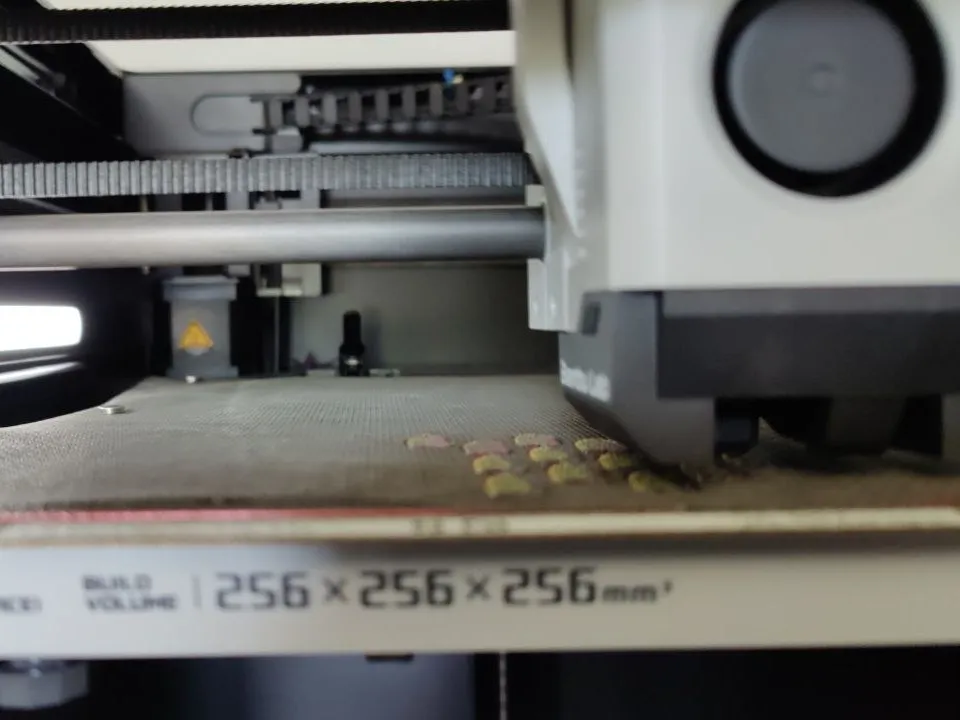
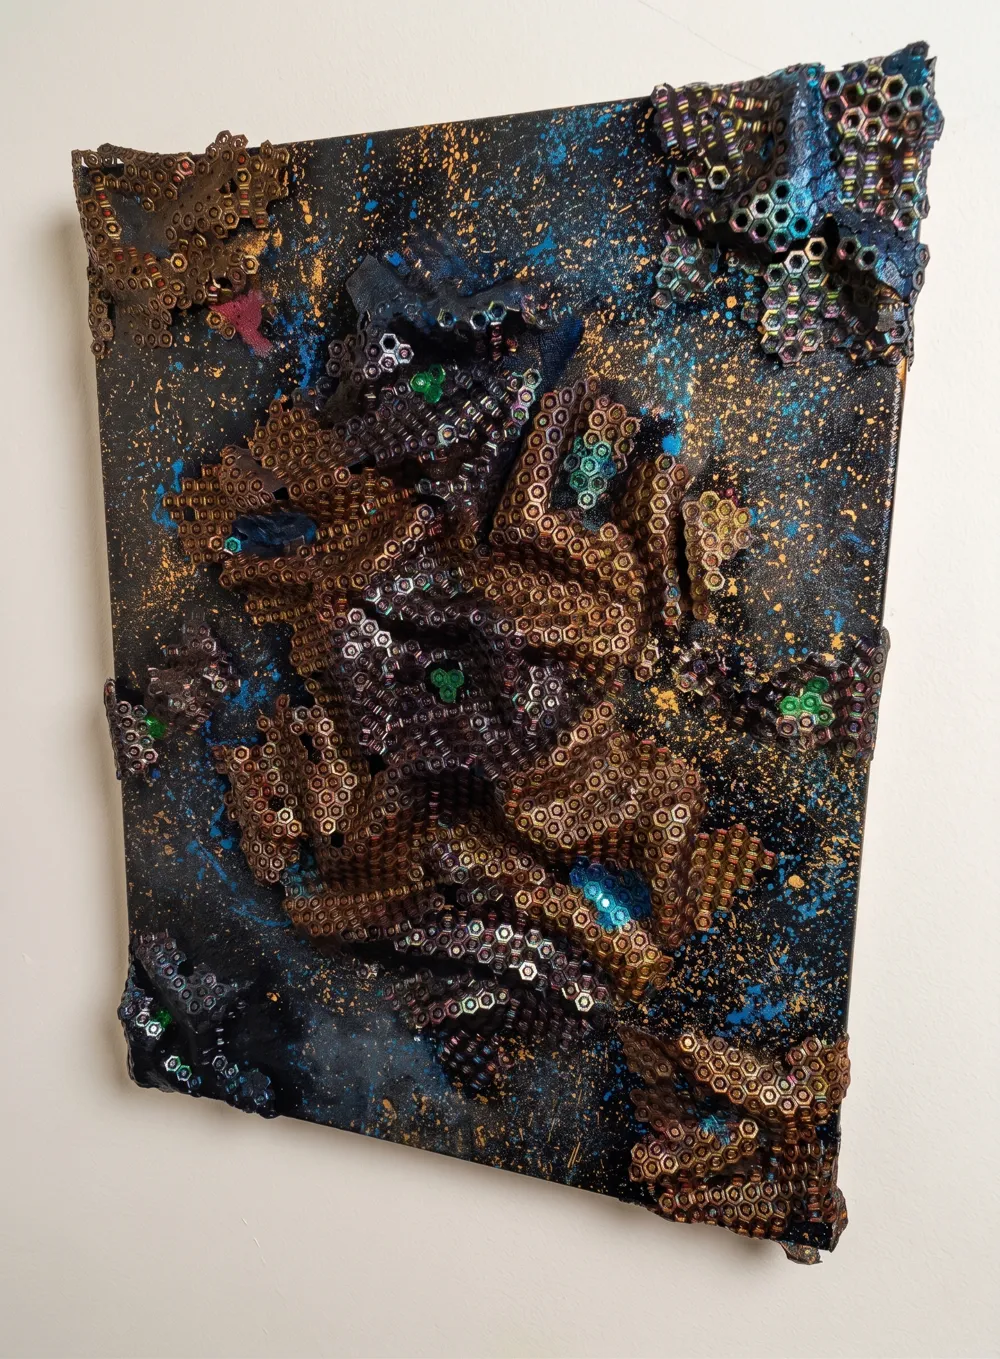
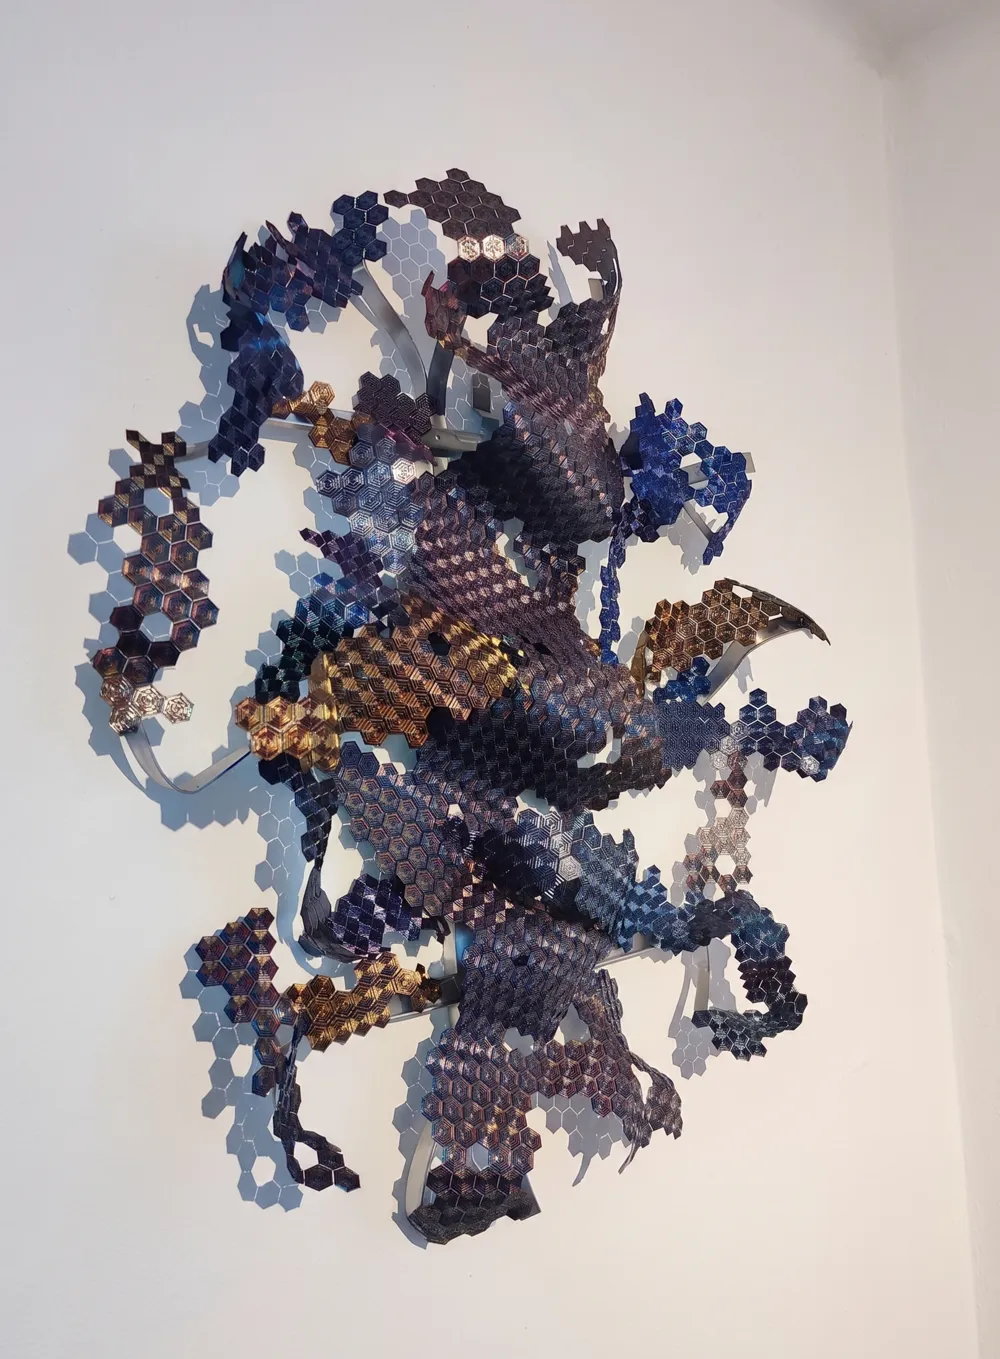
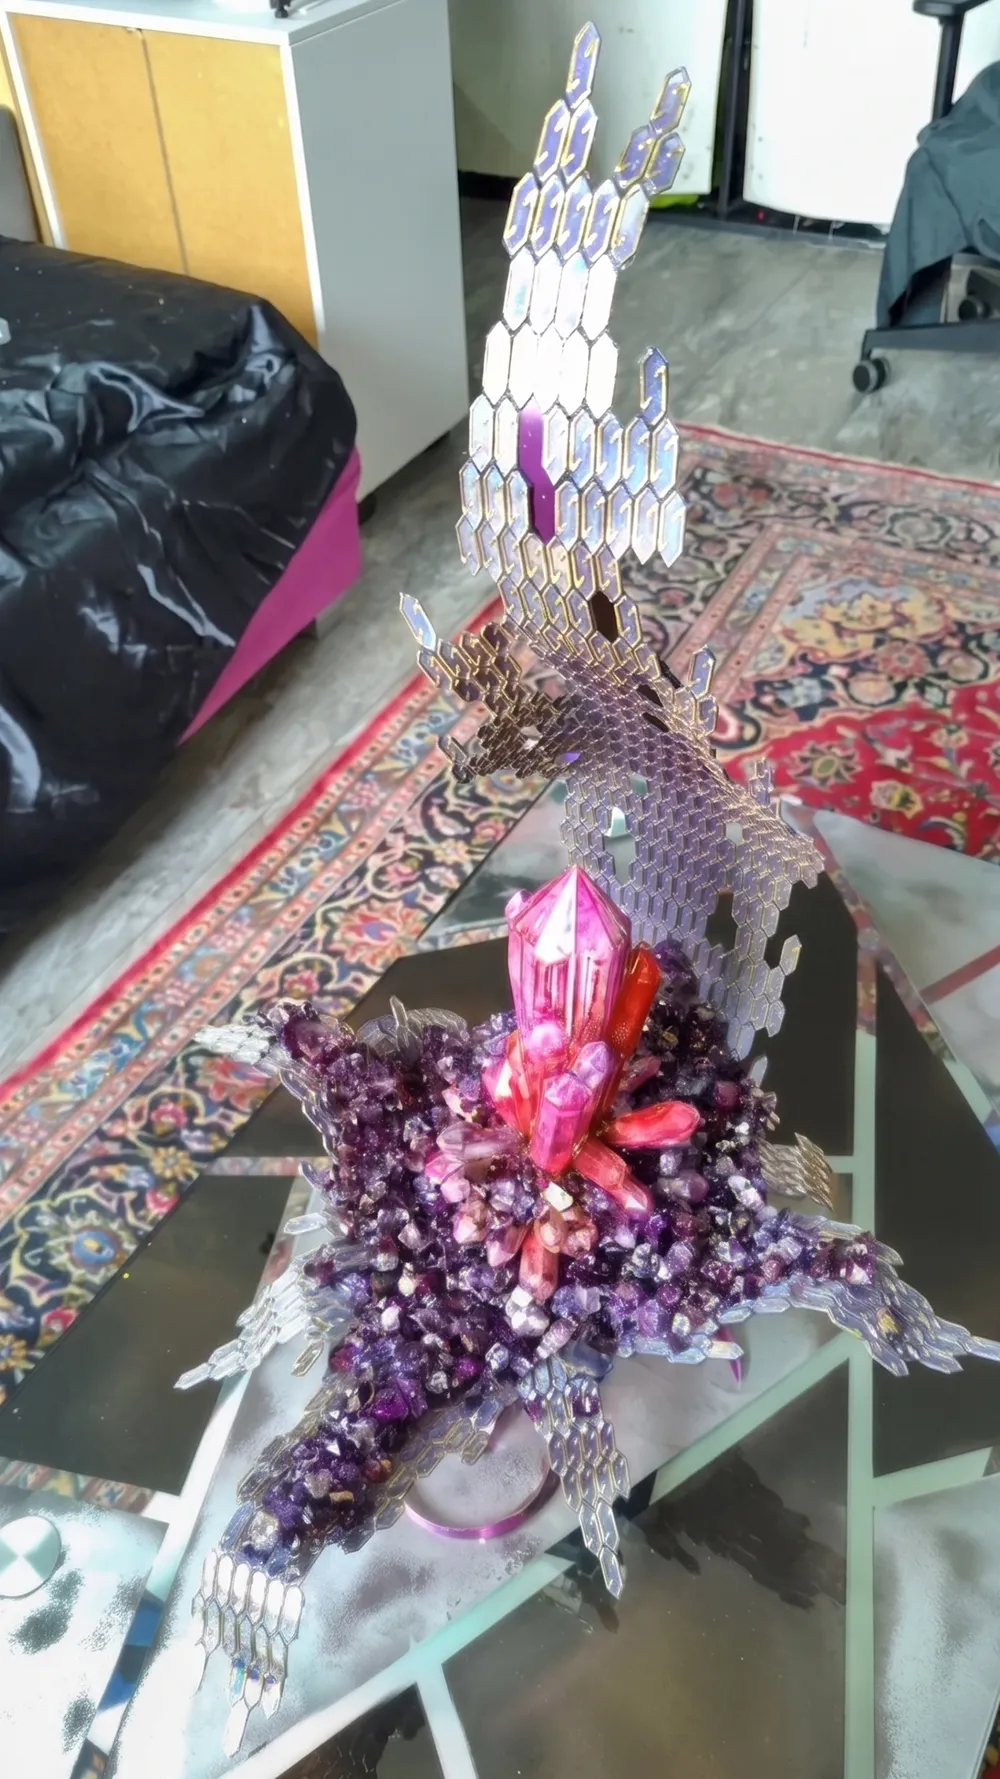
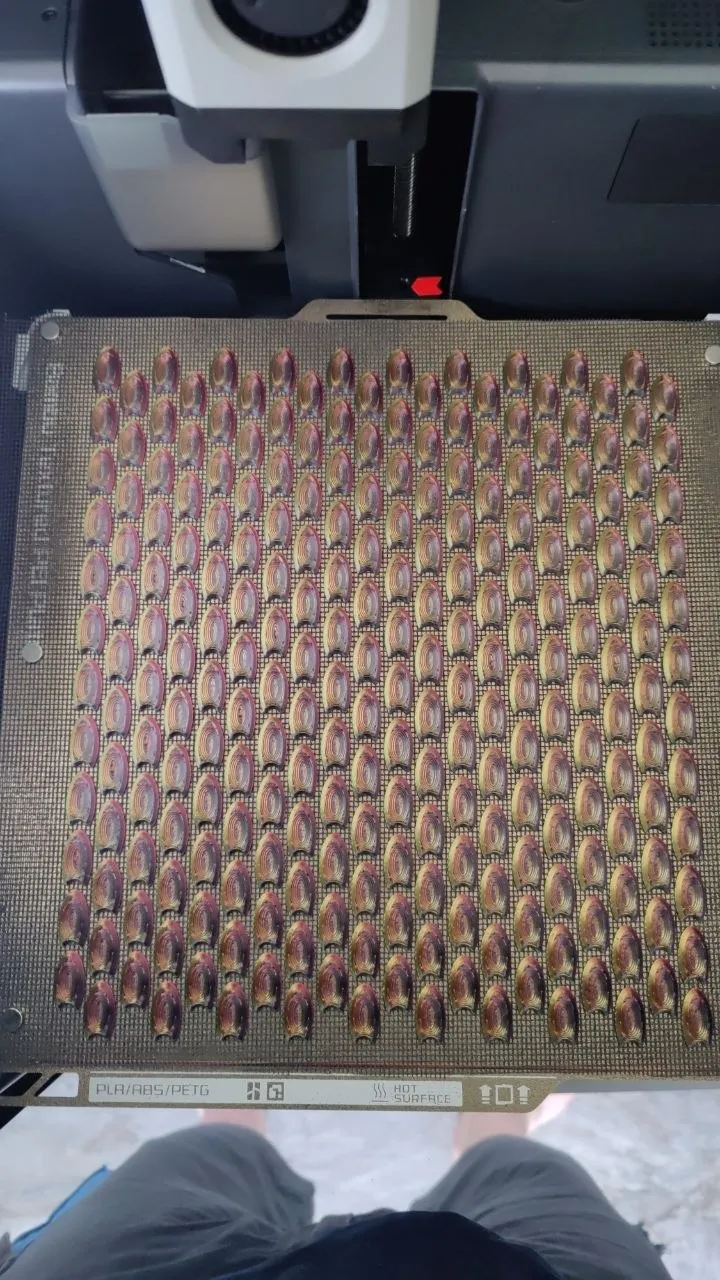
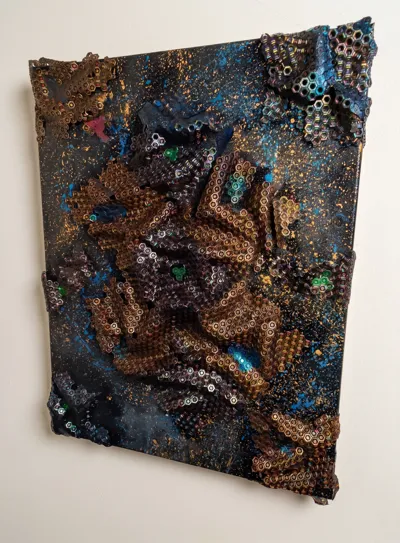
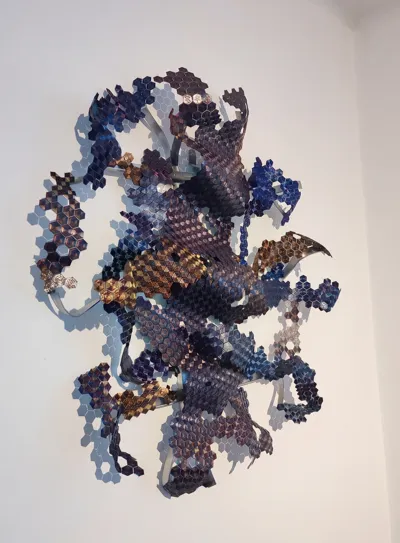
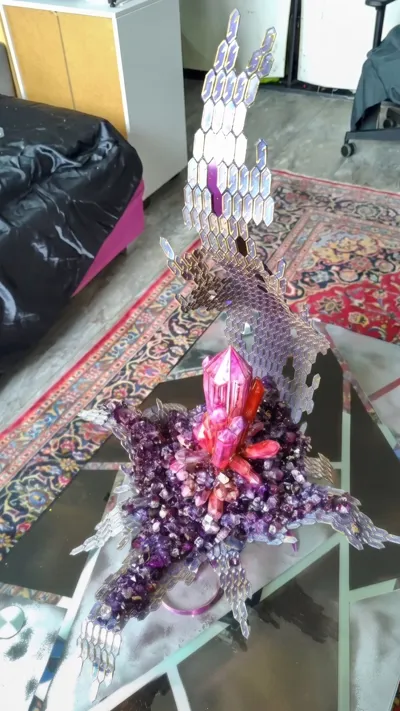
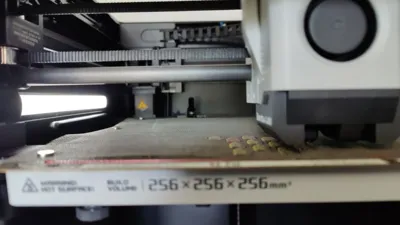
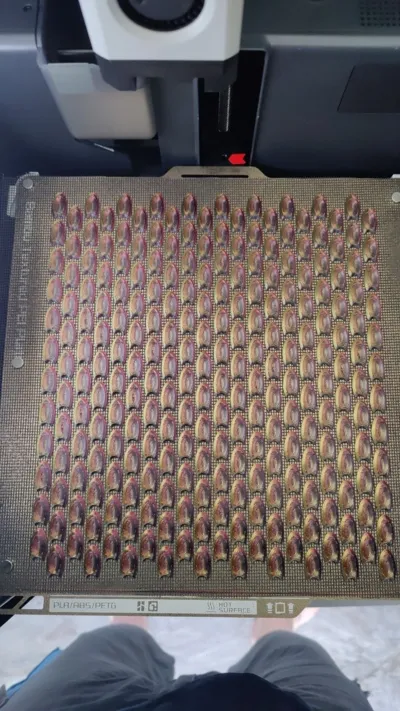
Create flexible, fabric-like structures directly on your 3D printer! By inserting a fiberglass screen mesh during the printing process, the individual PLA elements connect to form a robust, flexible mat. Perfect for cosplay, bags, jewelry, or modern art objects.
🛠 What you need:
- Filament: Multicolor Silk PLA (for the best visual effect and sheen).
- Mesh: Fiberglass screen mesh (standard mesh size).
- Accessories: Flat neodymium magnets for fixation, soldering iron.
📖 Instructions (Step-by-step):
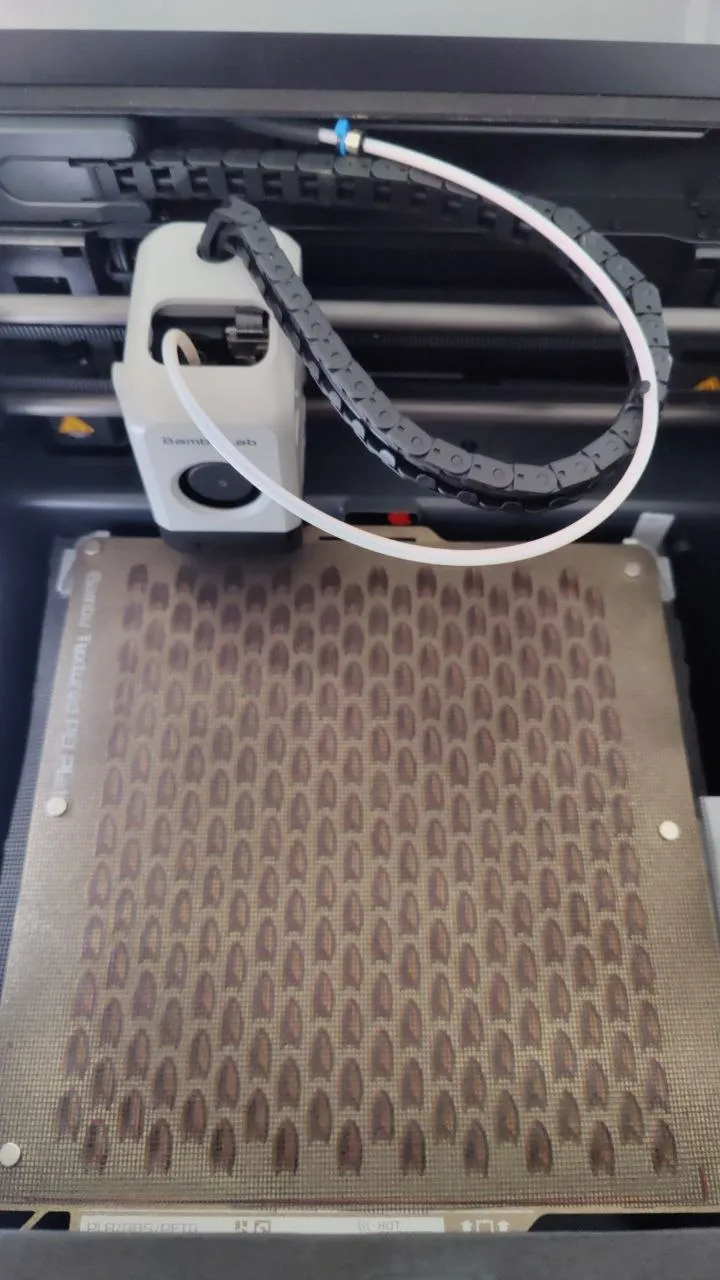
- Preparation: Generously cut the screen mesh to the size of your print bed (or model).
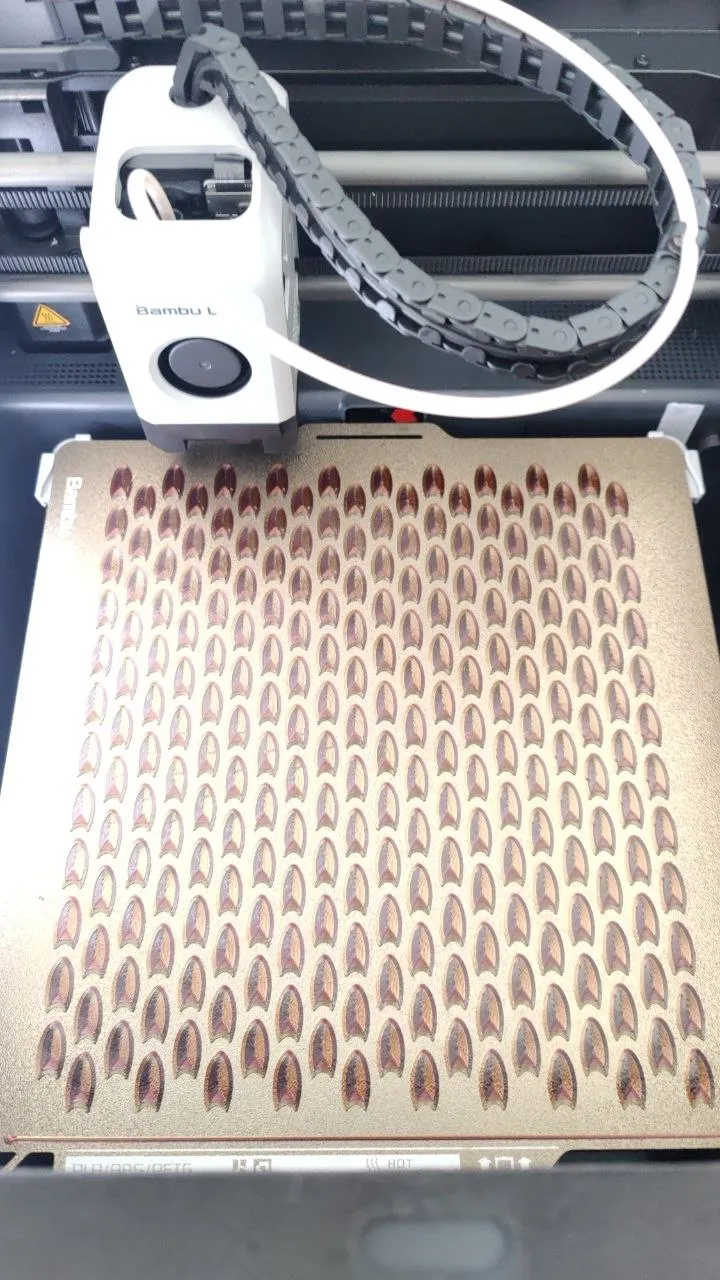
- Slicer Setting: In your slicer (e.g., Bambu Studio or OrcaSlicer), insert a Pause at the 2nd layer height.
- The Insertion Process:
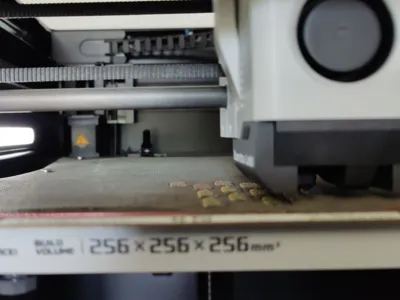
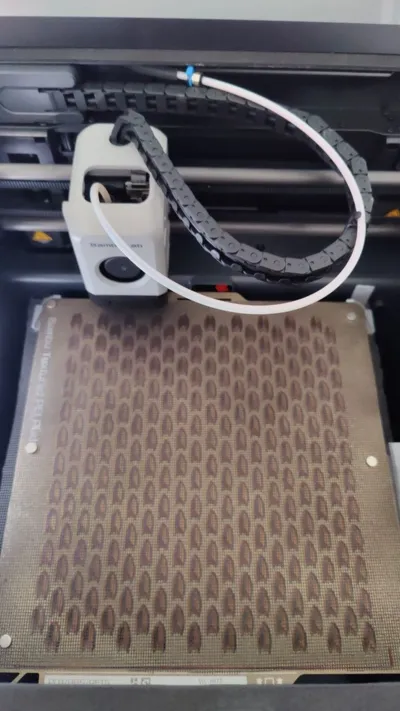
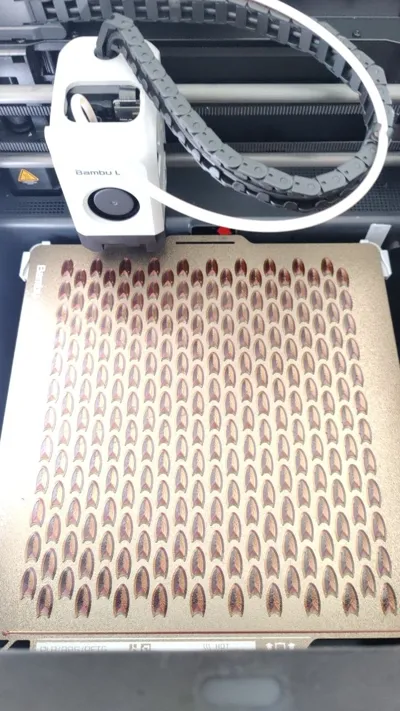
- Once the printer pauses, carefully place the mesh over the already printed first layer.
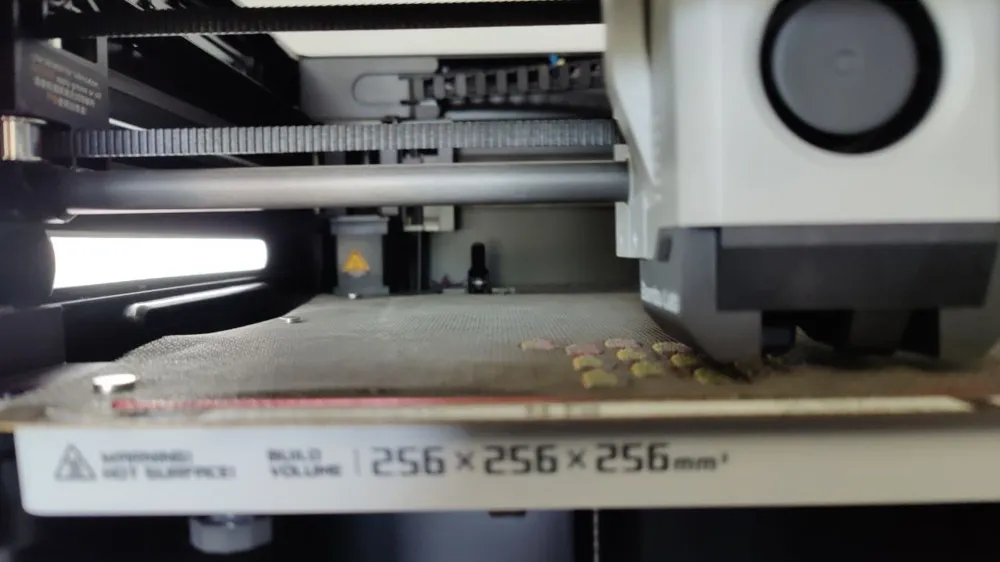
- Important: Smooth out the mesh completely. Fix the edges with flat magnets on the print plate so that the print head does not get caught.
- Continue Printing: Resume printing. The filament will now be printed through the mesh and fuse with the lower layers, thereby "encasing" the mesh.
- Post-processing: After printing, you can simply trim off any excess mesh.
💡 Pro Tip: If you want to create larger areas from multiple prints, you can carefully fuse the individual elements on the back with a soldering iron. The fiberglass mesh is heat-resistant enough to act as a bridge!
⚙️ Recommended Print Settings:
- Layer Height: 0.24mm.
- First Layer: Print slowly (approx. 30mm/s) to ensure good adhesion to the mesh.
- Z-Hop: Activate to prevent snagging on the mesh during travel moves.
Have fun experimenting with colors and textures! Feel free to show your results in the comments.
Boost Me (for free)
Get Creative
License

You may create derivative works based on this object, provided that all such derivative works are published exclusively on the MakerWorld platform and include proper attribution to the original creator. You may not share, upload, host, distribute, or publish this object—or any derivative work of this object—on any other digital platform, marketplace, or distribution channel. Commercial use of this object and any derivative works is strictly prohibited. This includes, but is not limited to, selling, renting, sublicensing, or using the object in any context in which you receive monetary compensation or other financial benefits.


Comment & Rating (0)