
Micro:bit Crane
Print Profile(1)
Description
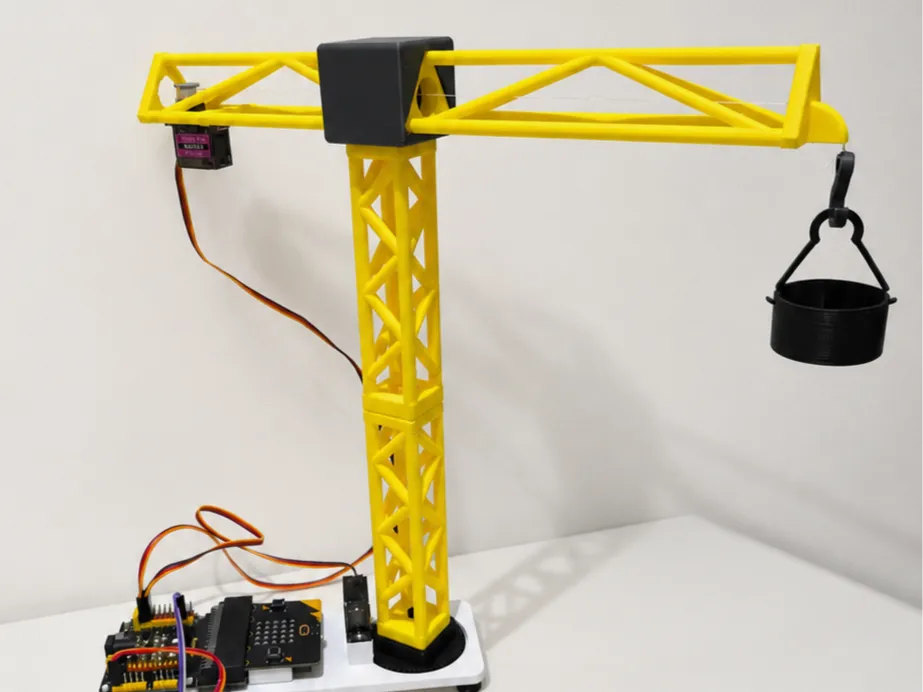
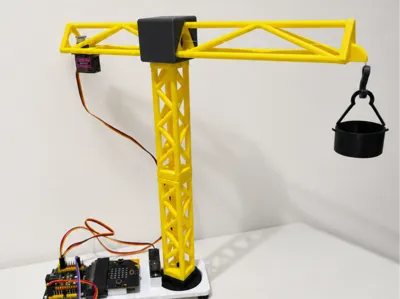
Micro:bit Controlled STEAM Tower Crane
Overview
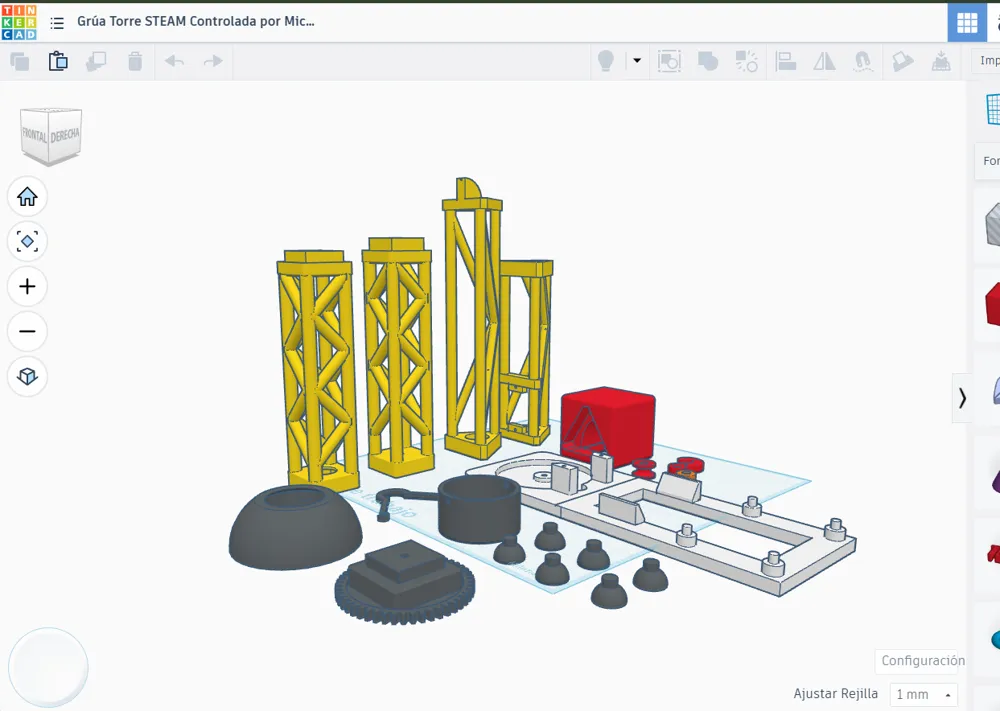
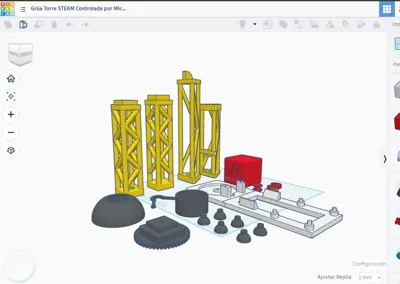
This project consists of a functional tower crane designed entirely in Tinkercad. It is an ideal educational tool for learning about structures, rotation mechanisms, pulleys, and basic servomotor programming.
The crane allows for rotational movement and a lifting system via a motorized winch, all interactively controlled using a joystick and the BBC Micro:bit board.
Key Features
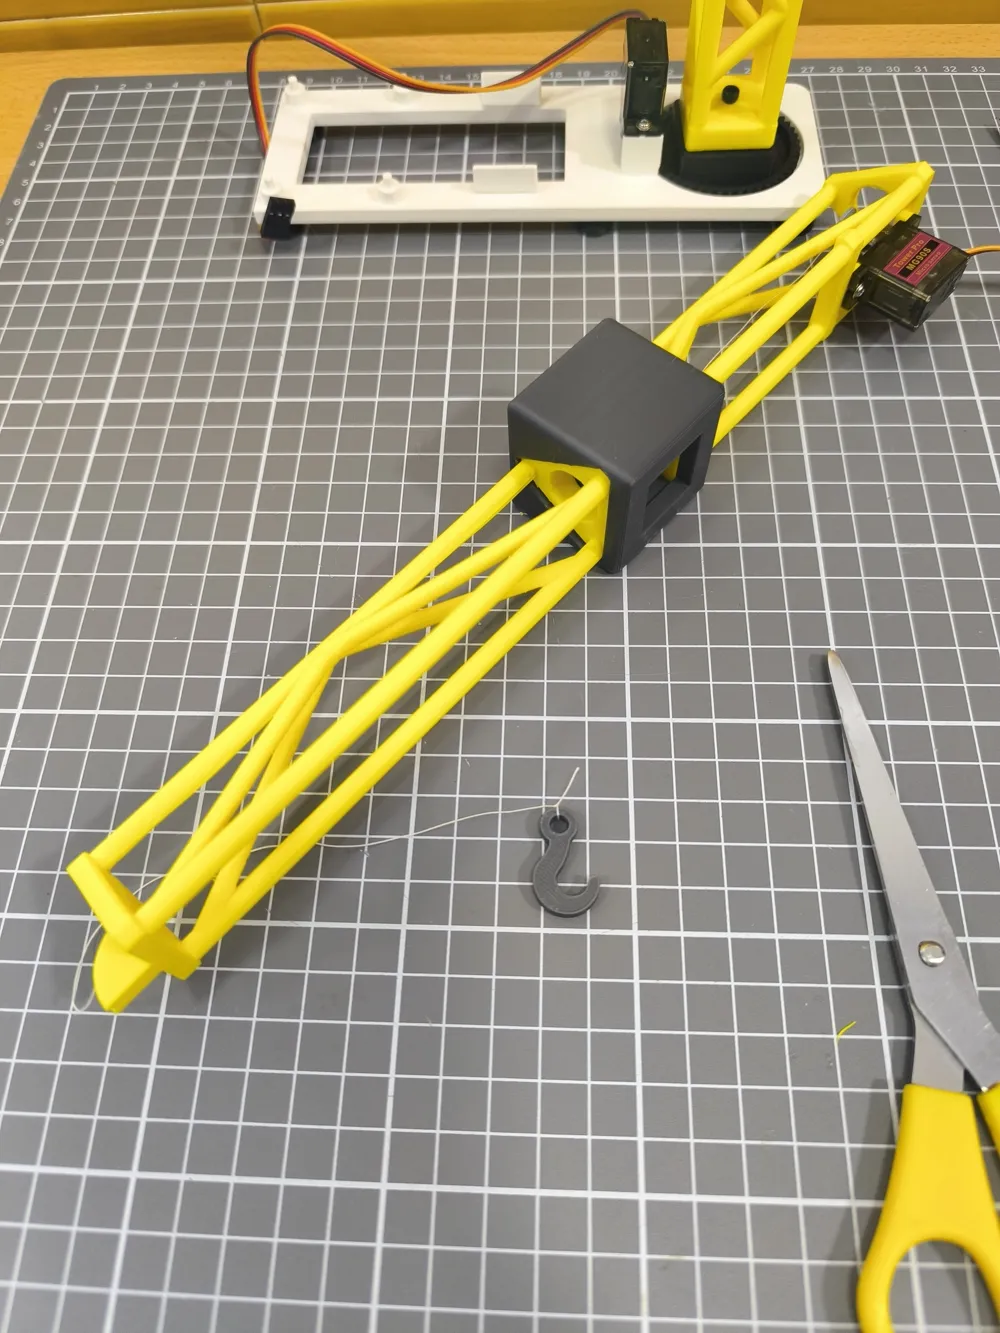
- Modular Design: The tower and boom are divided into sections to facilitate printing and allow for different heights.
- Precise Control: It uses two servomotors to manage the rotation of the base and the lifting hook.
- User-Friendly Interface: Controlled via an analog joystick connected to an expansion board for Micro:bit.
- Easy Assembly: The parts are designed to fit together with minimal additional hardware (standard M3 screws).
Materials List
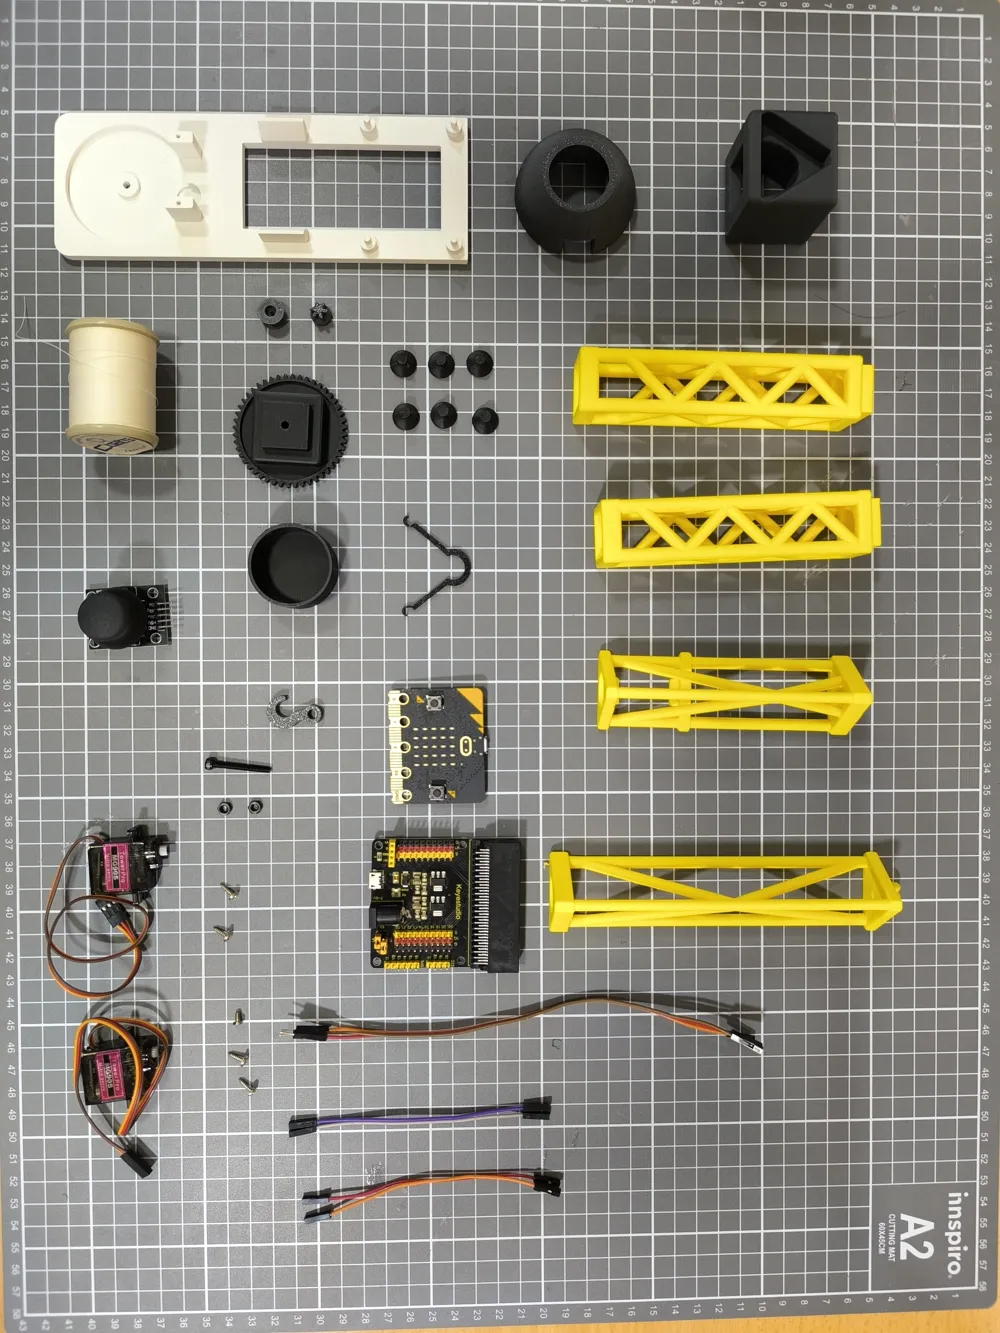
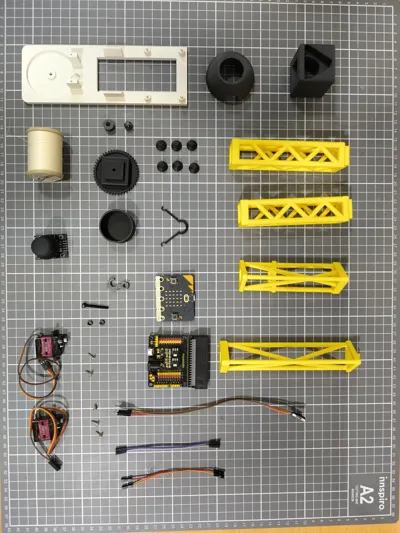
3D Printed Parts:
- Main support base.
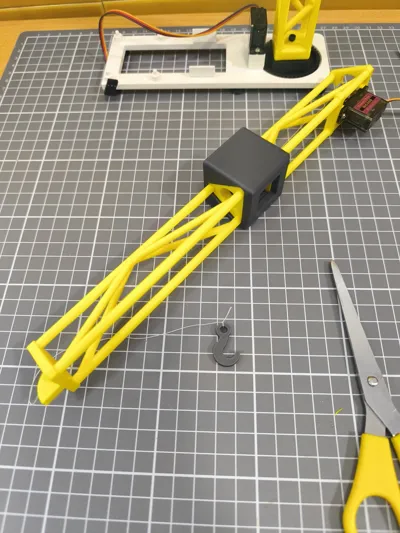
- Tower sections (x2) and boom section (x2).
- Rotation gear and motor mount.
- Winch (spool for the thread).
- Hook and counterweight/bucket.
Electronics and Hardware:
- 1x BBC Micro:bit (V2).
- 1x Expansion board (Keyestudio type or similar to facilitate connections).
- 1x Analog joystick.
- 2x MG90s Servomotors (one for rotation, one for the winch).
- Nylon thread or strong cord.
- M3 screws and connection cables (jumpers).
- External battery or Power Bank.
Assembly and Programming Instructions
1. 3D Printing
- Material: PLA (Yellow for the structure, Black/Gray for the base and details).
2. Electronics
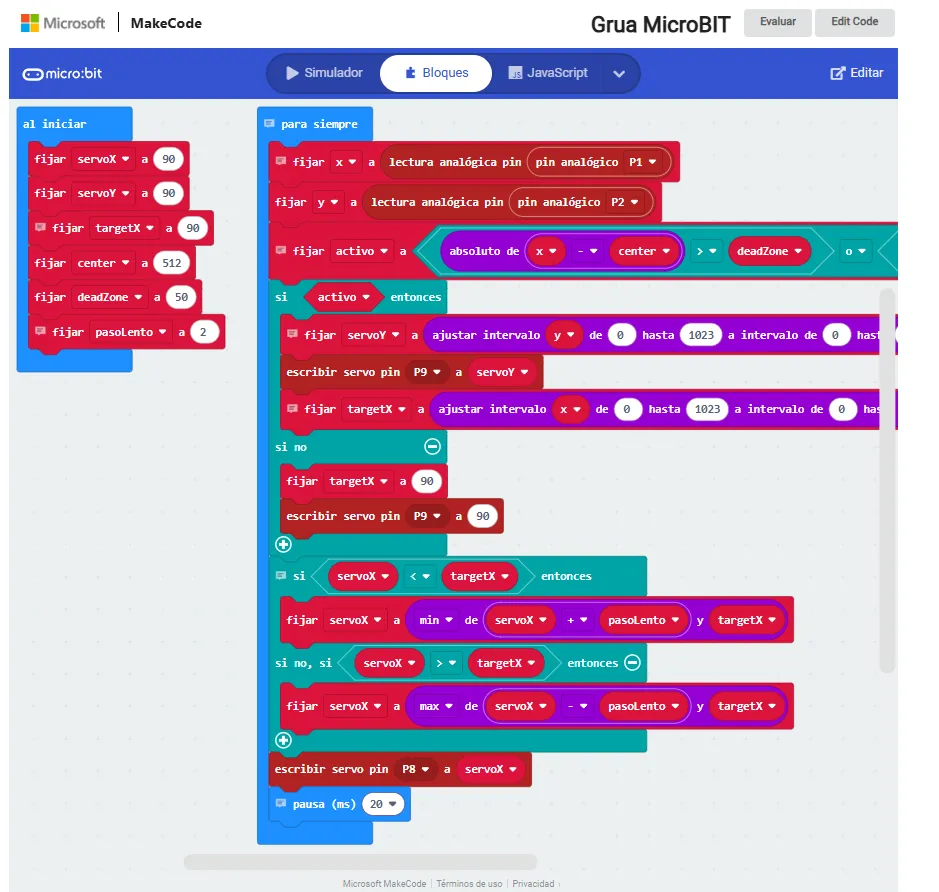
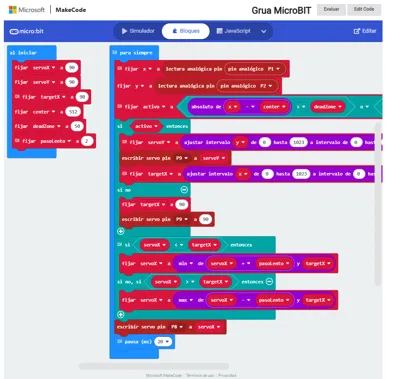
- Connect the rotation servo to Pin 8 of your expansion board.
- Connect the winch servo to Pin 9.
- Connect the X and Y axes of the Joystick to Analog Pins 1 and 2.
3. Code (MakeCode)
You can easily program the crane using blocks in Microsoft MakeCode.
- https://makecode.microbit.org/_71i8iHCU02TM
License

You shall not share, sub-license, sell, rent, host, transfer, or distribute in any way the digital or 3D printed versions of this object, nor any other derivative work of this object in its digital or physical format (including - but not limited to - remixes of this object, and hosting on other digital platforms). The objects may not be used without permission in any way whatsoever in which you charge money, or collect fees.


Comment & Rating (2)