
Modular Drawer Organizer with Interlocking System
Print Profile(1)
Bill of Materials

Description
🧩 Modular Drawer Organizer with Interlocking System
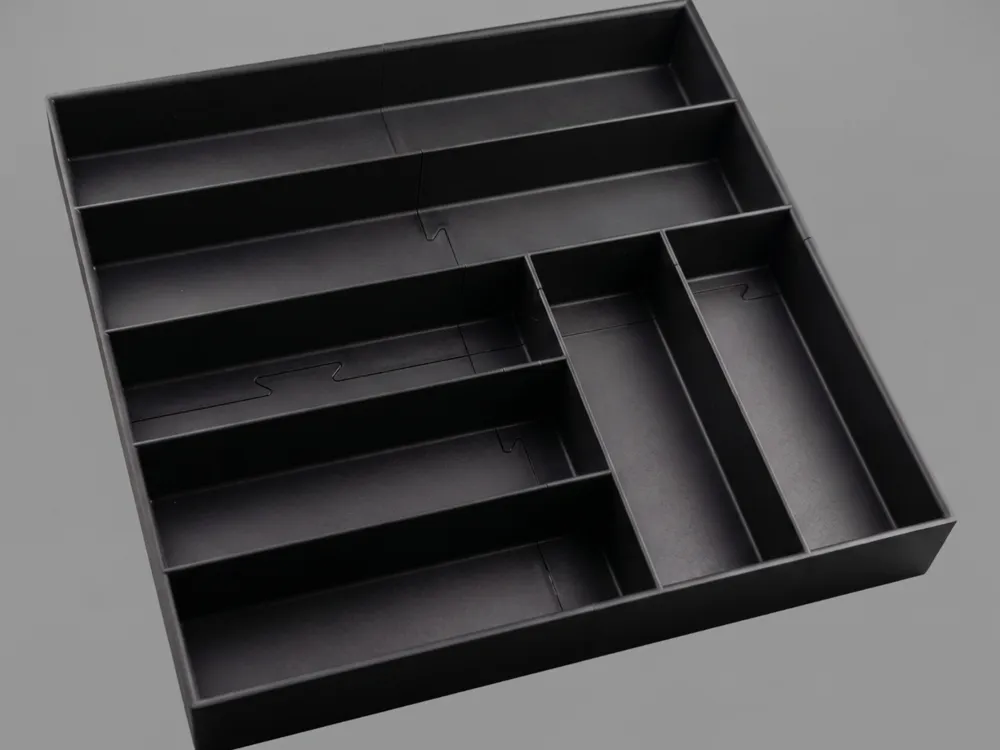
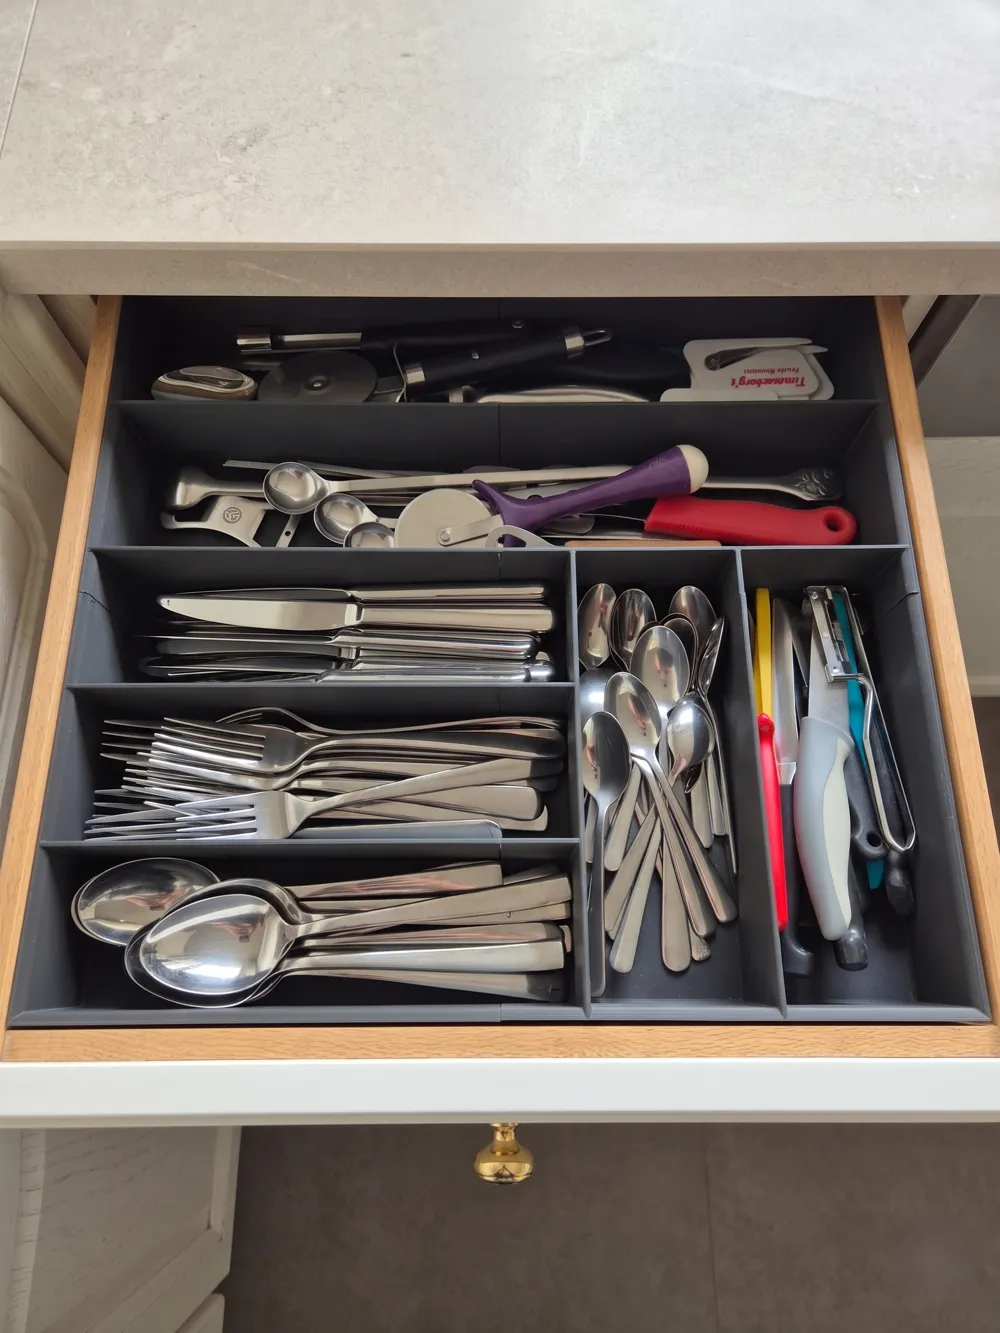
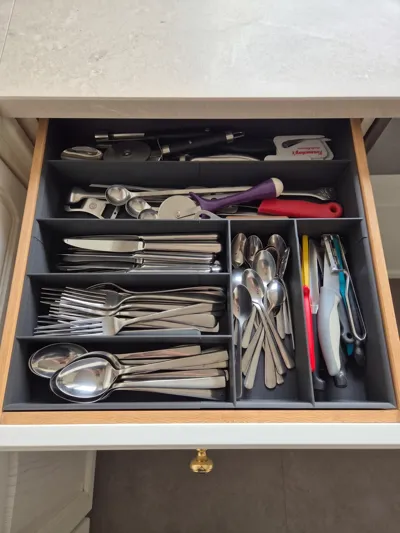
Finally bring order to your drawers! Whether in the kitchen for cutlery, in the office for pens and paper clips, or in the workshop for tools – this versatile, modular organizer is the perfect solution.
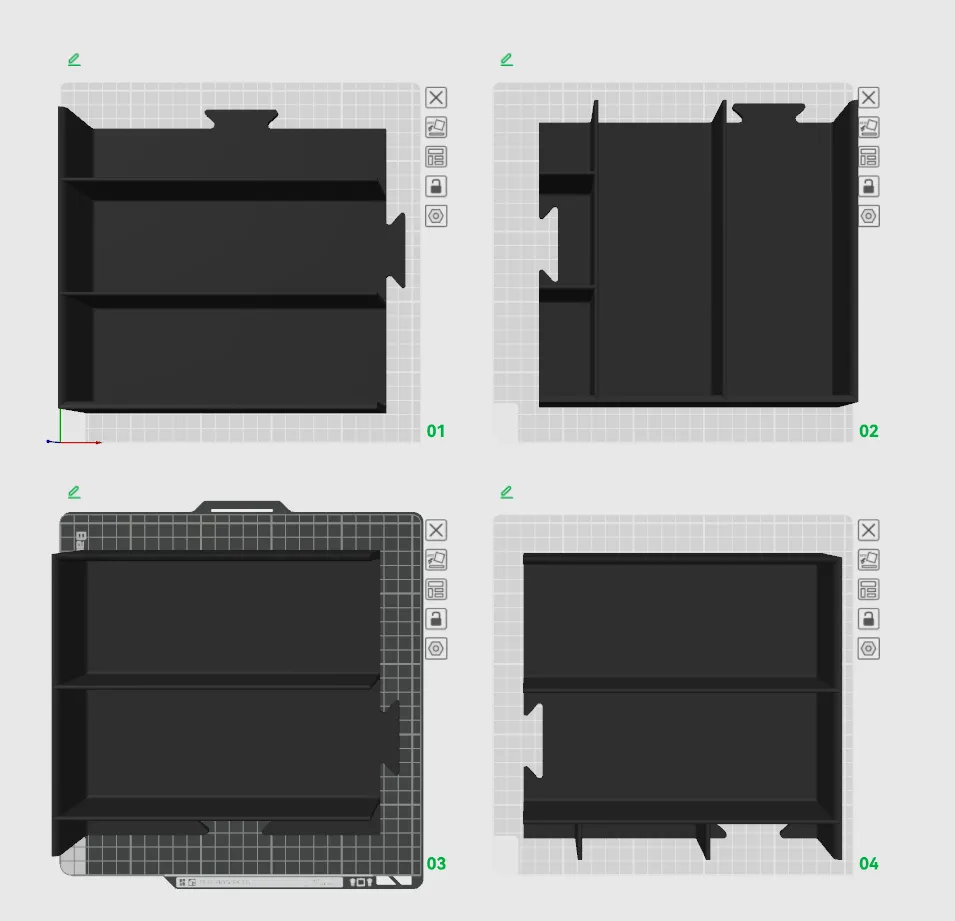
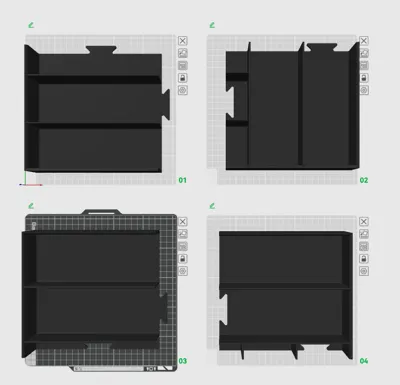
Thanks to the clever puzzle interlocking system, the large-area insert can be easily printed on standard build plates (like those of the Bambu Lab X1, P1, or A1 series) without needing a huge printer.
✨ Highlights & Features
- Clever Interlocking System: The individual parts simply slide together like puzzle pieces. They hold firmly together, without glue!
- Printer-Friendly: Designed in multiple parts to fit standard 256x256 mm print beds.
- Support-Free: The design is optimized so that no support structures (Supports) are needed.
- Versatile: Different sized compartments offer space for all kinds of items.
- Overall dimensions (assembled): 403x425x65
🖨️ Recommended Print Settings
The model is very forgiving and easy to print. Here are my proven settings for the best result:
- Material: PLA is perfectly sufficient for the desk. For the kitchen (cutlery), I recommend PETG, as it is more robust and can be washed at warmer temperatures.
- Layer Height: 0.20 mm (Standard)
- Wall Loops: 2 to 3 (for more stability at the connectors)
- Infill: 10% - 15% (Gyroid or Grid)
- Supports: No
- Build Plate Adhesion (Brim): Usually not necessary. If the corners lift during printing (warping), use a narrow outer brim.
🛠️ Assembly Instructions
- Print all necessary parts from the profiles.
- Lay the parts flat on a table.
- Align the puzzle connections and press them flat together. If needed, you can gently tap the connections until they are flush.
- Optional: If you want to permanently connect the organizer, you can apply a drop of superglue to the joints – but it's not necessary for normal use!
Do you like this design? I would be thrilled about a Like ❤️, a Boost 🚀, and a photo of your finished print in the comments! Let me know what you use the organizer for. Happy printing and organizing!
License

You shall not share, sub-license, sell, rent, host, transfer, or distribute in any way the digital or 3D printed versions of this object, nor any other derivative work of this object in its digital or physical format (including - but not limited to - remixes of this object, and hosting on other digital platforms). The objects may not be used without permission in any way whatsoever in which you charge money, or collect fees.


Comment & Rating (0)