


Print Profile(3)

Description
Boost Me (for free)
If you like this work and have extra boost coupons, you can drop them here 😁😁😁👌
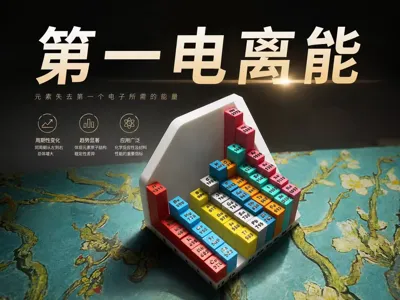
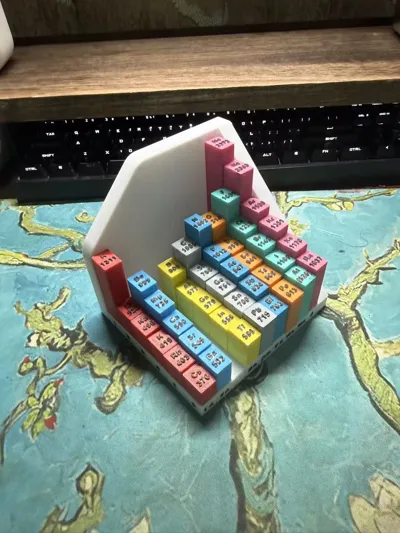
First Ionization Energy Display Model
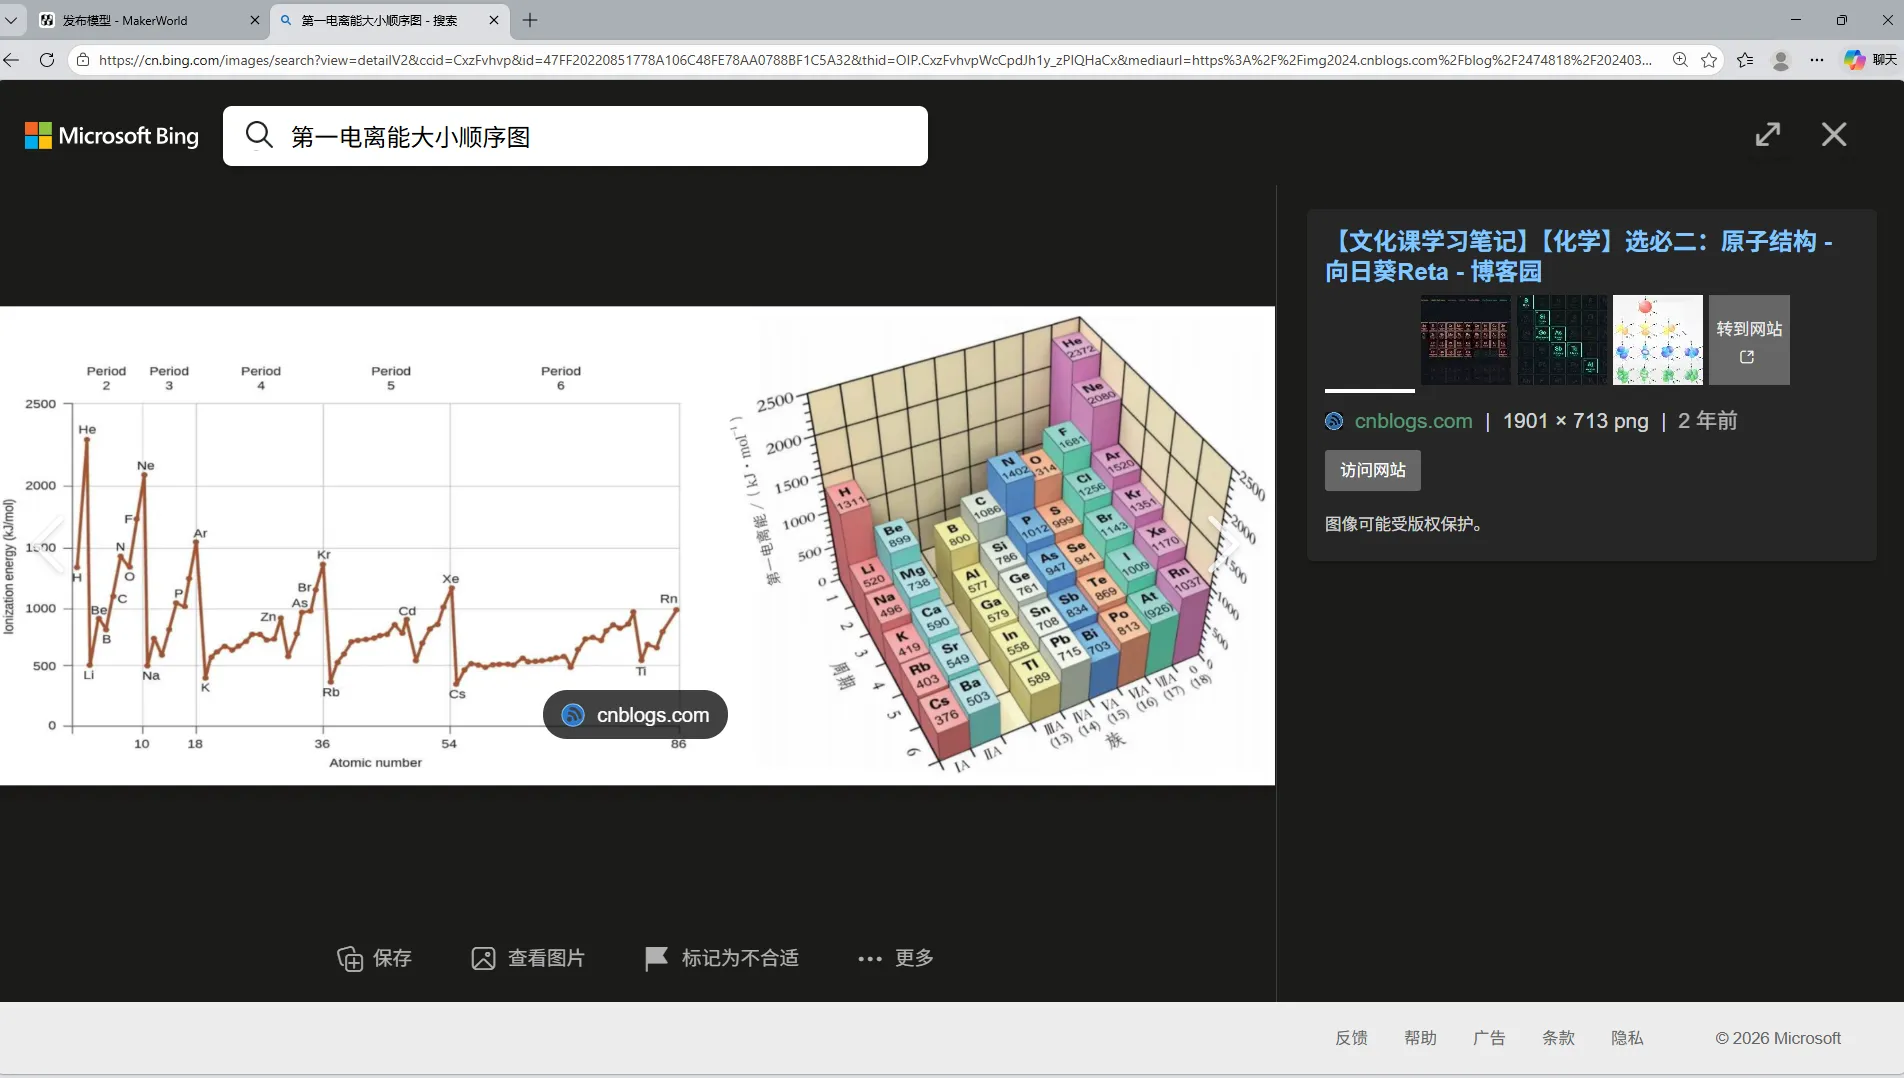
The reason for making this model is that half a month ago, while looking up information, I suddenly found this image (right picture). It should be from the Lu Education Edition; the People's Education Edition, like the left picture, doesn't show such obvious variation patterns. So I thought about modeling the right picture

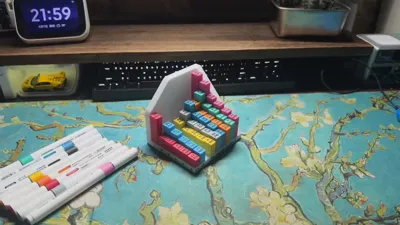
Results reveal ta-da 😁😁😁
As a senior high school student, I don't have much time usually, so it took me half a month on and off, also because I had to make some fine adjustments (At the same time, I wish myself good luck with the college entrance exam in 25 days, feeling a bit nervous haha)
About print settings and options

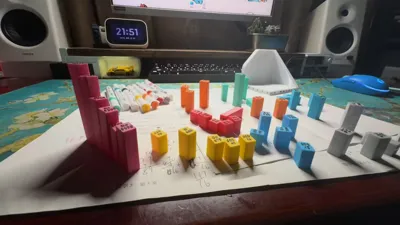
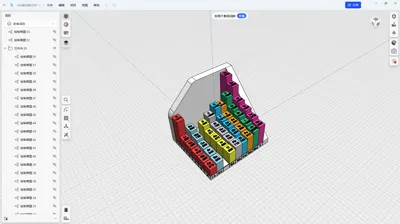
I have already pre-arranged the colors into plates, and there are three different printing options, you can choose according to your preference
1) The first plate prints all parts in a single plate, requiring manual coloring which takes time, so please choose carefully (this is what I did)
2) The second option has the colors of each group already sorted, allowing you to print the corresponding plates. The advantage of this is that you can print directly using the filament colors. The disadvantage is that it requires frequent filament changes and printing many plates
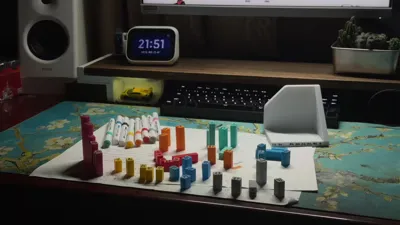
3) The third option involves printing the elements and base separately. The elements are printed on a single plate as one piece, not separated, and then you just need to print the base
4) The fourth option is a complete Print in Place with no separate parts
There are text descriptions on the corresponding plates, just pay attention to them
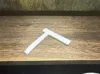
The base and elements for the multi-part printing option have reserved spaces for magnets. If needed, the magnet specification is 2*2 circular magnets, though there might be slight size deviations
This concludes the introduction and printing instructions
I have uploaded the original Shapr file. Those who need it can download and edit the model from the official website
Finally, I hope my work can help everyone with their studies, making learning fun 😁👌
License
You shall not share, sub-license, sell, rent, host, transfer, or distribute in any way the digital or 3D printed versions of this object, nor any other derivative work of this object in its digital or physical format (including - but not limited to - remixes of this object, and hosting on other digital platforms). The objects may not be used without permission in any way whatsoever in which you charge money, or collect fees.
Comment & Rating (0)