
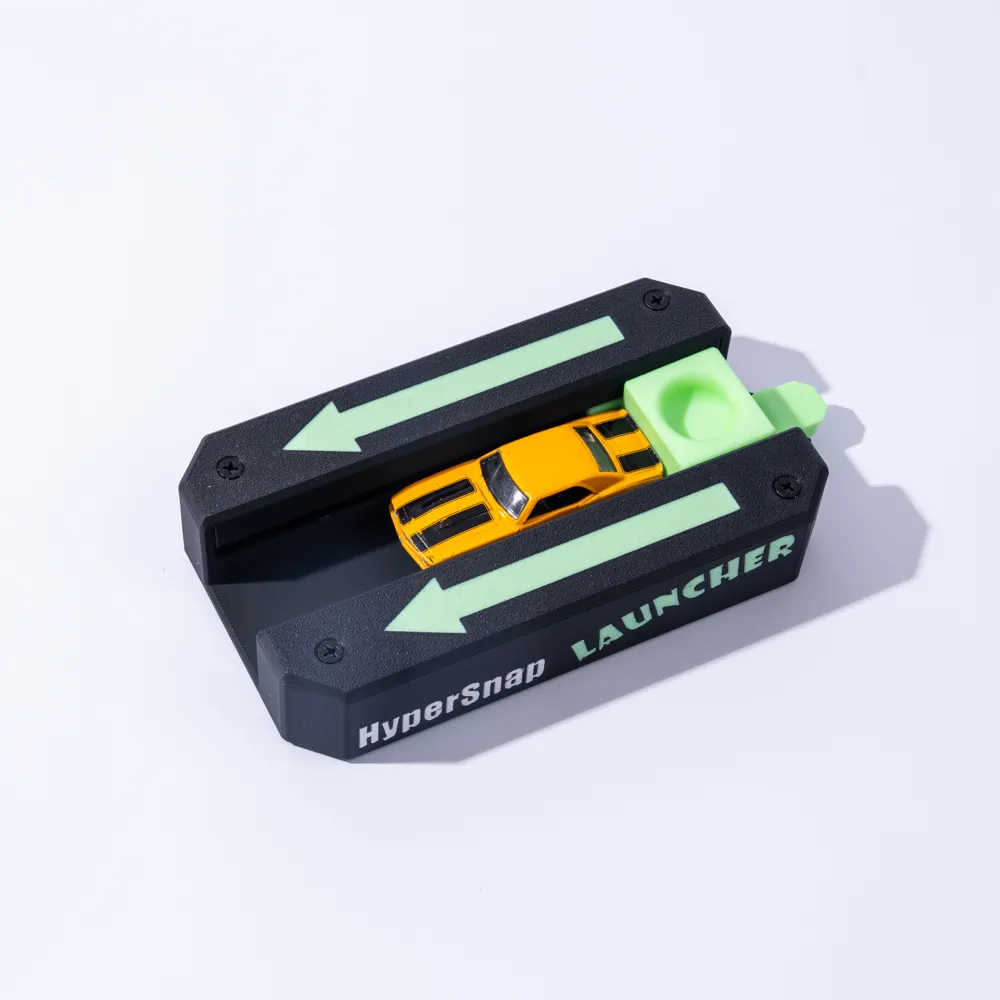
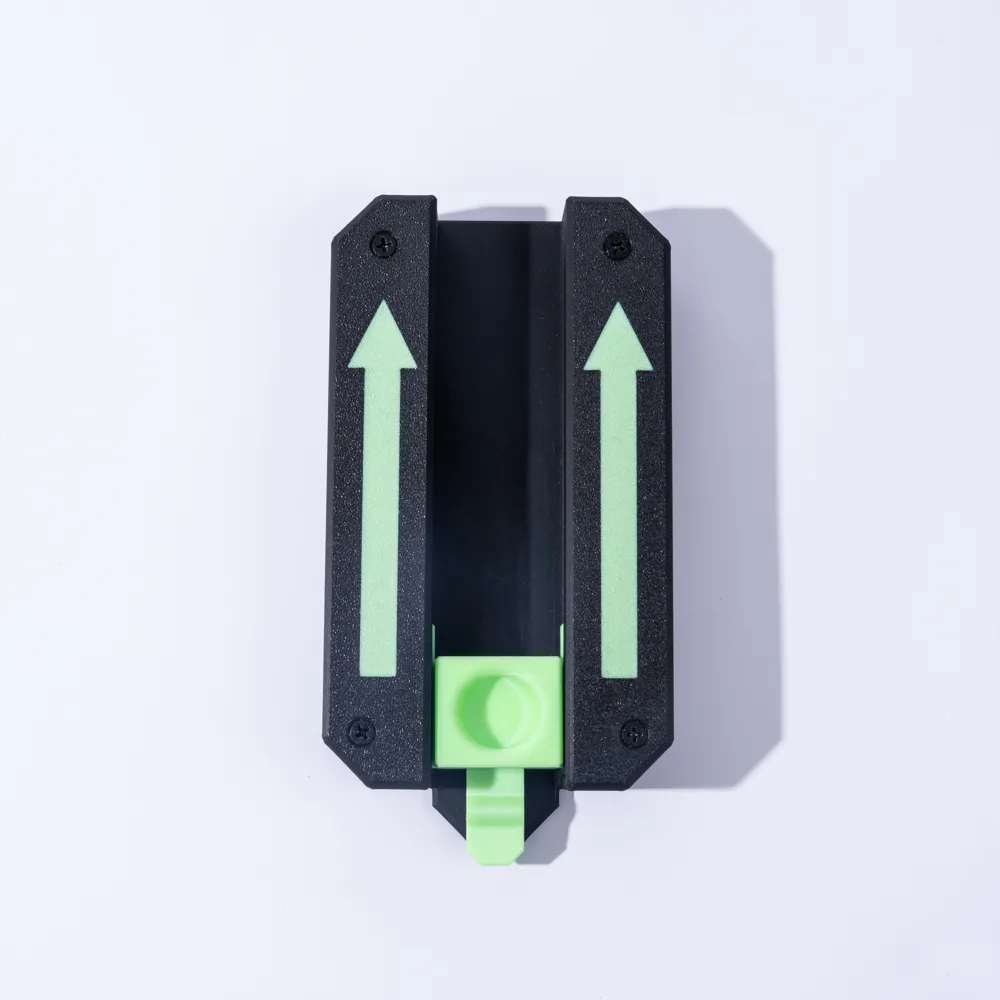
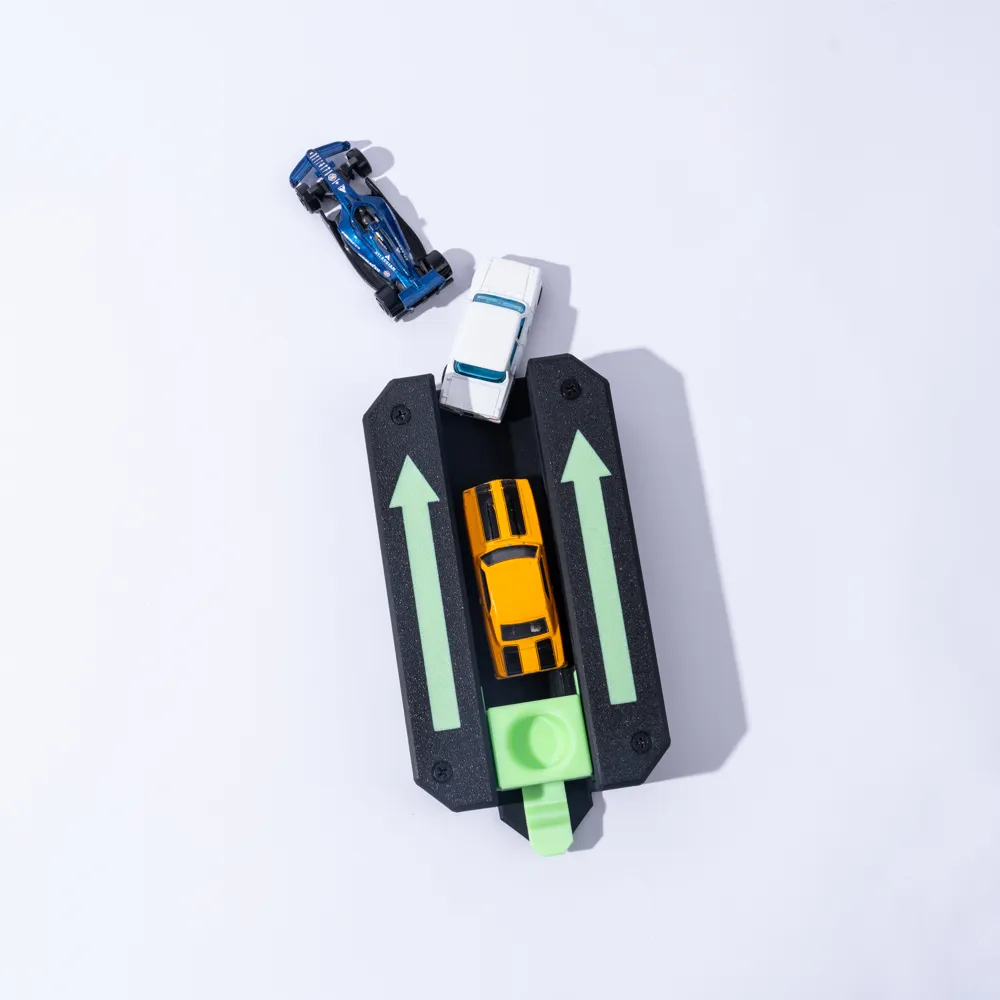
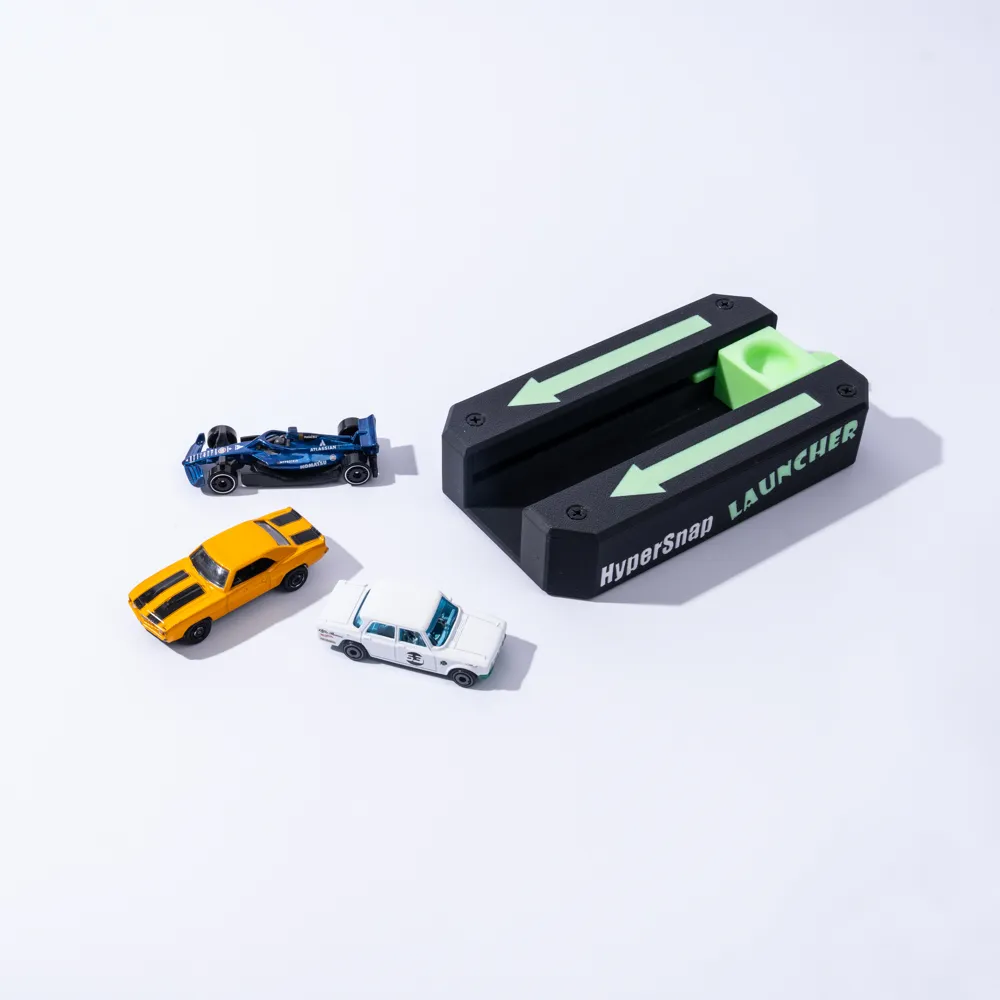
HyperSnap Launcher for 1:64 toy and diecast cars
Print Profile(2)

Description
Boost Me (for free)
If you love the HyperSnap Launcher, jump in and smash that Boost button!! The more boosts the more modifications and accessories will be added!
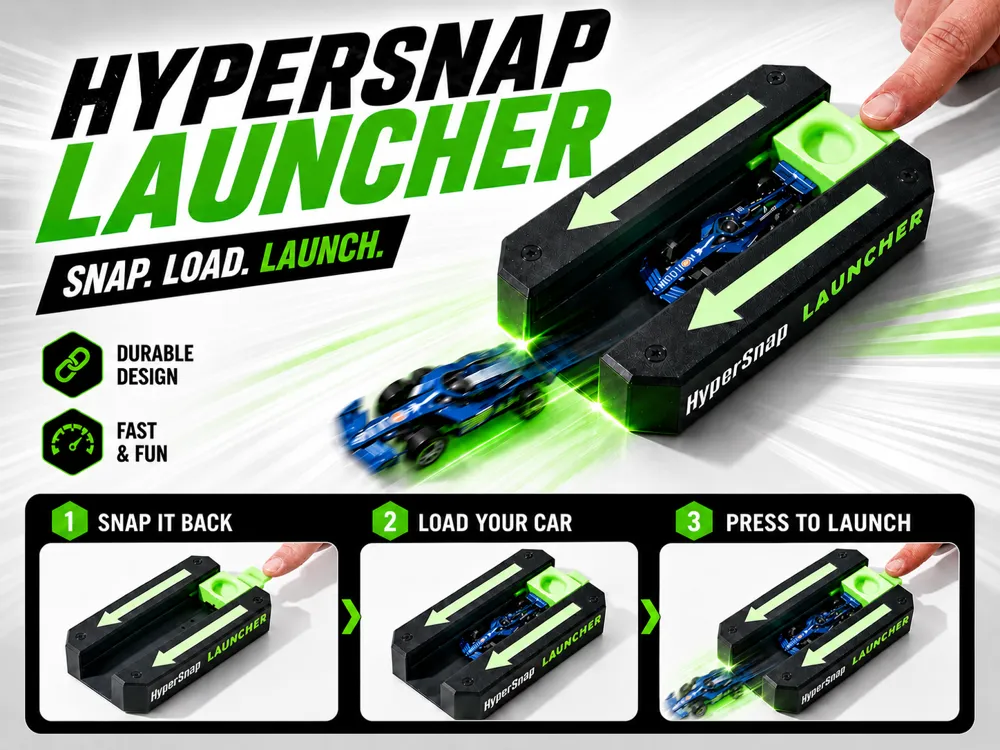
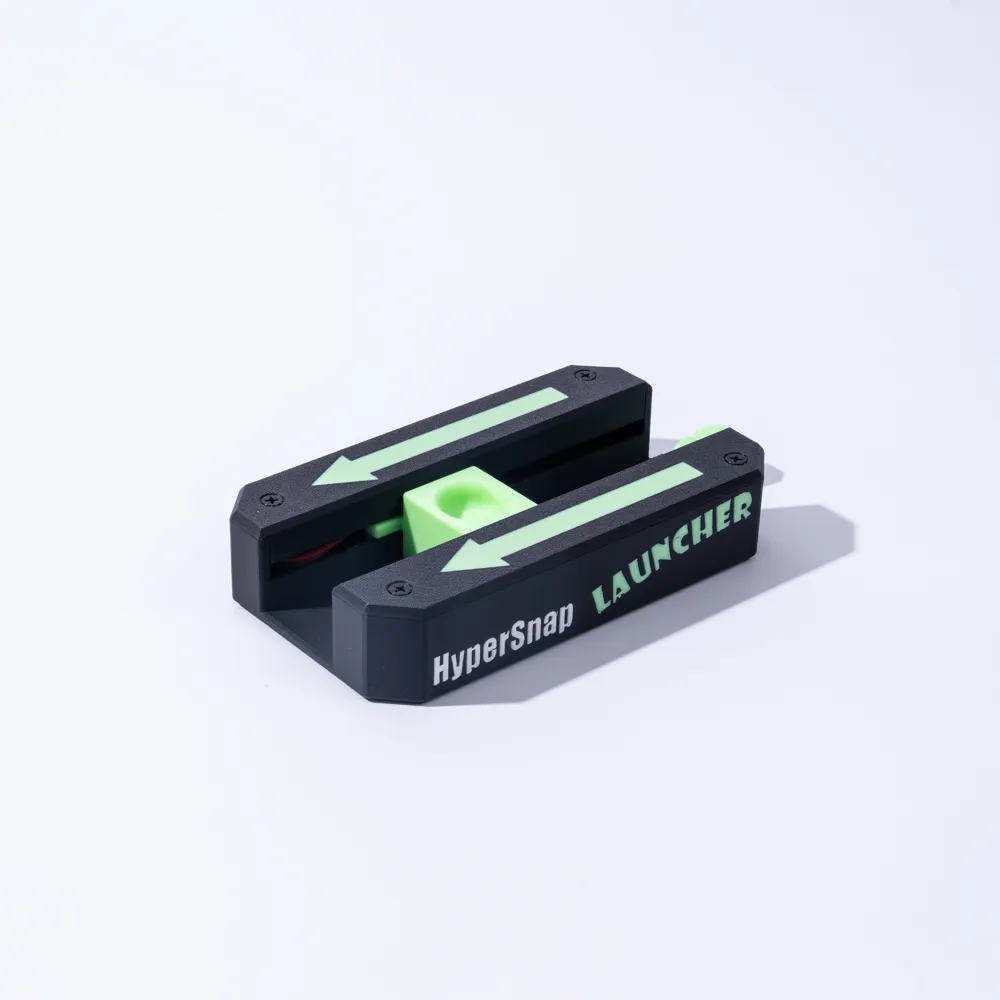
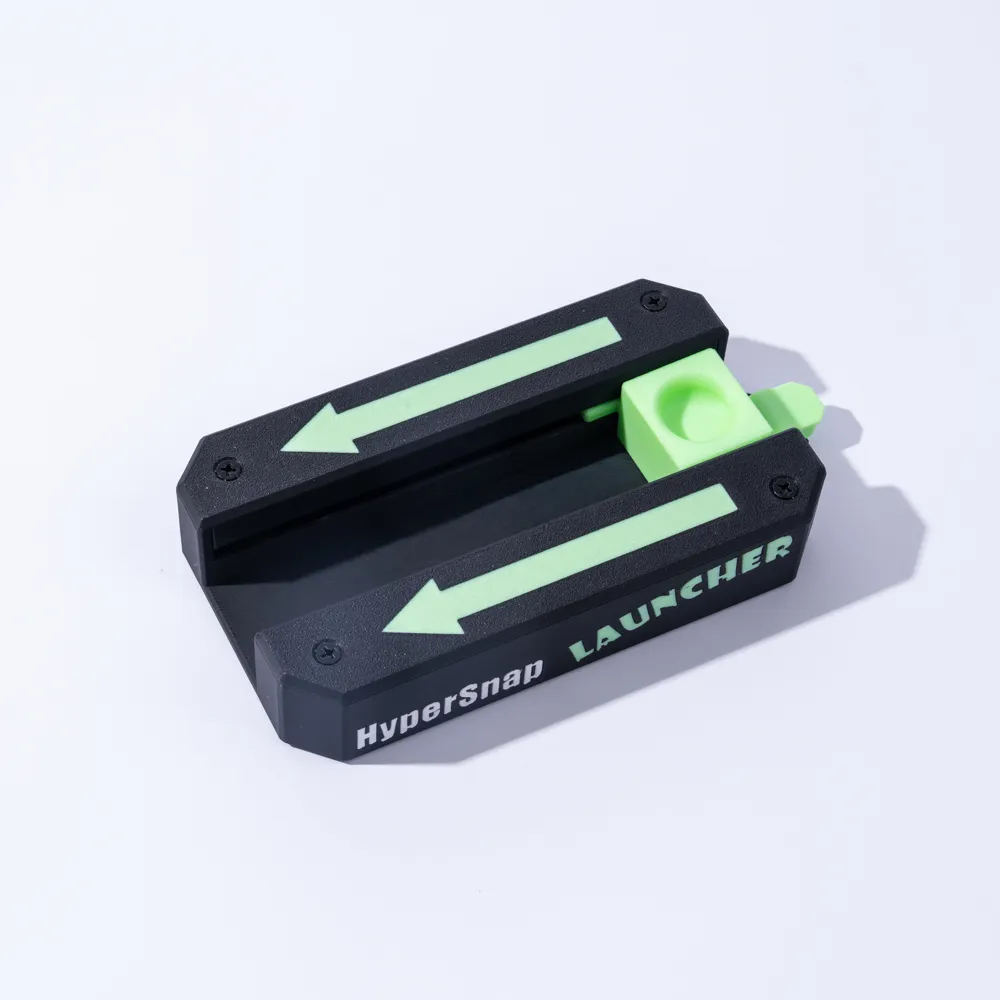
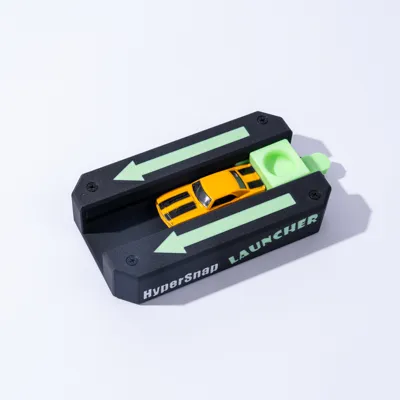
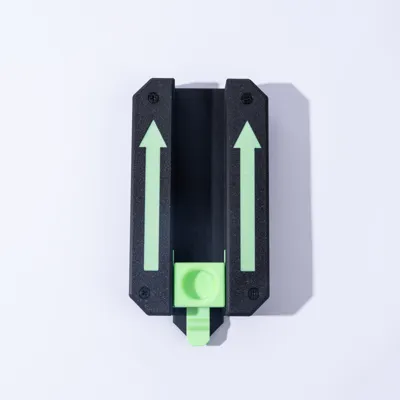
HyperSnap Launcher
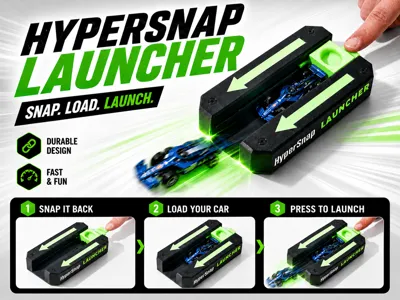
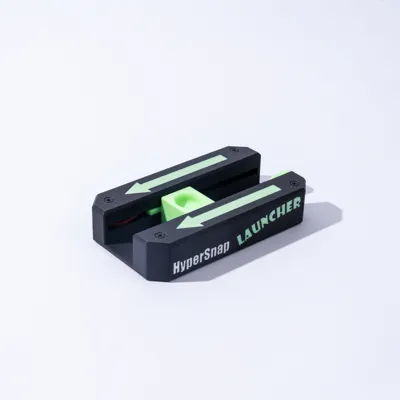
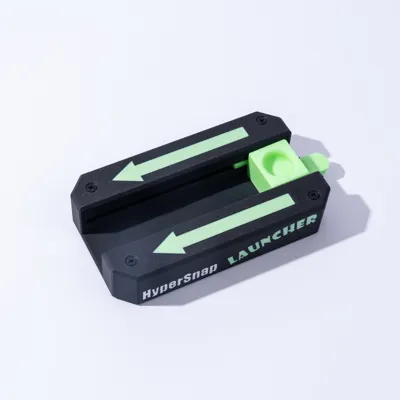
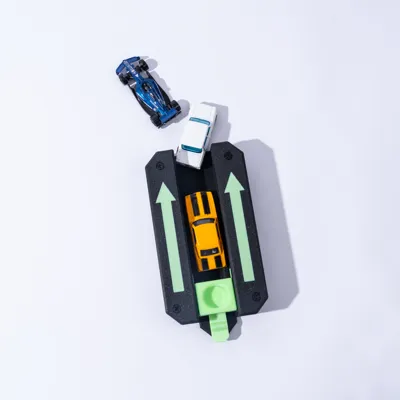
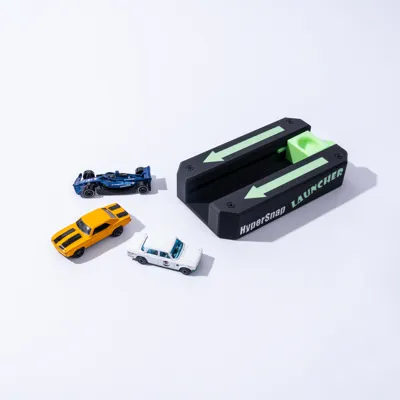
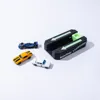
Take your Hot Wheels tracks to the next level with the HyperSnap Launcher — a rubber band powered accelerator designed for fast launches, massive speed, and chaotic racing fun.
Unlike standard gravity launches, the HyperSnap uses a slingshot-style mechanism to fire diecast cars down the track with serious force.
Perfect for:
- High speed track builds
- Mega jumps
- Long distance launches
- Racing setups
- Crash challenges
Features
- Rubber band powered launch system
- Fast snap-back acceleration
- Easy to print
- Minimal parts required
- Designed for standard Hot Wheels style track
- Great for kids and adults
Printing Notes
- Use the print profiles for best results
- The TPU springs are not essential but greatly reduce noise
- Multiple print profiles for AMS and without
- Stronger rubber bands = more speed
Assembly
Attach 2 x rubber band to the launcher, one each side.
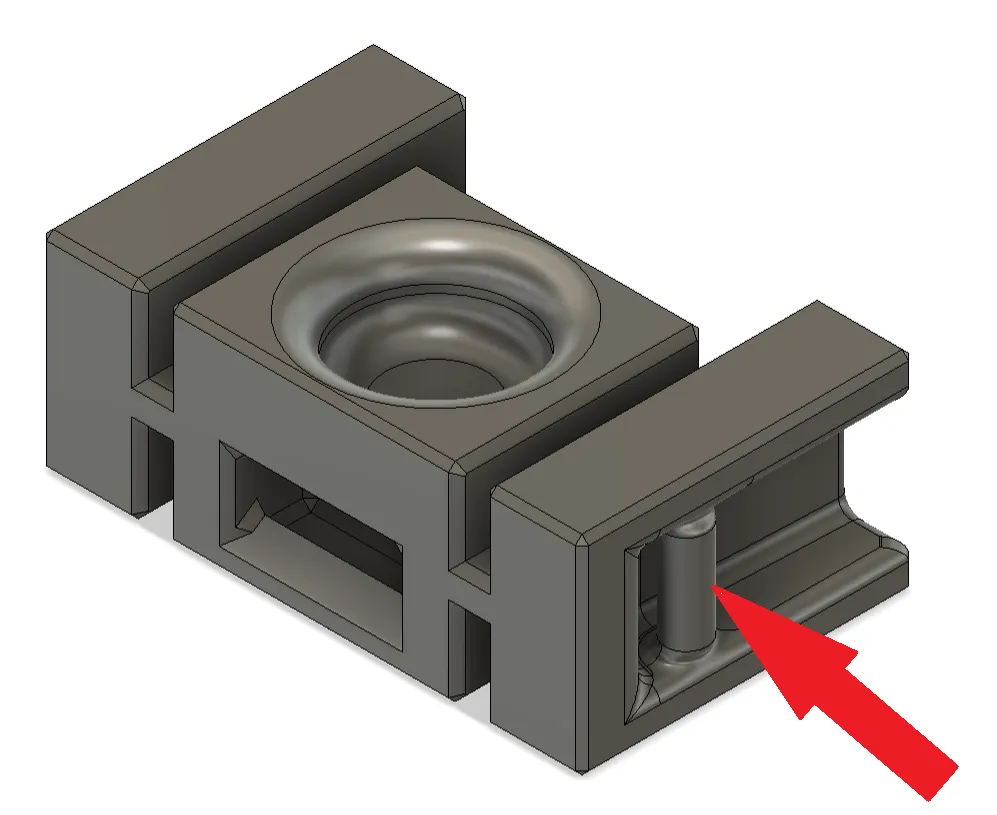
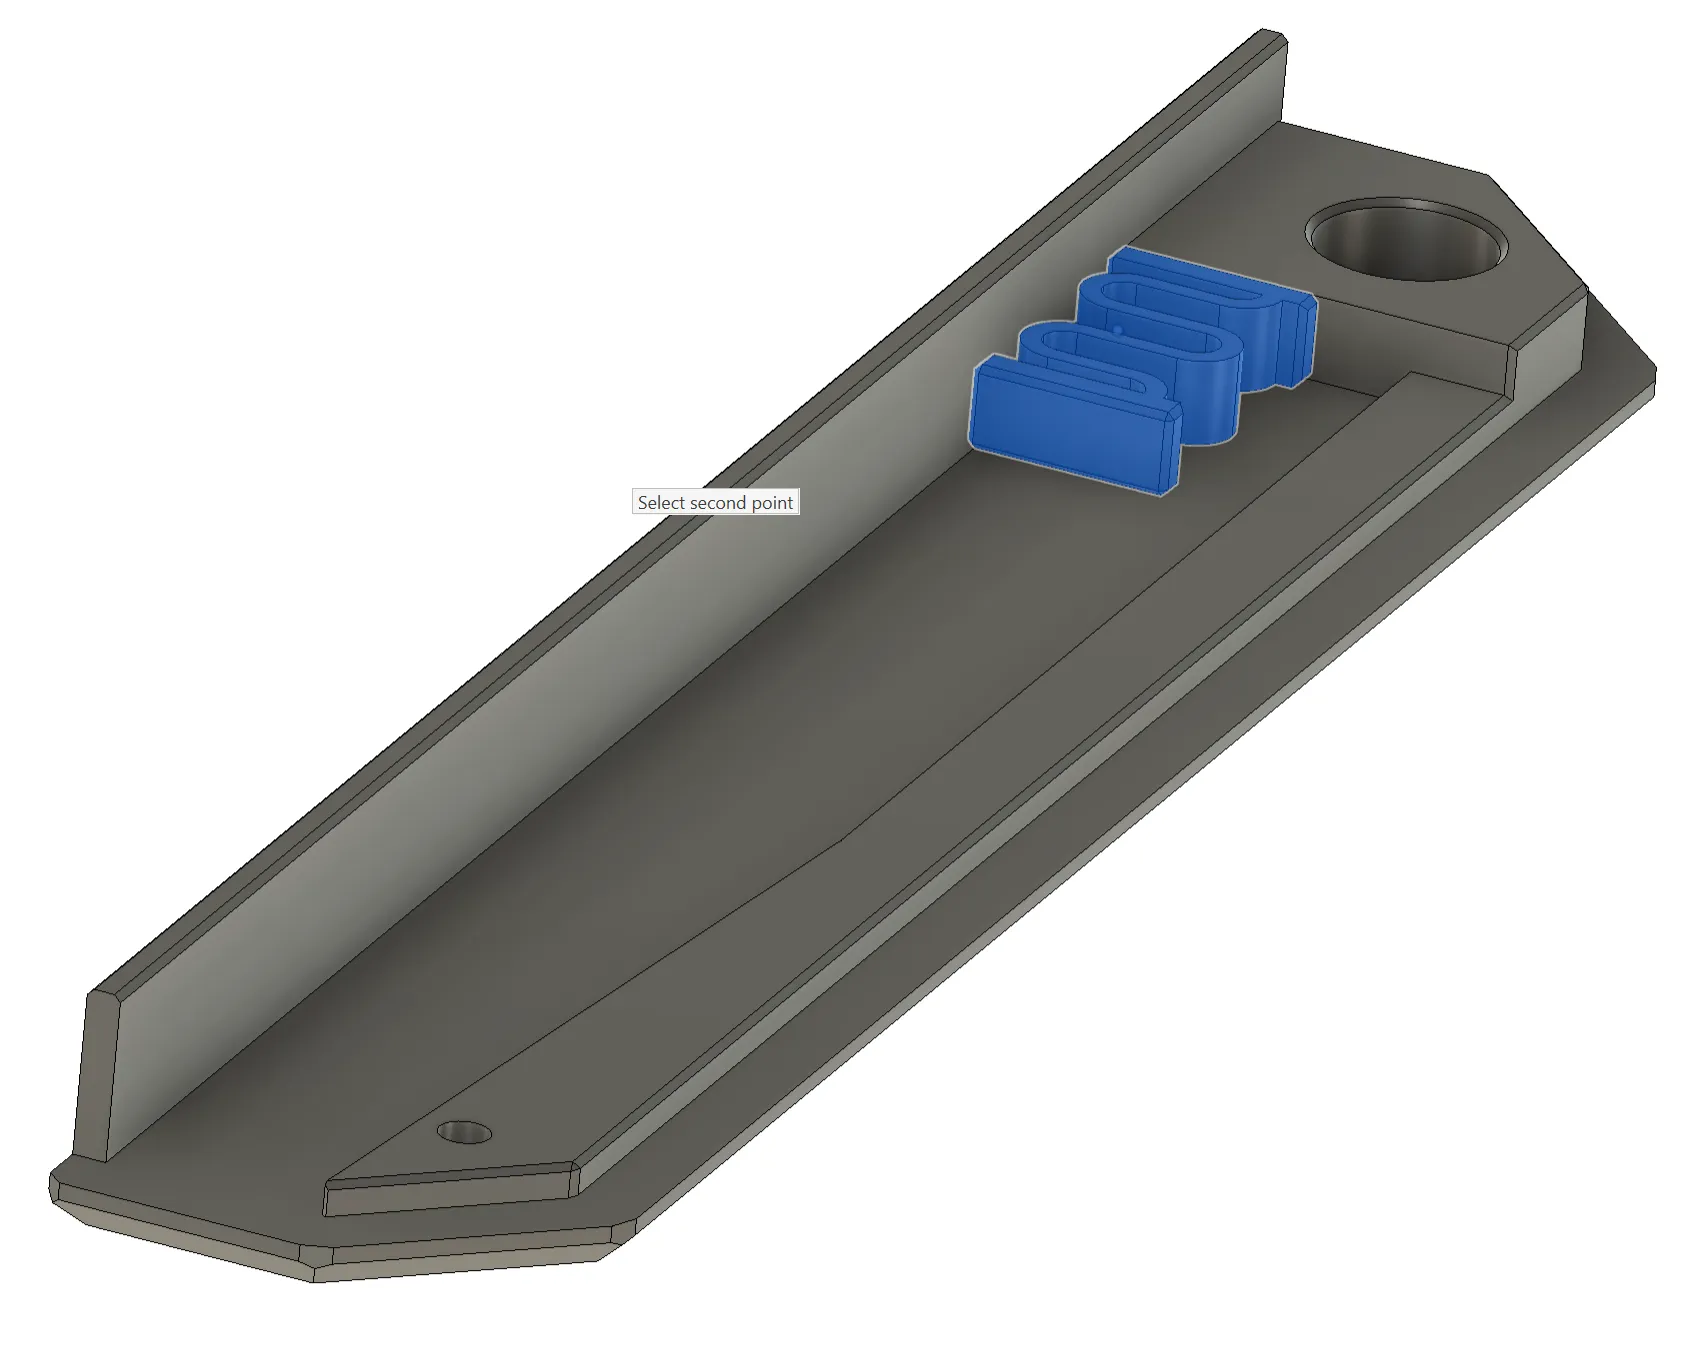
If you are installing the TPU springs 2 are installed into the main body and 1 in each top cover. Use a bit of super glue at one end to secure them.
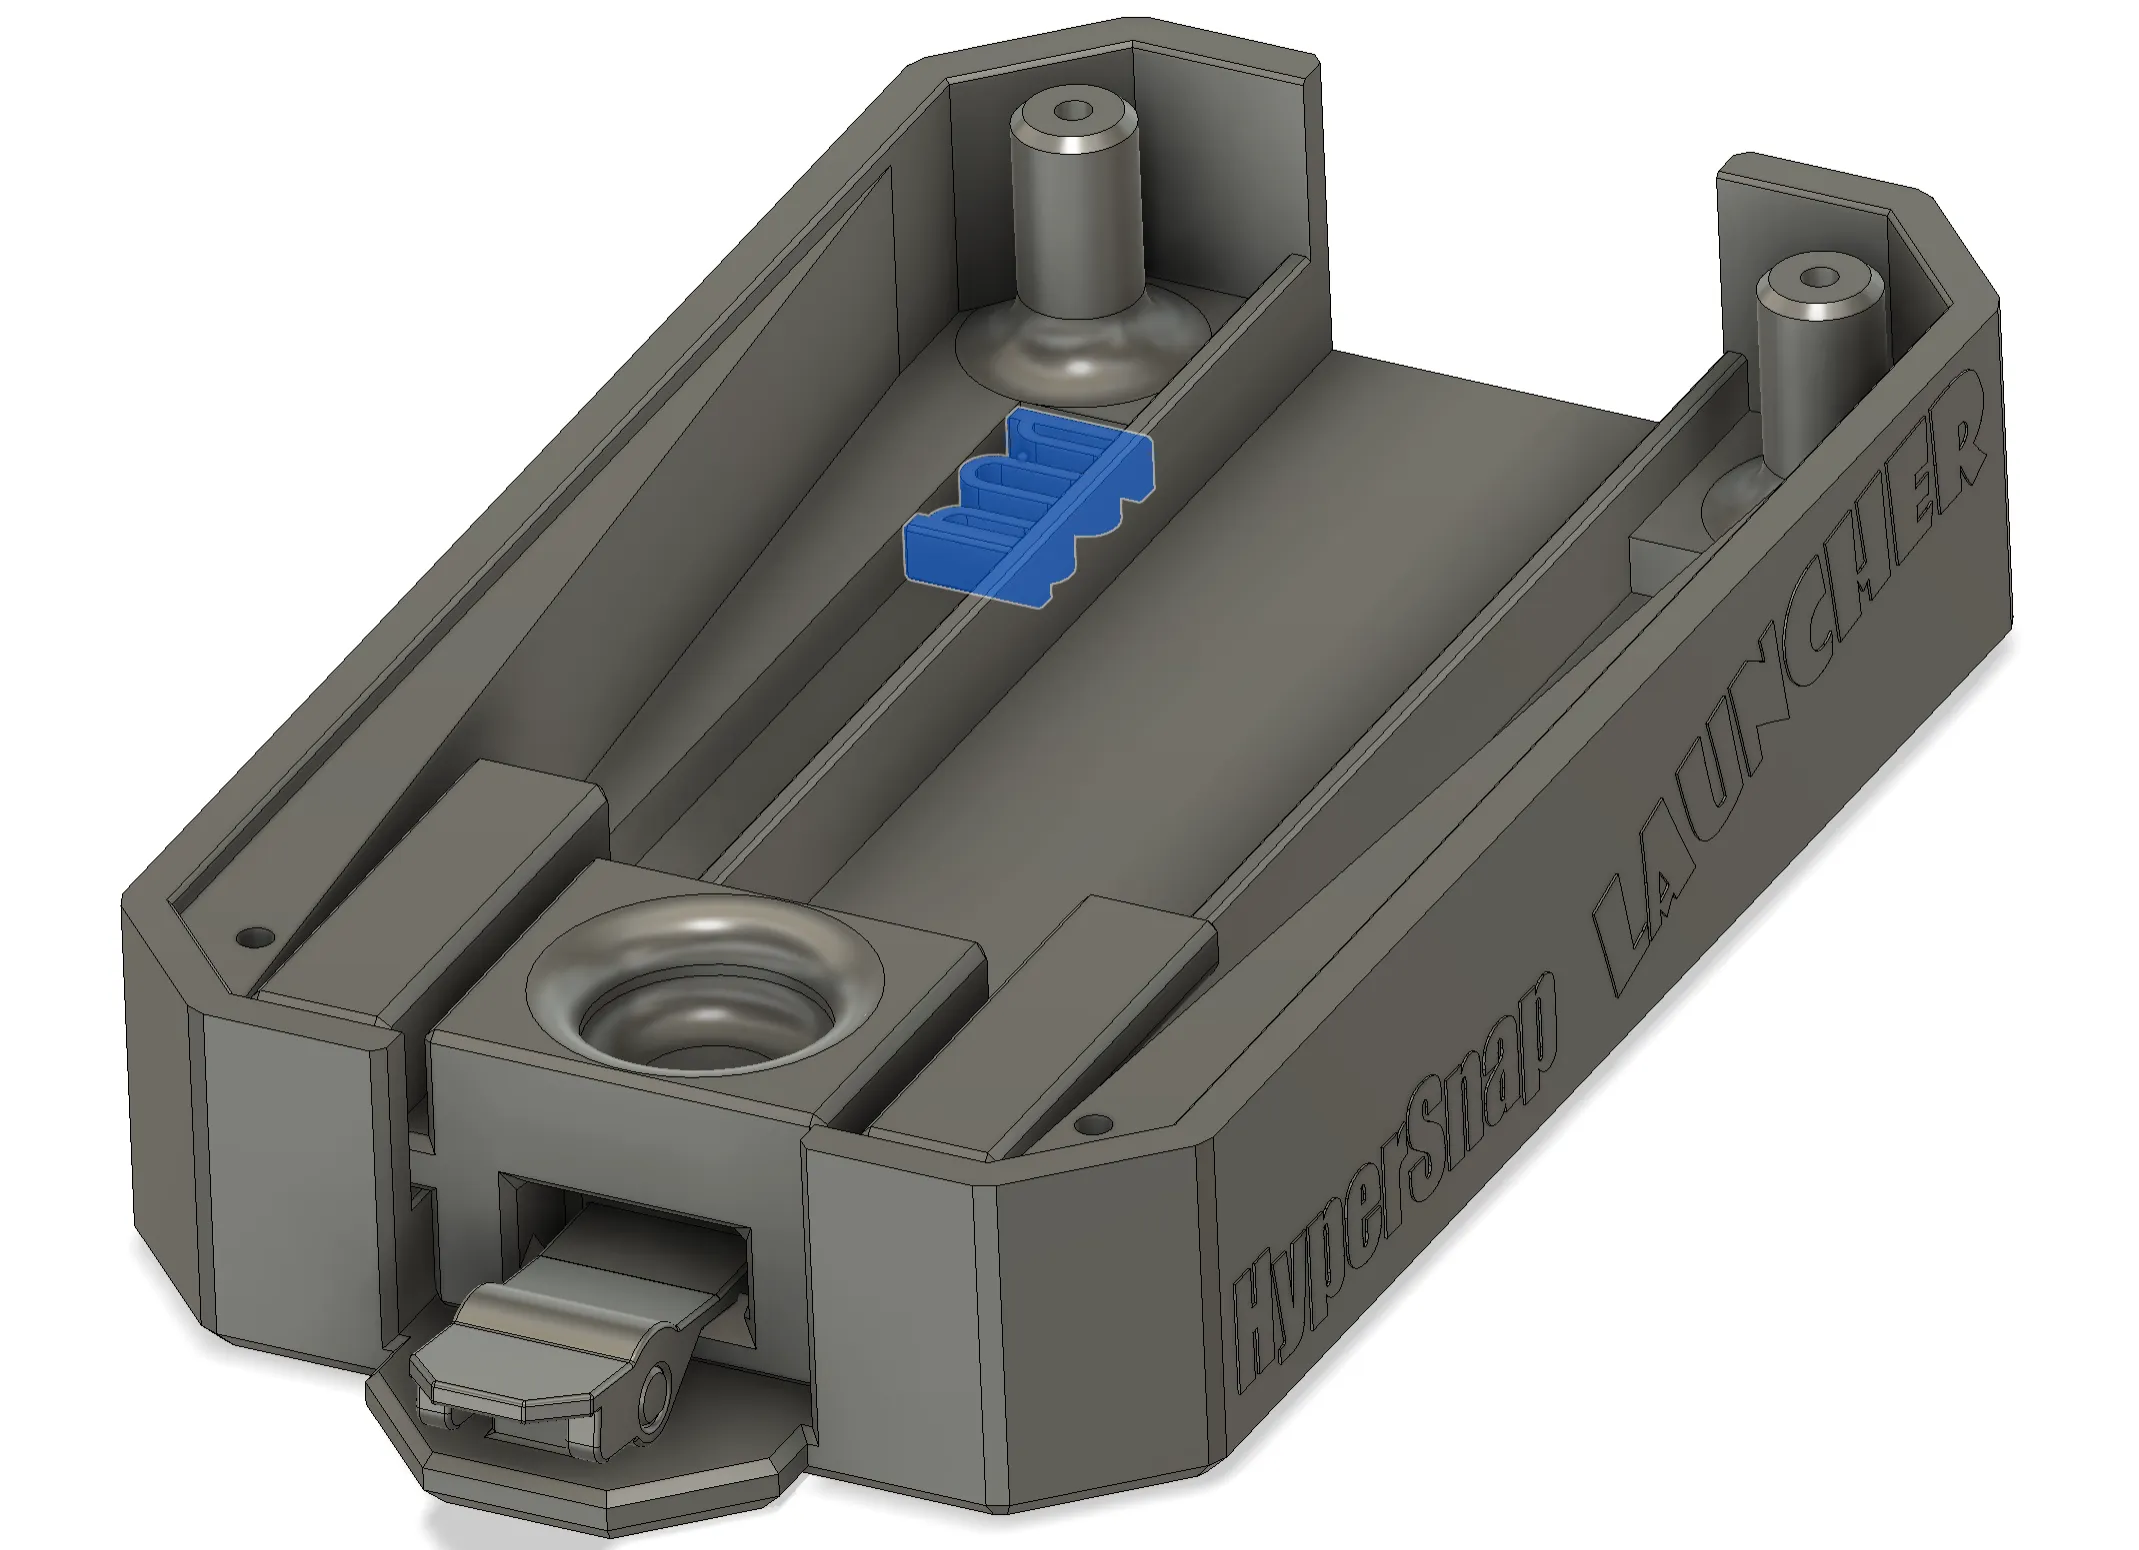
Install the launcher into the main body.
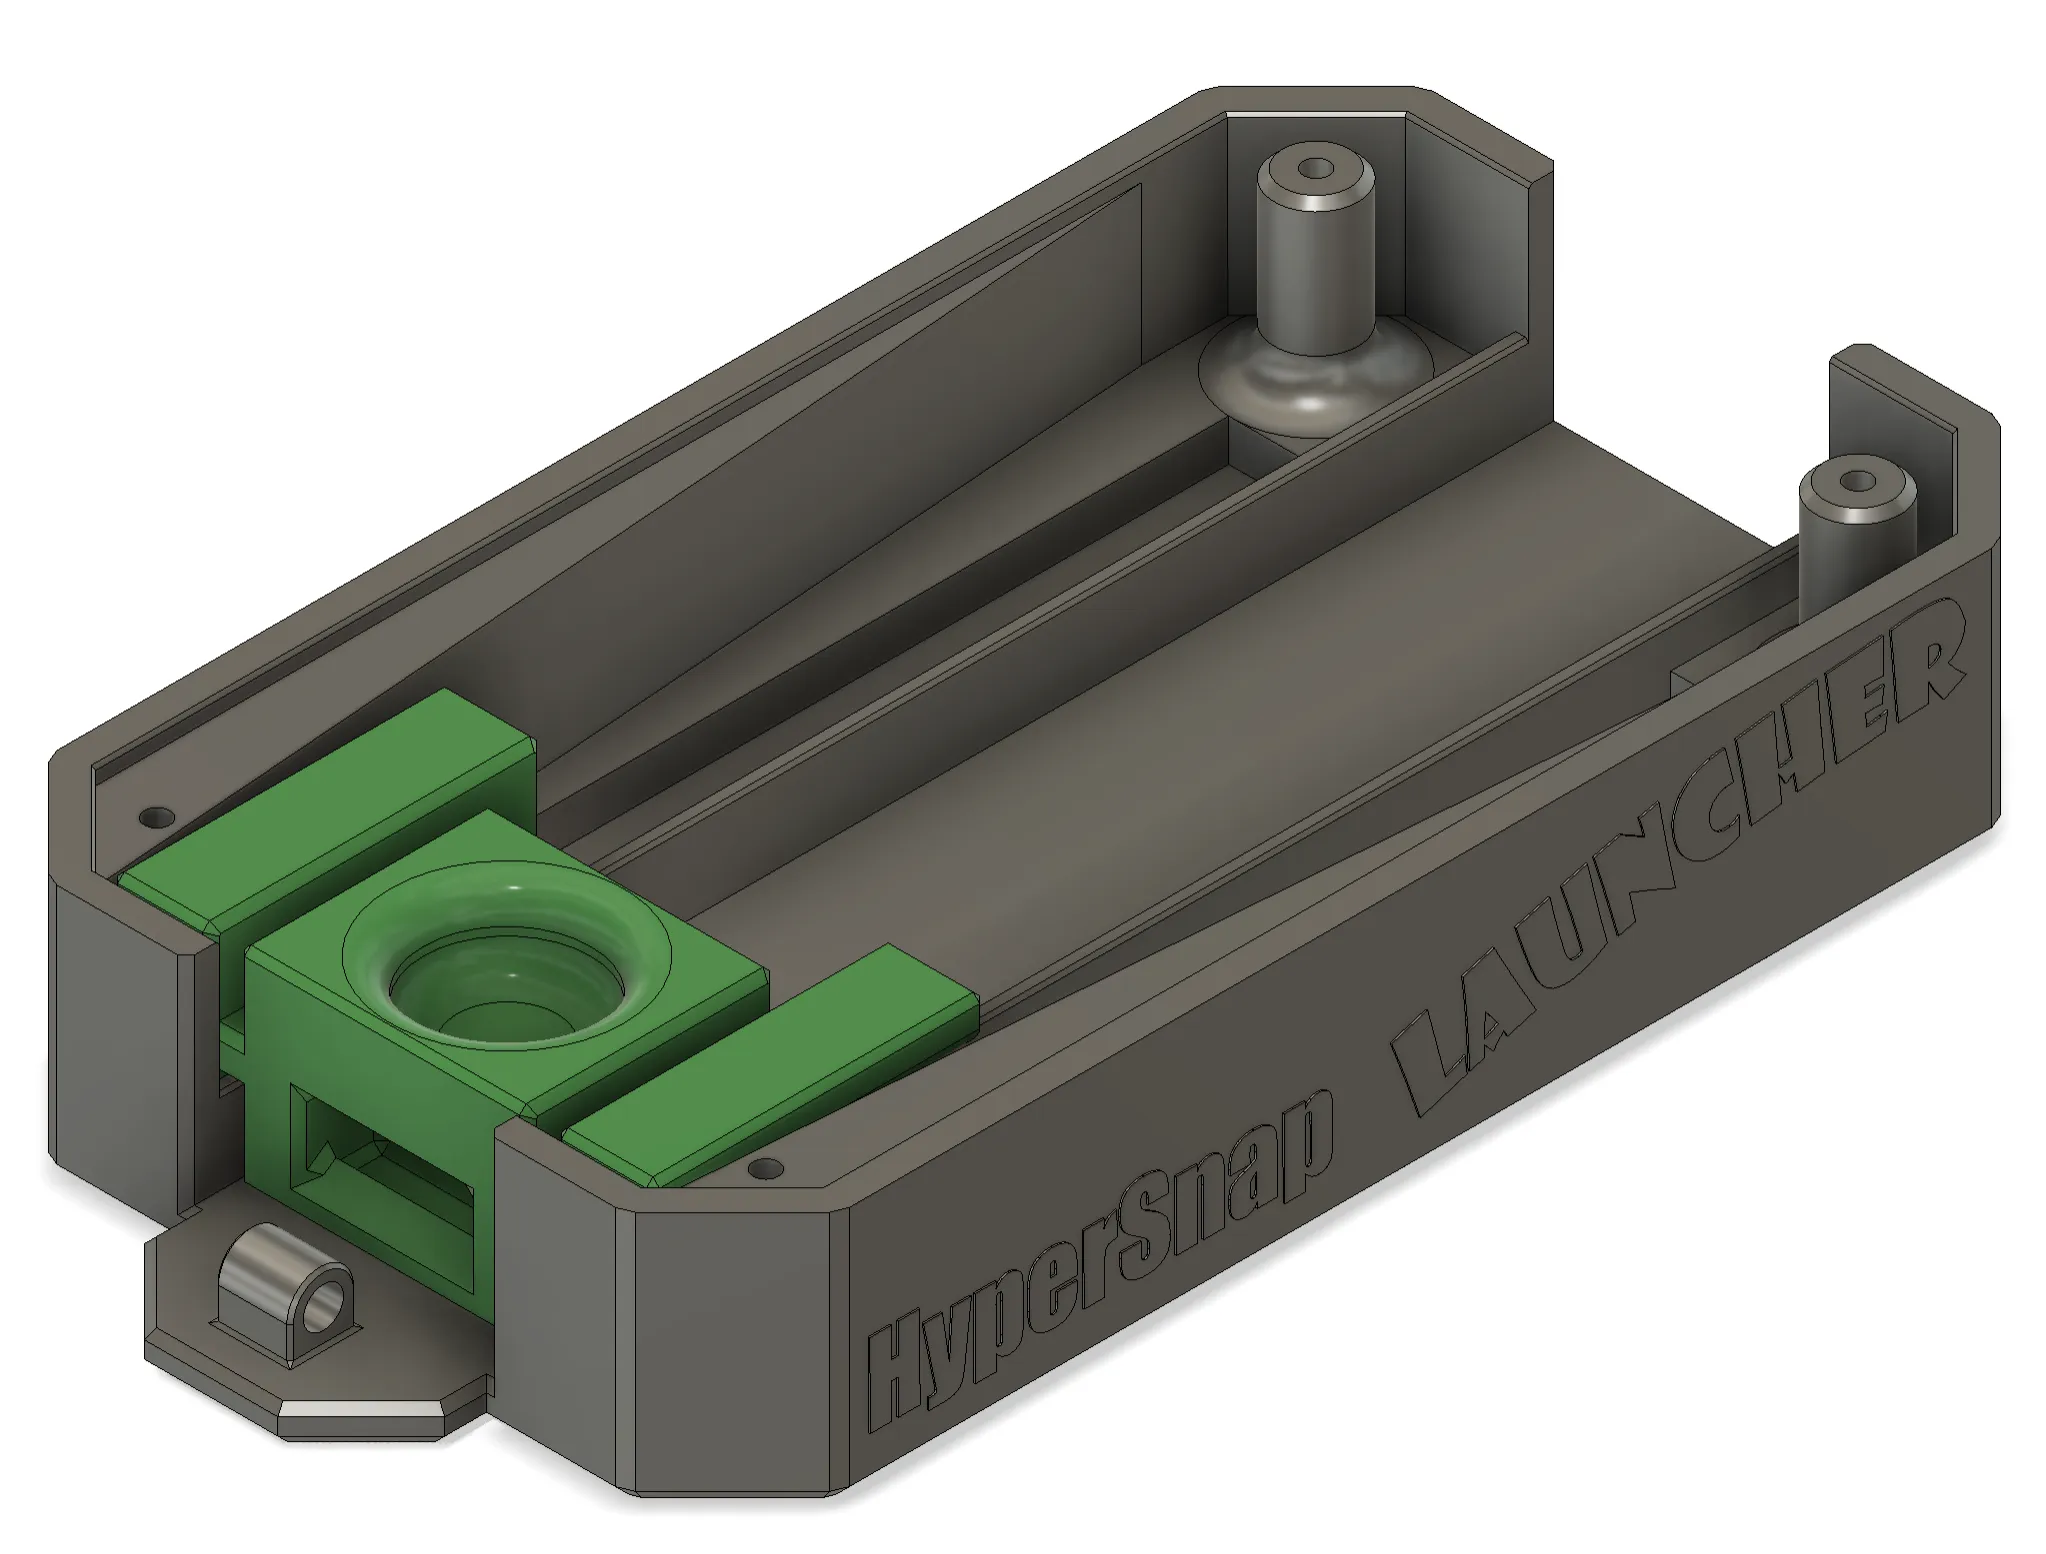
Loop the rubber band over the posts at the end of the main body.
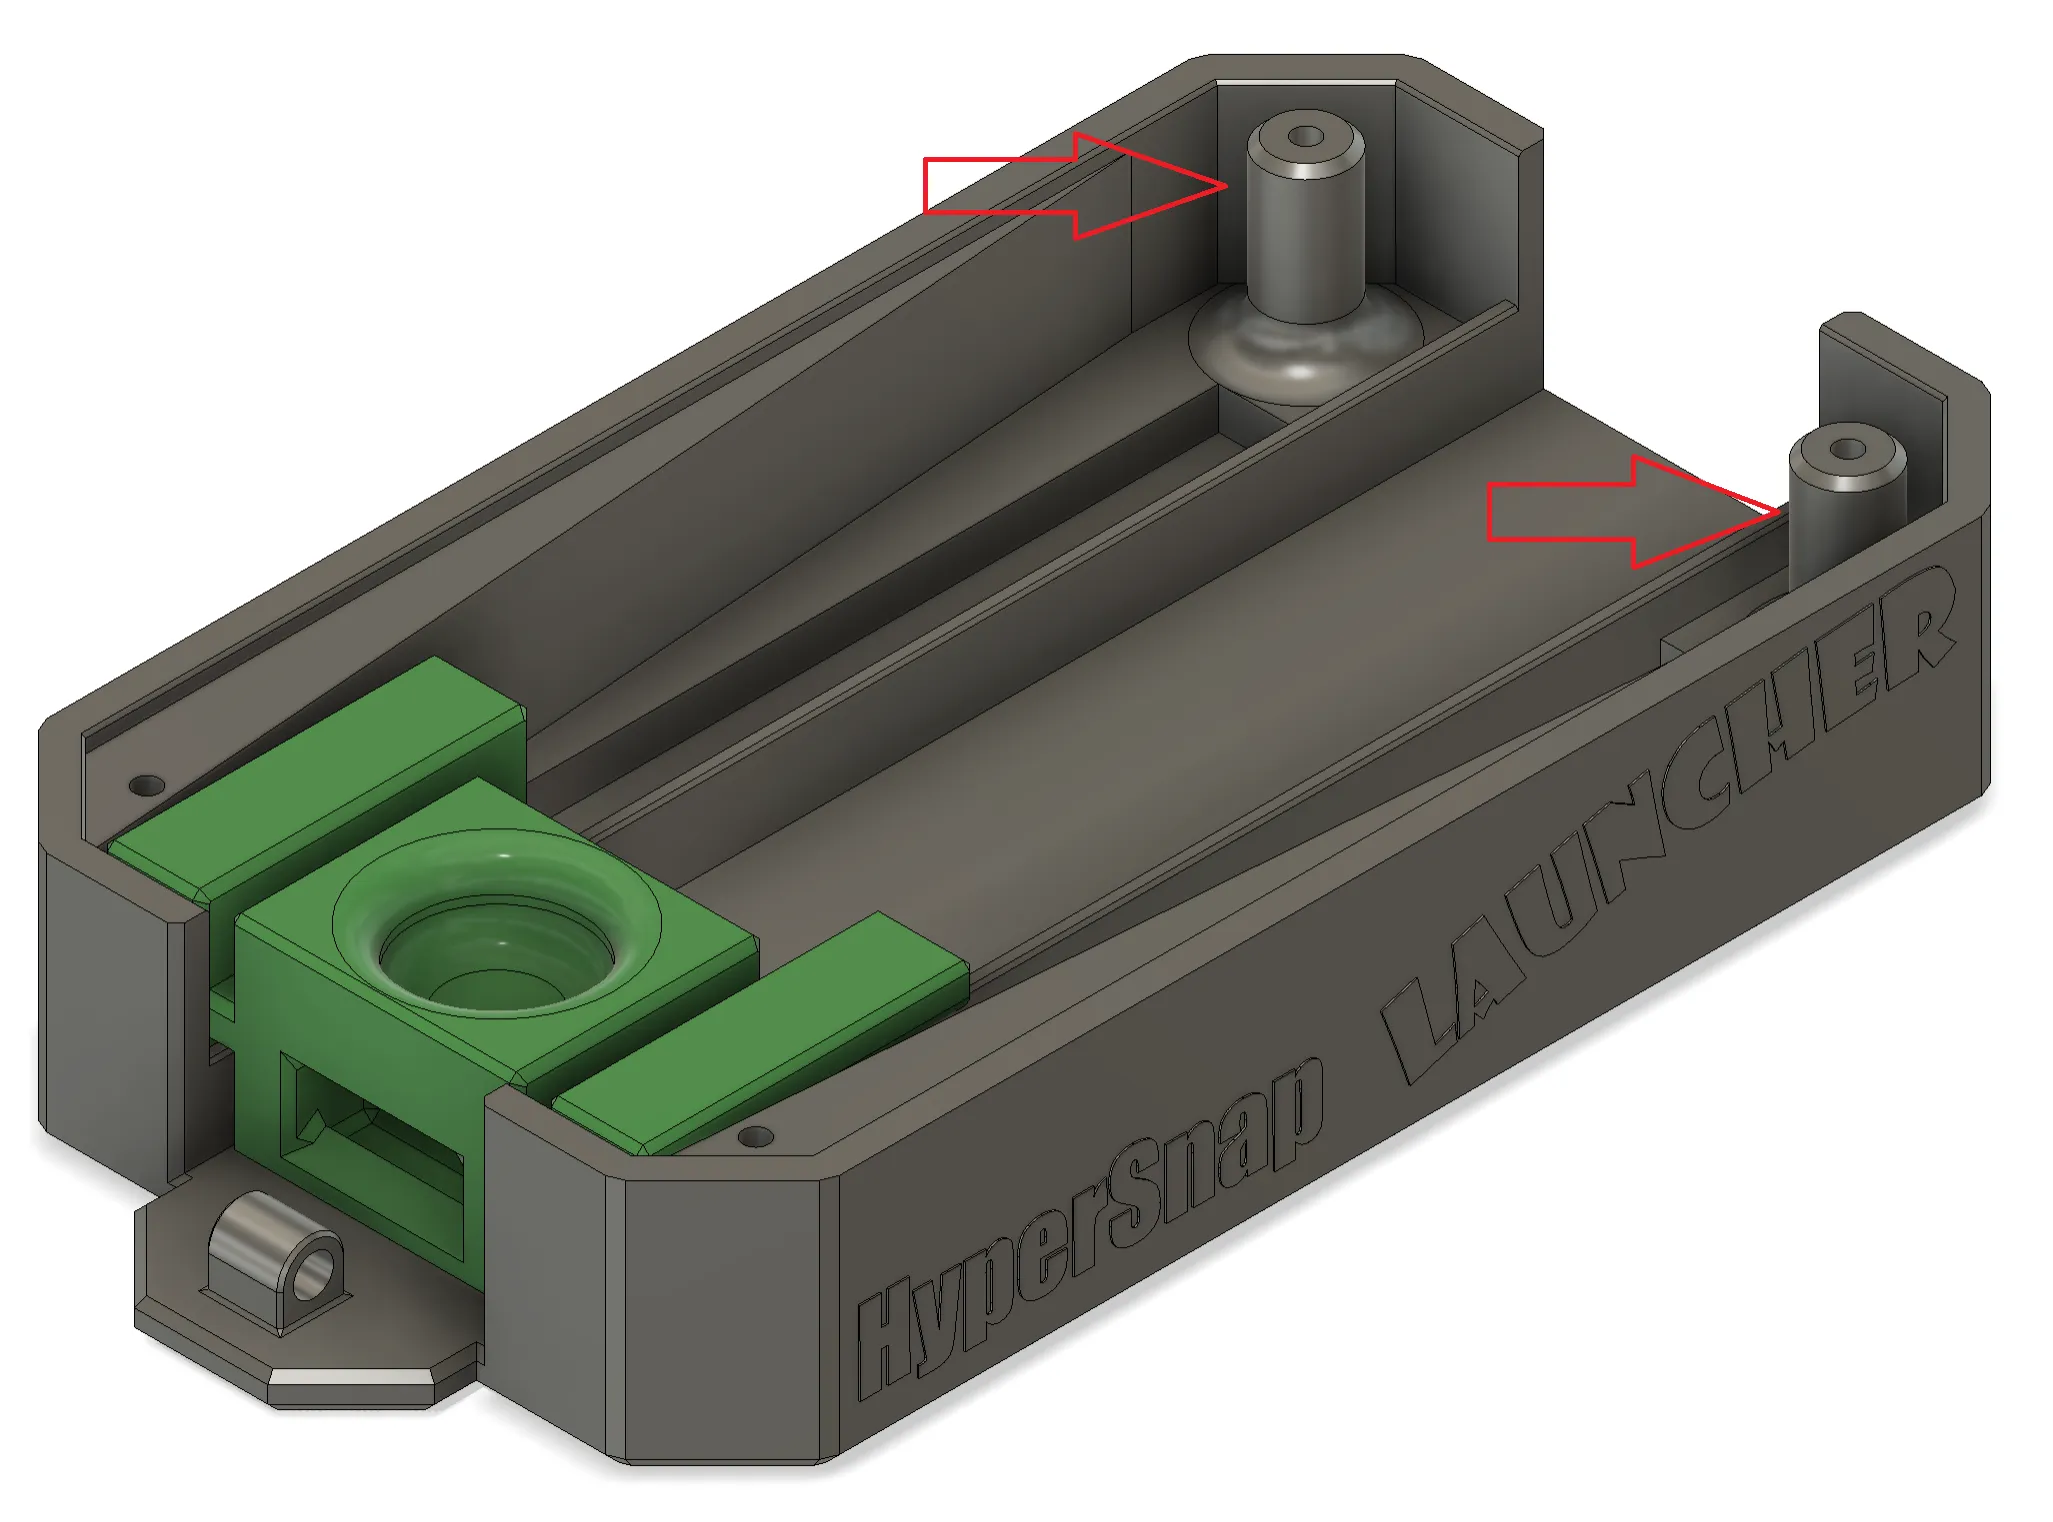
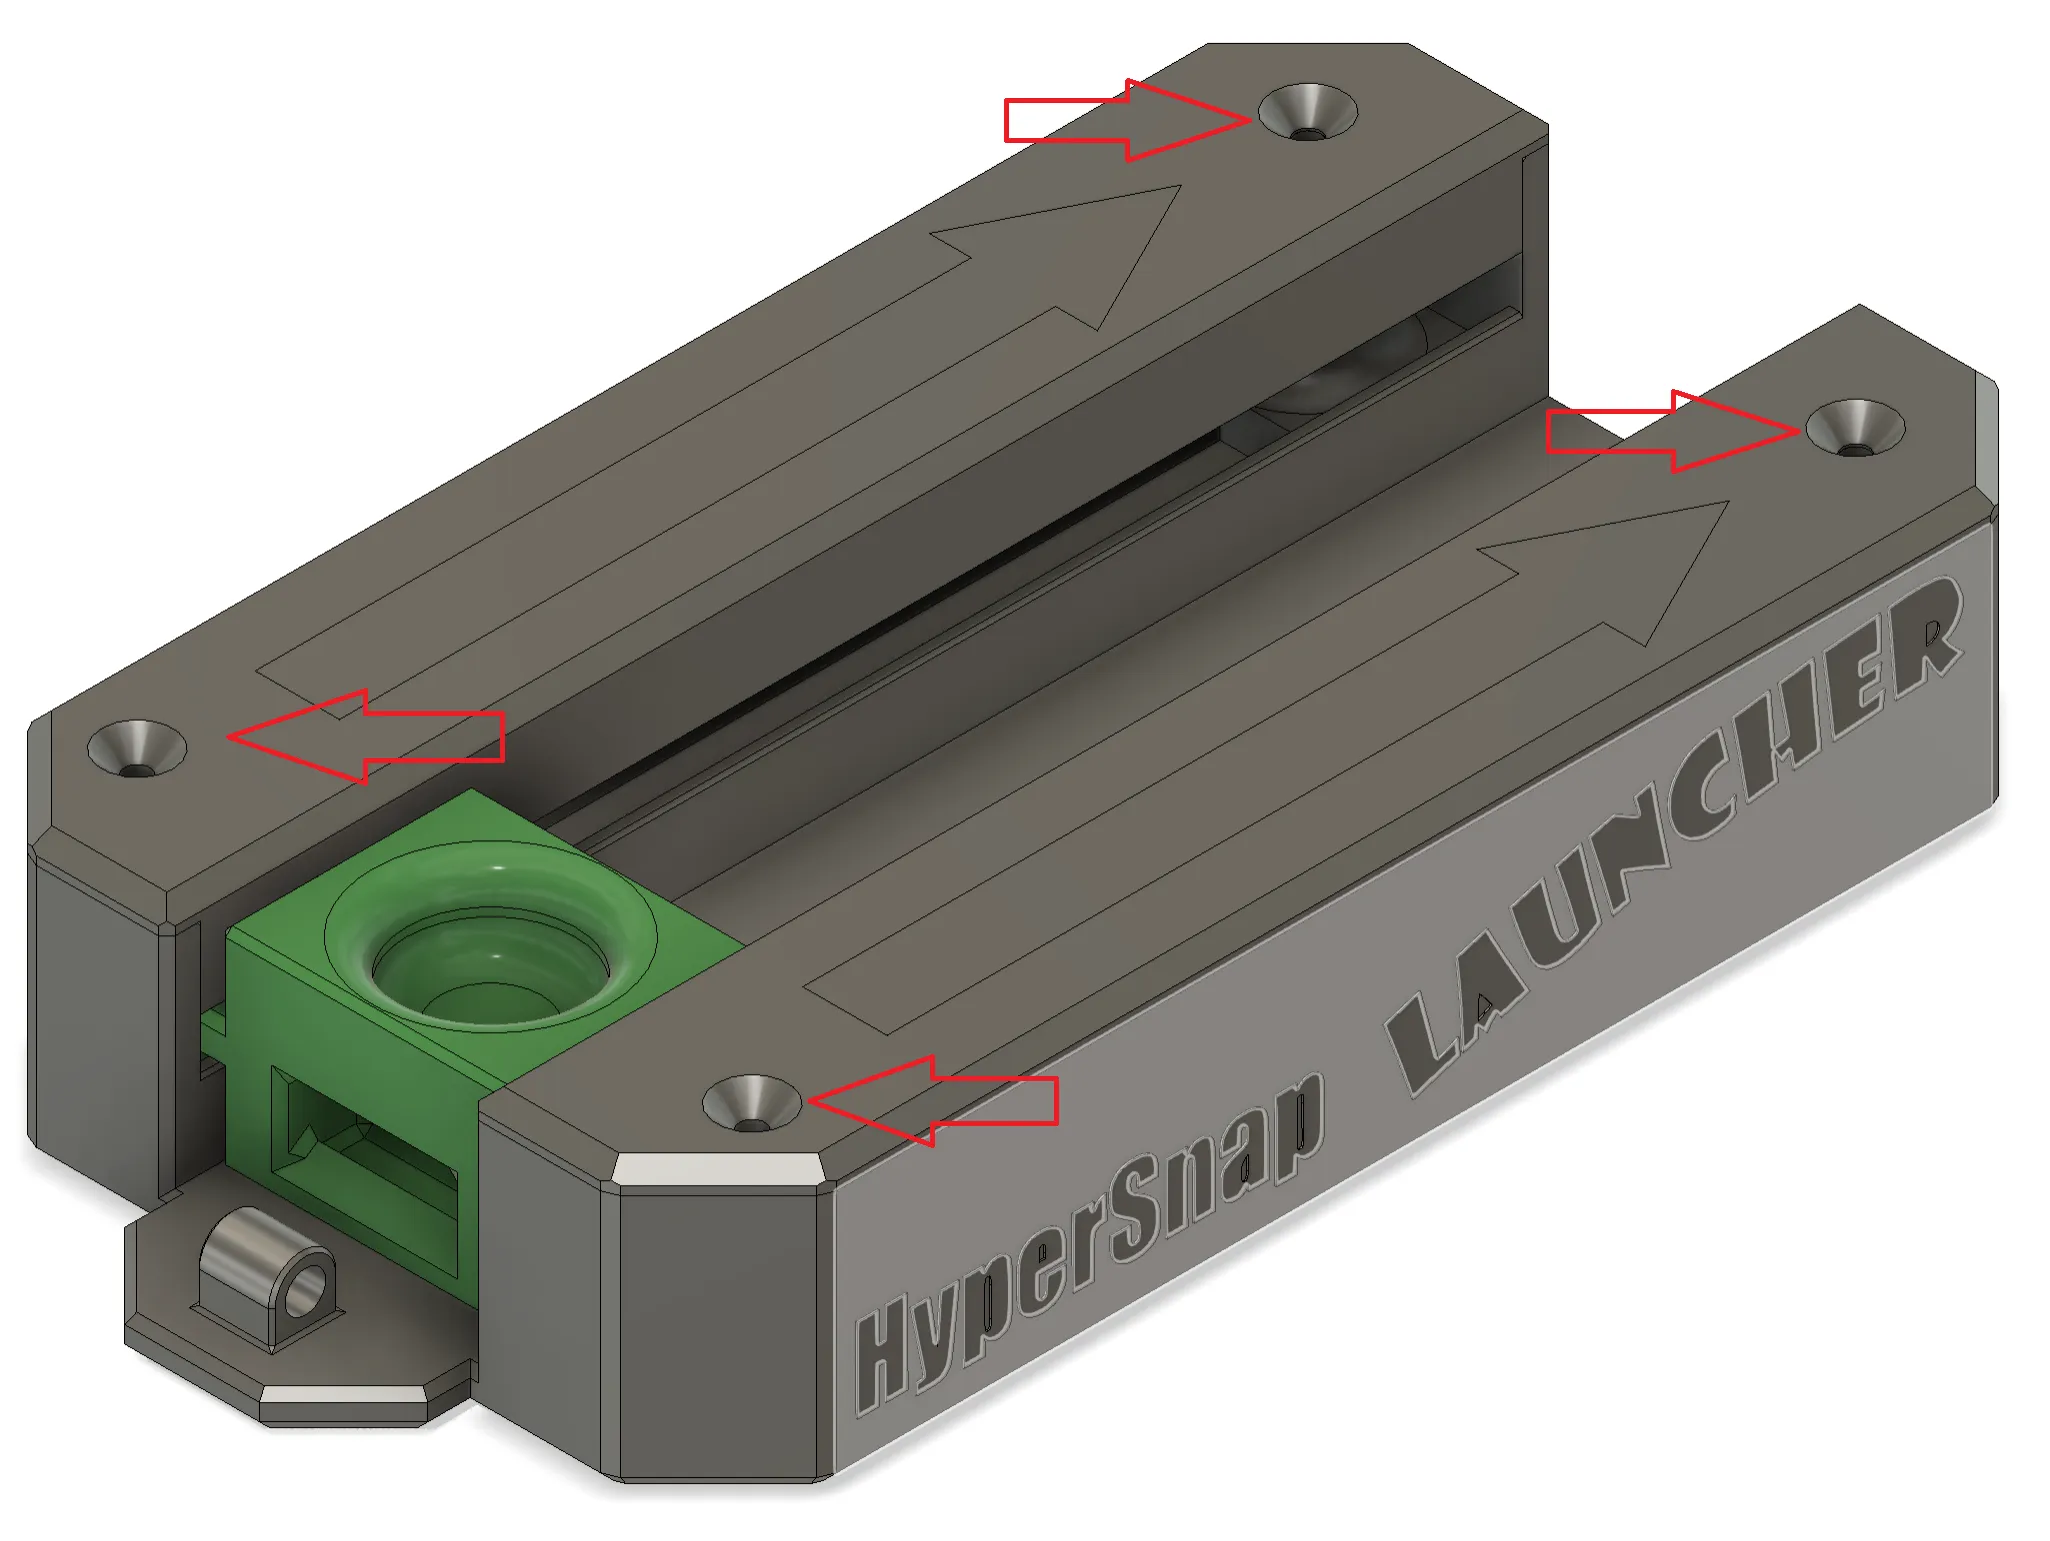
- Install the 2 top covers.
Install 4 x screws (6gx30mm long) through the top covers into the main body.
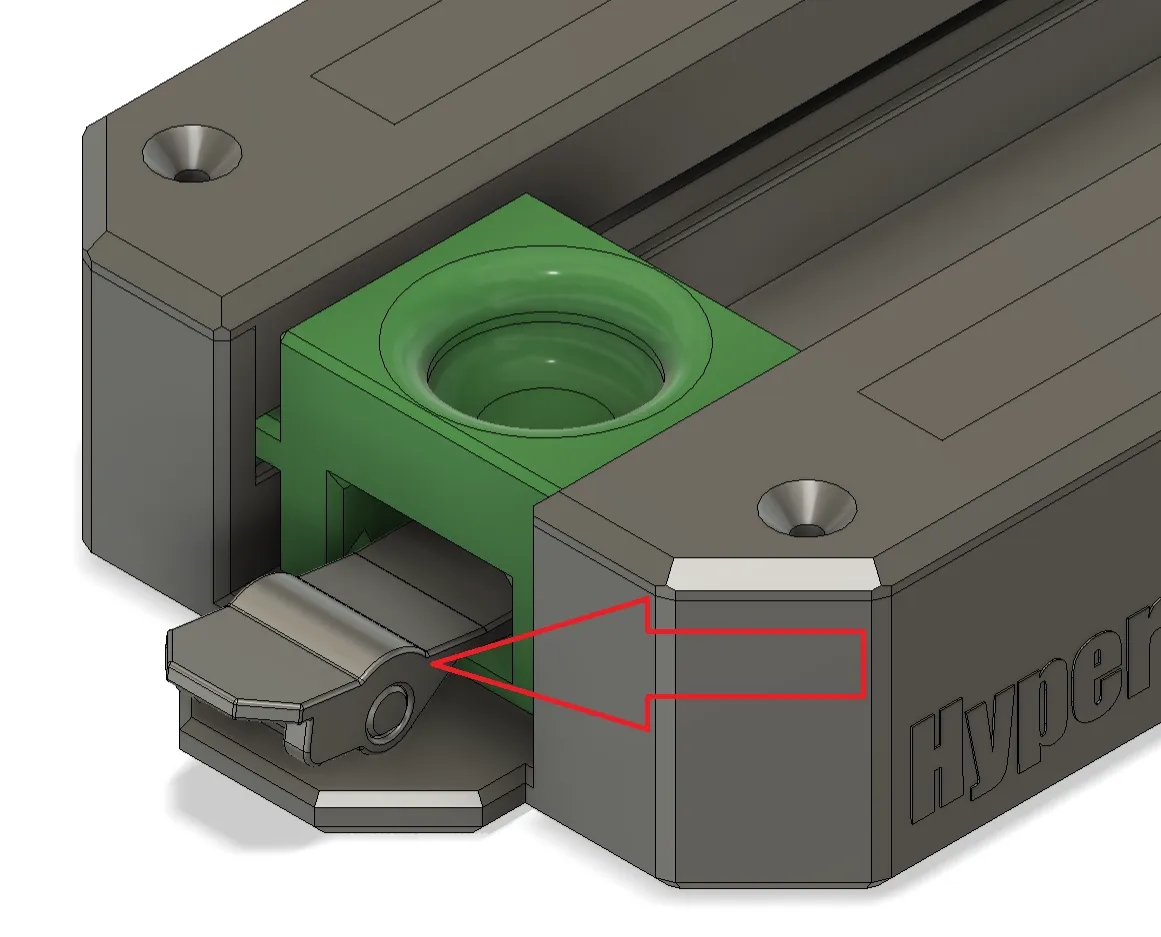
- Check the trigger pin slots into the main body. (note: this may require slight filing but make sure a firm fit is maintained)
Position the trigger on the main body and firmly install the trigger pin.
- Now you're ready to go!!!
- Pull back the launcher to lock it in place.

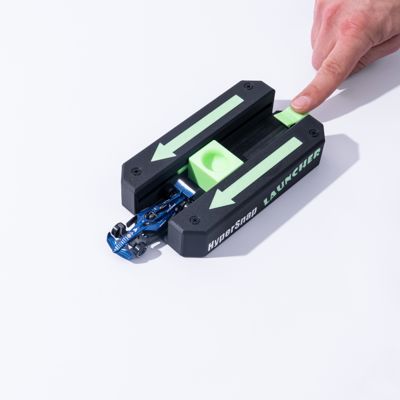
- Load up a car.
- Press the trigger to launch!!!!!!
Compatibility
Works with most standard 1:64 diecast cars.
License

You shall not share, sub-license, sell, rent, host, transfer, or distribute in any way the digital or 3D printed versions of this object, nor any other derivative work of this object in its digital or physical format (including - but not limited to - remixes of this object, and hosting on other digital platforms). The objects may not be used without permission in any way whatsoever in which you charge money, or collect fees.


Comment & Rating (70)