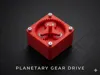
Compact Planetary Gearbox Nema 17


Print Profile(1)
Description
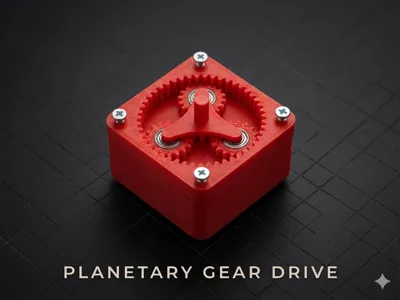
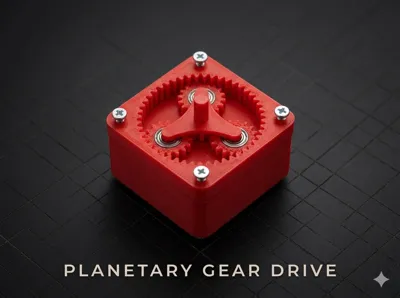
NEMA 17 High-Torque 2-Stage Planetary Gearbox (1:25 Ratio)
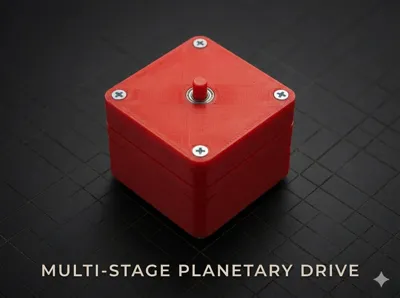
This is a compact and robust 2-stage planetary gearbox specifically designed for NEMA 17 stepper motors. With a total reduction ratio of 1:25, it provides a significant torque boost for your robotics projects, actuators, or DIY automation.
The design is optimized for 3D printing, featuring easy-to-identify parts and a straightforward assembly process.
Technical Specifications:
- Total Gear Ratio: 1:25
- Motor Compatibility: NEMA 17 Stepper Motor
- Bearings: 8x (10x5x4mm)
- Fasteners: M3x30mm screws & M3 Heat-set inserts
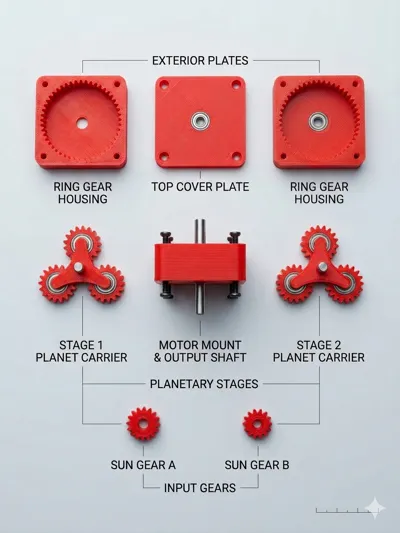
- Reduction Mechanism: Dual-stage planetary gears
Bill of Materials (BOM):
To complete this build, you will need:
- Bearings: 8 pieces of 10x5x4mm (standard MR105 or similar).
- Screws: 4x M3x30mm bolts.
- Inserts: 4x M3 heat-set inserts (to be installed in the motor mount housing).
Key Design Features:
- Error-Proof Assembly: To prevent confusion during assembly, the Stage 1 Ring Gear is narrower than the Stage 2 Ring Gear. Always use the thinner ring for the first stage (closer to the motor).
- Secure Mounting: All stages are held together by M3x30mm screws that thread directly into heat-set inserts melted into the motor mount for maximum durability.
Assembly Instructions:
- Preparation: Press the M3 heat-set inserts into the dedicated holes on the Motor Mount.
- Stage 1:
- Press-fit the Stage 1 Sun Gear onto the NEMA 17 motor shaft.
- Install the Narrower Ring Gear onto the motor mount.
- Place the Stage 1 Planet Carrier (with bearings and planet gears installed).
- Stage 2:
- The Stage 2 Sun Gear should be mounted onto the Output Shaft (which connects the two stages).
- Install the Wider Ring Gear for Stage 2.
- Place the Stage 2 Planet Carrier.
- Final Step: Place the Top Cover Plate and secure the entire assembly using the four M3x30mm screws. Tighten them evenly into the inserts in the motor mount.
If you like this project, please leave a boost or a 5-star rating! Happy printing!
License
You shall not share, sub-license, sell, rent, host, transfer, or distribute in any way the digital or 3D printed versions of this object, nor any other derivative work of this object in its digital or physical format (including - but not limited to - remixes of this object, and hosting on other digital platforms). The objects may not be used without permission in any way whatsoever in which you charge money, or collect fees.
Comment & Rating (2)