
Portal Cube Stand - Steam Controller
Print Profile(4)


Description
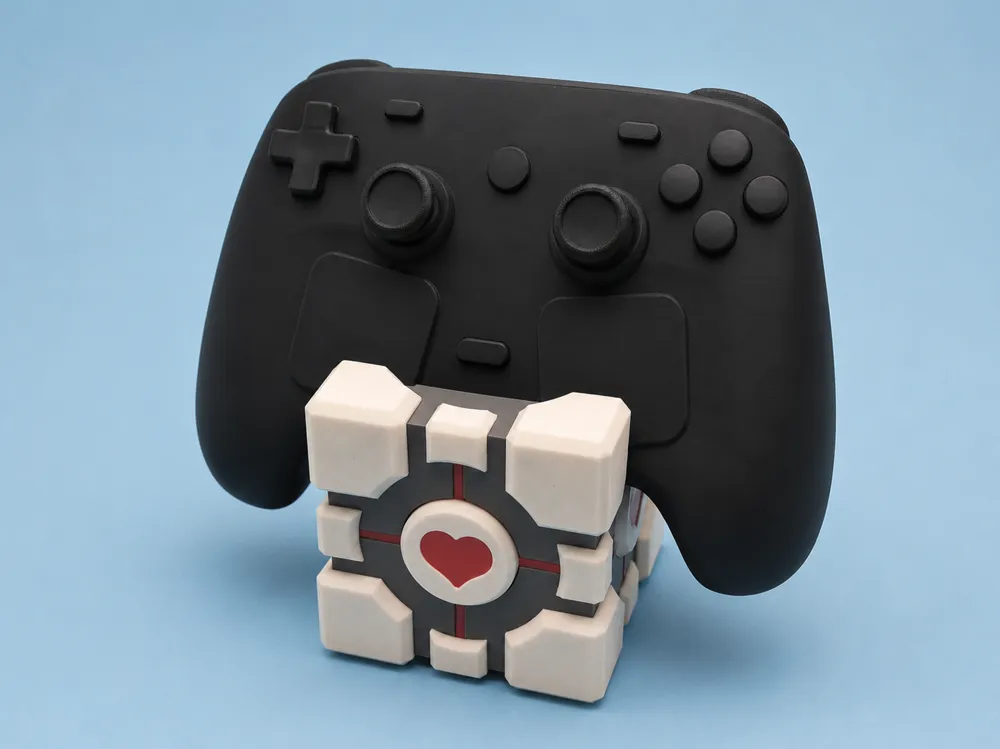
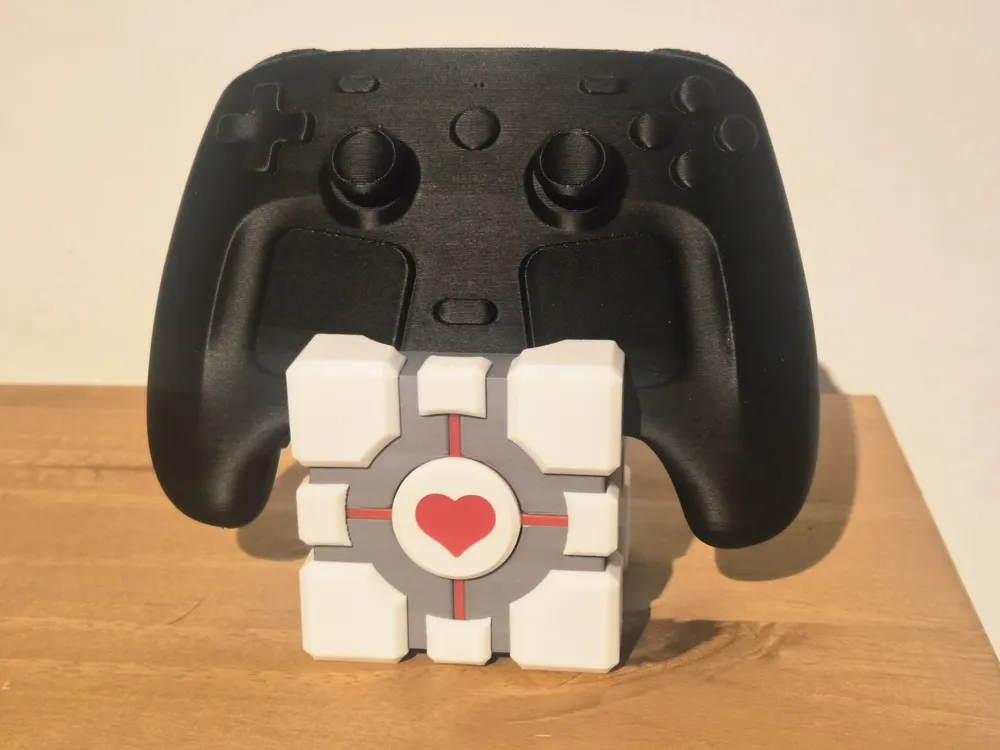
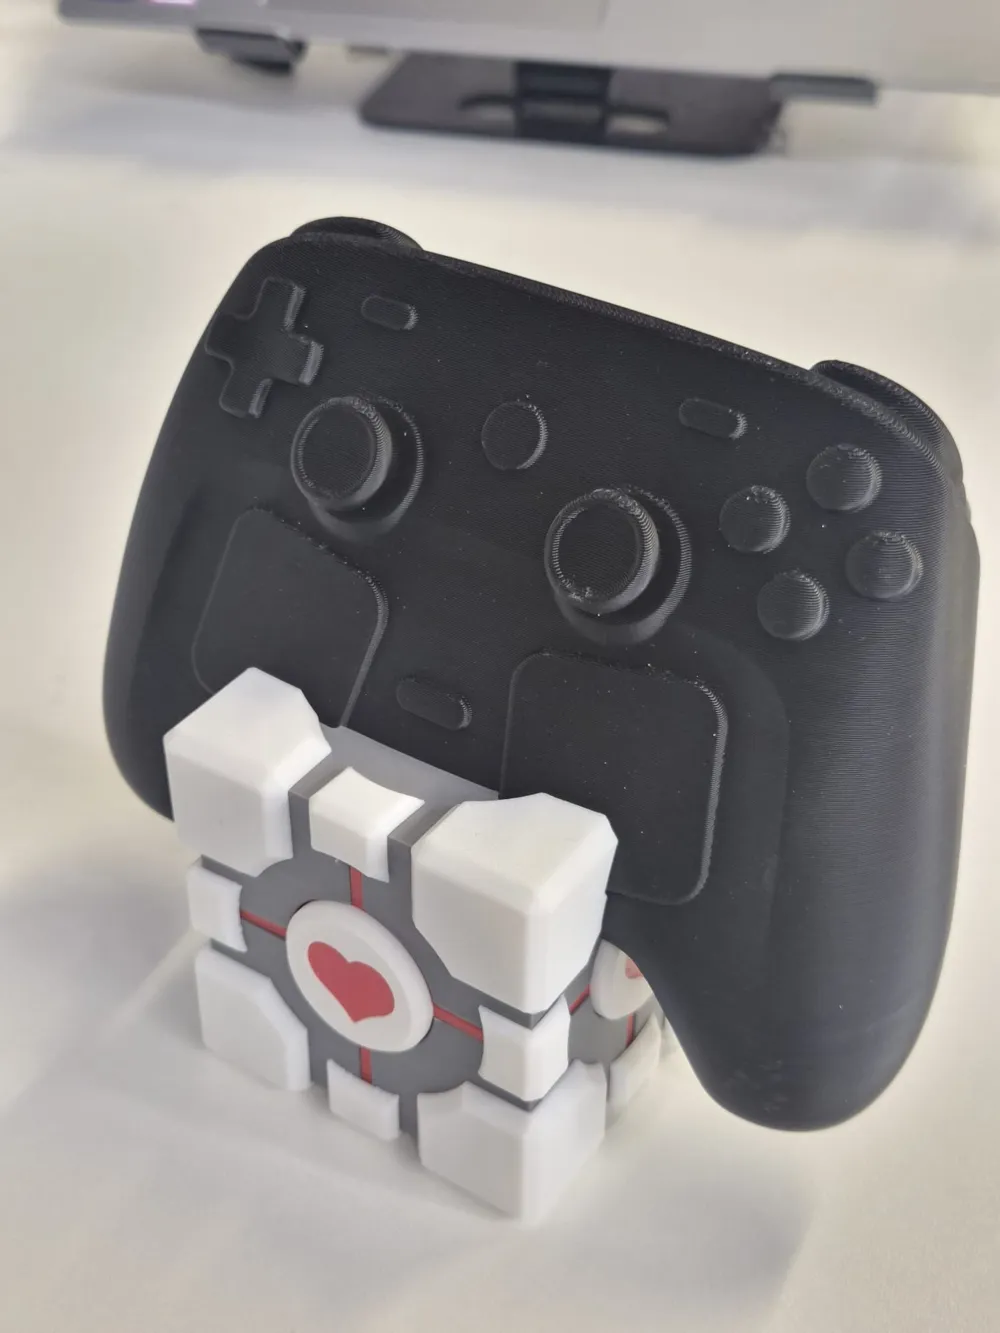
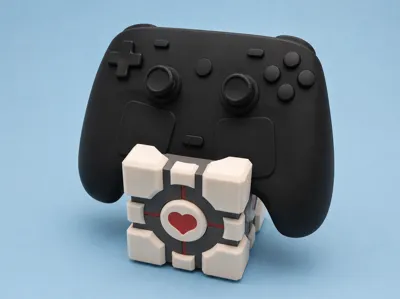
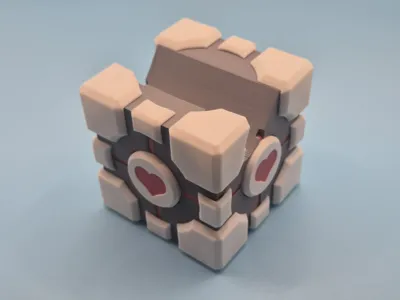
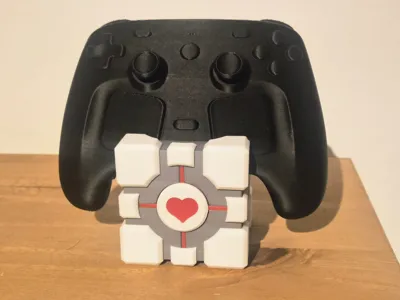
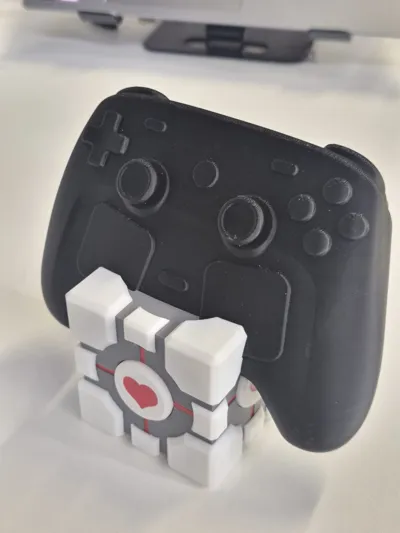
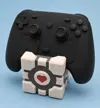
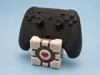
Get ready for the steam controller 2 with this Portal Companion Cube stand, the perfect accessory for your controller!
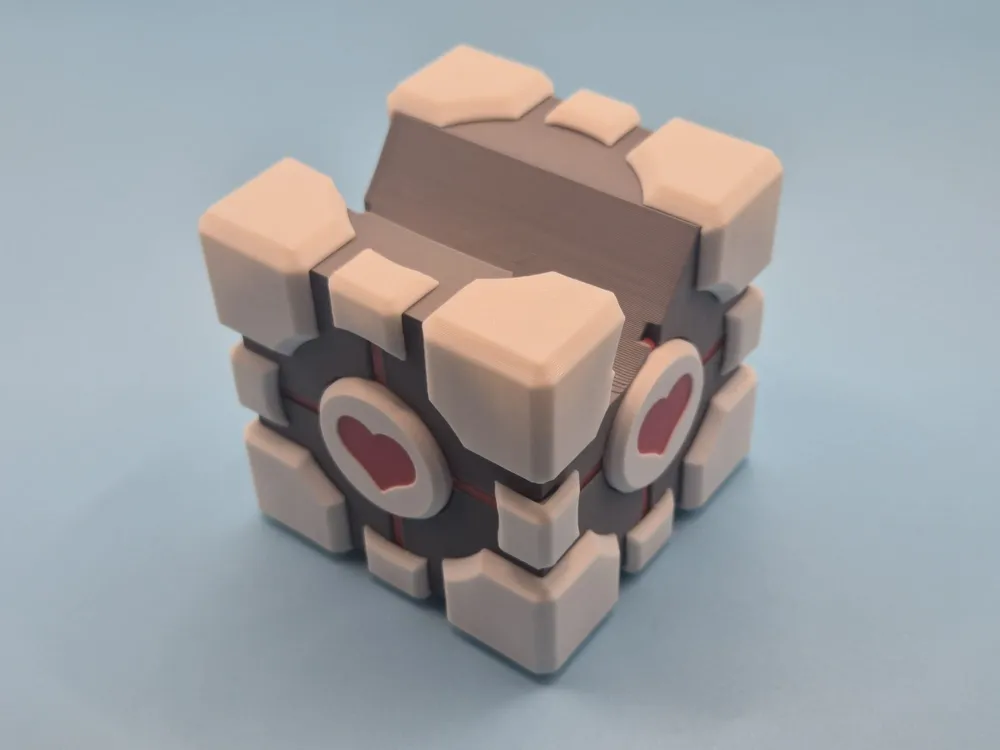
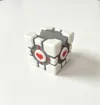
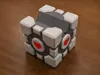
This model is designed to be easy to assemble and uses around 120g of filament. The assembled cube is 70 x 70 x 70mm.
Print Instructions
No supports are required.
There is now an AMS and Non-AMS version (which requires some glueing).
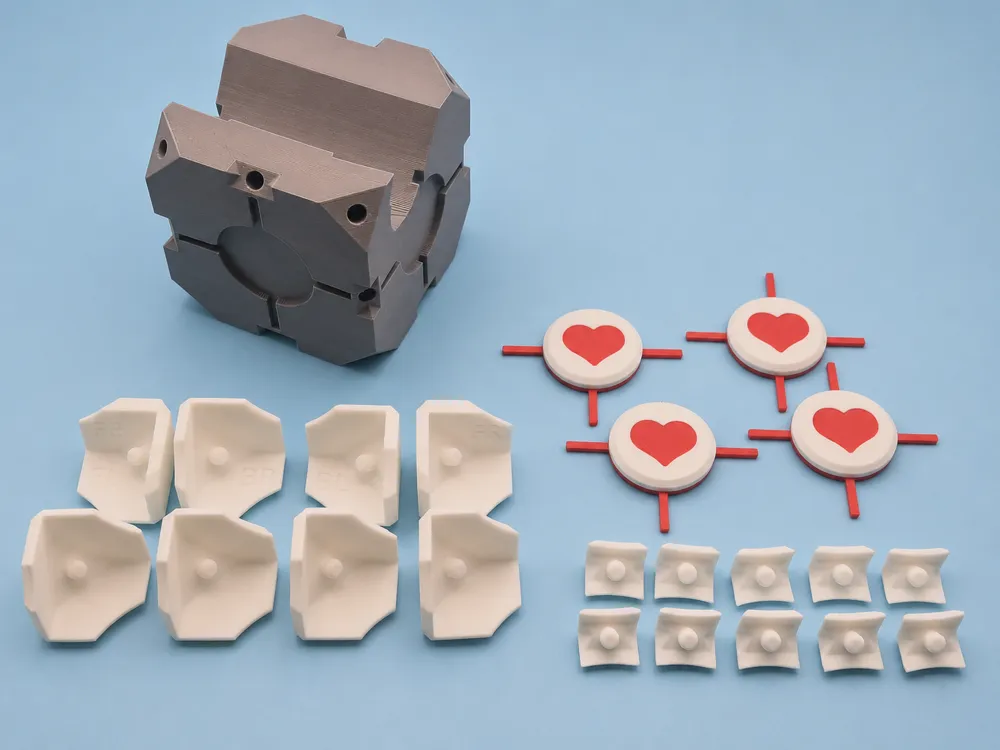
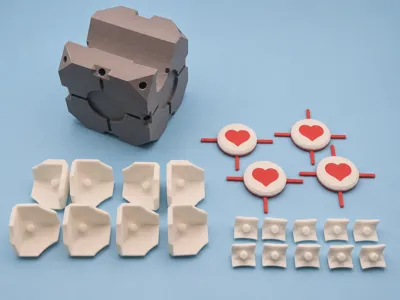
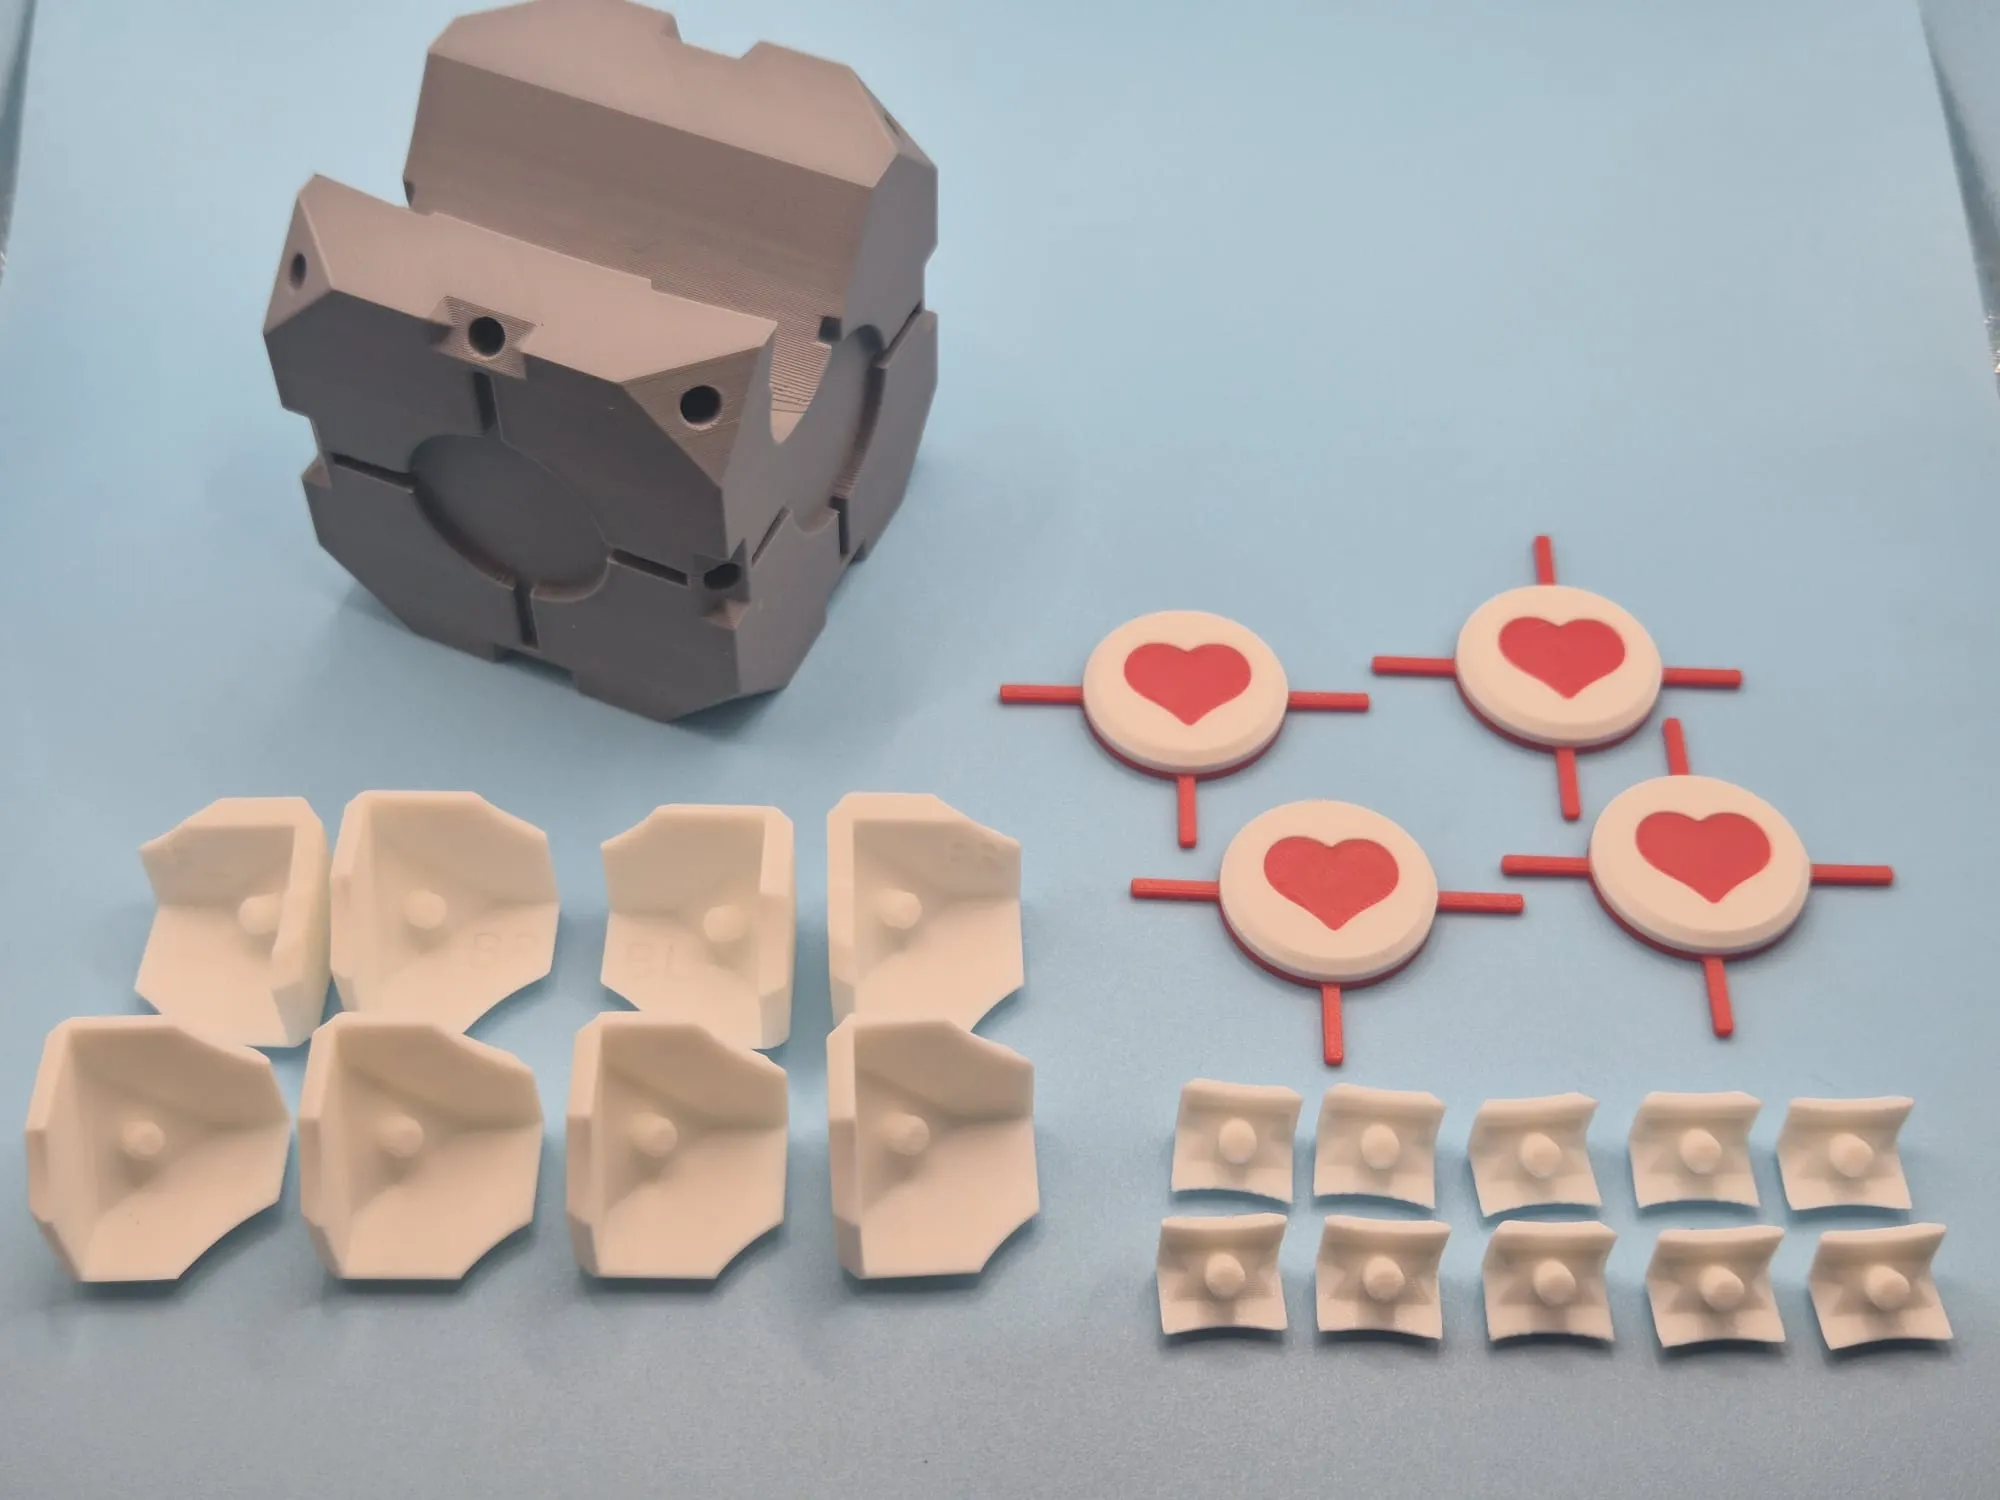
You will need to print the following parts:
1x Cube - Grey
2x Front Circles - White / Red
2x Side Circles - White / Red
4x Bottom Corners - White
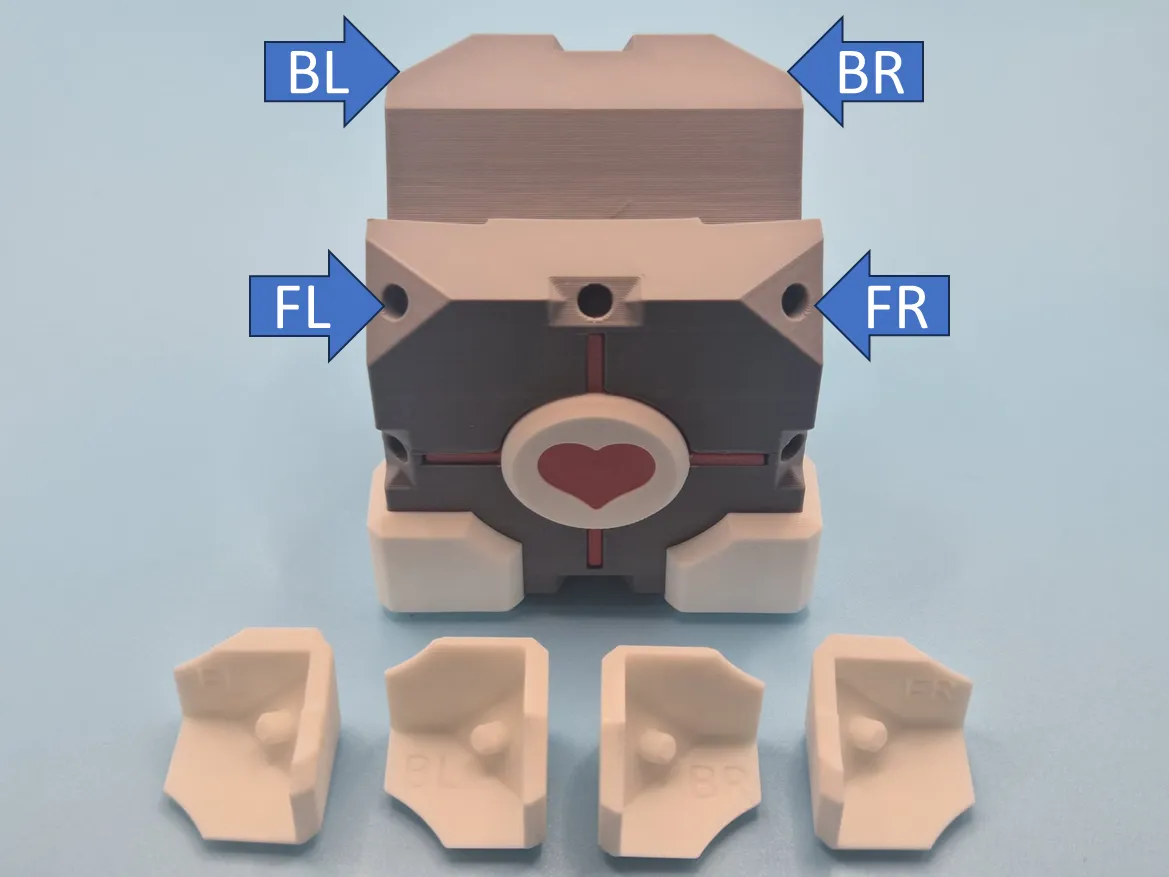
4x Top Corners (FL = front left, FR = front right, BL = back left, BR = back right) - White
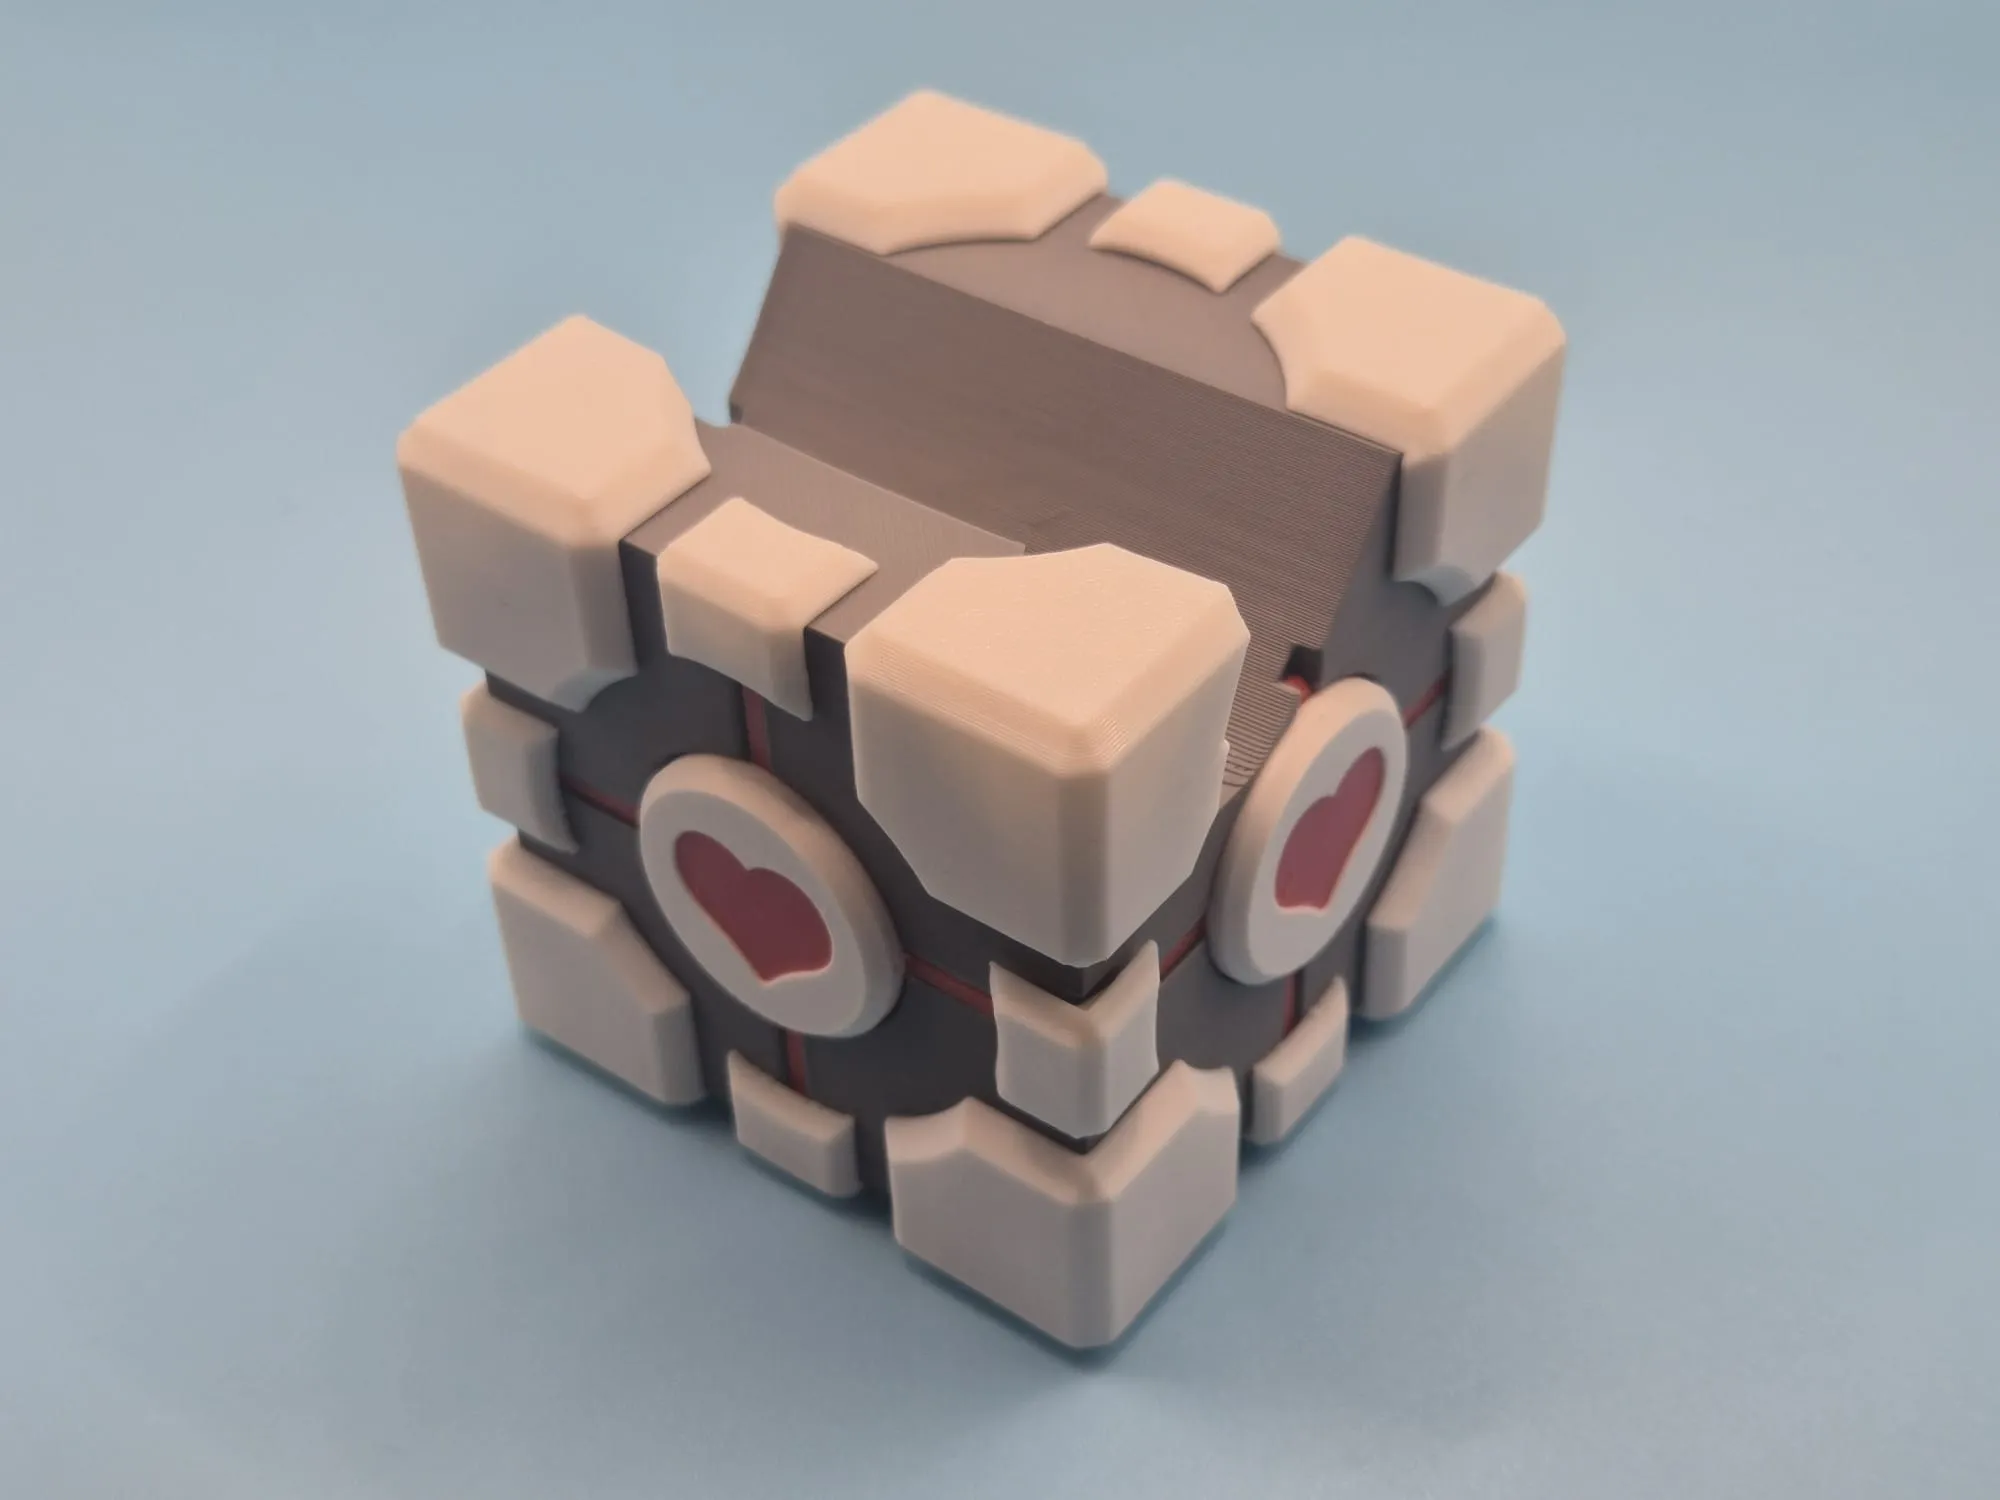
10x Middle Edges - White
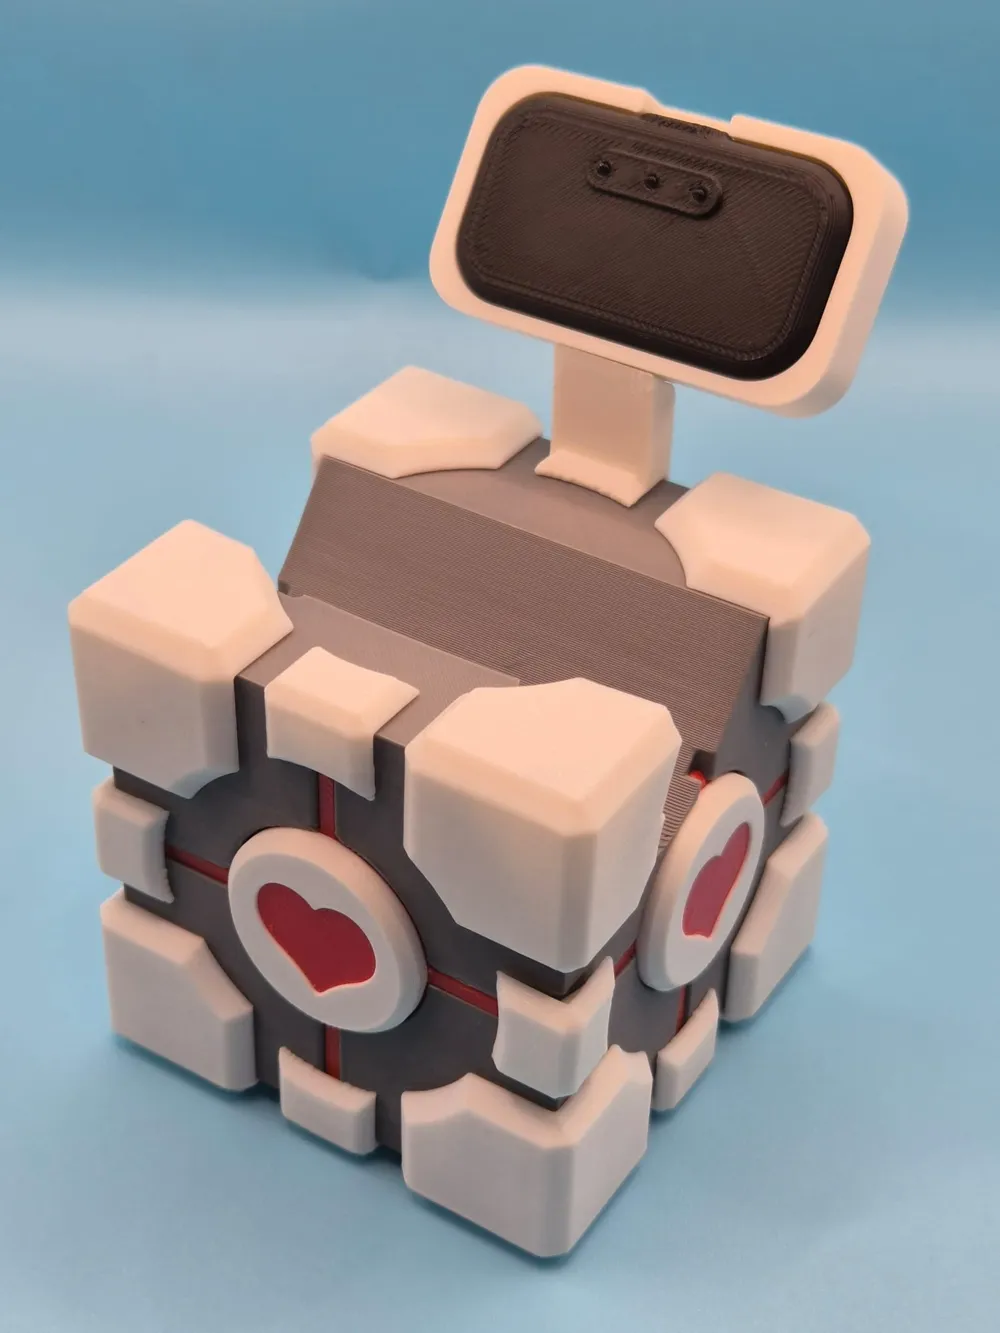
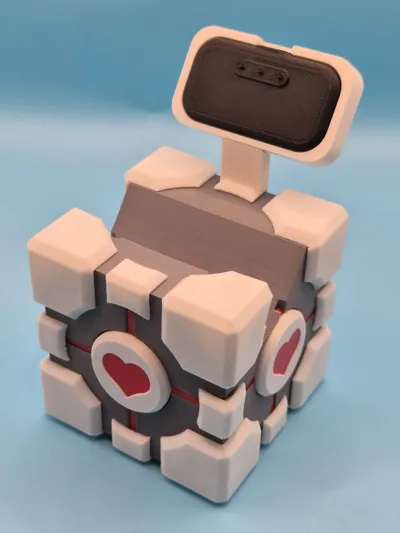
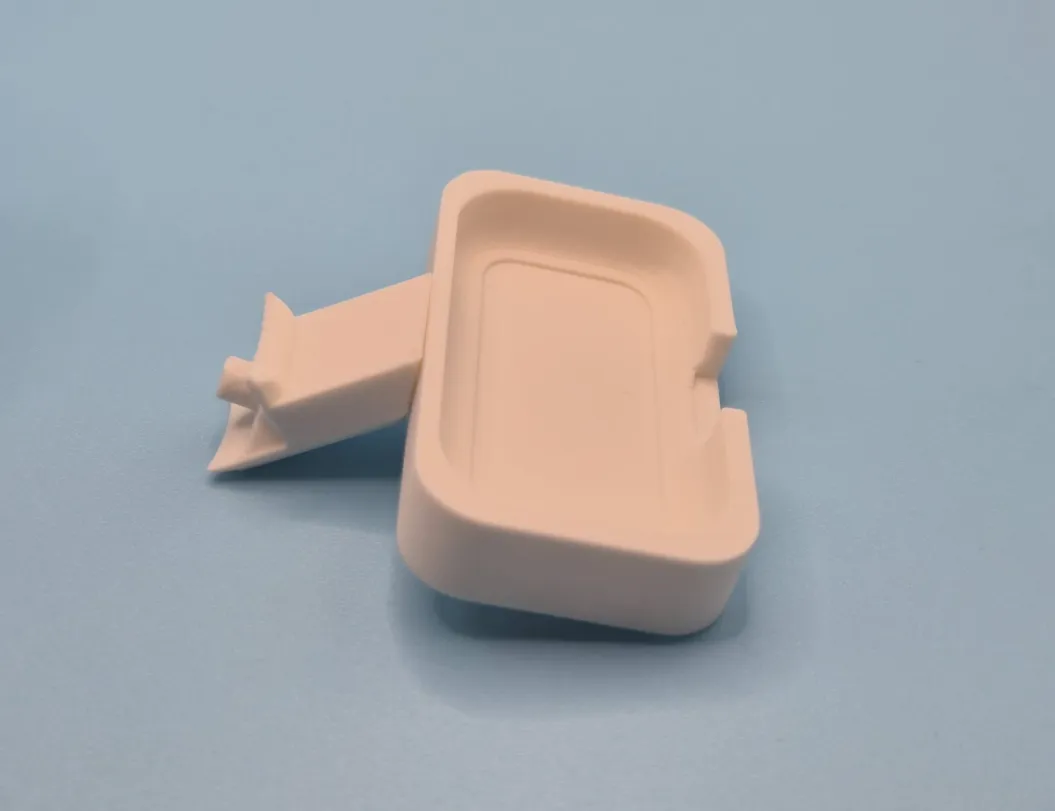
(optional) - 1x Buck holder (2 part) - White
NON-AMS Version
2x Short Lines & Hearts part - Red
2x Full Lines & Hearts part - Red
4x Circles - White
Assembly Instructions
Note: All the parts should push-fit together, however you can use super glue too if they're loose.
Make sure you assemble it before gluing to make sure you get the corners correct!
1. Print the parts
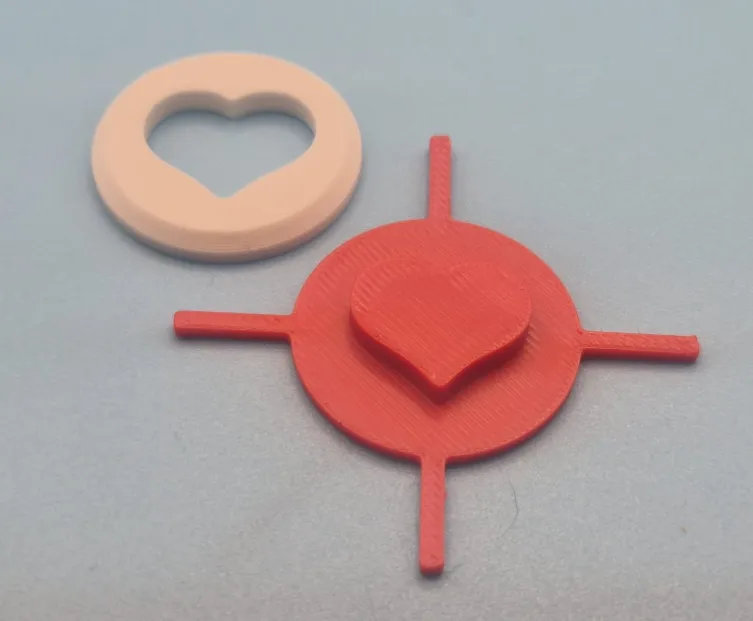
1b. (NON-AMS Version only) Glue the white circle to the red lines & heart part.
You'll need 2 short lines and 2 normal lines.
2. Push in the circles in each side.
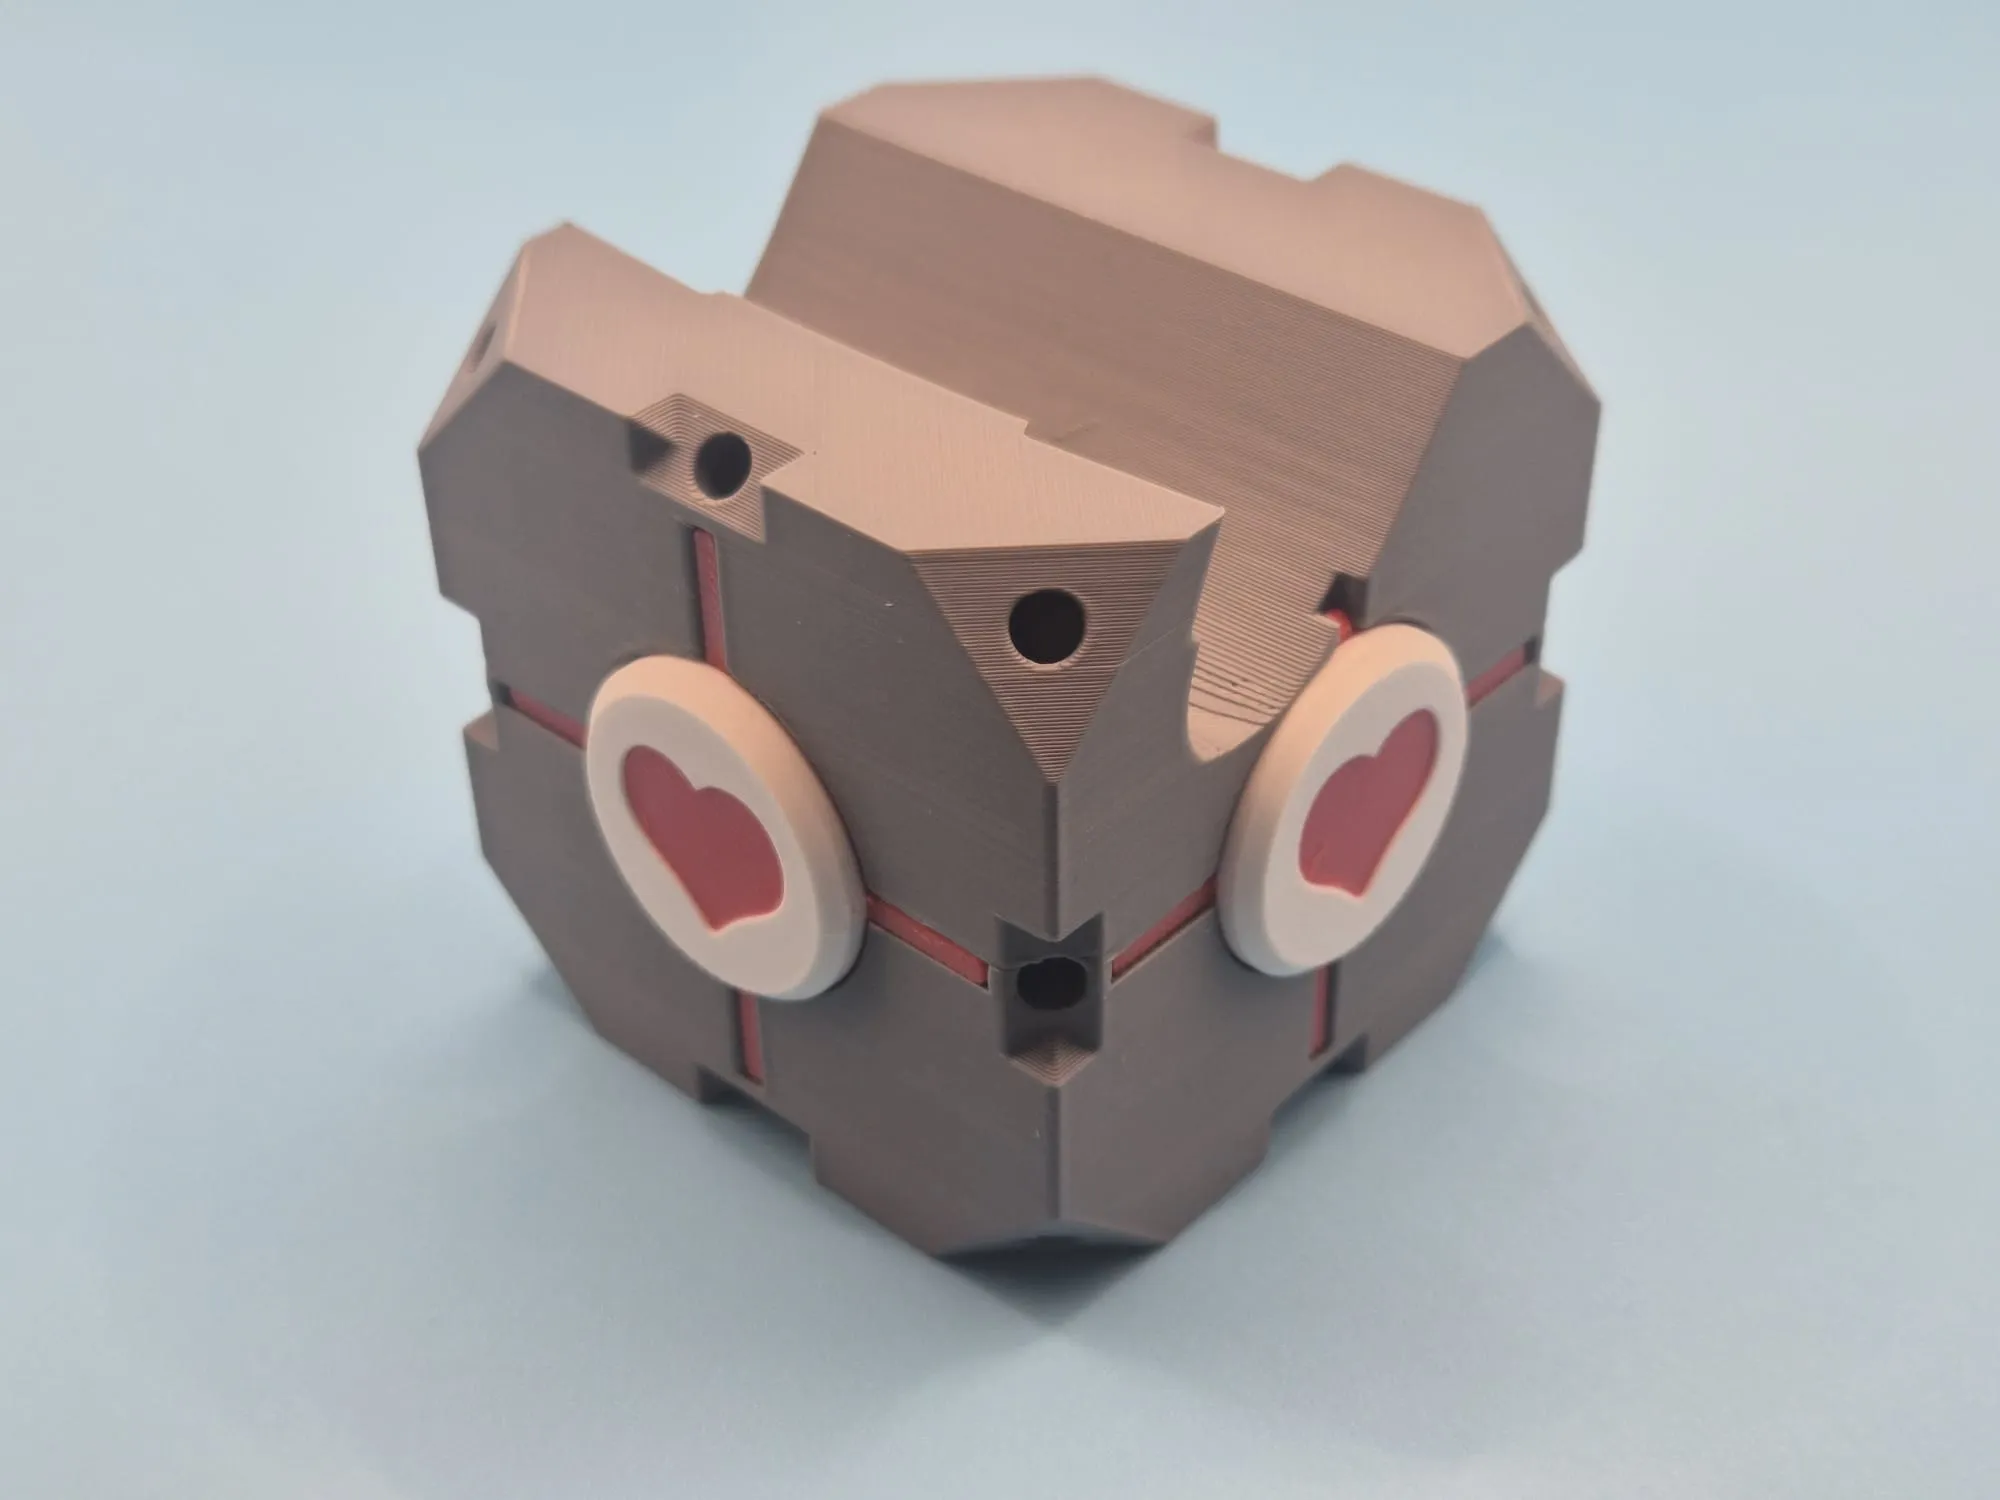
3. Turn the cube upside-down and insert the 4 bottom corners, with the side that was on the build plate on the bottom side.
(Note: Do not use the corners that have text on them)
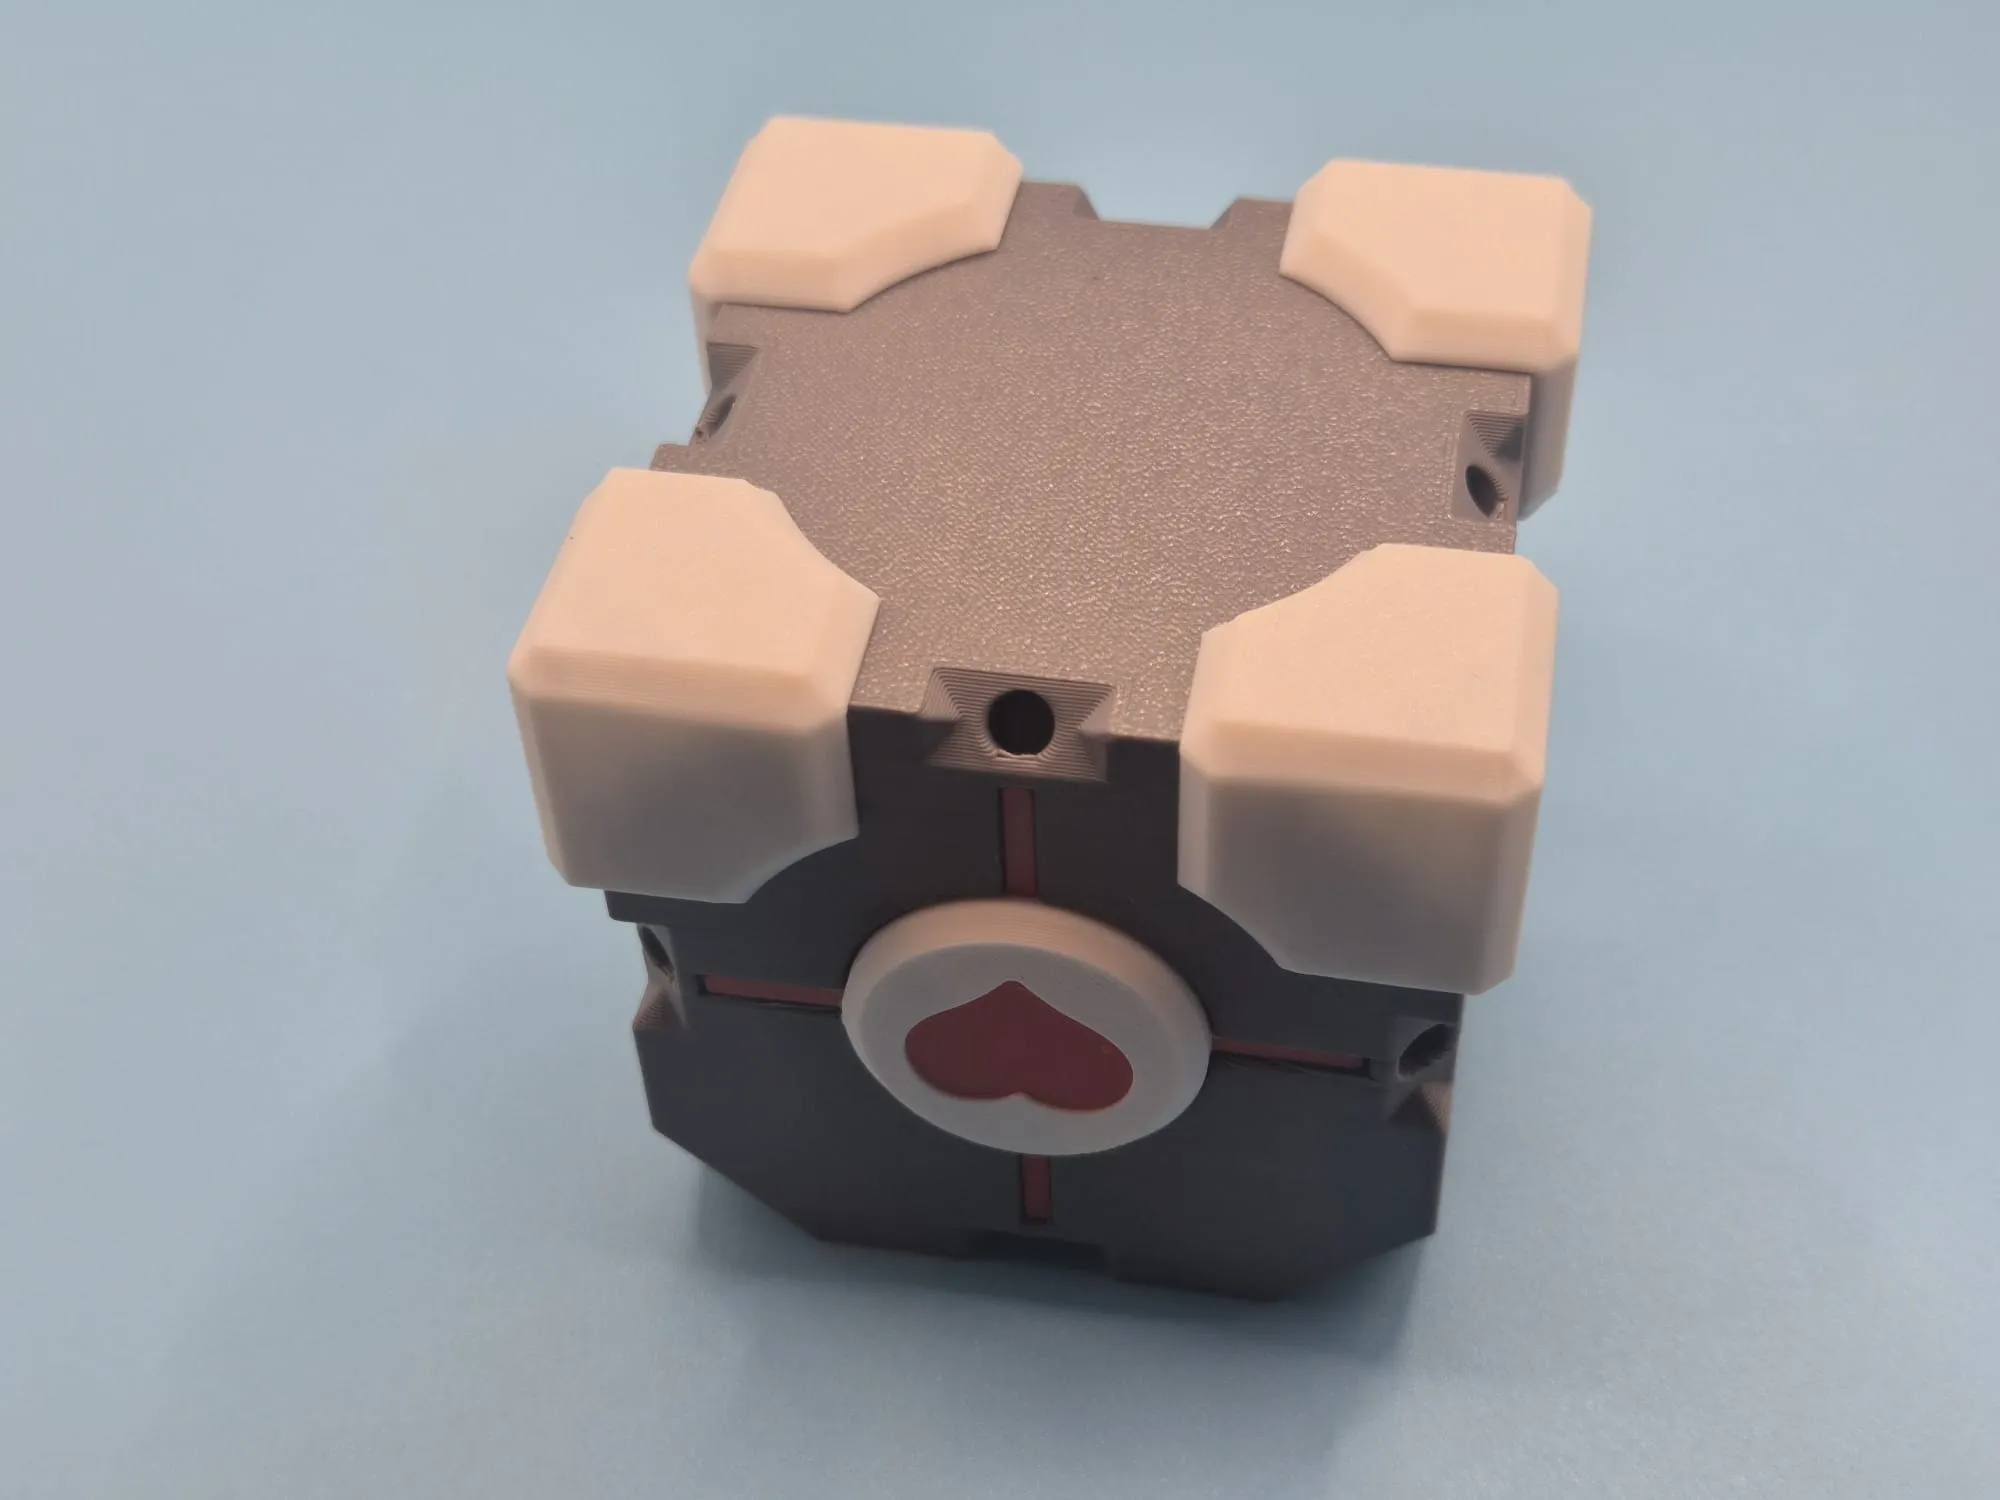
4. Rotate the cube so the front is facing you. Insert the 4 top corners matching the letters to the arrow.
(Note: The side that was on the bed should face upwards)
(FL = Front Left, FR = Front Right, BL = Back Left, BR = Back Right).
5. Insert the 10 middle edges.
6. (optional) Remove the back middle edge. Insert the buck holder into the buck stand and insert into the middle edge.
note: You'll probably want to superglue this one to make sure it stays attached. Secure the buck with double-sided tape or bluetack if required.
7. Boost this model
Boost Me (for free)
The cake is a lie.
Any Issues
Please comment or DM me any issues you have. This model in early access as it was designed before my controller arrived and I 3D printed one. I'll replace the photos and adjust the model if needs be when it arrives but I'm confident it'll work as expected.
Updates
09/05/2026 - Added non-ams version
09/05/2026 - Added puck holder
08/05/2026 - Middle edges were the wrong scale on print profile, now fixed.
07/05/2026 - Initial release
Future Development
- I'm making a version of this which holds the puck! it'll replace the back middle edge, so don't glue that in if you want the puck holder. - DONE
- I'll release a phone holder version of this soon.
- I'll make just the plain cube so you can have desk toys. - WIP
- Yes, I'll make an Xbox & PS5 version soon…
Commercial Use
If you wish to sell this model commercially, drop me a DM.
License

You shall not share, sub-license, sell, rent, host, transfer, or distribute in any way the digital or 3D printed versions of this object, nor any other derivative work of this object in its digital or physical format (including - but not limited to - remixes of this object, and hosting on other digital platforms). The objects may not be used without permission in any way whatsoever in which you charge money, or collect fees.


Comment & Rating (100)