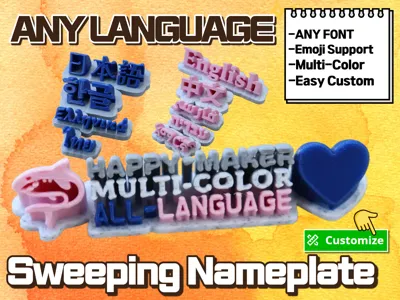
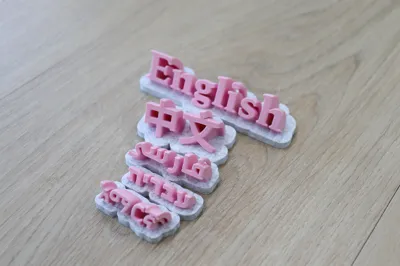
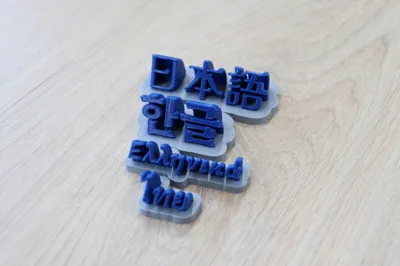
Any Language Sweeping Name Plate


Print Profile(1)
Description
This is a remixed version of the famous model "Sweeping 2-line name plate - customizable" by @Makkuro.
https://makerworld.com/ko/models/436531-sweeping-2-line-name-plate-customizable#profileId-341843
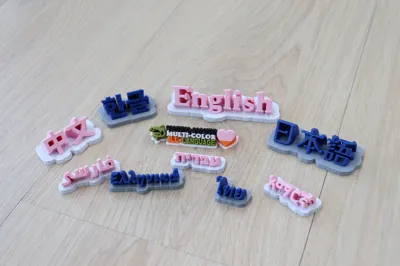
Supports all fonts and languages provided by MakerWorld.
Supports all emojis available in the "Noto Emoji" font.
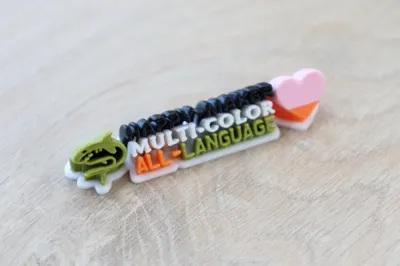
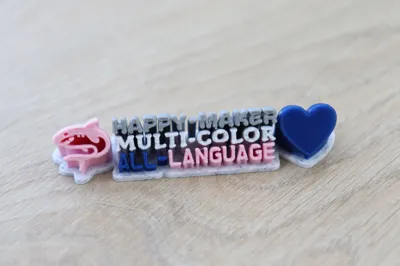
Multi-color 3D printing ready.
Intuitive and easy customization.
I have included the options that many users (including myself) have requested in the original comments.
Step-by-Step Guide
Step 1: Start Customizing
Click the 'Customize' button. When the popup appears, click 'Customize' again.
(Tip: If it doesn't load properly, please try again using the Google Chrome browser.)
Step 2: Parametric Model Maker
You will see the base model. Adjust each part to create your own unique design.

- Change the text and choose your favorite font. (3 lines)
- Left/Right Emojis: Delete, change shapes, or adjust positions.
- Base shape option
Step 3: Fixing "Tofu" (Broken Text)
If the font doesn't support your language, the text will appear as broken squares (Tofu) in the preview.

- Click the three dots (⋯) next to font_name.
- To find the right font among 8,000+ options, use the filter: Filter → Language → Writing System.
- Select your language, and you’ll see about 100 compatible fonts. Pick the one you like!


Step 4: Customizing Emojis
- You can use the Win + . shortcut to insert emojis, but for better compatibility, visit Noto Emoji Glyphs and copy/paste your desired emoji.
- Adjust the position using left_emoji_offset and right_emoji_offset.
- If you don't want an emoji, simply leave the field blank.

Step 5: Downloading the File
Click 'Download', select your printer model, and choose 'Download 3MF'.
(Note: You must download the 3MF format to preserve the multi-color settings.)

Step 6: Applying Colors (AMS Mapping)
To apply different colors to each part, use one of these three approaches:
- Approach 1: Use the 'Sync Info' tab in the Bamboo Studio 'Prepare' screen to map colors to your AMS.

- Approach 2: Use the 'Paint' tool in the slicer for the most creative color combinations.

---------------------------
Now your custom name tag is ready to print!
Happy Printing!

Comment & Rating (0)