AUTODART WINMAU-Version H2D 680g Desinger Version


Print Profile(3)
Bill of Materials


- Dartbord x 1:
- USB Hub x 1:
- Surround Winmau x 1:
- LED Strip x 1:
- Camera x 3:
Description
Boost Me (for free)
Please leave a boost to support this and upcoming projects
Important: If possible, please use the camera model linked below. The board's electronics must be on the back. Other camera models must be tested. Feel free to message me privately, then I can adapt the camera cover to other models
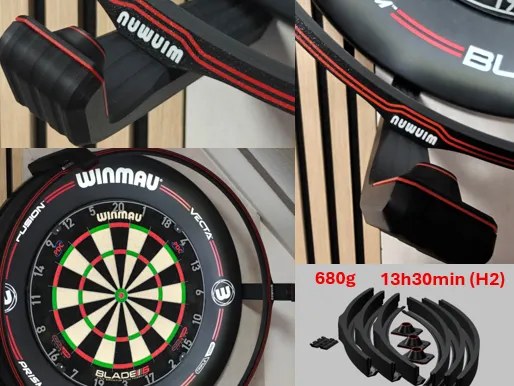
ONLY 687.01g
Print time: 13h 29min (H2D)
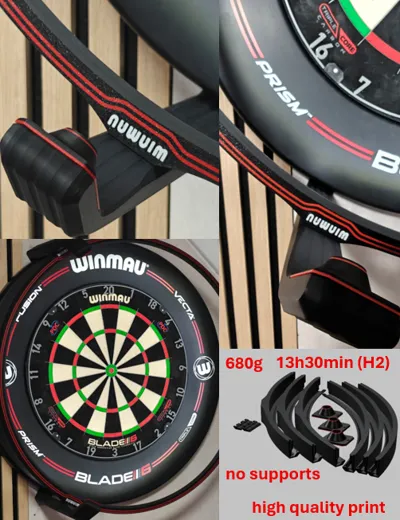
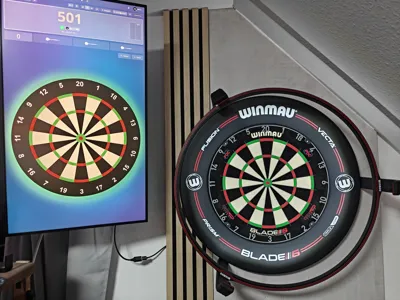
Here I present a very well-thought-out auto-dart model. It is optimized for as little filament and as few screws as possible. At the same time, no supports are needed. Compared to the very good and popular OMMO model, my assembly is much easier, faster, and cheaper. I also developed a suitable base plate. It can be found in the print profile or on my MakerWorld page

The model has been thoroughly tested and works perfectly
Assembly:
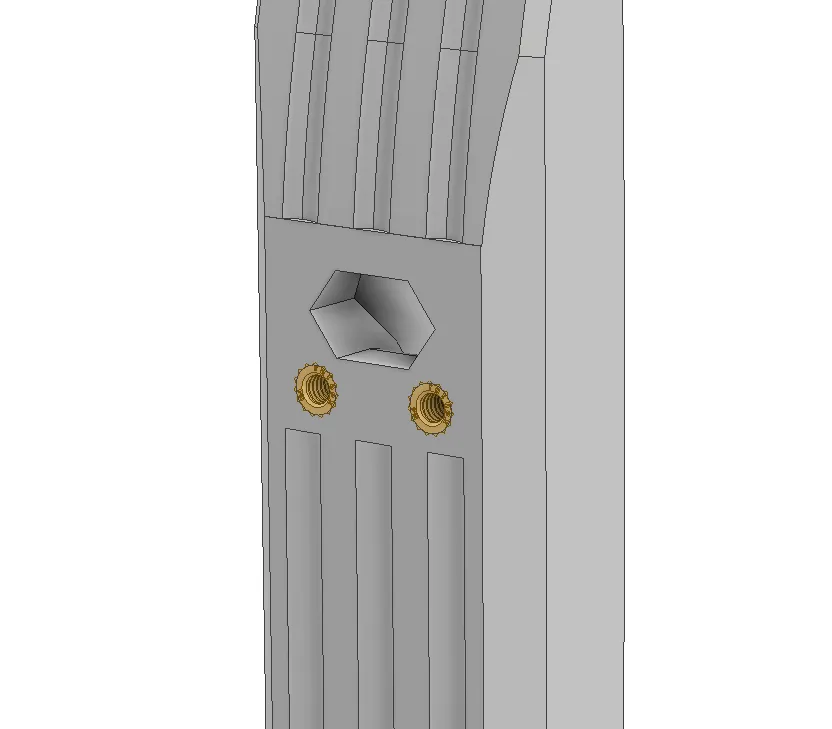
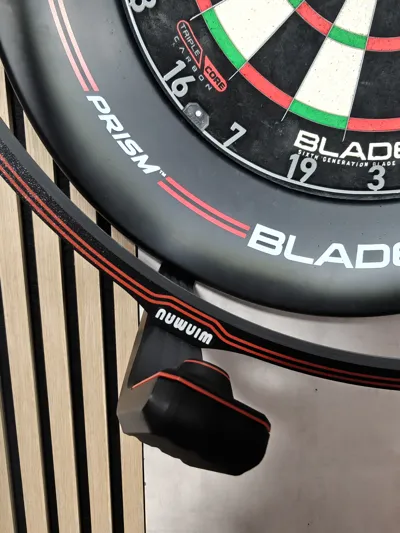
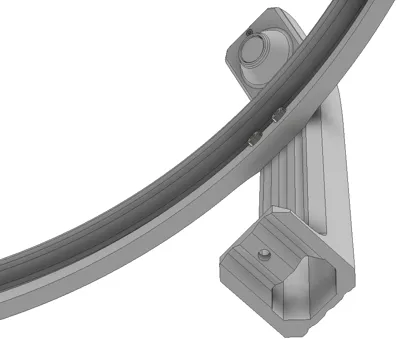
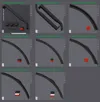
The assembly of the camera arms is shown in the following pictures. The board is deliberately a bit tight so it doesn't wobble. It will later be held in position by the camera cover. This saves a lot of screws and nuts
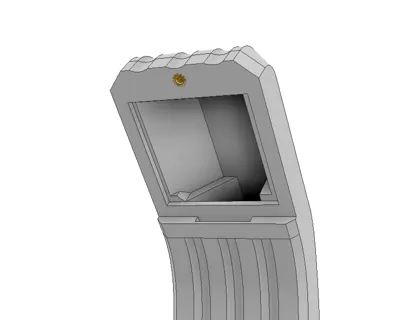
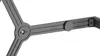
Camera Arms:


At this point, the board must be removed from the arm again and placed together with the camera cover


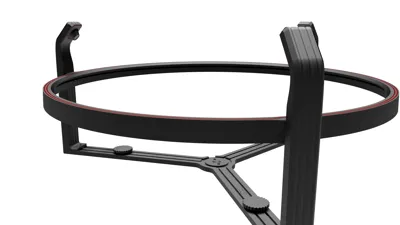
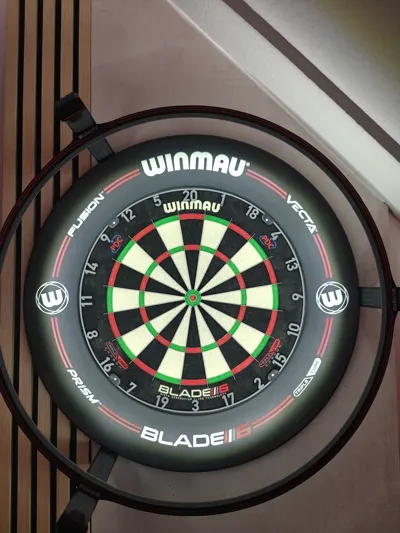
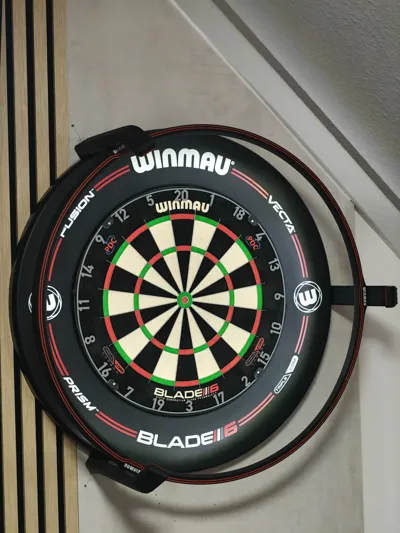
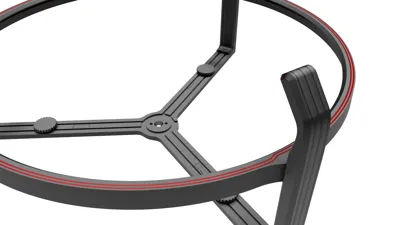
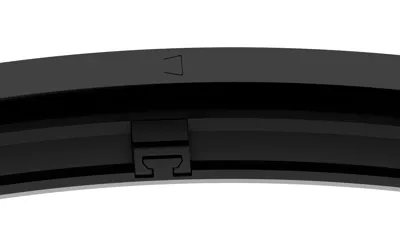
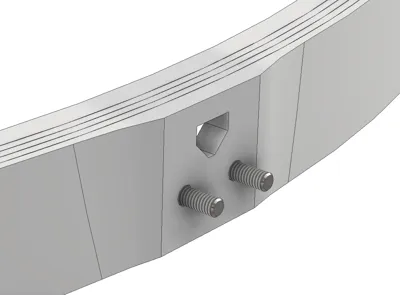
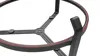
Illumination Ring:
The individual segments are pushed into each other in a form-fitting manner. This can also be done carefully with a hammer. When the undersides of the ring are perfectly flush and even, the connector can simply be slid on. It provides maximum stability and simultaneously covers the small gap between the ring parts so that no light penetrates forward. The following 2 pictures are included for illustration


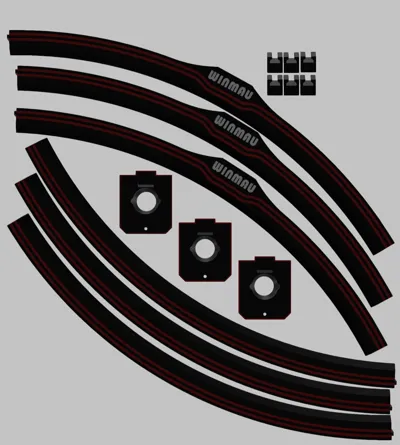
Parts:
- HBV OV9732 100 Degree 1MP Camera Module for Win XP/7/8/vista/android 4.0/mac/Linux with uvc - AliExpress 44
- Lemorele USB 3.0 HUB 4-in-1 Type-C Adapter 4-Port Slot USB-C Hub USB Hub 3.0 High-Speed for Laptop Windows Mac - AliExpress 7
- Aclorol USB COB LED Strip 4m Cool White 6000K Flexible LED Strip with 1M USB Power Cable High Density 320LEDs/m CRI>85 for TV LED Backlight Living Room Mirror Cabinet Nightstand Computer : Amazon.de: Lighting
- Winmau Surround Pro-Line Blade 6
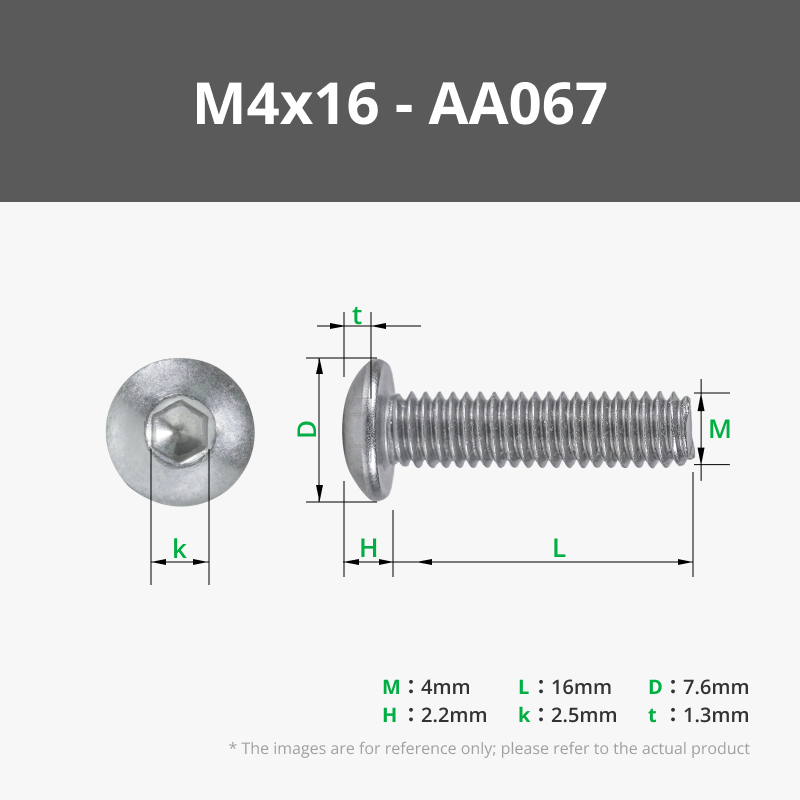
- 6x M4 x 16 mm socket head screws
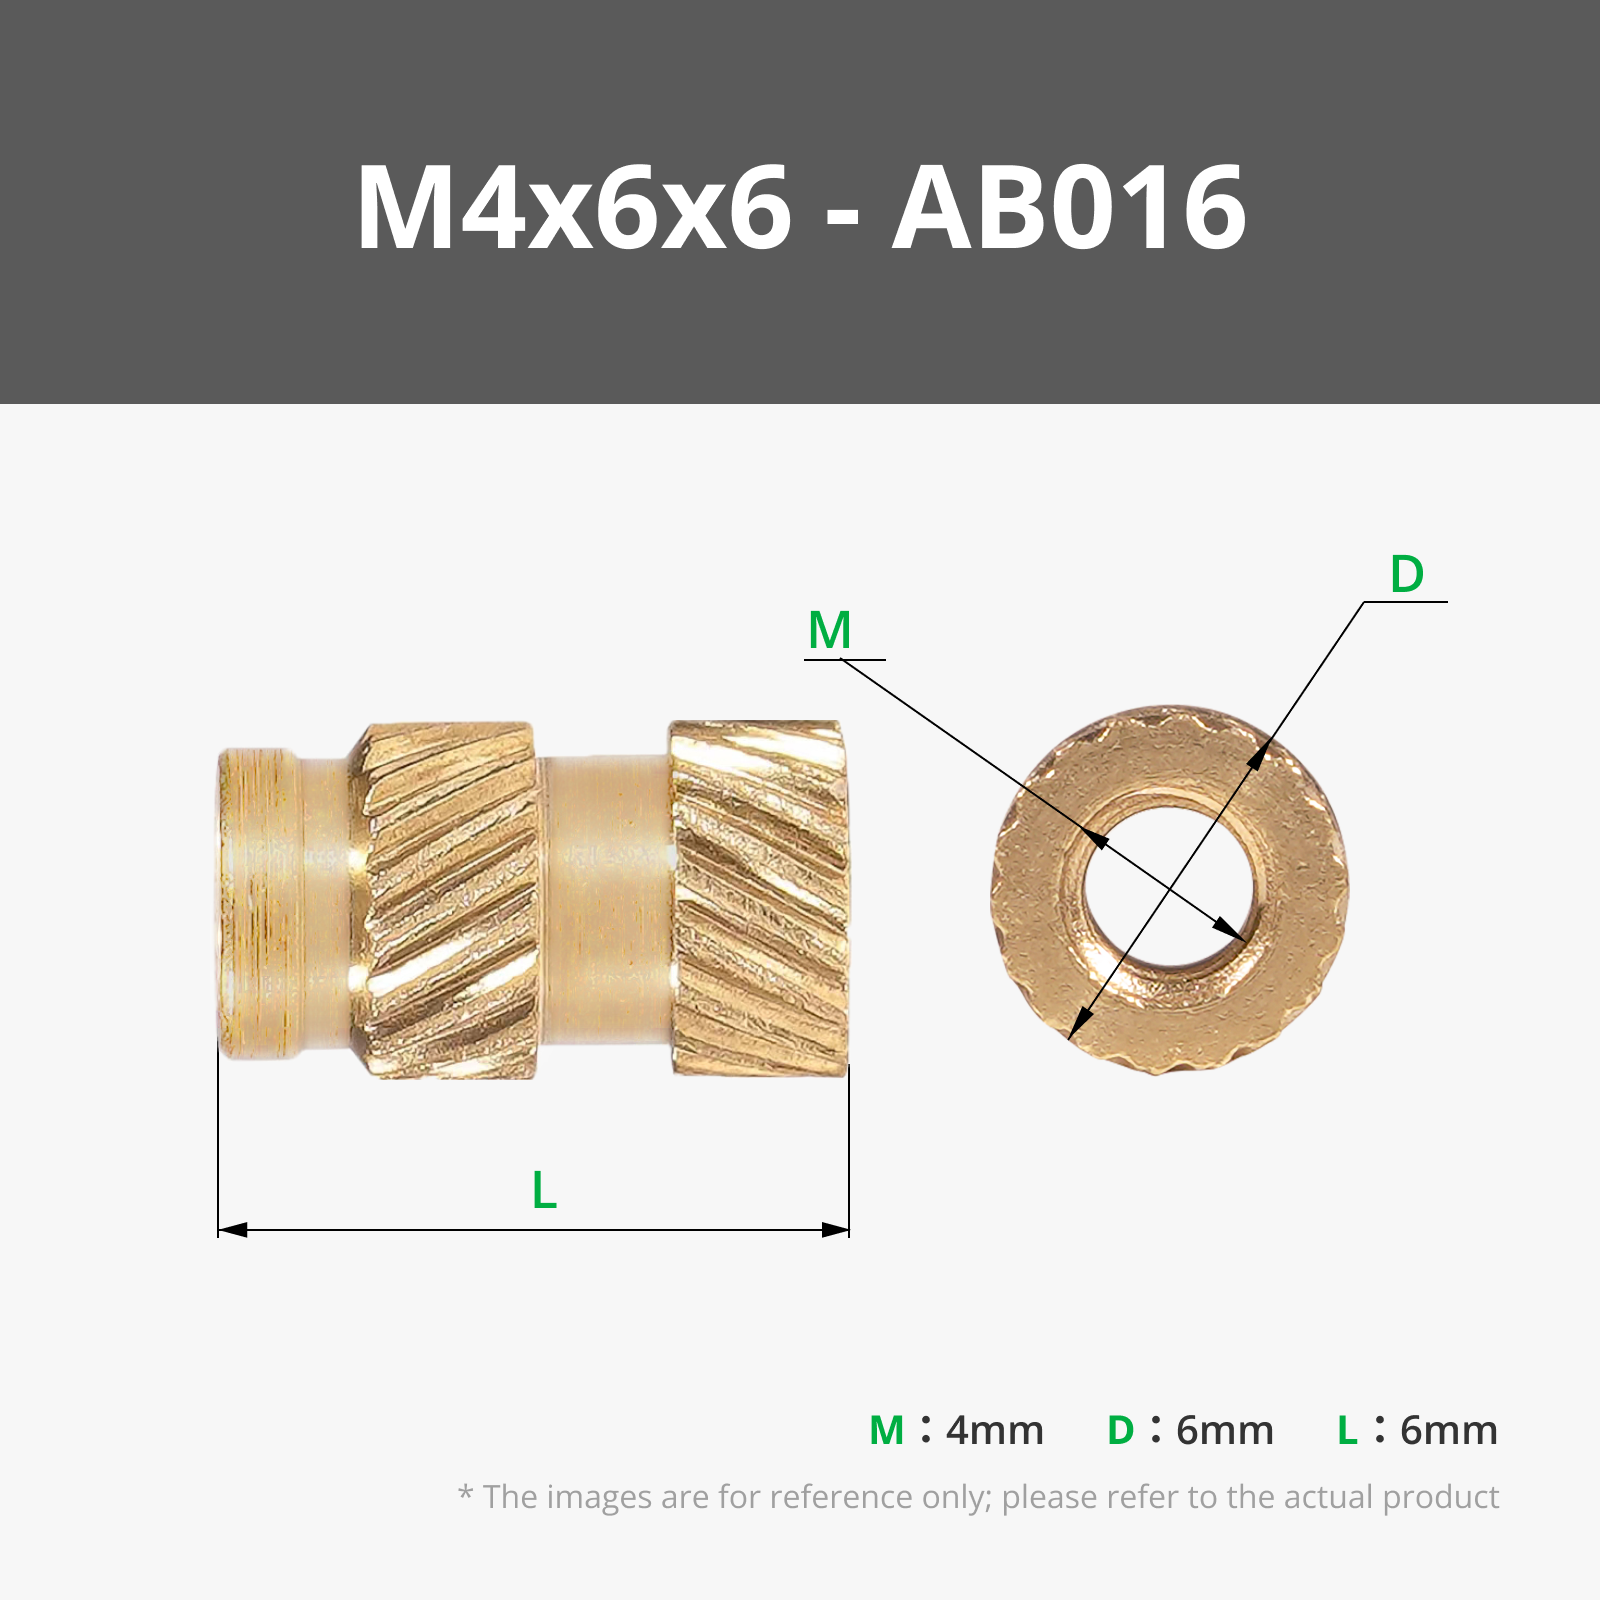
- 6x M4 threaded inserts
- 3x M2 x 4 mm socket head screws
- 3x M2 threaded inserts
Note: I am in no way affiliated with the manufacturer Winmau. This model is purely a fan project for private use
In my profile, there is a version to fill the text field with your own text
Anyone who wants to use this file commercially should contact me
License
You shall not share, sub-license, sell, rent, host, transfer, or distribute in any way the digital or 3D printed versions of this object, nor any other derivative work of this object in its digital or physical format (including - but not limited to - remixes of this object, and hosting on other digital platforms). The objects may not be used without permission in any way whatsoever in which you charge money, or collect fees.
Comment & Rating (15)