Steel Rail Conversion Kit for AMS Undermount X/P


Print Profile(5)


Bill of Materials


Description
Introduction
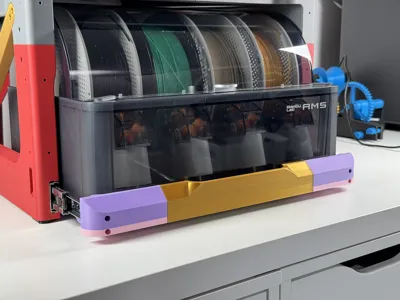
Steel rails for your AMS Undermount X/P for smooth and quiet operation! This 20 second video shows how it works:
Compatibility
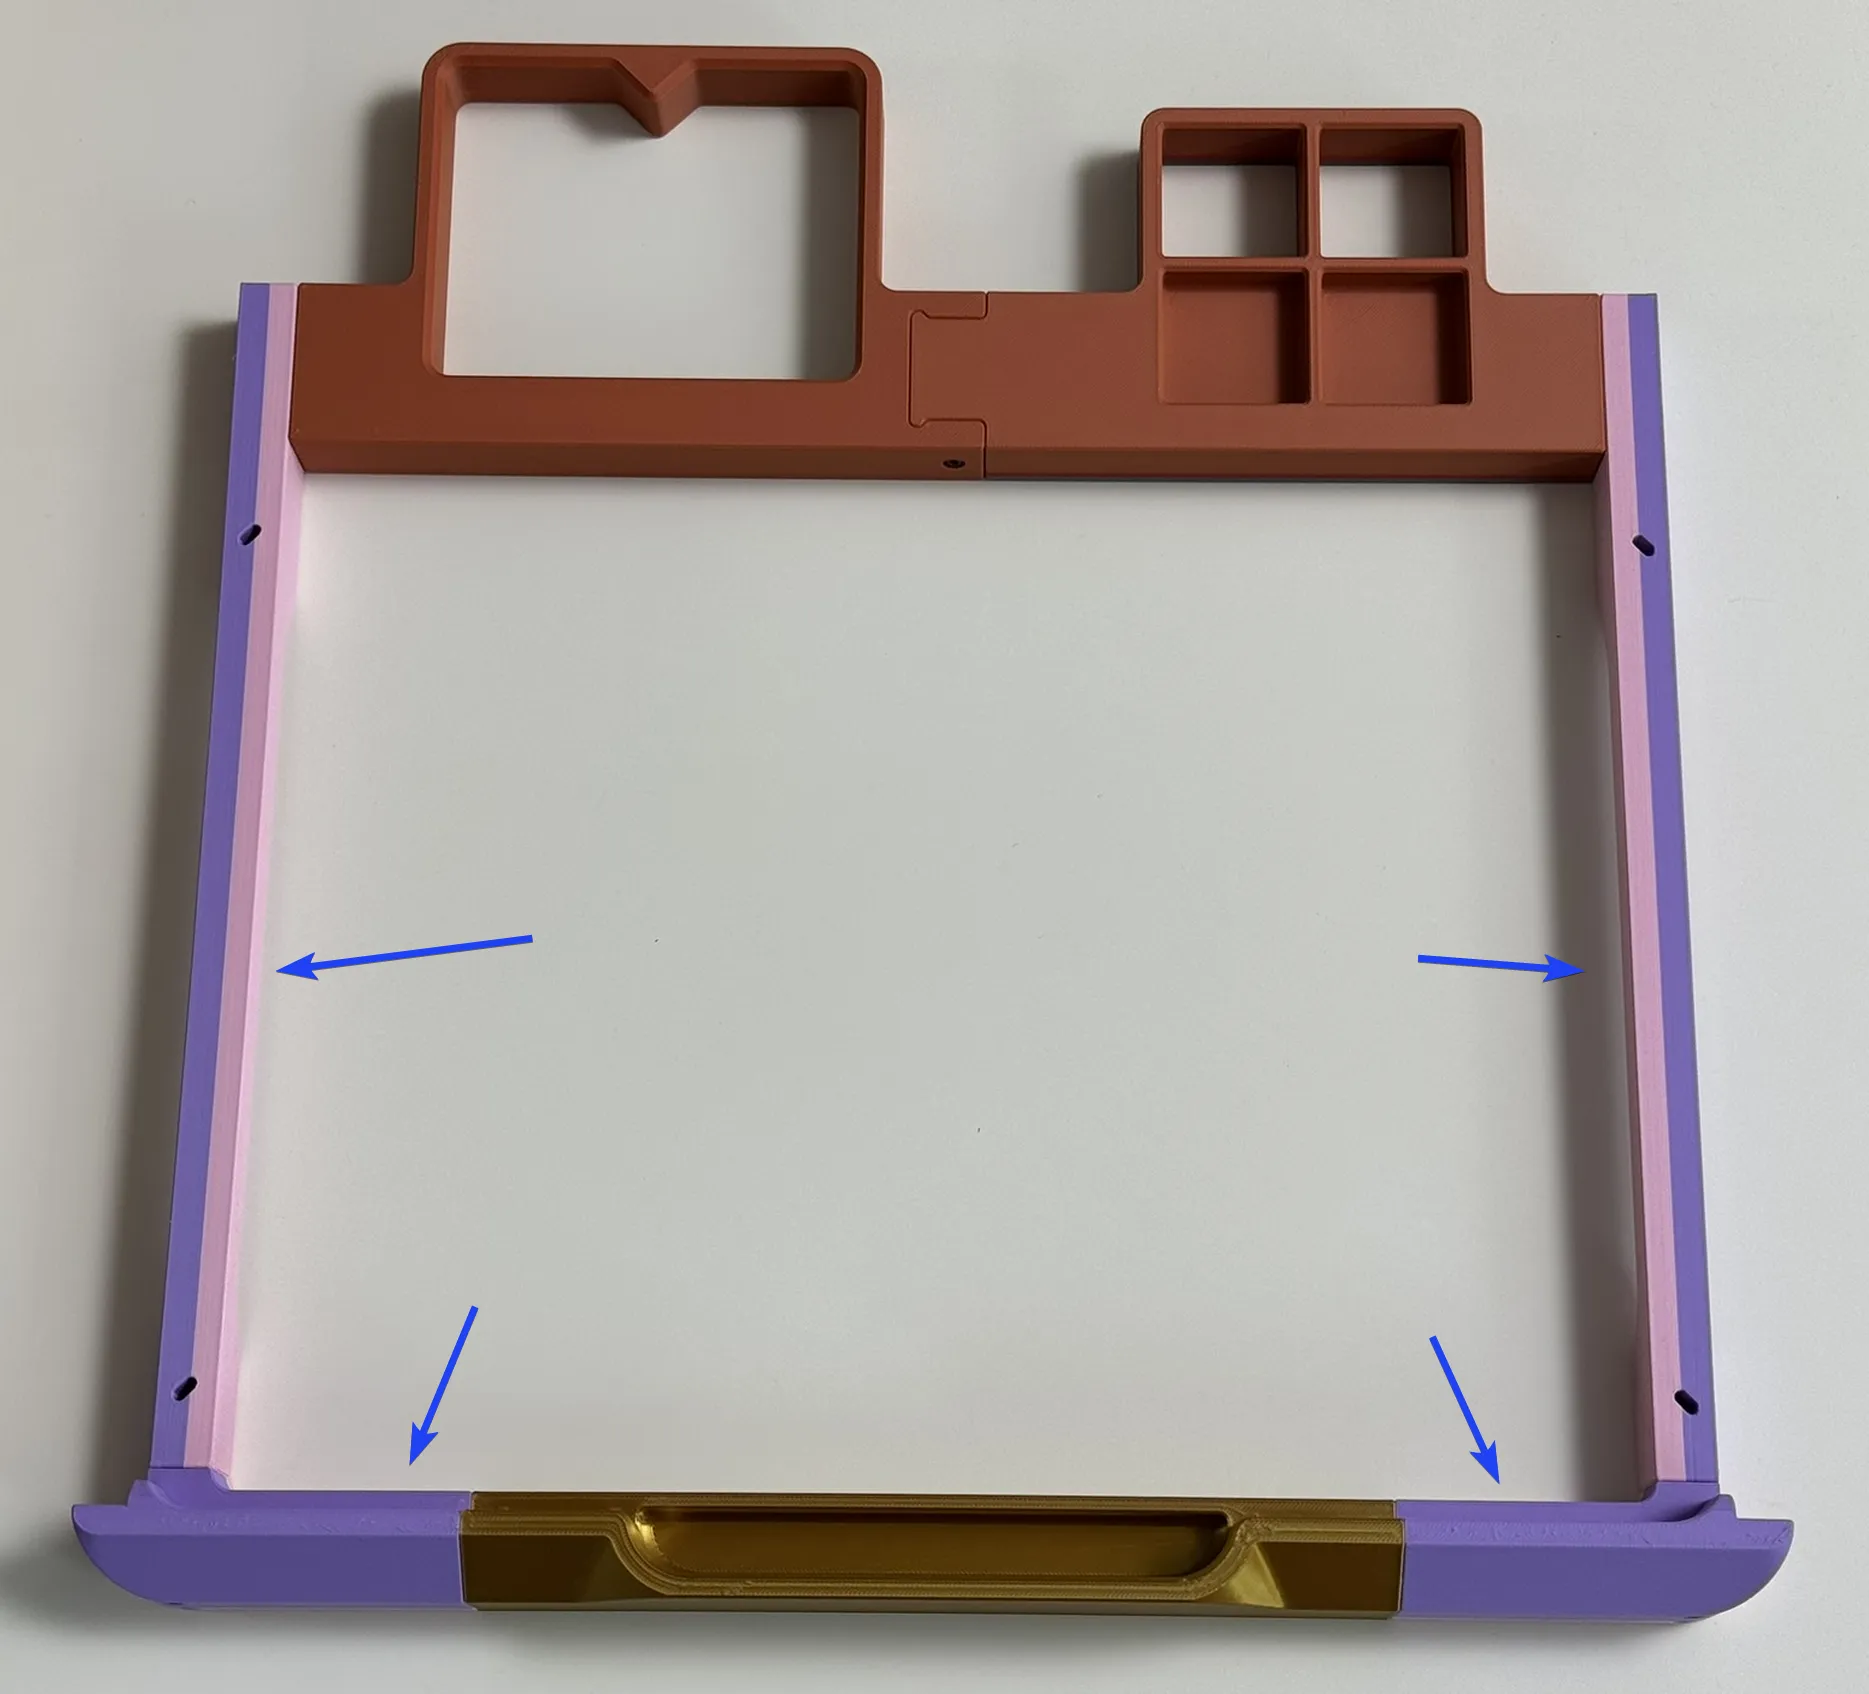
Lower Frame
- If you have already made the lower frame for the printed slides and
- you are using 35mm steel slides, the lower frame does NOT need to be reprinted, just replace 4 parts on the slider assembly.
- you are using 45mm steel slides, the lower frame and the 4 rectangular feet need to be reprinted with the lower frame in the 45mm Steel Slide Conversion Kit print profile instead of the one on the main model page.
- If you have not already made the lower frame and
- you are using 35mm steel slides, print the lower frame from the "Simplified Lower Frame - 35mm Steel Slides" print profile instead of the one on the main model page.
- you are using 45mm steel slides, print the lower frame and the TPU feet in the “45mm Steel Slide Conversion Kit” print profile instead of the one on the main model page.
Handle
Use the handle left and right pieces in the respective conversion kit print profiles.
Work-in-progress to make this less confusing: ETA Late June
The 3-piece and 1-piece handle options on the main model page will be updated to work universally with the printed/35mm steel/45mm steel slide options from v2.2. After this, the handle parts will be removed from this page. The 35mm slide handle will not cover the 45mm slides.
The tube handle conversion kit model will also be updated to work universally with the printed/35mm steel/45mm steel slide options (current model does not cover the taller 45mm slides).
Difficulty
The 35mm steel slide conversion is easy to do:
- No supports, no overhangs, just a tiny bit of bridging and
- PLA works great.
If you need to print/reprint the lower frame, please refer to the notes on the main model page as you may need to consider shrinkage.
Filament
- PLA works great for the new slide assembly parts as the steel slides reinforce the part.
- Please refer to the main model page for lower frame filament recommendations.
35mm Slide Selection
You need 350mm long, 35mm wide, 12.7mm thick full extension slides.
Here in Germany, I got Junker branded slides sold by SO Tech, model KV1-25-H35-L350, from Amazon.de (this was delivered the next day by DHL too). 1 pair was 7 euros and 4 pairs was only 19 euros.
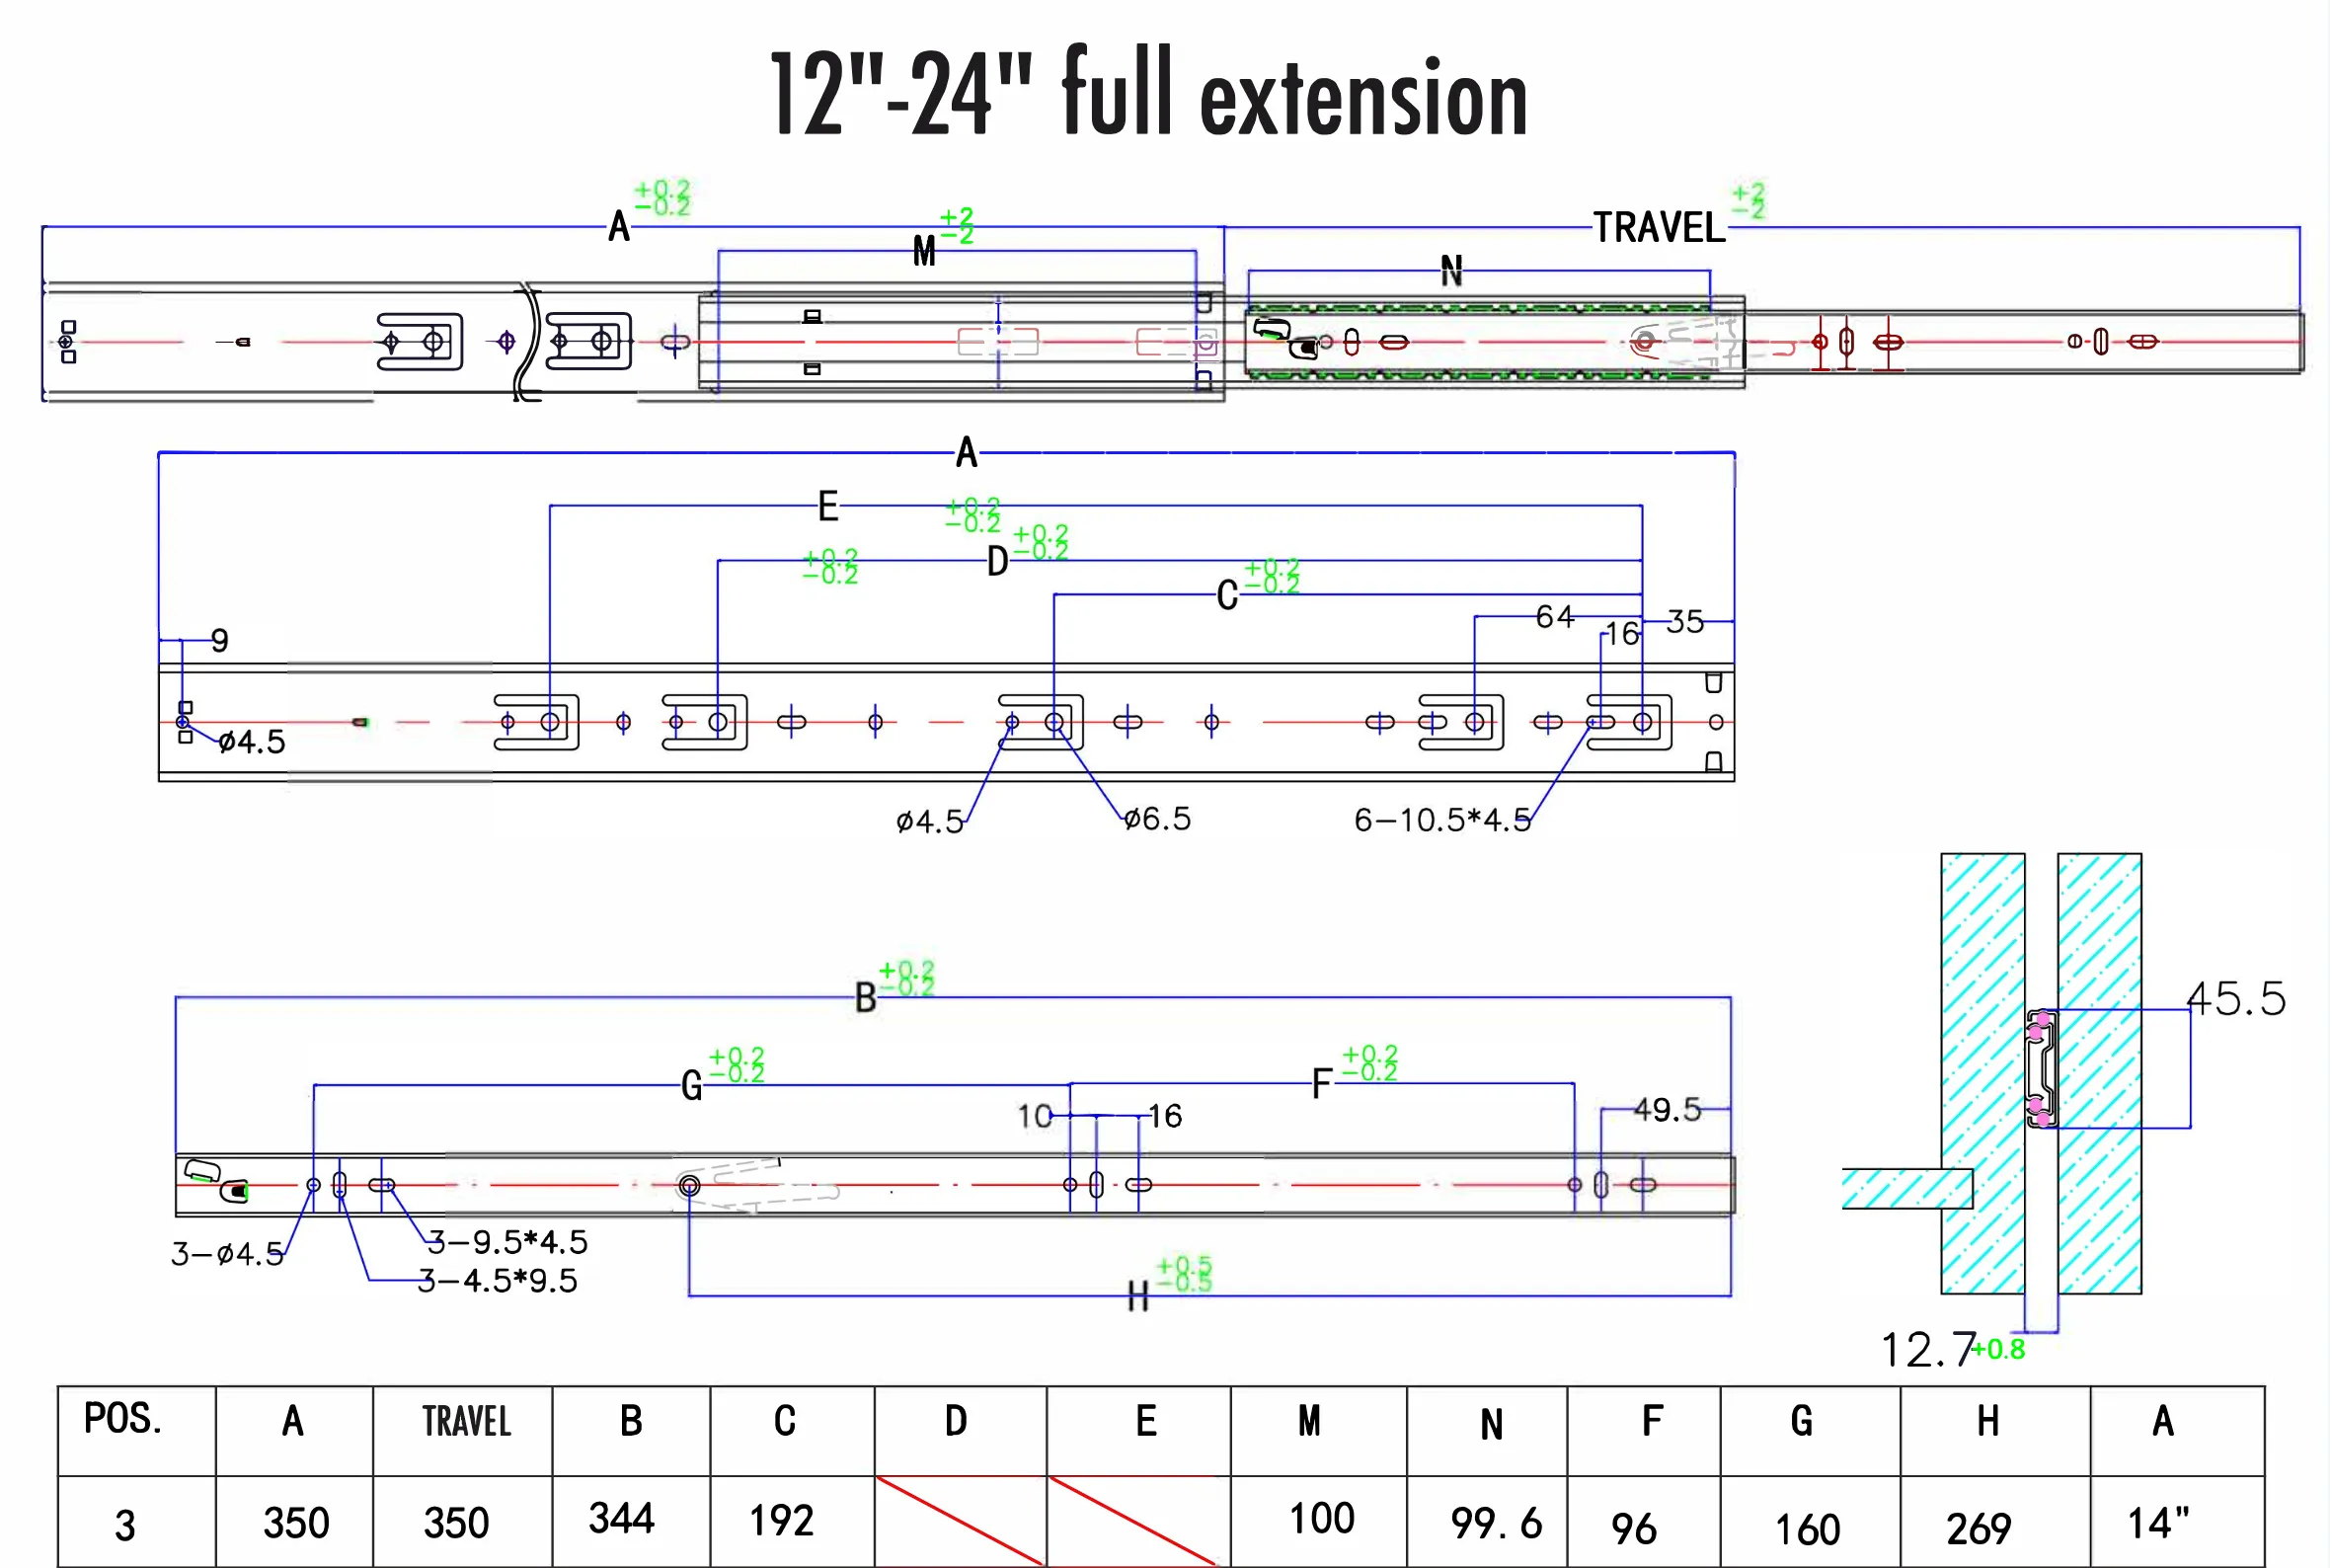
If you are sourcing them from other markets, the key words to search are “Low Profile Drawer Slides". Try to find some with these outer dimensions and mounting locations:

It appears that, for makers outside of Europe, these slides may be difficult to get without international shipping. Here are some options offered by other makers. I have not tested them. Please have a look in the comments for more potential options:
- USA: 14 Inch Side Mount 70 lb. 35mm Full Extension 1 Inch Over Travel Drawer Slide - 1435 (1 Pair) - GlideRite Hardware
- USA: Low profile Ball Bearing Drawer Slides Full Extension 12"-18" - SH3601 | eBay
- Korea: 세모 3단 무소음 서랍레일 1조 350MM, 블랙, 1개 - 가구부자재 | 쿠팡
45mm Slide Selection
If you are not in Europe, the 45mm slides will likely be much easier to source for you. They cost more but you can get them with a soft-close option which is super nice.
You need 350mm or 14-inch nominal length (maximum 355mm actual length), 45mm nominal width (can be a little wider as there is nothing below the slides), 12.7mm thick full extension slides.
Here in Germany, I got Stahlia branded slides direct from their website, also available on Amazon.de. They do not publish their mounting hole positions, but the dimensions are very similar to Richelieu TU99072G14 Series slides (available in Canada) with the specs shown below (thanks @Gitmeau for this datasheet!) My slides were 352mm long actual and had a couple of other differences.
You do not need to get exactly the same one. I took specs from several different brands and accommodated for them all in the design and you just need 3-4 holes that line up. Worst case, you might need to make some new holes but I think that's unlikely as slide manufacturers just copy each other. Here are my Stahlia slides compared to the printed parts:


IMPORTANT: If you are using soft-close slides, check that they are truly full extension and extend 350mm. Many 3-section slides that are labelled “full extension” are not really full extension, particularly some of the soft-close ones. Slide designers, when taking their regular slide and making a soft-close version, need to decide whether to reduce the load rating of their slide or reduce the extension to try to fit the extra mechanisms into the design. Some brands have lowered weight ratings (say, 35kg down from 45kg), some reduce their travel.
Fasteners
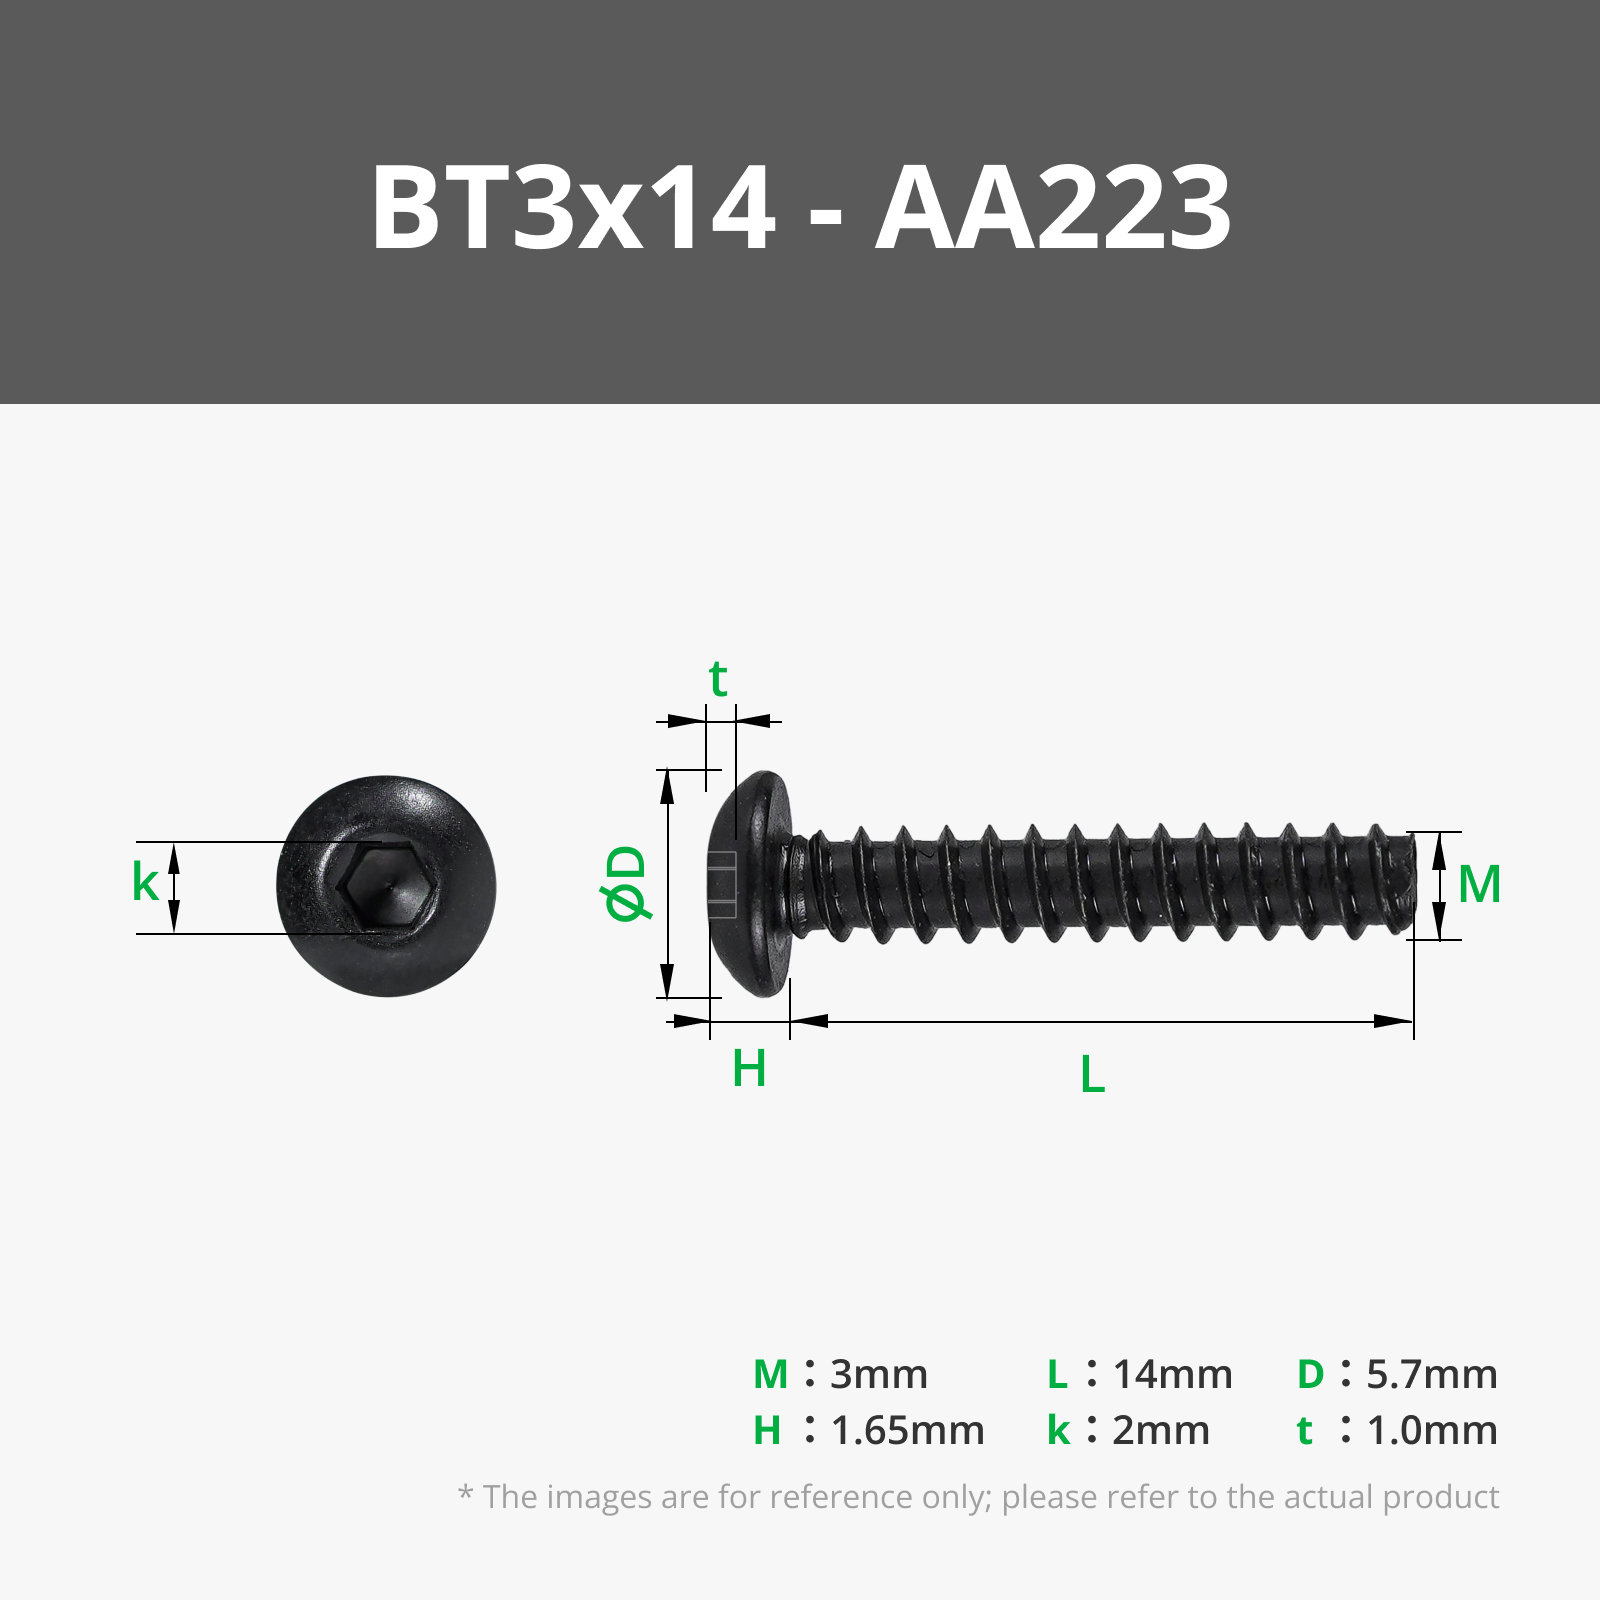
All screws are the same self-tapping screws as described on the main model page but with different lengths in some places:
| Location | Screw Type | Quantity |
|---|---|---|
| OPTION: Join simplified lower frame front and back for 35mm slides | BT3x14 | 4 |
| OPTION: Join lower frame front and back for 45mm slides | BT3x10 | 4 |
| Attach steel slides to frame | 6 minimum | |
| Attach steel slides to slider assembly (AMS-side) | 6 minimum |
Please see the main model page for alternative types and sources.
Note: I considered using M4 screws and heat-set inserts or just larger self-tapping screws to attach the slides for a better fit to the slides but the 3mm self-tapping screws are strong enough and allows the hole positions to be off by ~1mm (this could happen due to miscalculated frame material shrinkage, manufacturer/manufacturing variability of slides, etc.) which is a big advantage.
Assembly
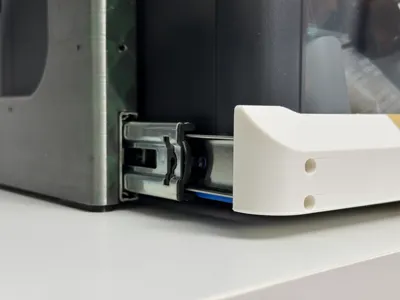
Replace the left and right rails from the slide assembly. Replace the left and right handle sections if needed (see compatibility section above).
Attach the inner slides using at least 3 screws each side with at least one near the front and one near the back. Hand tighten firmly. Try to put each side at a similar height and angle. You can attach the AMS before or after this step. For the 35mm slides:

For the 45mm slides:

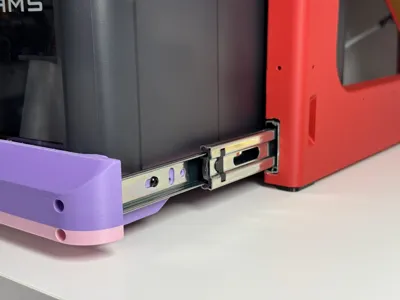
Attach the outer slides to the frame using at least 3 screws each side with at least one near the front and one near the back. You could use a washer if the hole is too big. Hand tighten firmly. For the 35mm slides, push the slides down before tightening (so that the left and right are parallel and level):

For the 45mm slides, push the slides up towards the frame before tightening (so that the left and right are parallel and level).

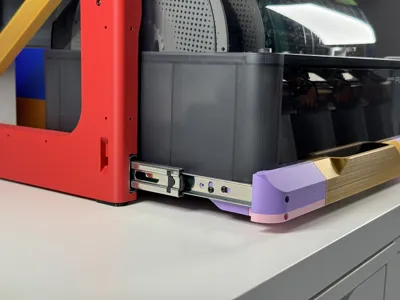
Now put it together. Once each side is clicked in, extend the slide all the way forward - you may have to pull firmly to get the ball bearings into the right position to get full slide extension. You only need to do this once.


That's it!
Boost Me (for free)
If you appreciate just how many hours I spent looking at slide specifications, please leave a boost so I can fund more projects like this!
Print Profile Notes
The lower frame parts on this page have simplified geometries and require significantly less supports and do not require multi-material supports. compared to the original. The difference in support design is shown here:
Original, for printed rails (also compatible with 35mm steel slides)  | For steel slides only (35mm version shown, 45mm similar)  |
Changelog
07/05/2026
Original release
08/06/2026
45mm slide version added. Description and installation instructions updated.
License
You shall not share, sub-license, sell, rent, host, transfer, or distribute in any way the digital or 3D printed versions of this object, nor any other derivative work of this object in its digital or physical format (including - but not limited to - remixes of this object, and hosting on other digital platforms). The objects may not be used without permission in any way whatsoever in which you charge money, or collect fees.
Comment & Rating (53)