
Router Sled for Linear SBR12 Rails - Bosch POF 600
Print Profile(3)
Description
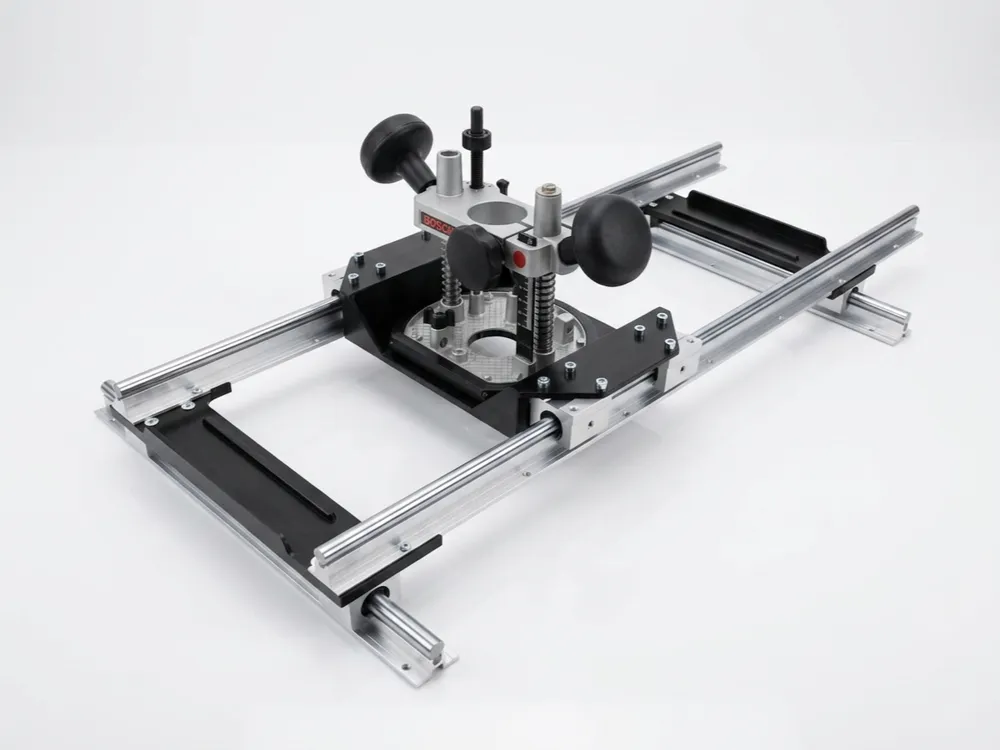
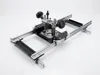
Router Sled for Linear SBR12 Rails — Bosch POF 600
Optimized for the Kress 1050 FME-1 with Bosch POF 600 router base
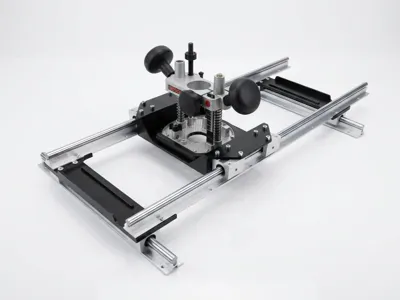
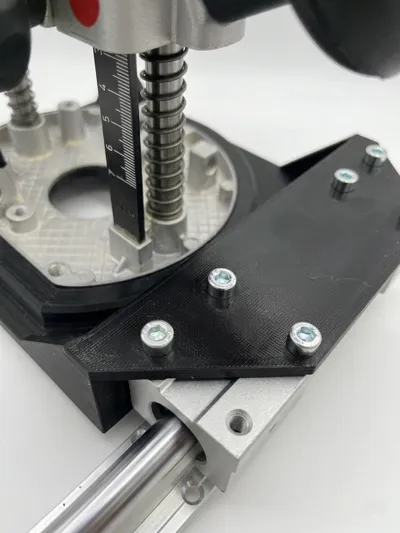
A heavy-duty and highly precise router sled designed for smooth 2-axis movement across large workpieces — perfect for flattening hardwood slabs, epoxy tables, and other oversized materials.
🆕 Update — Version 8
Originally published on May 7, this model has had a great response and has already been saved into 100+ collections — thank you! Over the past month it has been heavily revised. The first public release was v1; the current version is v8.
What changed since v1:
- Sled optimized — several refinements for better rigidity, smoother movement, and repeatability.
- New custom support — a close-fitting support with a PLA interface trick: it separates cleanly with no tabs and no post-processing needed (details below).
- 12-plate print profile — a Bambu Studio / Orca Slicer profile that contains all parts in the correct orientation. It is not a finished, ready-to-print profile: it's a starting point, and you should review and adjust the settings (infill, etc.) to your own needs before printing (details below).
- Dust extraction system (new) — extraction shroud, a 35 mm hose nozzle adapter, and a new flat extraction plate.
- TPU dust brushes (new) — clip into a slot machined into the extraction plate (0.43 mm slot on the V8 router sled, 4.15 mm slot on the V3 version).
- Router height spacers (new) — spacer rings in 7.5 / 15 / 22.5 / 30 mm to raise the router.
- Absaugung V3 retained — an alternative extraction option for anyone who has already printed an earlier version.
This is not a complete, ready-to-print profile — please rework it yourself. The profile contains all plates, but you do not need to print everything, and the settings are a starting point you should adjust to your own needs. The only plate that can be taken directly as-is is the Sled with support (the plate with the slot/supports). For all other plates — spacers, extraction parts, brushes — decide for yourself which ones and how dense you want them. Printing the whole set at once is not recommended, simply because of the total print time.
On infill: v1 suggested 50% — that is not necessary. For the main router sled I'd use around 35–45%. As long as the sled is only pushed/slid and not pressed down on, that's plenty. Everyone should set their own values.
The system uses
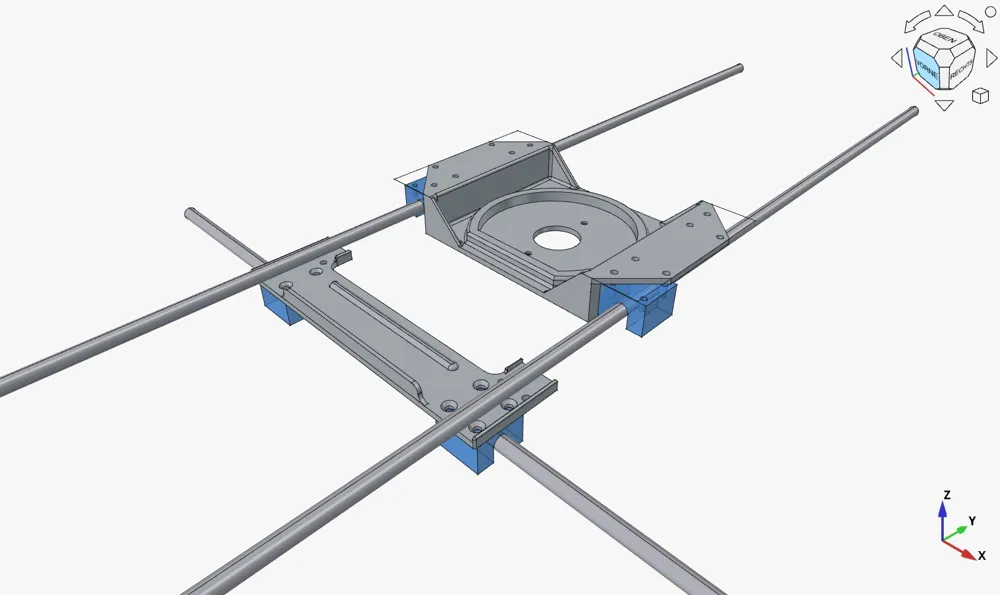
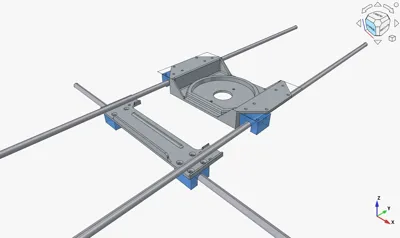
- 4× SBR12 linear rails
- 8× SBR12UU linear bearing blocks
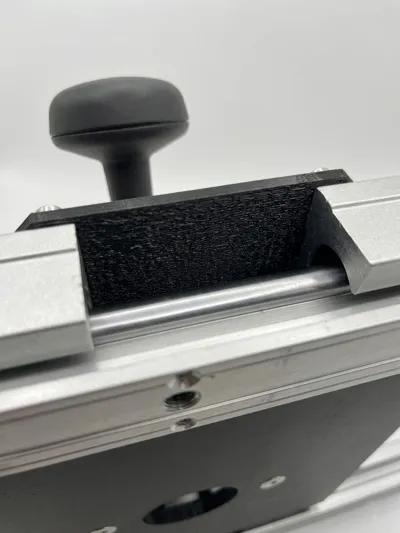
- A reinforced Y-Bracket assembly for precise X-axis movement
- A rigid modular construction optimized for stability and repeatability
Router Compatibility
Fully compatible and optimized for:
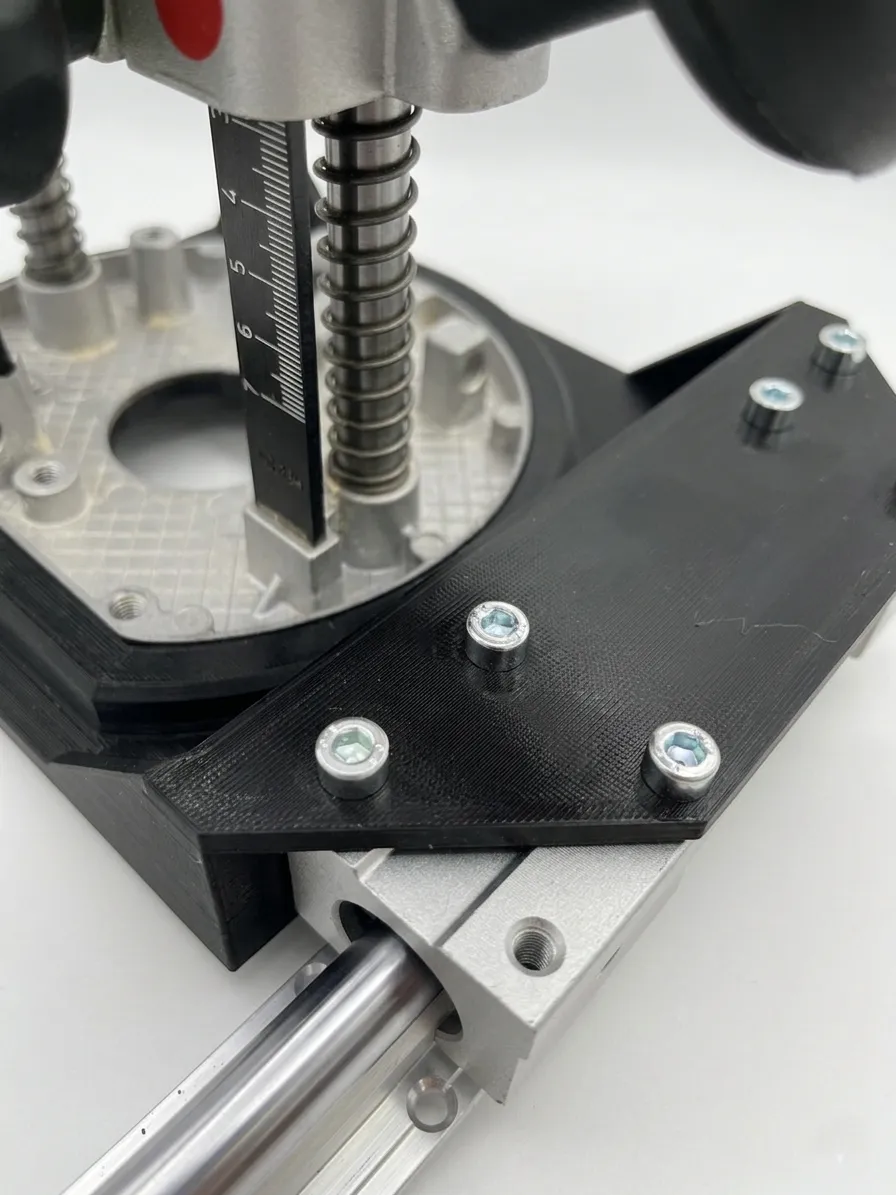
- Kress 1050 FME-1 with Bosch POF 600 router base ⭐
Also compatible with:
- Bosch POF 600 ACE
- Bosch plunge base / router base
Other routers with a similar clamp diameter may also fit — please verify dimensions before printing.
Included Printable Parts
The included Bambu Studio / Orca Slicer profile contains all parts in the correct print orientation. Treat the slicer settings as a starting point and adjust them (especially infill) to your own needs.
Core structure
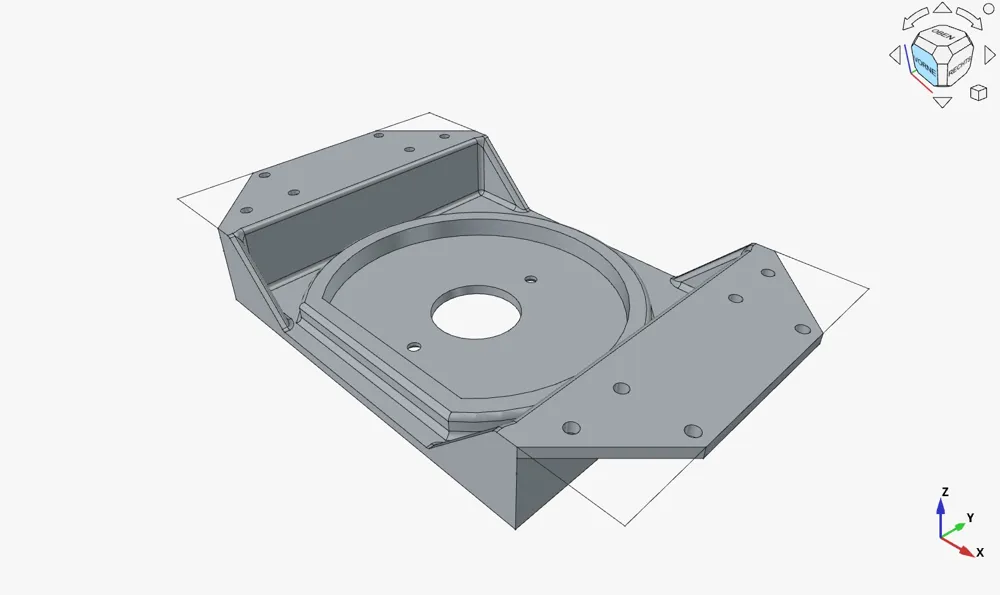
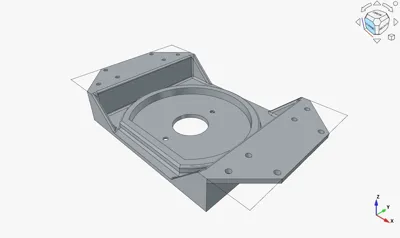
- SledBody — main carrier with mounts for 4 linear bearing blocks
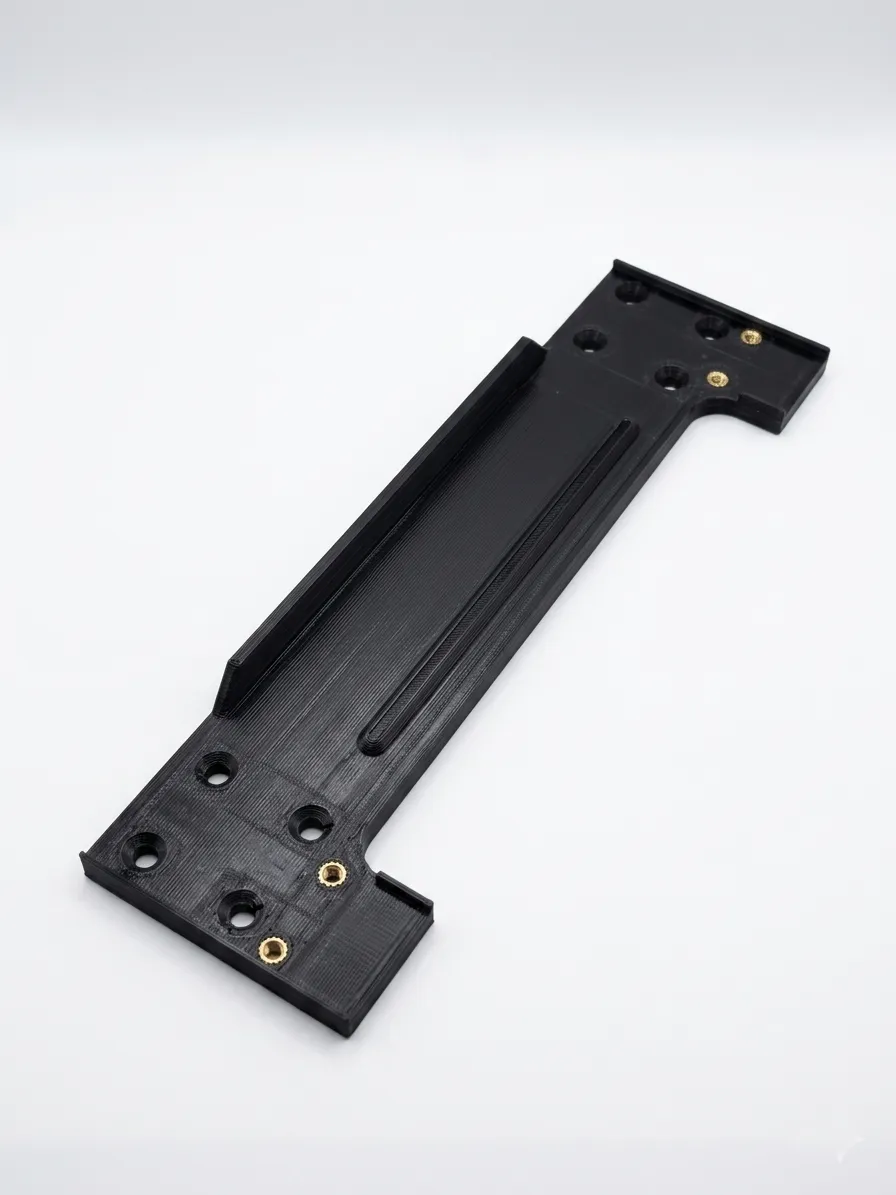
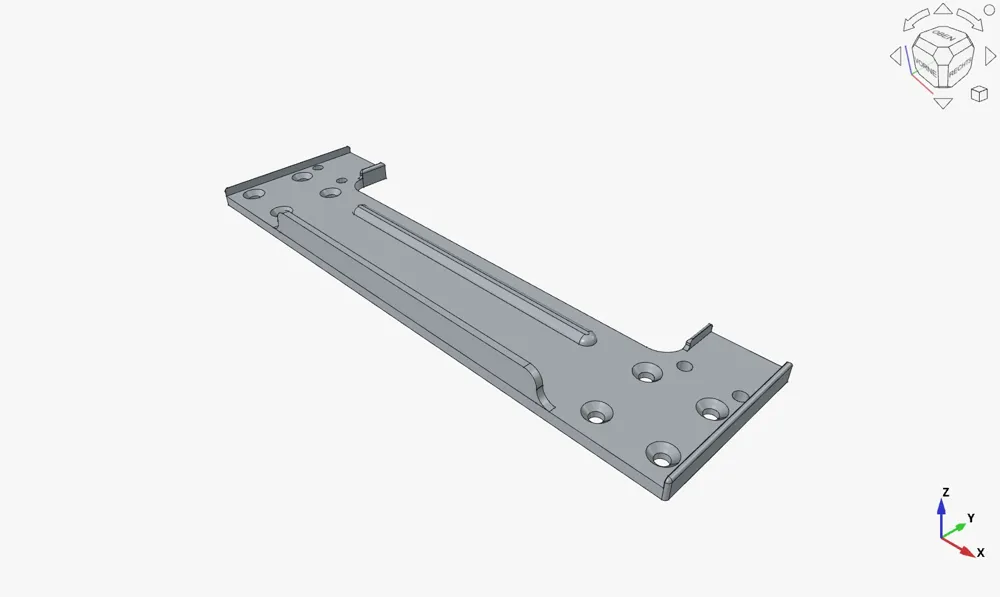
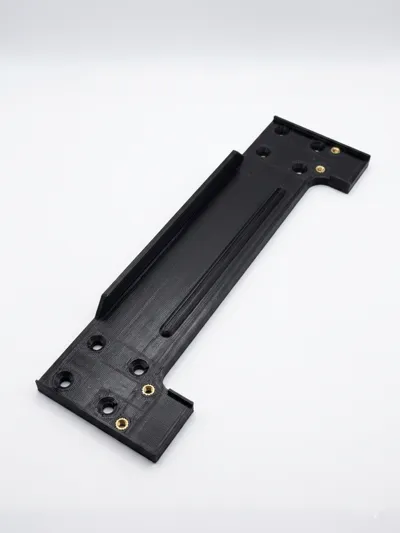
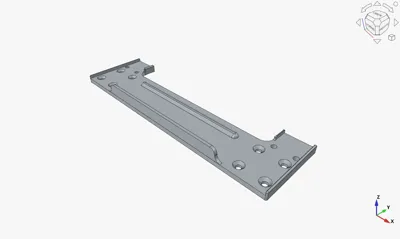
- YBracket — reinforced perpendicular plate with mounts for 4 bearing blocks, integrated Y-rail support, and heat-set insert mounting points
Support
- Custom close-fit support — disposable support that breaks away cleanly with no post-processing (see note below)
Dust extraction (optional modules)
- Extraction shroud — dust collection housing for the router
- 35 mm nozzle adapter — grommet/Tülle for a 35 mm extraction hose
- Flat extraction plate — with a clip slot for the TPU brushes (0.43 mm on the V8 router sled, 4.15 mm on the V3 version)
- TPU brushes — printed in TPU, clamp into the slot of the plate
- Absaugung V3 — alternative extraction version for existing builds
Router height spacers (optional)
- Spacer rings in 7.5 / 15 / 22.5 / 30 mm to raise the router as needed
Custom Close-Fit Support
Standard tree supports did not print reliably during testing, so a custom support was created instead.
The support is modeled to sit directly against the surface it supports, with almost no gap — so the supported face comes out clean. To make removal effortless, the print profile uses a 0.2 mm modifier that turns only the single topmost interface layer — the one that actually touches the part — into a separate material.
That interface layer is printed in PLA, while the rest of the print runs in PETG. Because PETG does not bond to PLA, the support separates cleanly. There are no breakaway tabs anymore, and no post-processing is needed — no knife work, no sanding. You simply break the support off carefully, it comes away cleanly, and everything fits. It really works well.
Note: This requires a printer that can swap filament mid-print (e.g. Bambu Lab AMS, or a manual filament change), since it combines PLA + PETG in a single print.
The support is intentionally disposable. I print it with 2 wall lines (suited to my build plate); adjust to your own setup if needed.
If you have ideas for an even cleaner or more elegant support solution, please share them in the comments or contact me directly — I'd really appreciate improvements, alternative support strategies, or optimized print setups from the community.
Print Settings
| Parameter | SledBody / YBracket | Custom Support | TPU Brushes |
|---|---|---|---|
| Material | PETG | PETG (PLA interface layer) | TPU |
| Nozzle | 0.4 mm | 0.4 mm | 0.4 mm |
| Layer Height | 0.2 mm | 0.2 mm | 0.16 mm |
| Wall Lines | 6 | 2 | — |
| Infill | ~35–45% (your choice) | 15% | — |
| Minimum Build Plate | 256 × 256 mm | 256 × 256 mm | 256 × 256 mm |
These values are a starting point, not a fixed recipe — set infill and the rest to your own needs. The 50% infill from v1 is not required; around 35–45% on the router sled is plenty as long as you only slide it and don't press down on it.
I printed this version with standard Bambu Studio PETG Basic, which — after calibration — works excellently, including at higher speeds.
Compatible Printers
Not compatible
- Bambu Lab A1 Mini (180 × 180 mm build volume is too small)
Compatible printers
- Bambu Lab A1
- Bambu Lab P1P
- Bambu Lab P1S
- Bambu Lab P2S
- Bambu Lab X1
- Bambu Lab X1 Carbon
- Bambu Lab X1E
- Bambu Lab X2D
- Bambu Lab H2D
Any larger printer with a minimum build volume of 256 × 256 mm should also work.
For the PLA interface trick on the support, a printer with multi-material capability (e.g. AMS) or the ability to do a manual filament change is recommended.
Bill of Materials (BOM)
Linear Rails
- 2× SBR12 linear rail — 1000 mm (Y-axis)
- 2× SBR12 linear rail — 700 mm (X-axis / YBracket)
- 8× SBR12UU bearing blocks (usually included with the rails)
Example rail kit: GooEquip SBR12 linear rail sets with included SBR12UU bearing blocks.
Screws & Inserts
- 16× M5 × 10 countersunk screws
- 12× M5 × 10 DIN912 socket head screws
- 8× M4 × 10 countersunk screws
- 2× M6 × 10 or M6 × 16 countersunk screws (router base mounting from the underside)
- 8× Ruthex M4 Short heat-set inserts (RX-M4Sx4.0)
The inserts are melted into the YBracket to provide strong, reliable M4 mounting points.
Hardware for the optional dust extraction and spacer modules depends on which configuration you choose — verify against the parts you decide to print.
When using the spacer rings, you'll need longer screws so they still reach all the way through. These longer screws are not listed in the BOM above — please size them to the spacer height you choose.
If you combine the V3 extraction adapter plate (mounted on the underside) with the V8 extraction, you will need different screws. Please check the required screws yourself after printing.
Quick Assembly Guide
- Break off the custom support carefully — with the PLA interface layer it separates cleanly, with no knife work or sanding required
- Install the 8 Ruthex inserts into the pre-drilled Ø5.6 mm holes of the YBracket
- Recommended temperature: 250 °C
- Recommended soldering iron: 900M/T18 compatible with Ruthex tip
- Mount the SBR12 rails to the SledBody using M5 DIN912 screws
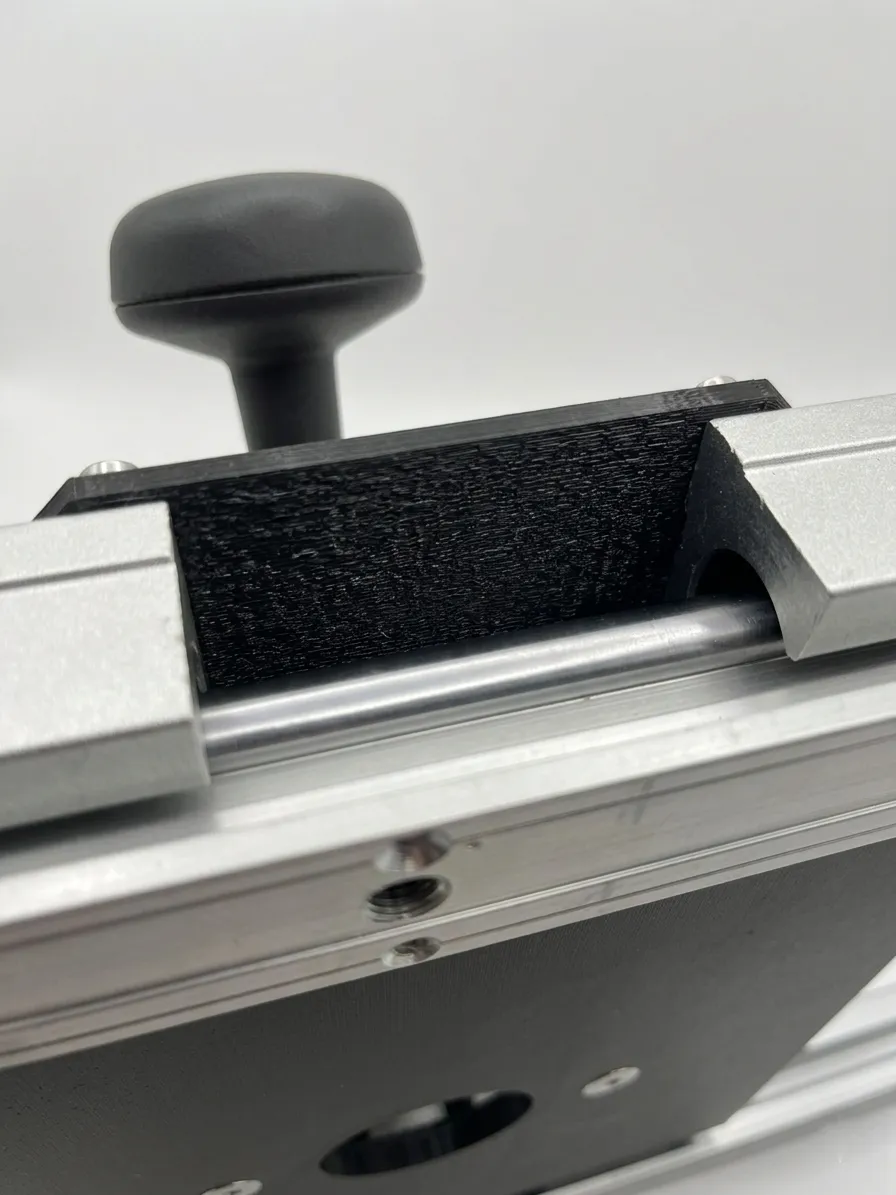
- Attach the SBR12UU bearing blocks to the SledBody and YBracket using M5 countersunk screws
- Mount the Y-axis rails to the YBracket using M4 countersunk screws
- Attach the Bosch POF 600 router base from the underside using 2× M6 × 10 or 2× M6 × 16 countersunk screws
- (Optional) Add the desired spacer rings (7.5 / 15 / 22.5 / 30 mm) to set router height — use longer screws so they still reach through
- (Optional) Fit the dust extraction shroud, the 35 mm nozzle adapter, and the flat extraction plate; clip the TPU brushes into the slot of the plate (0.43 mm on the V8 router sled, 4.15 mm on the V3 version)
- Install and secure your router
- Verify smooth movement on all axes with no binding or noticeable play
Intended Use
This router sled is ideal for:
- Flattening large wooden slabs
- Epoxy table surfacing
- DIY CNC surfacing applications
- Workshop router jig setups
The design prioritizes rigidity, smooth movement, and easy printing while remaining fully modular and serviceable.
Publishing / Redistribution
Publishing or re-uploading this model is only permitted on MakerWorld.
License

You shall not share, sub-license, sell, rent, host, transfer, or distribute in any way the digital or 3D printed versions of this object, nor any other derivative work of this object in its digital or physical format (including, but not limited to, publishing derivative works outside the Makerworld platform or hosting on other digital platforms). The objects may not be used without permission in any way whatsoever in which you charge money or collect fees. Subject to the above restrictions, derivative works may be published only within the Makerworld platform, and all such derivative works must be licensed under the same SDFL‑C license, without modification or additional terms. You may download the digital versions of this object, 3D print it, and display images, videos, or usage demonstrations of 3D printed versions of the object on personal social media platforms or Makerworld official channels, provided that no digital versions of the object are shared or distributed.


Comment & Rating (8)