New Balance Arena formerly Gewiss Stadium - Atalanta- BG


Print Profile(6)
Bill of Materials


Description
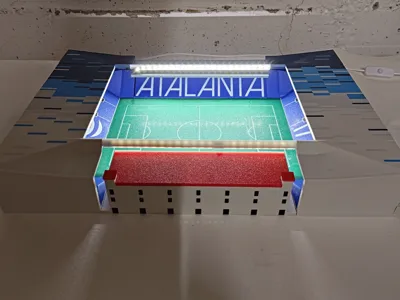
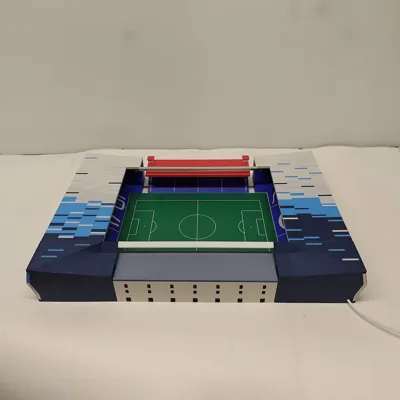
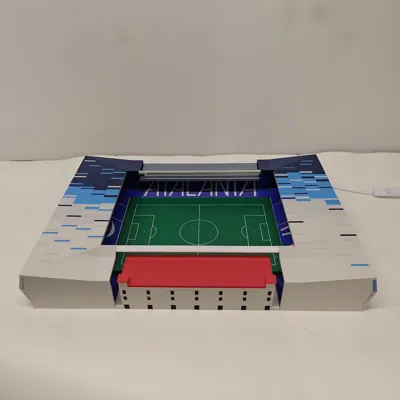
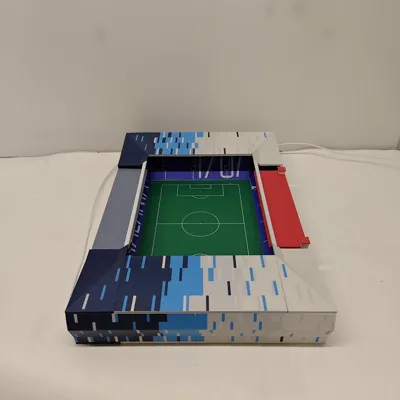
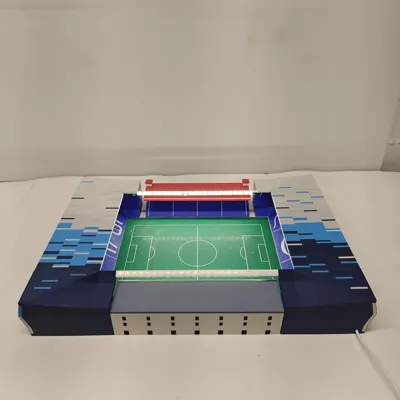
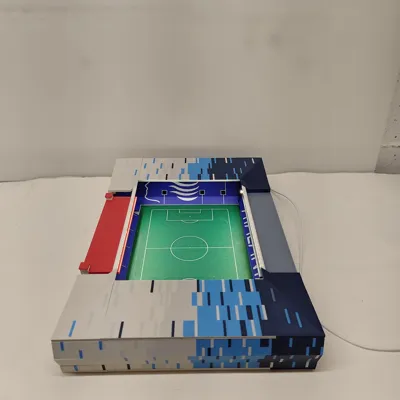
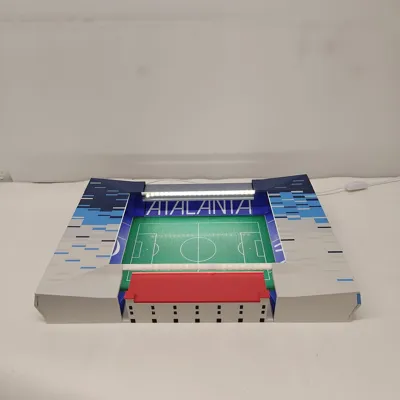
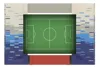
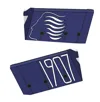
Bring the atmosphere of Bergamo's stadium directly to your home! This 3D model is a detailed reproduction of the Gewiss Stadium (also known as New Balance Arena, home of Atalanta.
in 1/500 scale
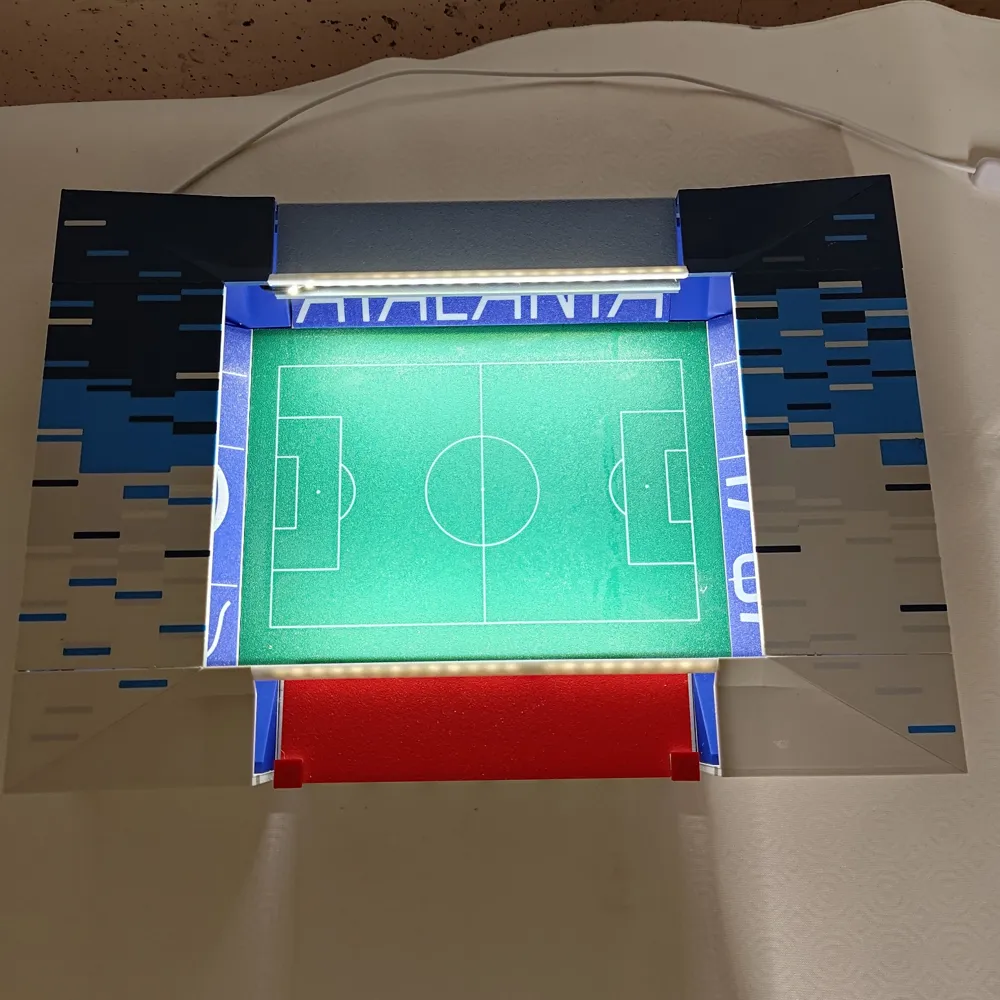
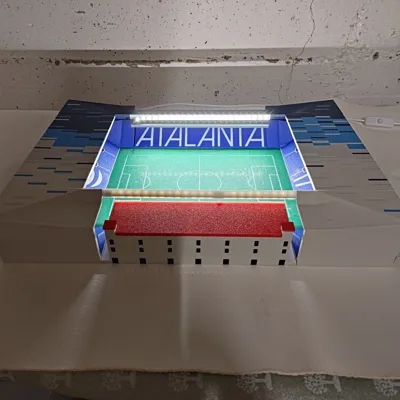
The design has been optimized for multi-color 3D Printing and includes an integrated LED lighting system that illuminates the field and stands, making it perfect as a desk lamp or a collector's item for every true Nerazzurri fan.
dimensions 400X280X60
Key Features:
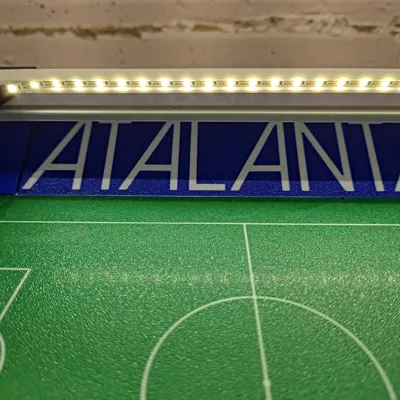
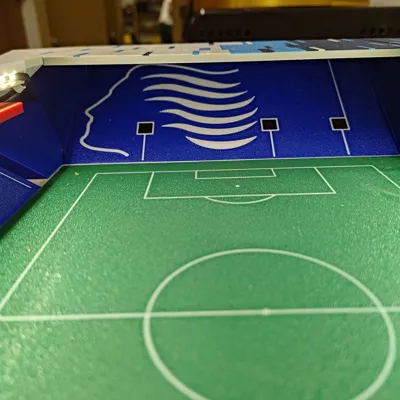
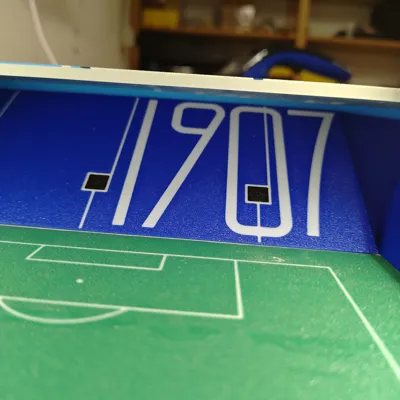
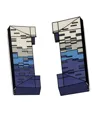
- Faithful Design: in the exterior colors. Includes the writings "ATALANTA" -"1907" -"Dea Design" in the stands and details of the playing field.
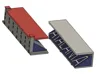
- Ready for LED: Slots prepared for 5V LED strips
- https://www.amazon.it/dp/B0F6LD9G88?ref_=ppx_hzsearch_conn_dt_b_fed_asin_title_1&th=1)
- USB cable with switch available on Amazon or AliExpress
- Multi-color: Optimized for AMS (Bambu Lab), but also printable in separate pieces.
Print Settings
- Printer: Bambu Lab P1S / X1C / A1
- Plate: Textured PEI Plate (recommended for a realistic field effect)
- smooth PEI Plate for walls
- Material: PLA (Black, White, Green, Red, Ivory White, Light Gray, Dark Blue, Blue )
- Layer Height: 0.2mm (standard)
Infill:15%-20% Gyroid
Assembly Instructions
- Print: Make sure to clean the build plate well for large base pieces to adhere.
- Electronics: Insert and glue the LED strip into the dedicated upper slot. The cable should be routed through the supports to behind the stands where connections can be made
- Gluing: after printing the pieces separately, use a few drops of cyanoacrylate glue (like Super Glue) to secure the stands and walls
- SEE DOCUMENTATION FOR ASSEMBLY
Documentation (1)
License
You shall not share, sub-license, sell, rent, host, transfer, or distribute in any way the digital or 3D printed versions of this object, nor any other derivative work of this object in its digital or physical format (including - but not limited to - remixes of this object, and hosting on other digital platforms). The objects may not be used without permission in any way whatsoever in which you charge money, or collect fees.
Comment & Rating (0)