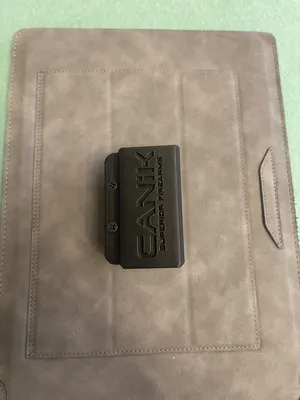
Magazine holder Canik - Portacaricatore Canik


Print Profile(1)
Description
M5 Chicago screws:
https://www.amazon.it/gp/aw/d/B0F94DX3R5?psc=1&ref=ppx_pop_mob_b_asin_title
M4 screws and nuts :
https://www.amazon.it/gp/aw/d/B0CZP44M3S?psc=1&ref=ppx_pop_mob_b_asin_title
Spacer :
https://makerworld.com/it/models/2761860-spacer-tpu-distanziali-tpu?from=search#profileId-3066286
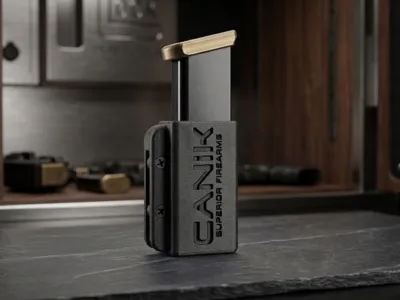
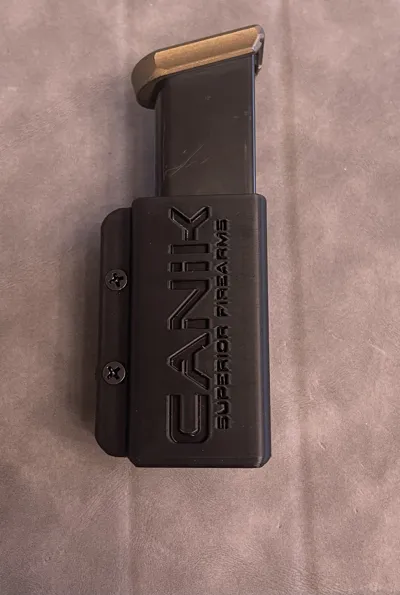
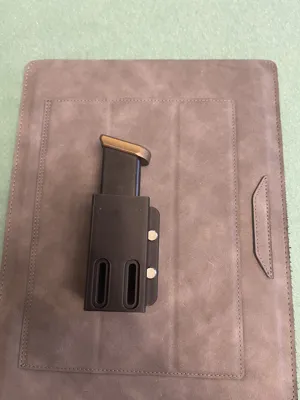
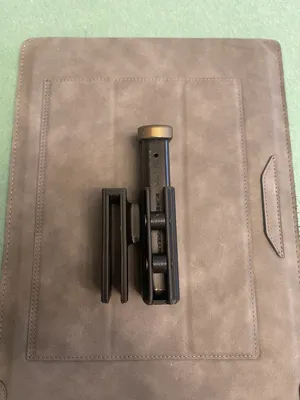
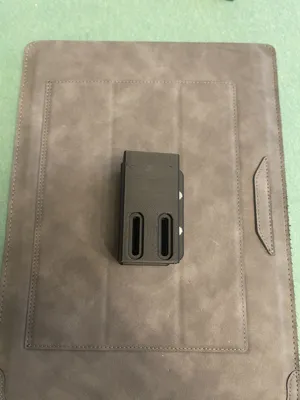
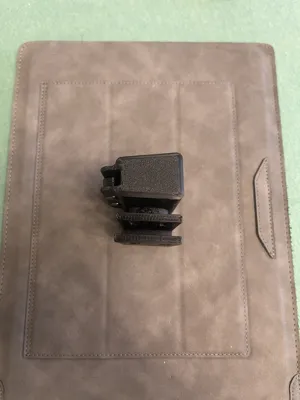
Canik magazine pouch with a fixed belt attachment that can be adjusted to fit any belt. Adjustable retention allows for the perfect fit between hold and quick draw. Two M4 screws with nuts are required to adjust and secure the magazine pouch to the belt, while two M5 Chicago screws with spacers are required for retention. You can purchase them ready-made in various kits available online, or print them in TPU using the link above. Non-through engraving allows for use in both IPSC and IDPA. Three different belt thicknesses are available: 9mm, 16mm, and 21mm.
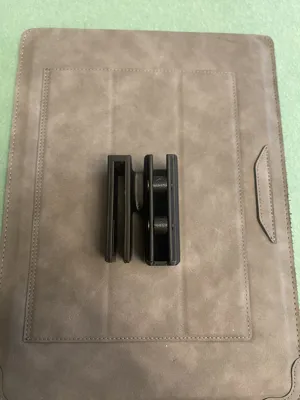
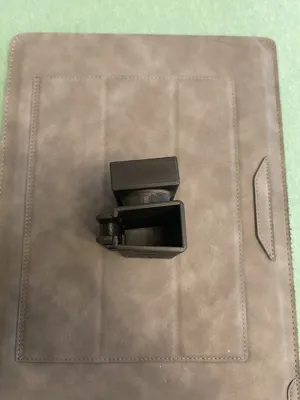
The protrusions on the belt clip, both external and internal, are used to complete the printing correctly without problems. Simply cut them with a cutter together with the supports generated and then heat them with a flame to make the surface smooth.
Portacaricatore Canik con attacco fisso da cintura regolabile su qualsiasi tipo di cintura. Ritenzione regolabile in modo da poter trovare il perfetto filing tra tenuta ed estrazione rapida. Necessita si due viti con dado M4 per regolare e tenere ben saldo il portacaricatore alla cintura mentre per la ritenzione servono due viti Chicago m5 con distanziali. Potete acquistarli già pronti in diversi kit presenti in rete già completi o stamparli dal link qui sopra in TPU. Incisioni non passanti in modo da poterli utilizzare sia in IPSC che in IDPA. 3 diversi spessori per la cintura da 9mm/16mm/21mm
le sporgenze sull'attacco da cintura sia esterne che interne servono a portare a termine correttamente la stampa senza problemi, basterà tagliarle con un taglierino insieme ai supporti generati e poi scaldati con una fiamma per rendere liscia la superficie
License
You shall not share, sub-license, sell, rent, host, transfer, or distribute in any way the digital or 3D printed versions of this object, nor any other derivative work of this object in its digital or physical format (including - but not limited to - remixes of this object, and hosting on other digital platforms). The objects may not be used without permission in any way whatsoever in which you charge money, or collect fees.
Comment & Rating (0)