
Angled Front Grip for Picatinny Rail
Print Profile(1)
Bill of Materials



.jpg)

- 18-8 Stainless Steel Thin-Profile Hex Nut M3 x 0.5 mm x 4: McMaster 90710A030 is a pack of 100
Description
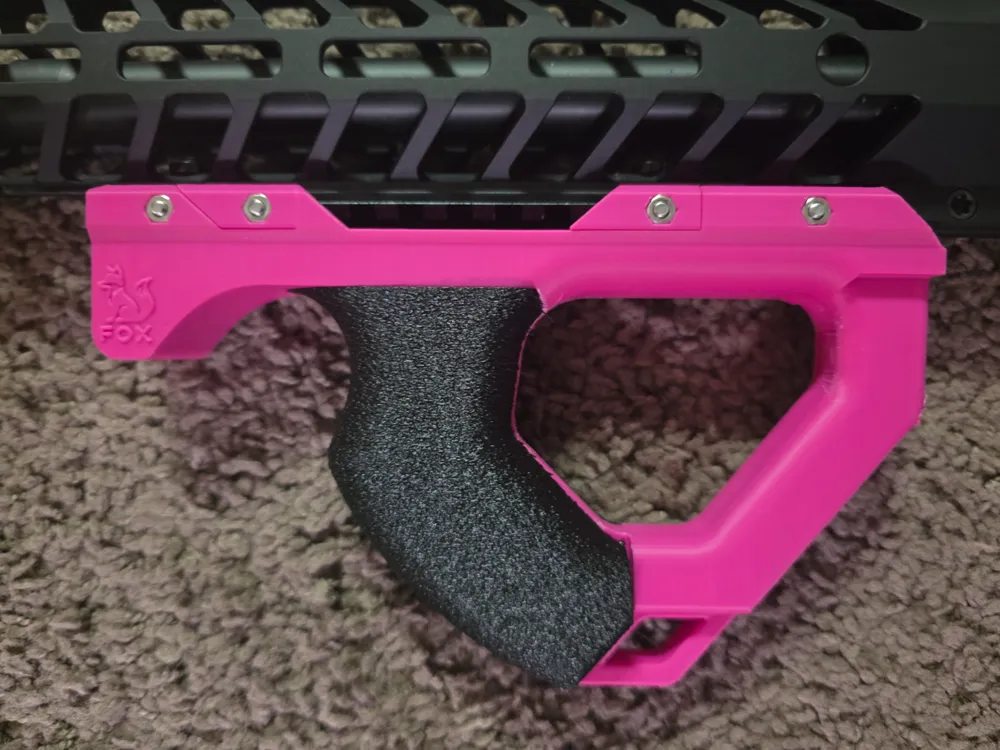
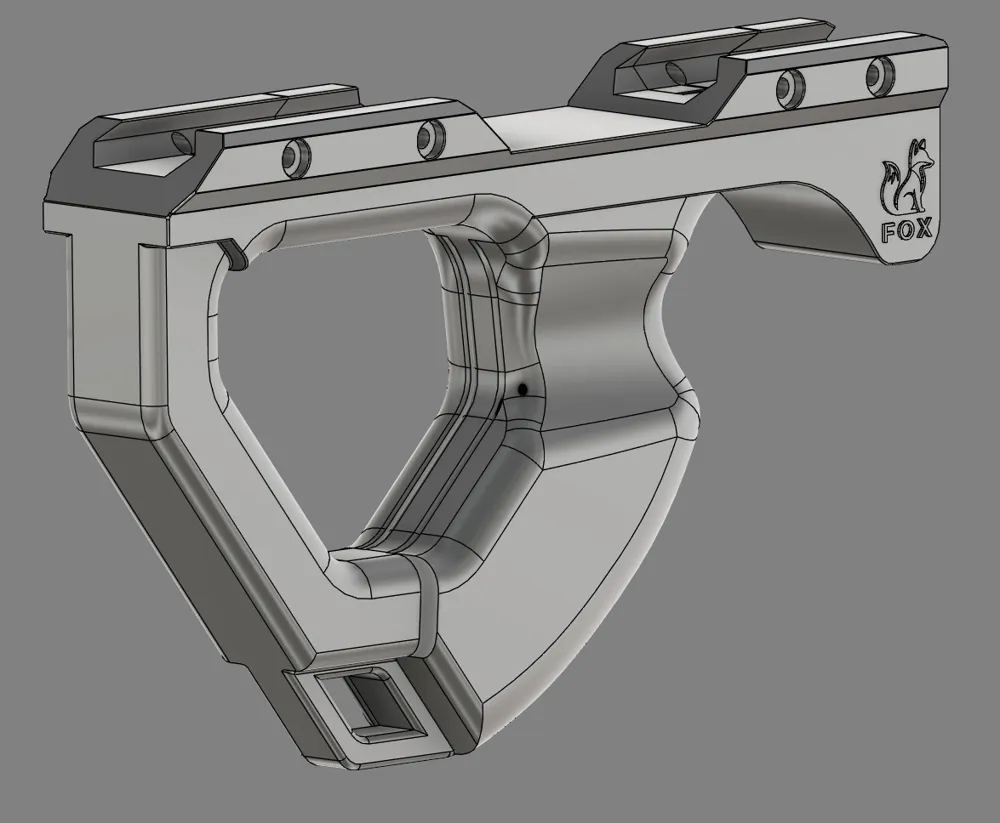
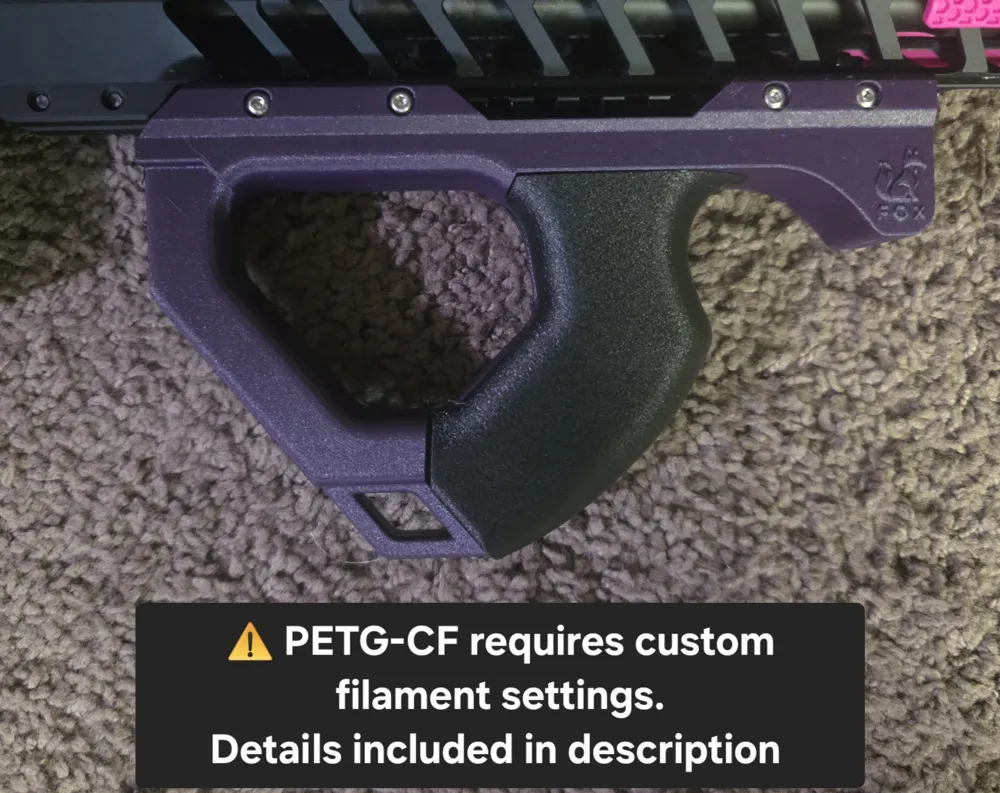
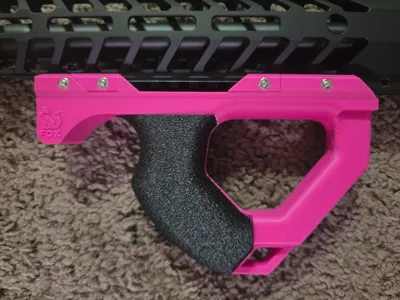
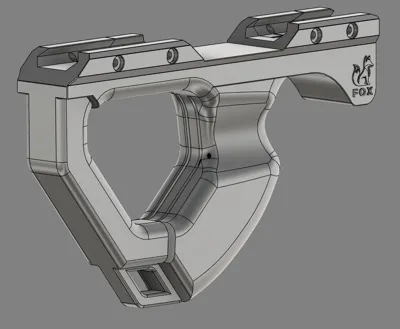
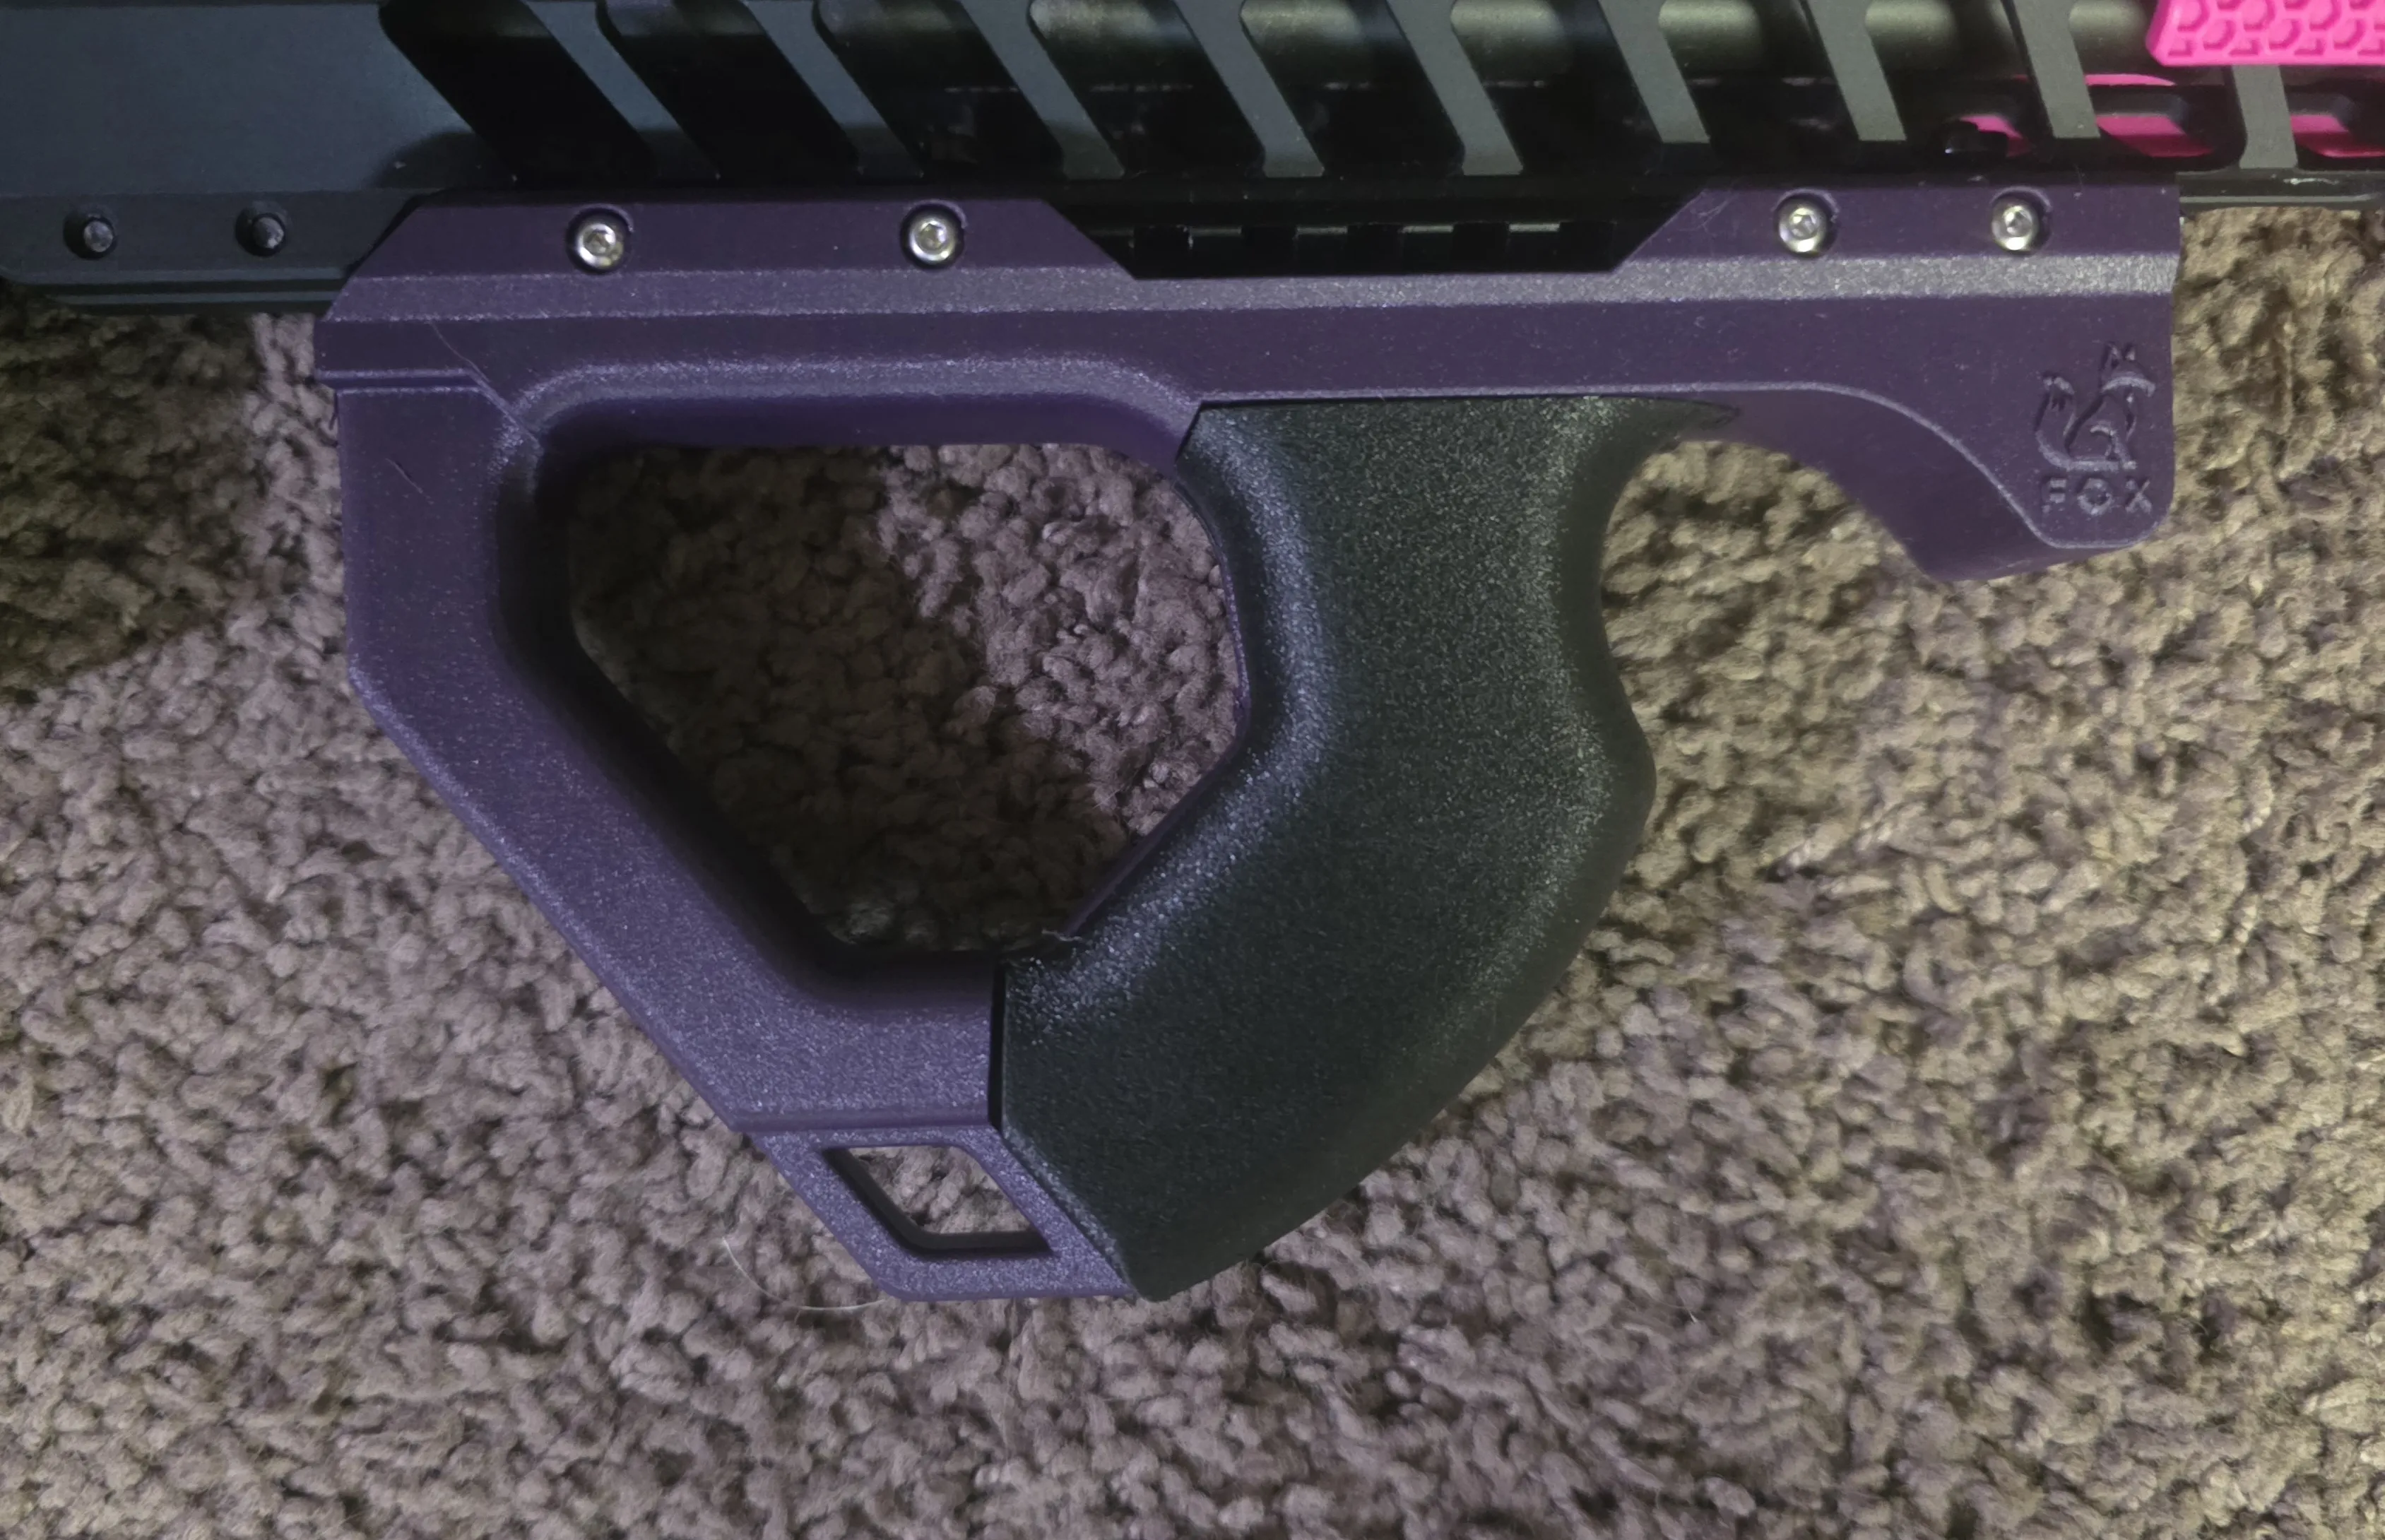
This is an angled ar-15 fore grip with a barricade stop that attaches to an ar-15 handguard with a standard picatinny rail.
This fore grip is modeled to improve on other ar-15 rifle grips that emulate the look of a PS90.
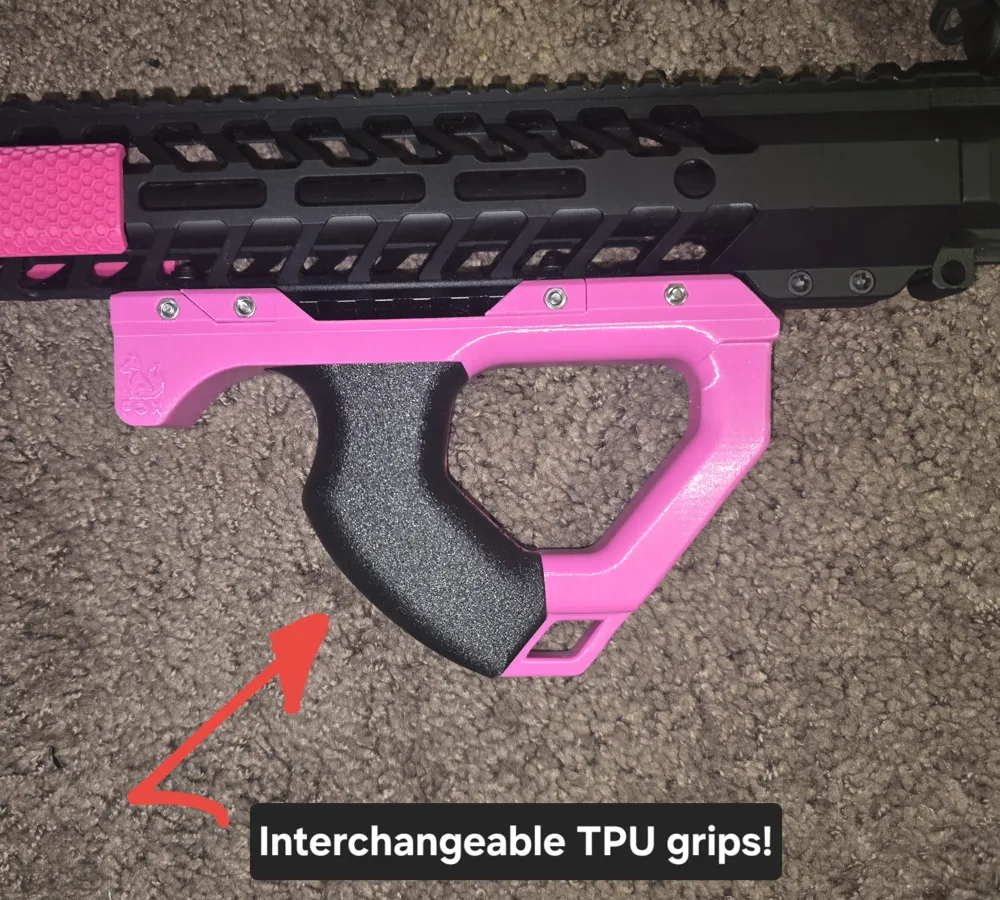
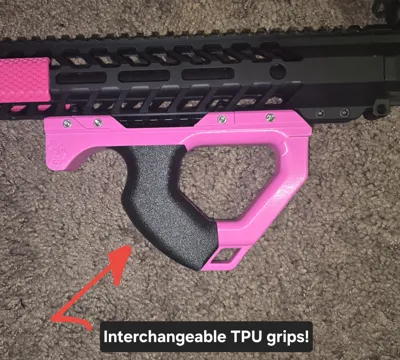
This model includes 3 interchangeable soft rubber tpu grips:
- One with an indent for a right handed shooter
- One with an indent for a left handed shooter
- One without any indent at all (my favorite for the range).
The front of the grip is intended as a barricade stop. I chose specifically not to include a giant hole for the gimmicky strap disconnect. Replaced with cute 🦊.
If you don't have a picatinny rail on the underside of your hand guard, they're easy to print and widely available online in aluminum. I am very satisfied with this model, I don't intend to make it natively m-lok or keymod.
I am not using this for airsoft and I don't expect many others will, either. It's up to you to figure out if this is legal where you live. I recommend printing with a 0.4mm nozzle (the standard), a minimum of 4 walls, and at least 50% infill. I prefer the TPU parts between 20% and 50% infill with basic fuzzy skin.
Print in the orientation of my model with the barricade stop at the top. I intentionally baked angles into the model so the walls aren't stacked perfectly on top of each other. This significantly strengthens the parts by making a subtle 🧱 brick wall pattern.
You'll need hardware. It's designed for 4x M3 x 30 Button Head screws and 4x slim M3 JAM nuts (mcmaster PN 90710A030 or equivalent). You can use M3 x 30 Socket Heads and M3 regular nuts (listed below), but it won't look as pretty. The recess for the screwhead and the nuts is sized correctly for the narrower hardware, other stuff will be slightly proud of the plastic. It's barely noticeable, but worth mentioning.
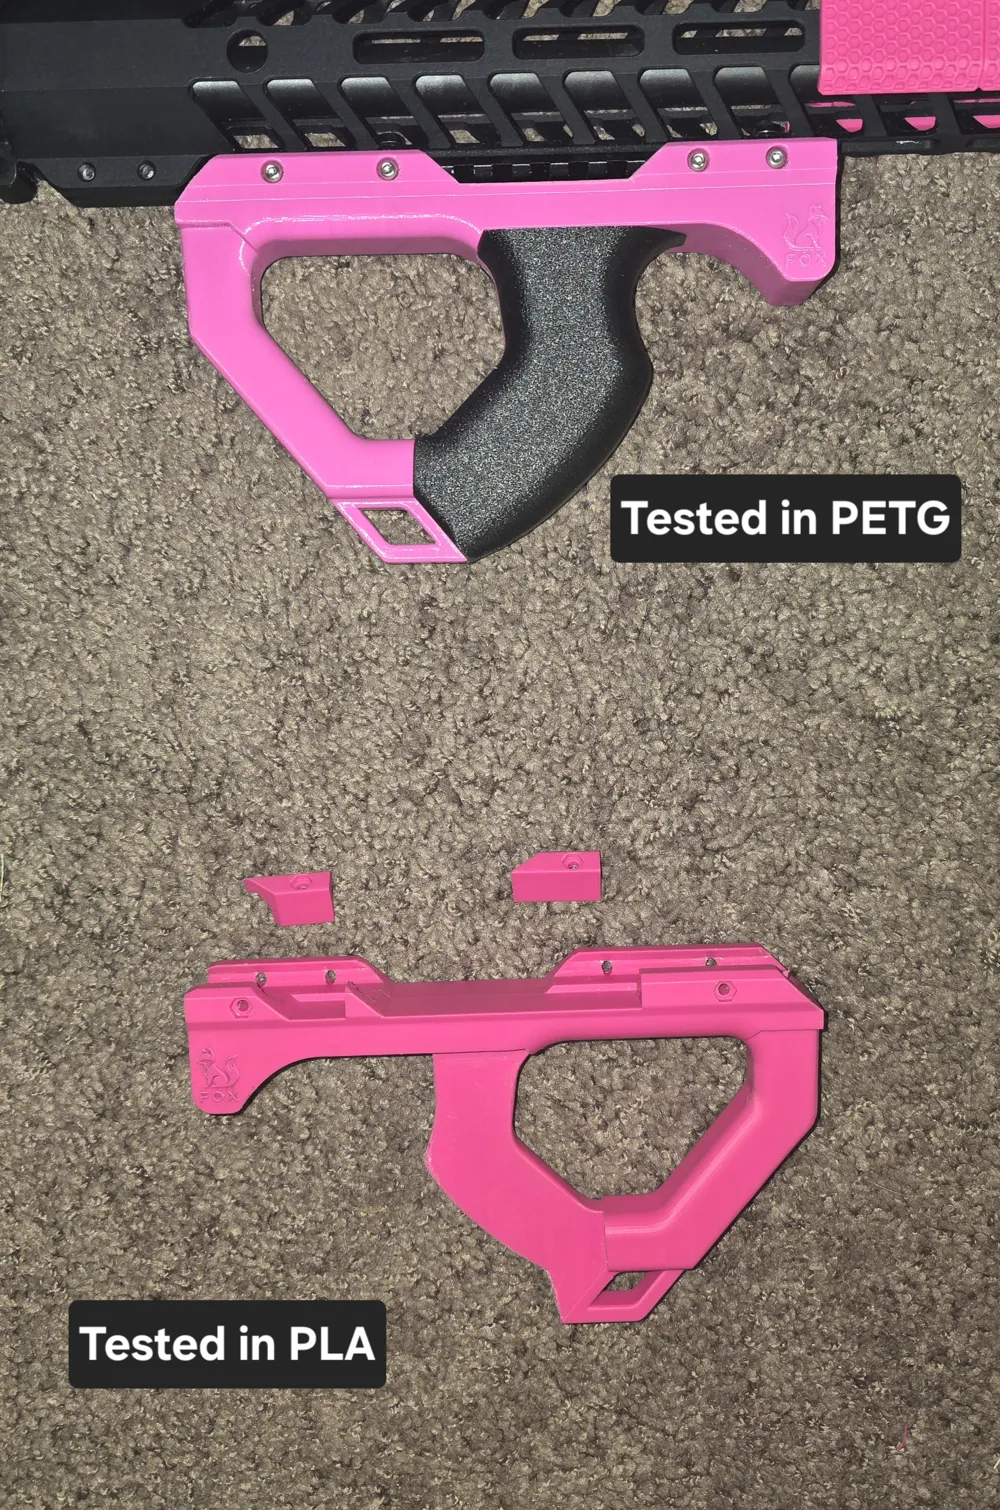
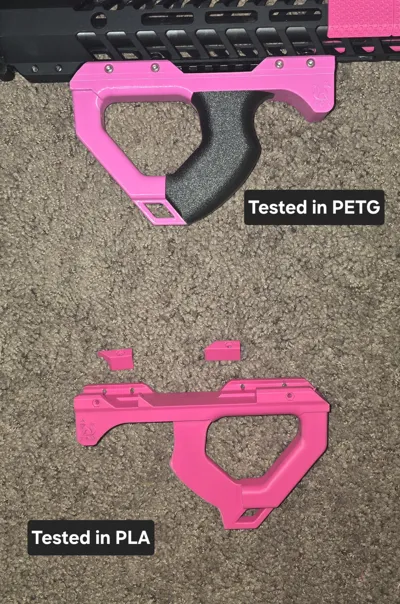
If you print this, please let me know what filaments you used and how it went! My filament choices were thoroughly dried sunlu pla+ magenta, creality PETG magenta, and sunlu TPU.
---
---
---
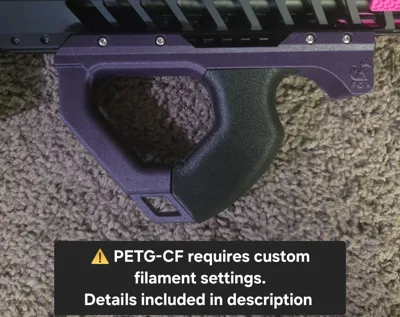
Update: specific instructions for carbon fiber petg-cf. If you don't intend to use that, you don't need to read this.
This profile doesn't innately work with PETG-CF. Make the following changes in your slicer to get it to work.
.
- Turn on “Combination Infill”.
- Increase layer height to 0.12mm
- Keep 4 walls and 100% infill
- Use concentric infill.
- 3 support interface layers with 0.15mm top and bottom interface spacing (picked to match 0.12mm layers).
- Optional: reduce support. Petg-cf only really needs support in the thumb hole.
- Make the following adjustements in filament cooling settings:
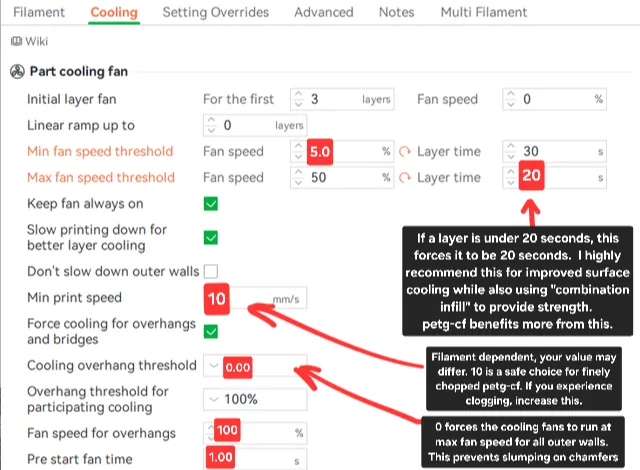
All of these changes work together to produce very strong, very smooth, prints.
These changes increase print time for the main rigid parts to around 12 hours.
License

You shall not share, sub-license, sell, rent, host, transfer, or distribute in any way the digital or 3D printed versions of this object, nor any other derivative work of this object in its digital or physical format (including - but not limited to - remixes of this object, and hosting on other digital platforms). The objects may not be used without permission in any way whatsoever in which you charge money, or collect fees.


Comment & Rating (4)