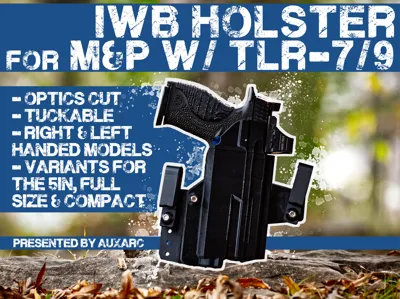
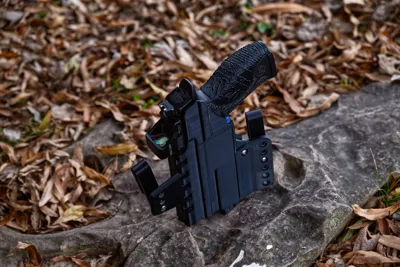
IWB Holster for M&P Doublestack with TLR-7/9


Print Profile(1)
Description
AuxArc presents the IWB Holster designed for the Glock 17 with Surefire X300A or B models. Note: This is file from late last year and has been re-uploaded after minor wording changes.
Boost Me (for free)
These holsters are continued in development thanks to your downloads and support! Thank you!
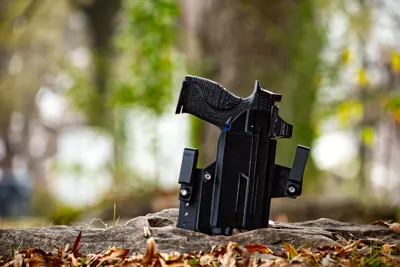
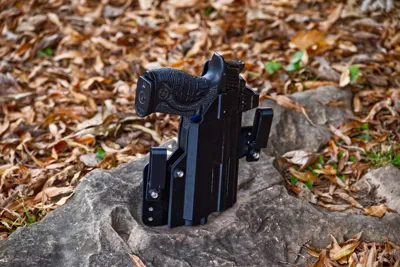
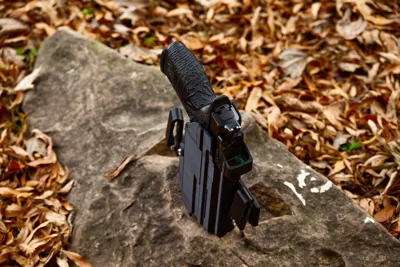
This is an IWB Holster for the M&P Doublestack Frames equipped with Streamlight TLR-7 or, in the case of the 5" gun, the TLR-9. The TLR-7 footprint should also accept the Surefire XC3. I've been building holsters for 15 years, and transitioned to 3D Printing them in the last year and have been carrying in a 3d printed design of mine for that time. As long as they're printed in PETG, these holsters have no issues and weather heat well.
There are 6 versions of this holster.
- Right Hand Compact w/TLR7
- Left Hand Compact w/TLR7
- Right Hand Full Size w/TLR7
- Left Hand Full Size w/TLR7
- Right Hand 5" Barrel w/TLR9
- Left Hand 5" Barrel w/TLR9
The holster is designed to use #8-32 hardware. You'll need 3 button head hex screws 1" long and 3 nylock nuts. When assembling your holster, imagine the belt line running across the front of the holster and the angle you want it to have. If you're appendix carrying, that line should be level, and your belt clips should be level to reflect that. If carrying in the 4 or 5 o'clock position, you'll likely want to angle the holster, and the wing and it's belt clip should be higher than the other clip to tip the holster towards the front of your body.
To assemble the wing to the holster, align the hinges and insert a piece of PETG filament from top to bottom, the length of the holster and cut it flush. To install the hardware, start by pressing a nylock nut into the recess on the front of the holster under the trigger area. Insert your handgun and slot a screw from the back of the holster into that nut at the front. Use a 3/32 hex wrench to tension to your desired tightness. Install the belt clips onto the holster and the wing the same way. Press the nylock nut into the belt clip, screw a button head from the back into the nut to hold the clip in place. I personally like to add a few spacers of some sort, like a ¼" nut to space the clips out from the holster and assist with making it tuckable.
To assist with assembly, I've provided the following video with the step by step instructions.
Feel free to offer feedback, requests, comments, critique. This holster is a direct result of several requests, so keep them coming and I'll accommodate when I can.
License
You shall not share, sub-license, sell, rent, host, transfer, or distribute in any way the digital or 3D printed versions of this object, nor any other derivative work of this object in its digital or physical format (including - but not limited to - remixes of this object, and hosting on other digital platforms). The objects may not be used without permission in any way whatsoever in which you charge money, or collect fees.
Comment & Rating (7)