Labels for Allit Europlus Basic 47 assortment boxes


Print Profile(1)

Bill of Materials

Description
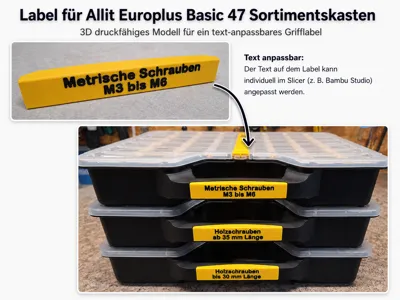
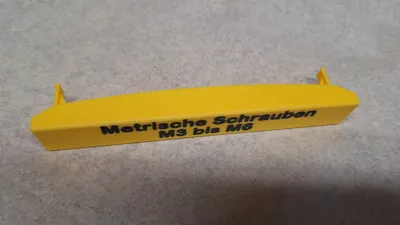
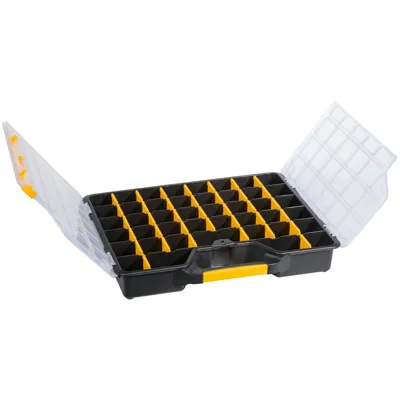
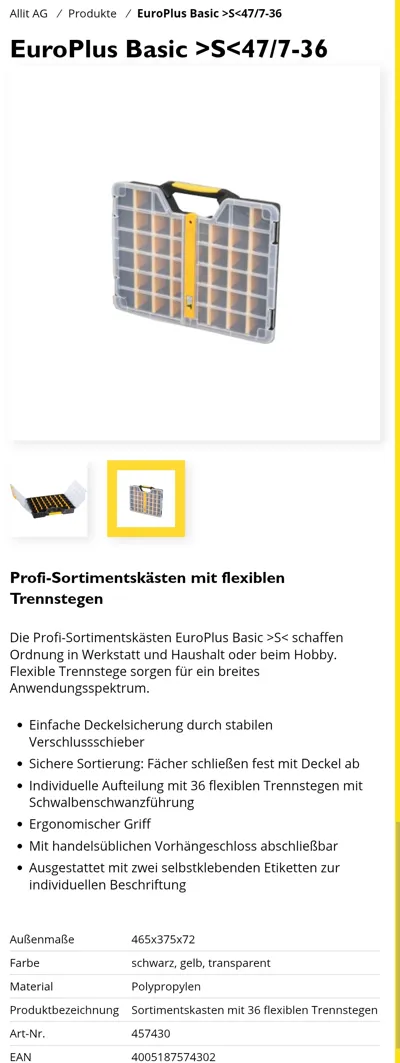
Customizable Labels for Allit Europlus Basic 47 Assortment Boxes
No more guesswork:
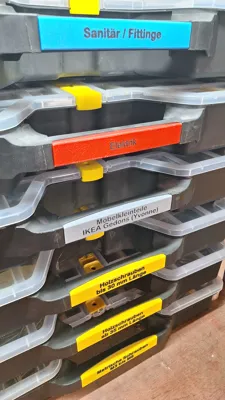
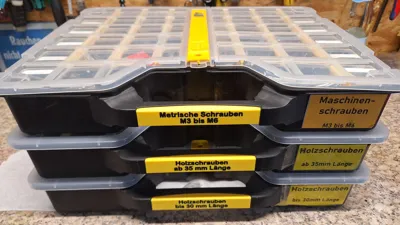
These precisely fitting labels will bring lasting order to your assortment boxes.
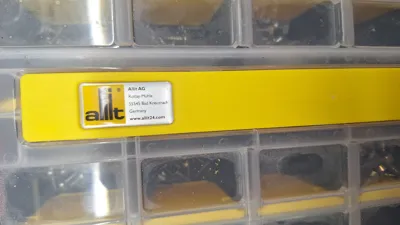
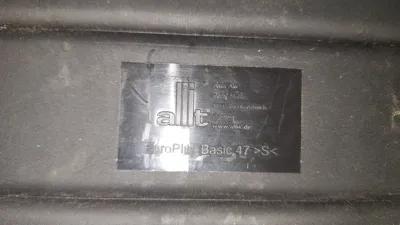
This model was specially developed for the handles of the Allit Europlus Basic 47 and integrates cleanly and stably into the existing system.
As the saying goes, order is half the battle – and these boxes are often used for many years.
That's why it's worth opting for a clean and durable solution from the start.
Provisional paper labels are thus a thing of the past.
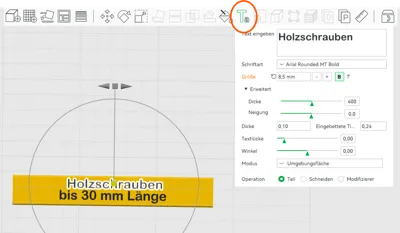
The 3D model is designed to be easily adapted to your needs. The text is inserted directly in the slicer (e.g., Bambu Studio) and can be freely chosen – whether for screws, tools, or other small parts (also see screenshots in the images).
With the right font settings, a very clean and professional result can be achieved.
In my opinion, the predefined settings achieve the best printing results in terms of: "font not too small, but still cleanly printed."
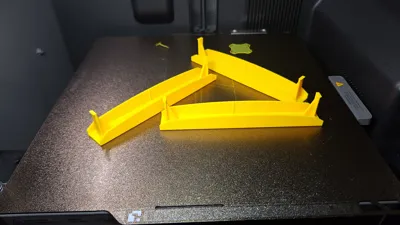
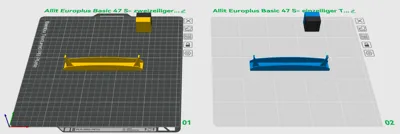
I have stored 2 print plates in the model:
Plate 1 - Label with 2-line text
Plate 2 - Label with 1-line text
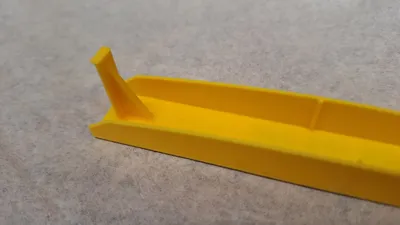
The shape of the labels was deliberately designed with slightly rounded edges.
This not only makes them look more high-quality but also makes them comfortable to handle.
The chosen print settings also produce a very clean print, so hardly any post-processing or deburring is necessary.
Printing Notes
The model was printed in PLA – which is perfectly sufficient for this purpose and offers a good combination of stability and print quality.
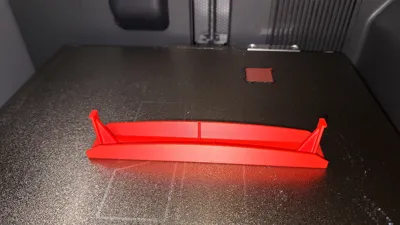
The Bambulab PLA Sunflower Yellow (10402) harmonizes perfectly with the existing yellow of the Allit boxes.
However, colors are interchangeable, and I also did it for clarity.
I printed it on my Bambulab P2S with the Textured PEI plate.
For a particularly fine result, the following settings were used:
- Layer height: 0.12 mm (High Quality)
- Print speed: reduced for better detail accuracy
Although the reduced speed increases print time slightly, it ensures significantly cleaner edges and an overall higher-quality finish.
Orientation
For the best result, the label should be printed with the front side facing the print bed. This makes the visible surface particularly even and also acquires the fine texture of the PEI plate.
Once cleanly printed and adapted, you have a durable and visually appealing solution that will keep your workshop organized in the long term.
Installation
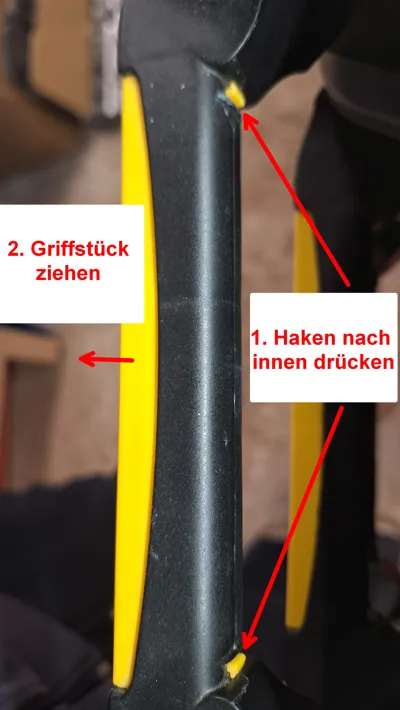
The original label is held at the handle on the back by 2 clips; these are pressed inwards, and the label is pulled out forwards. The new label only needs to be pushed in until it clicks into place.
Have fun with it.
License
You shall not share, sub-license, sell, rent, host, transfer, or distribute in any way the digital or 3D printed versions of this object, nor any other derivative work of this object in its digital or physical format (including, but not limited to, publishing derivative works outside the Makerworld platform or hosting on other digital platforms). The objects may not be used without permission in any way whatsoever in which you charge money or collect fees. Subject to the above restrictions, derivative works may be published only within the Makerworld platform, and all such derivative works must be licensed under the same SDFL‑C license, without modification or additional terms. You may download the digital versions of this object, 3D print it, and display images, videos, or usage demonstrations of 3D printed versions of the object on personal social media platforms or Makerworld official channels, provided that no digital versions of the object are shared or distributed.
Comment & Rating (0)