Slinger Tennis Ball Tube Replacement Locking Studs


Print Profile(1)
Bill of Materials
.jpg)

Description
Membership
This model is covered by my Basic Commercial License on MakerWorld. You may sell physical prints with an active subscription. See my profile for details.
Description:
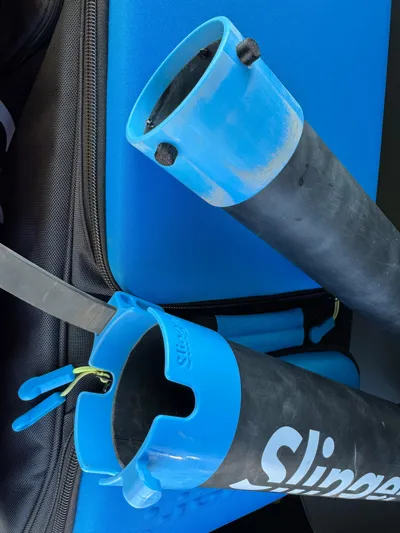
These replacement pins repair the locking mechanism of the original Slinger tennis ball pickup tube.
The factory plastic locking studs can break quite easily over time, especially during transport or repeated assembly and disassembly. Instead of replacing the entire tube, this repair allows you to restore full functionality with a simple modification.
The repair process is straightforward:
- Remove or grind off the remaining broken locking tabs.
- Drill a 6 mm hole at the original locking position.
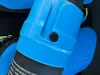
- Glue the printed replacement pins into the drilled holes.
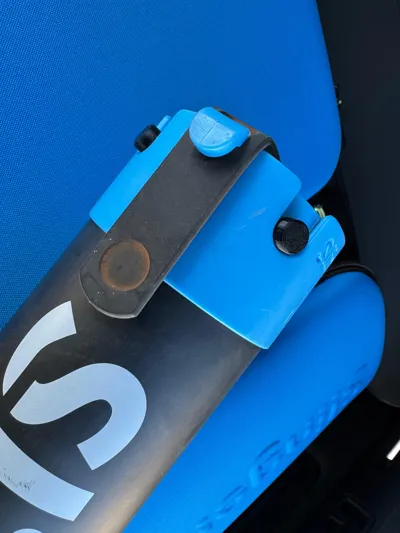
After installation, the tube locks together securely again and works very similar to the original mechanism.
Features
- Repairs broken Slinger pickup tube connectors
- Replaces fragile original locking studs
- Cheap and easy repair
- Restores full functionality
- No need to replace the complete tube
- Simple installation with basic tools
Installation
- Remove the damaged or broken original locking tabs.
- Drill a clean 6 mm hole at the original locking position.
- Test fit the printed pin.
- Glue the pin into place using a suitable adhesive.
- Allow the adhesive to fully cure before use.
- Verify proper movement and locking function.
Printing Notes
- PETG or ASA recommended for durability
- PLA works but may wear faster in hot environments
- Higher wall count recommended for strength
- No supports required
Disclaimer
This is an unofficial repair part and is not affiliated with or endorsed by Slinger or any related company or brand.
This modification requires drilling and permanent installation using adhesive.
Use entirely at your own risk.
The design was successfully tested by the author on their own equipment and worked reliably during testing. However, printer tolerances, material choice, adhesive selection, installation quality, and wear conditions may vary significantly between users.
The author assumes no responsibility or liability for damage, failed repairs, injuries, equipment failure, or improper installation. No guarantee is provided that the repair will work identically in every case.
Always verify secure locking and safe functionality before use.
Boost Me (for free)
Likes, makes and boosts are always appreciated!
License
You may create derivative works based on this object, provided that all such derivative works are published exclusively on the MakerWorld platform and include proper attribution to the original creator. You may not share, upload, host, distribute, or publish this object—or any derivative work of this object—on any other digital platform, marketplace, or distribution channel. Commercial use of this object and any derivative works is strictly prohibited. This includes, but is not limited to, selling, renting, sublicensing, or using the object in any context in which you receive monetary compensation or other financial benefits.
Comment & Rating (0)