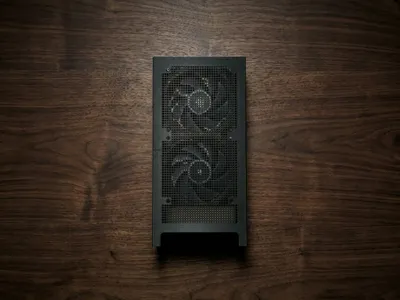
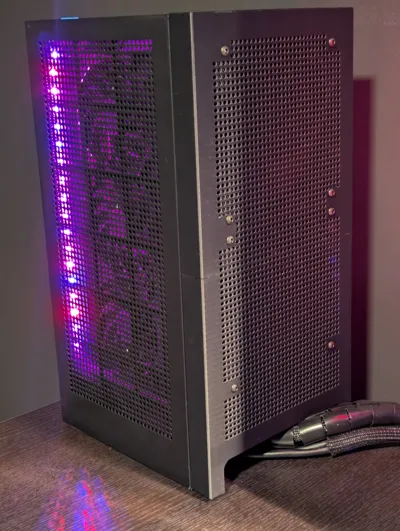
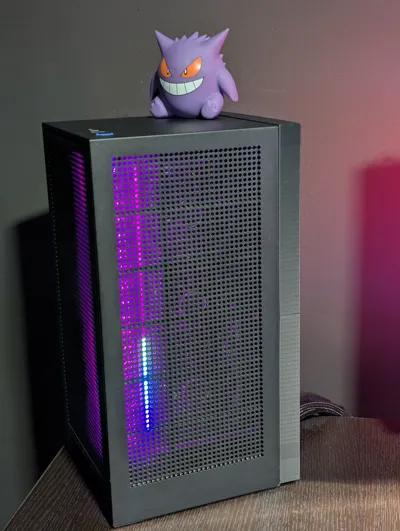
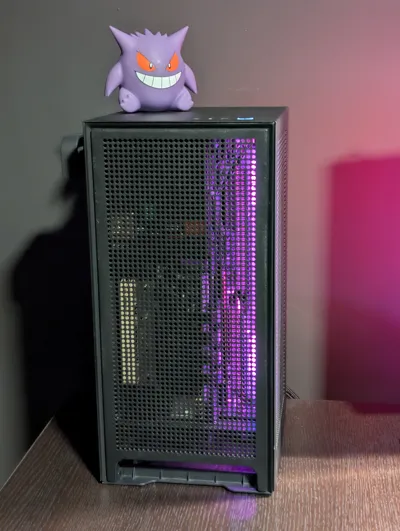
NZXT H1 Back Fan Mod


Print Profile(1)

Bill of Materials


- Superglue x 1:
- 140x140x27mm PWM Fans x 2:
- M4 Nuts x 12:
- M4X12 Screws x 12:
Description
Boost Me (for free)
<3
What you'll need:
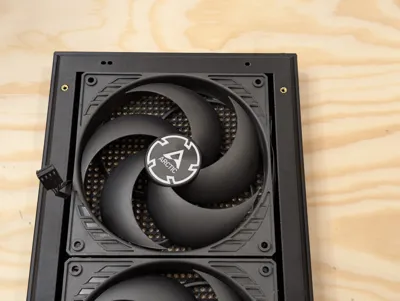
- 2x ARCTIC P14 PWM PST 140mm fans
Noctua NA-SEC1 extension cable (optional - my cable didn't reach the motherboard)
8x M4*12 screws and nuts to mount the fans
You can use your preferred mounting method (zip ties, long fan screws, rubber fan mounts etc.)
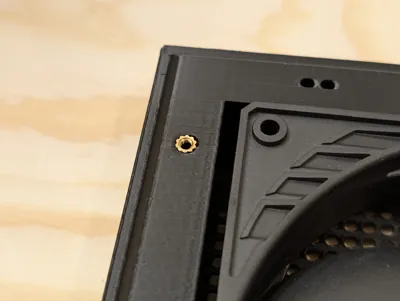
- 4x M3 heat inserts (I used M3x4x5)
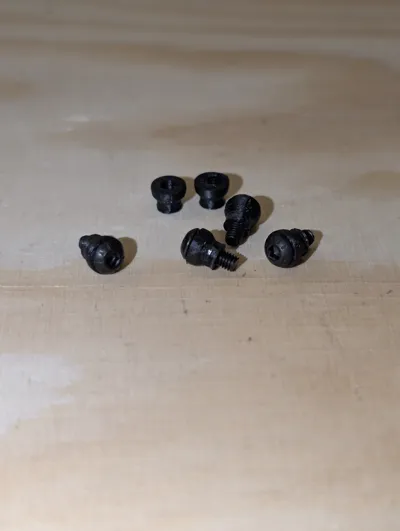
4x M3*8 button head screws for the clip on balls (you can use longer screws)
- Superglue
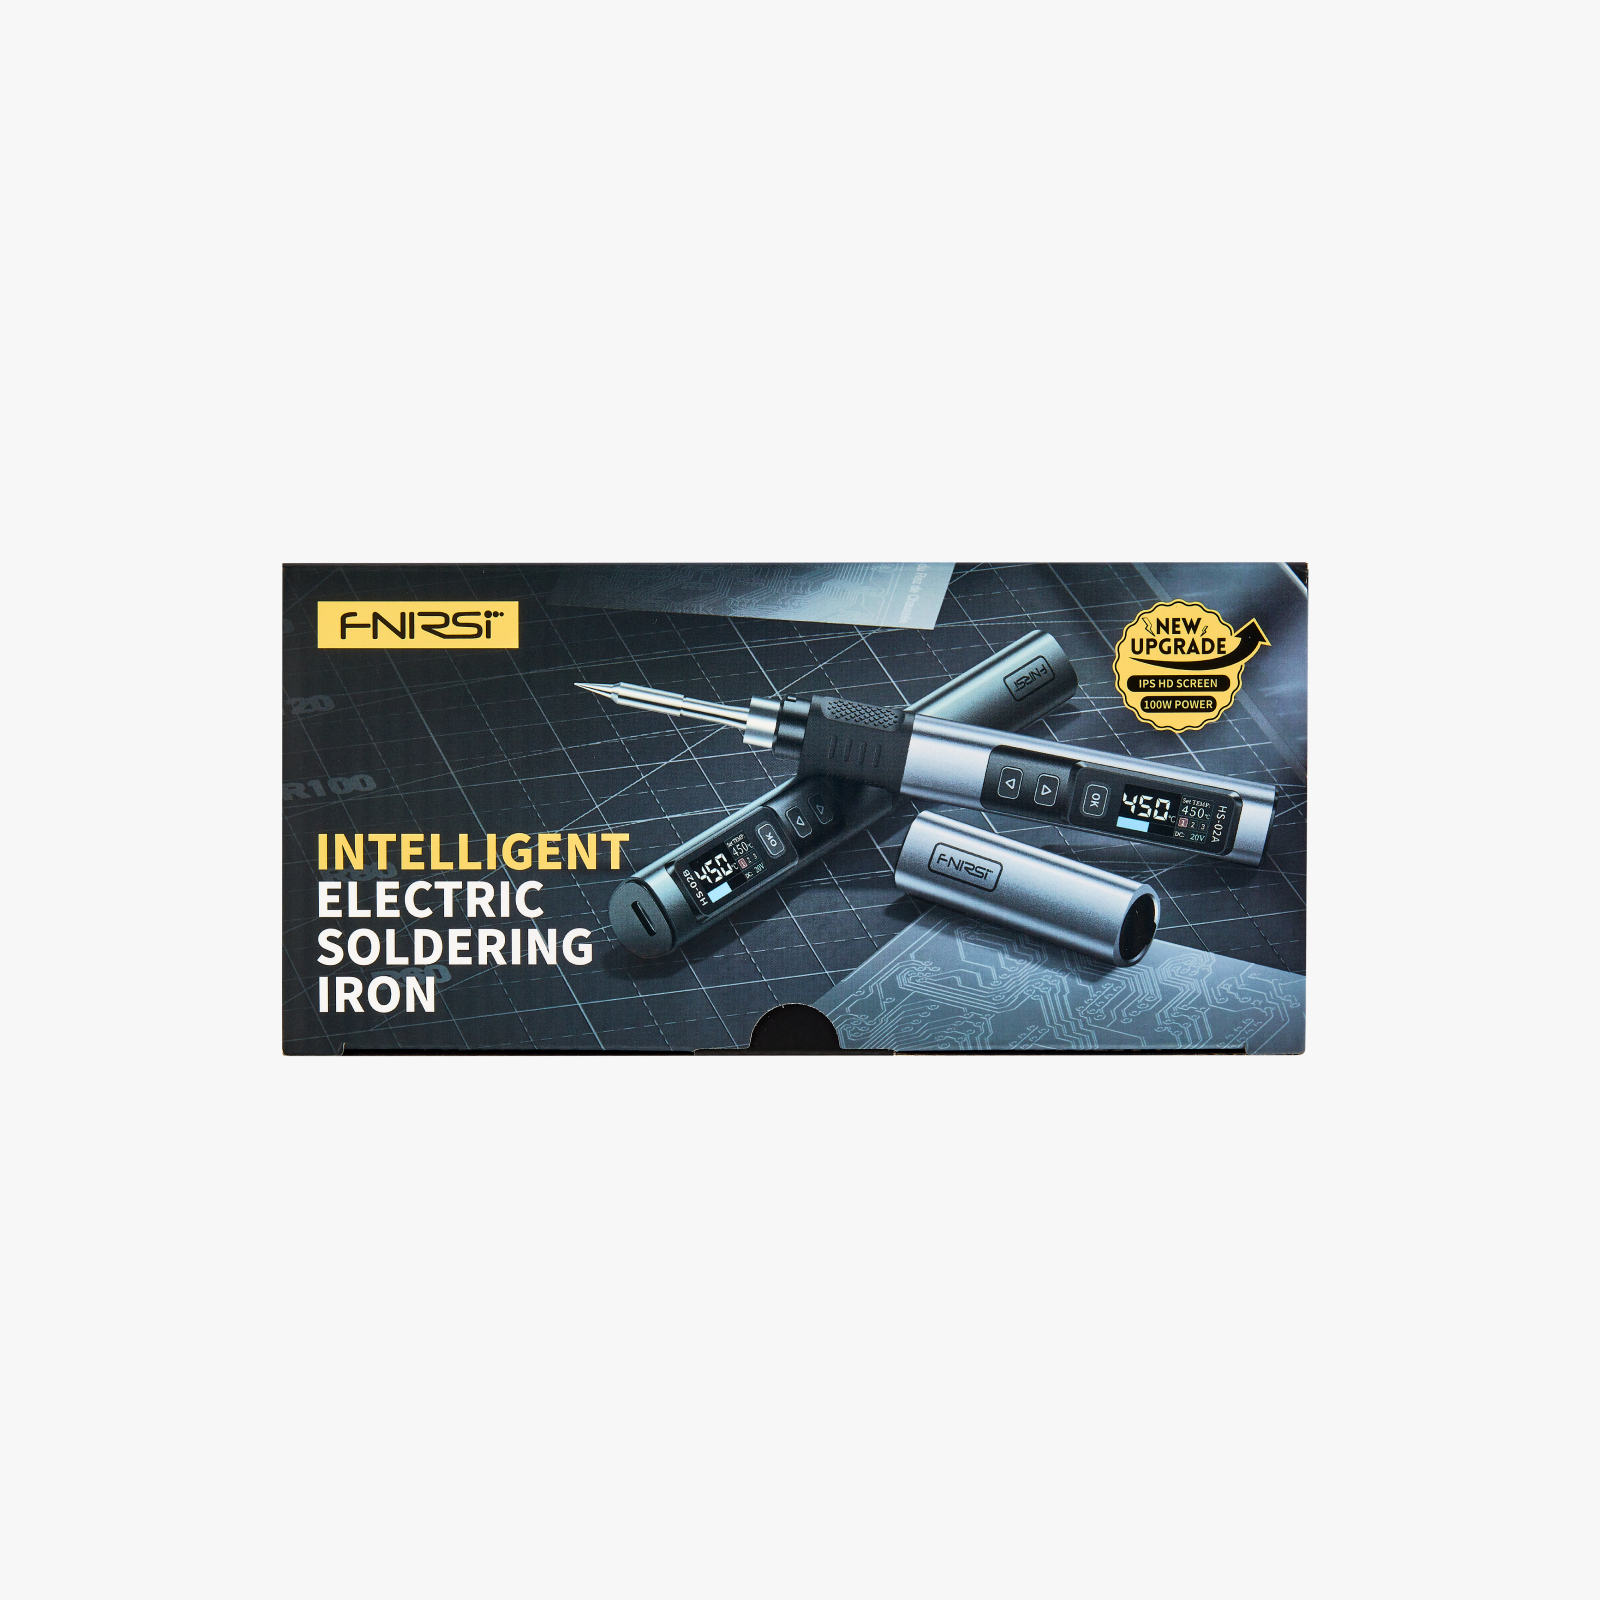
- Soldering iron for the heat inserts
Hacksaw (optional - to use the back grill as front cover, replacing the glass for extra airflow)
Instructions:
- Glue the 2 pieces together, don't overdo it, the fan will hold them together
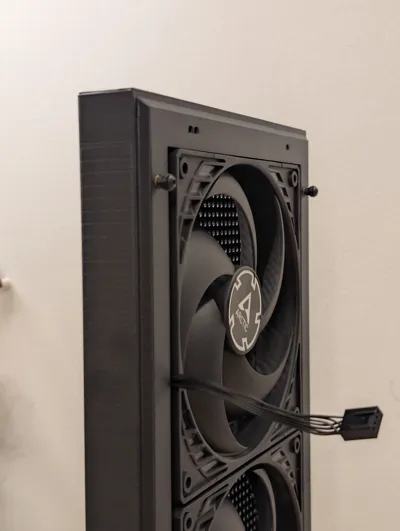
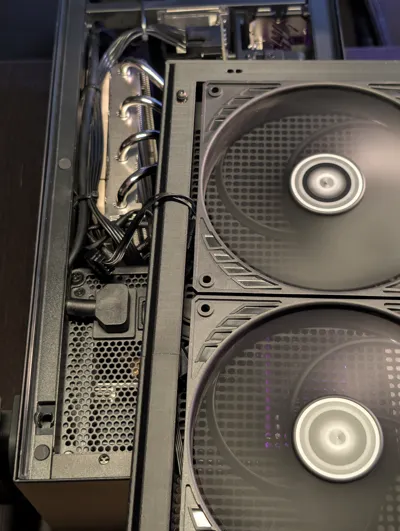
Mount the fans and use the side grooves for cable management
Ideally you will route the cable towards the top side of the case to use the PSU cable management for the Noctua cable extension
- Put the heat inserts in and screw the M3*8 screws inside the clip on balls, then screw them in.
- Route your cable extension if you fan cable won't reach your motherboard, you can use the PSU velcro strips to guide the cable towards the back of the case. Leave a bit of room to be able to open the back case. When you close the back make sure to tuck in the cable to not touch the fans.
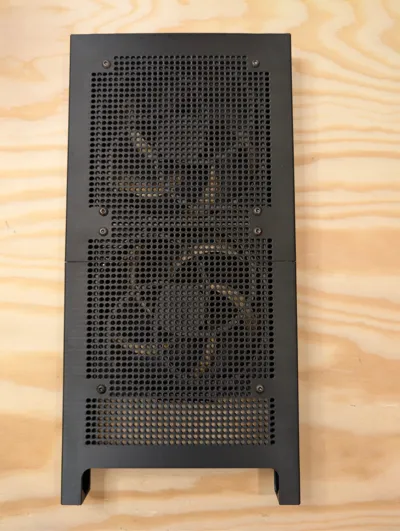
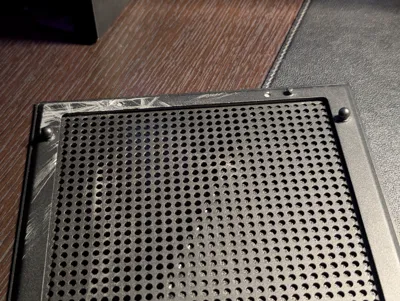
- Use a hacksaw or a powerful clip to cut the left small knob from the back grill to be able to use it in the front, instead of the glass
Ideal airflow config:
Noctua NH-L12S CPU cooler
- Put the cooler in clearance mode if your ram is higher than 30mm or if the heatsink fan touches your motherboard, I'm using MSI B550i and clearance mode was the only option
- Leave the cooler in low profile mode (below the heatsink) and use the default AIO 140mm cooler above (screw in instead of the AIO)
Both fans should take cold air from outside the case and blow hot air on the motherboard2x 140x140x27mm (or slimmer) fans
Both fans should take hot air from inside the case (CPU, GPU and PSU) and blow it outside
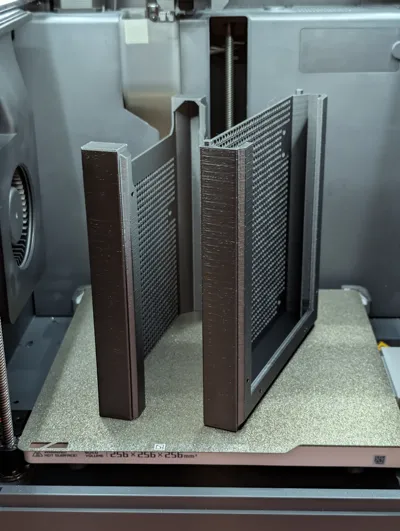
The print profile was made for PETG HF
- Aux Fan was set to 0%
- Textured plate only
- Close printer door and lid
- Initial layer temperature increased from 70°C to 80°C
- Added 15mm brim because the print is pretty thin and tall
- Changed support settings for easier removal without damaging the print

Comment & Rating (3)