
Wasp Fan
Print Profile(2)
Bill of Materials



Description
📄 Usage License
This design is provided for personal use only
By downloading this file, you agree to the following conditions:
- ✅ You are allowed to print the fan for your own use
- ❌ You are not allowed to sell, market, or distribute physical fans printed from this design
- ❌ You are not allowed to sell, share, give away, redistribute, or publish the digital files (STL, 3MF, or others) on any platform or medium
- ❌ You are not allowed to modify the design for commercial purposes or to circumvent these restrictions
If you are interested in obtaining a license to sell printed fans, you can contact me via Instagram: @lauvi.design
🐝 Wasp Fan – Sizes M and XL
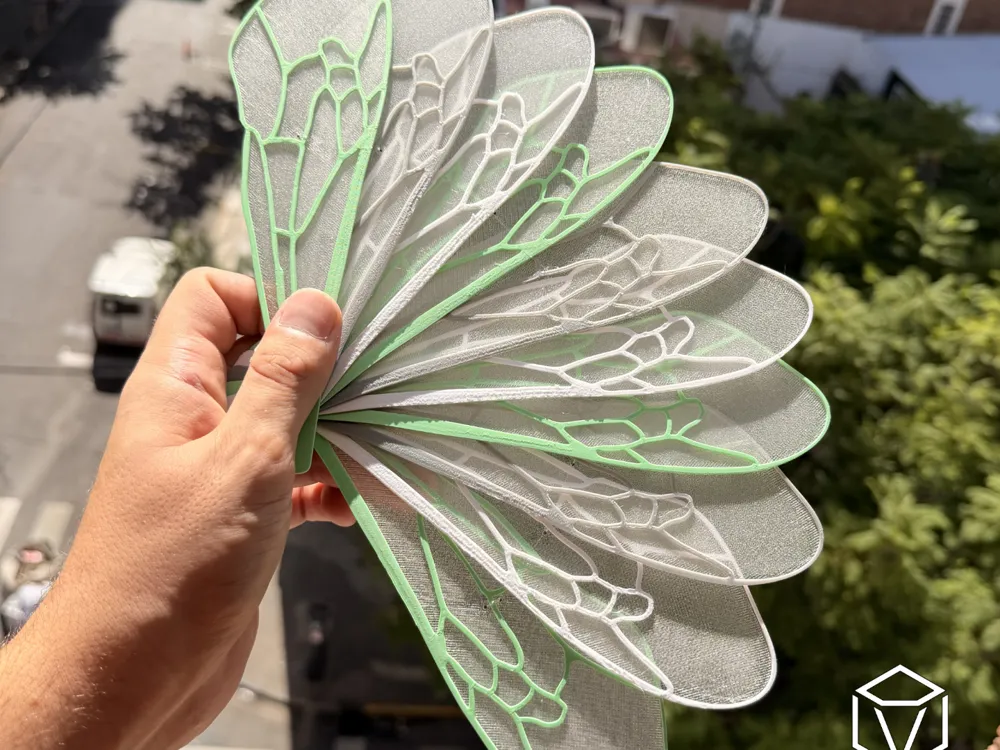
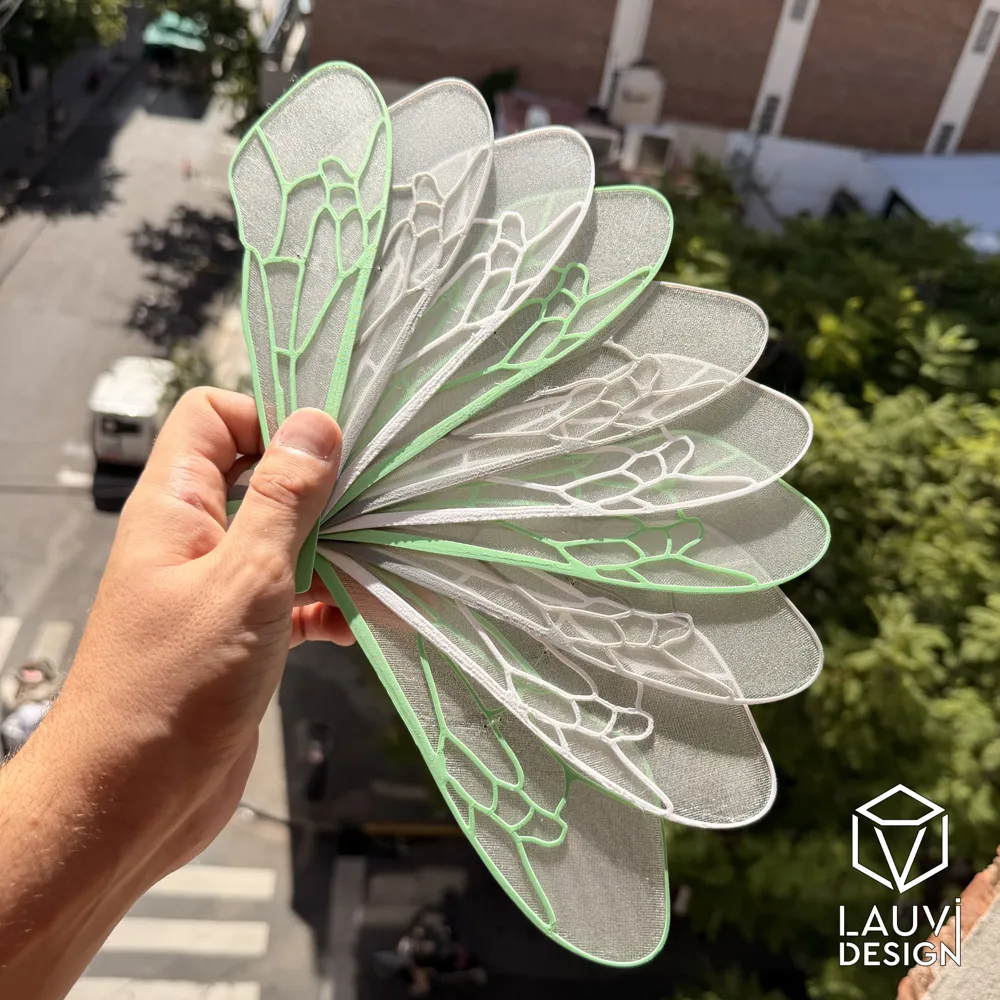
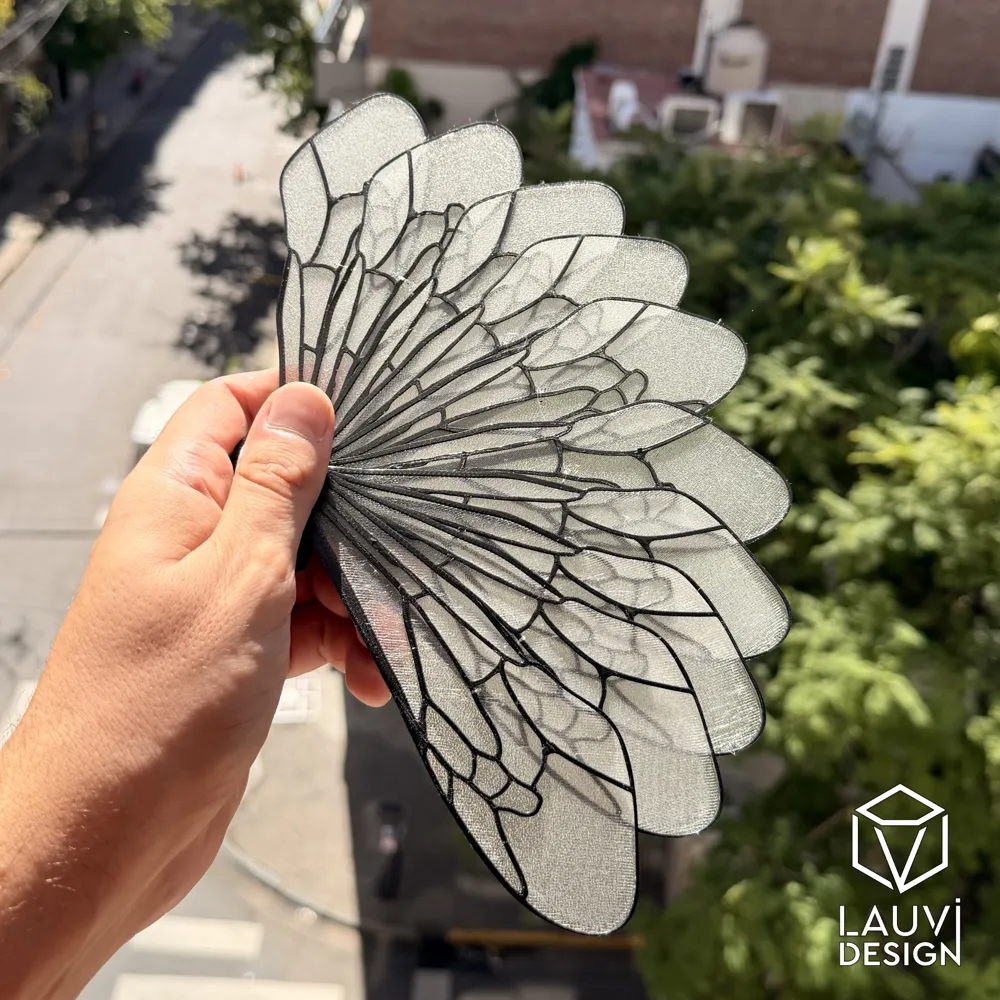
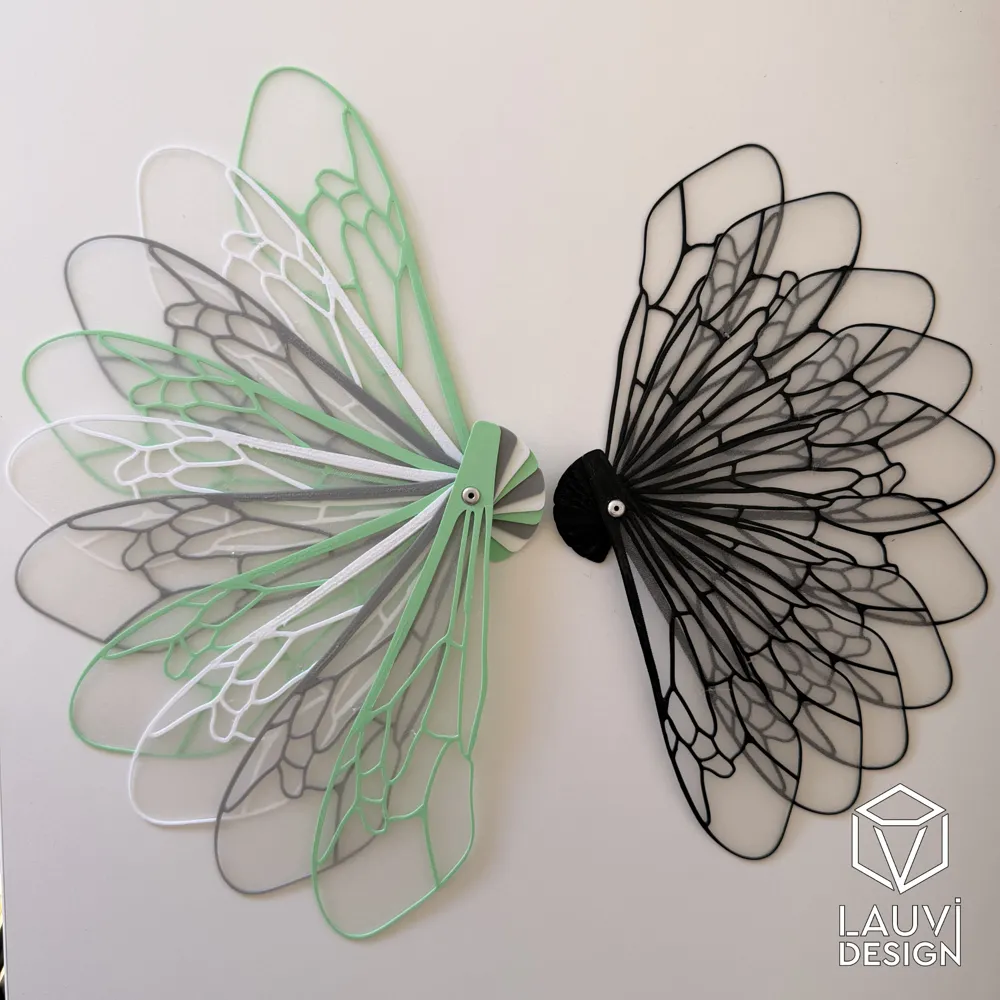
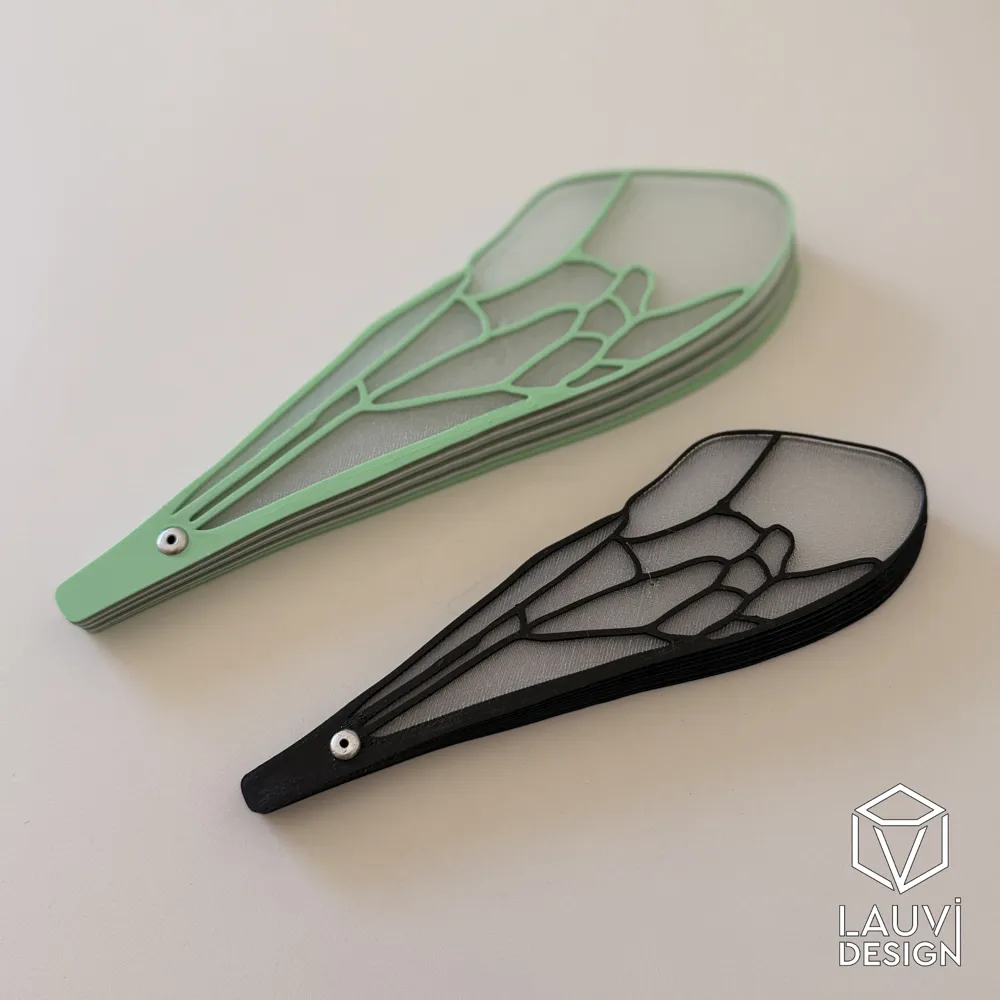
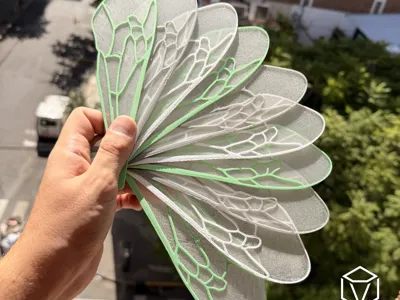
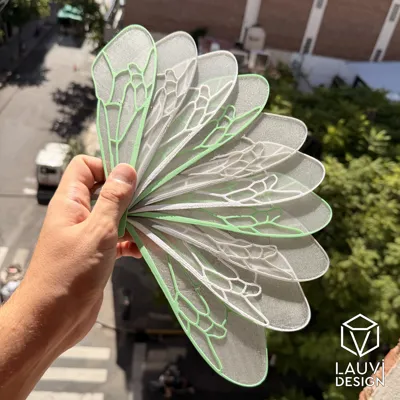
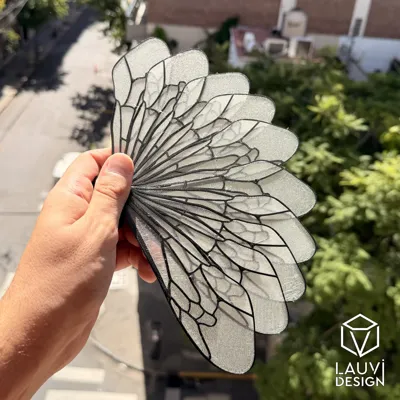
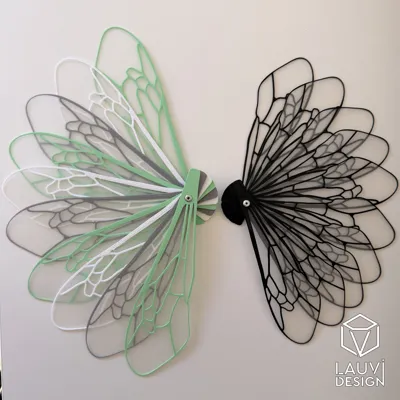
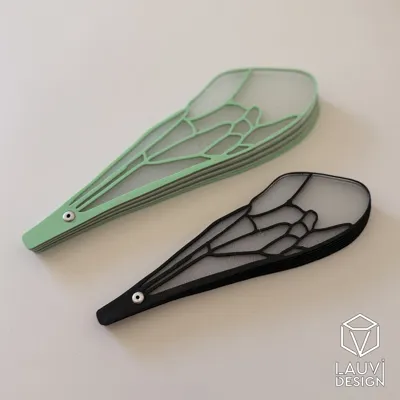
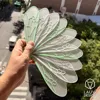
Inspired by the delicacy and natural geometry of a wasp's wings, this wasp fan combines organic design, functionality, and unique aesthetics. Its lightweight and translucent structure creates an elegant visual effect when opened, highlighting each “wing” as an individual piece that forms a harmonious set
Available in two sizes: M and XL, ideal for personal use as well as a striking accessory, decoration, or original gift
Assembly Instructions
This fan is available in two assembly versions, which you will see in the print profiles:
- Version 1: Axle using a POP rivet
- Version 2: 3D Printed axle with threaded cap
From the axle assembly onwards, the procedure is identical for both versions
Required Materials
- 10 printed wings
- POP rivet 3.5 x 16 mm (version 1) or 3D Printed axle and cap (version 2)
- Transparent thread approximately 0.30 mm
- Thin needle (recommended)
- Glue
Step 1 - Assemble the Axle
Version 1 - POP Rivet
You will need a POP rivet of the indicated diameter
- Remove the nail (mandrel) from the rivet
- Insert the rivet body through all 10 wings, ensuring they all have the same orientation
- Once in place, rest the rivet head on a firm surface
- With a hammer, gently tap the end of the rivet until it is slightly deformed to prevent the wings from coming off
Important: Do not close the rivet too tightly. The wings must be able to rotate freely
Version 2 - 3D Printed Axle
- Place the 10 wings maintaining the same orientation
- Insert the printed axle through all the holes
- Apply a small amount of glue to the threaded tip
- Screw the cap on completely
Important: The glue prevents the cap from loosening with use
Step 2 - Prepare the Thread
To facilitate assembly, it is recommended to thread the string through a needle
Fully open the fan and position it with the following orientation:
- The first wing (the foremost) should be on the left
- The last wing (the rearmost) should be on the right
Step 3 - Begin Tying
- Pass the thread through the two holes of the last wing (the one furthest to the right)
- Tie a firm knot to secure the end of the thread
- Ensure the thread is oriented towards the front of the fan
Step 4 - Join the Wings
Repeat the following procedure between each pair of wings:
- Pass the thread from back to front through the left hole of the next wing
- Insert the thread through the right hole from front to back, without tightening it completely, leaving a small loop
- Pass the thread again from back to front through the left hole
- Make two or three turns around the loop to form a knot
- Adjust the knot until the desired separation between both wings is achieved
Repeat this procedure until you reach the last wing
Recommendations
- Ensure all knots are on the same side for a neat finish
- If a permanent fixation is desired, a tiny drop of glue can be applied to each knot
✨ Aesthetic recommendation
For a premium finish, it is recommended to print the fan base in transparent PLA, which enhances the overall design and perfectly complements the translucent effect of the wings
A fan that looks like it came from nature... but created layer by layer
License

You shall not share, sub-license, sell, rent, host, transfer, or distribute in any way the digital or 3D printed versions of this object, nor any other derivative work of this object in its digital or physical format (including - but not limited to - remixes of this object, and hosting on other digital platforms). The objects may not be used without permission in any way whatsoever in which you charge money, or collect fees.


Comment & Rating (53)