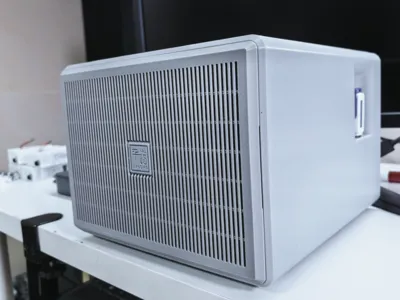
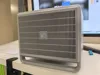
Six-bay NAS system case (mATX motherboard, SFX power supply)


Print Profile(6)
Description
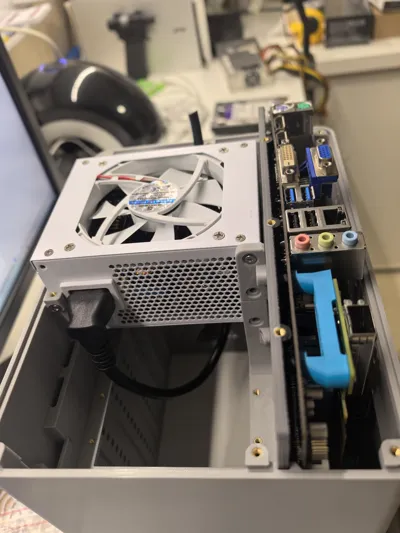
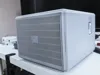
The idle mATX motherboard at home is put to good use as a NAS motherboard with 6 onboard SATA ports Coupled with the larger size of the motherboard (245*245mm), there's just enough space to build a six-disk NAS An SFX power supply is used to reduce noise and ensure stability (still concerned about the stability, reliability, and sufficient power of external power supplies) The external dimensions of the case are only 254*186*279mm (W*H*D) (excluding the 6mm thick magnetic panel, which is optional) Designed for as much Print in Place as possible, it's pushed to the extreme, being only 9mm wider and 34mm deeper than the motherboard When in use, apart from the power cable, nothing protrudes significantly from the case, including the USB drive used for Synology system booting, which also stays flush with the case
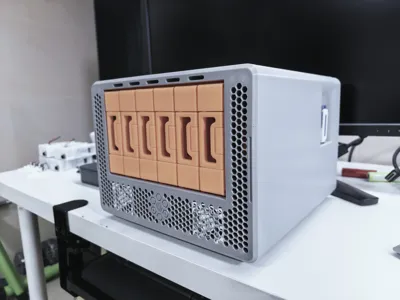
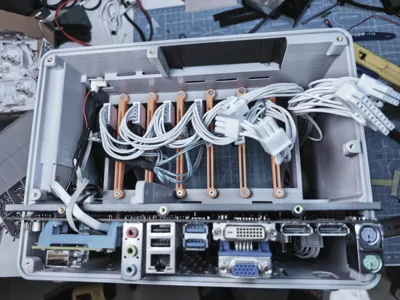
Special thanks here to 丫丫赶海 Their hard drive cage design is excellent For this part, please go directly to 丫丫赶海's website to download and print, and assemble according to their instructions, QNAS6 6-Bay NAS - Free 3D Printed Model - MakerWorld To effectively reduce the form factor and adapt to the mATX motherboard case, I integrated the outer casing part of 丫丫赶海's hard drive cage into my case If you believe this infringes on your rights, please message me for modification However, I kindly ask for your support, as it showcases your design and satisfies friends who need an mATX case Thank you again
Special Notes:
Case installation is simple and can be understood by looking at the pictures However, the space is relatively small due to the pursuit of extreme overall volume, so installation instructions will not be provided for now Here, only some special circumstances are explained
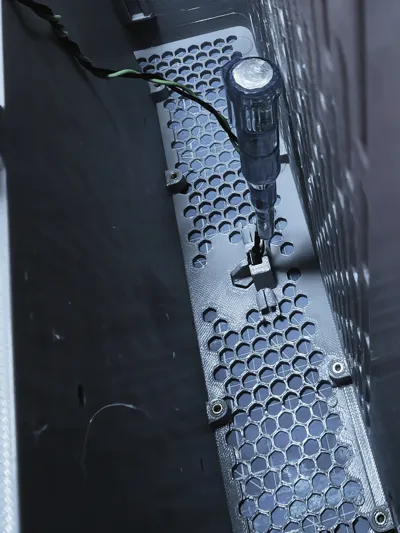
1. The case switch uses a 5*5mm micro switch A φ5mm power indicator and hard drive light are considered (can also be omitted) During installation, insert a small flat-head screwdriver into the gap (see pictures) to easily place the micro switch and indicator LED Removal is done in the same way
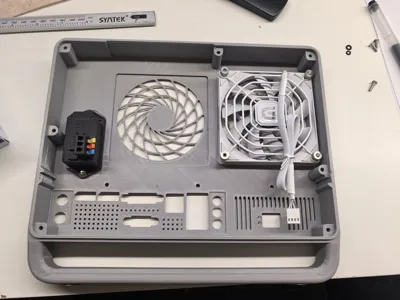
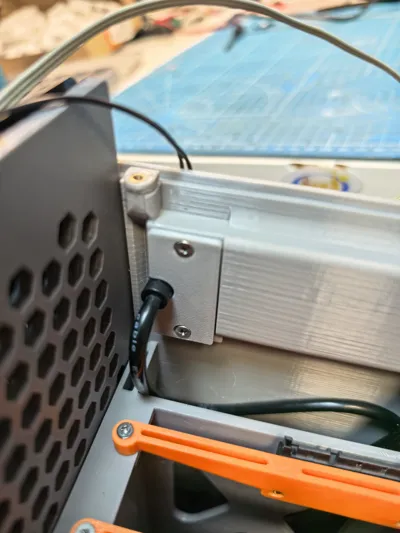
2. Two 4010 fans are for motherboard cooling, and one 9215 fan is for hard drive cooling Since the old motherboard only has one 3-pin case fan header, two positions are considered for installing external automatic temperature-controlled speed governors If your motherboard has one or more 4-pin case fan headers, you may not need an external automatic temperature-controlled speed governor
3. The two 4010 fans are secured with 8 M2.5*8 screws The motherboard is secured with M4 screws All other components are secured with M3 screws The motherboard tray and case are connected and secured with 7 M3 screws Depending on your needs, you can actually use none or some of them, but the design has considered this to prevent lack of fixed positions when needed
4. The main case print profile is set with two pauses During the first pause, a φ6*3mm magnet is inserted During the second pause, an M2.5*4.5*3.5 heat-set insert for 4010 fan installation is pressed in (the space is too small, making it difficult to operate if pressed after printing is complete)
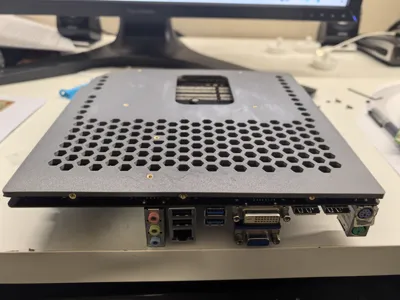
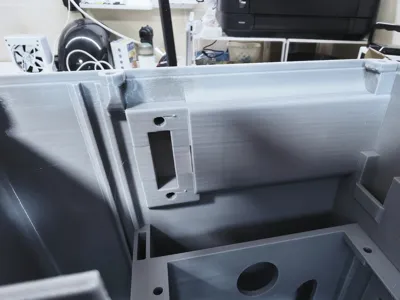
5. The case I/O shield is only suitable for the ASUS P8Q77-M motherboard The pictures show it as Print in Place For user convenience, the print profile provided is removable and replaceable to suit your own motherboard (the I/O shield can also be omitted) The network card interface shown in the pictures is due to the use of a 10 Gigabit network card and is not included in the provided print profile
6. After printing, use needle-nose pliers to remove the hand-drawn supports from the three internal USB ports
7. The print profile is for PETG material To compensate for shrinkage, a 100.25% scale is set PLA and ABS are not recommended PLA is not resistant to temperature and weather, and due to the very long printing time, it's very difficult to prevent ABS material from warping
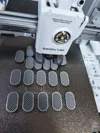
8. The case feet are 3mm high and printed with TPU material Print profile two offers heights of 5, 8, 10, 12, and 15mm Choose according to preference and cooling needs
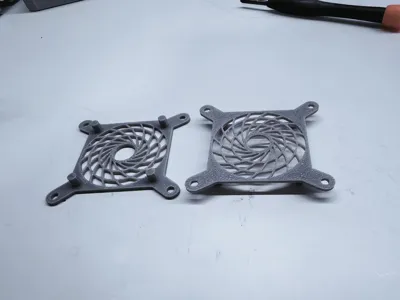
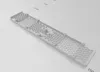
9. The panel dust filter is printed using infill as Print in Place If you want to modify the print parameters, you must pay attention, otherwise, it will print out as an airtight flat plate
10. Due to the long printing time, the build plate must be coated with glue to prevent warping
20260508 Update: Uploaded the case with separated front and bottom panels for easier installation of case fans, power switch, power supply, and hard drive LED lights The external dimensions remain unchanged A brim was hand-painted at the case panel position to prevent warping; simply remove it after printing
20260510 Update: Uploaded the case with feet, elevating the case for better heat dissipation and also serving as a handle for easy movement Whether the front and bottom panels are integrated or separated, the rear cover plate remains the same
License
You may create derivative works based on this object, provided that all such derivative works are published exclusively on the MakerWorld platform and include proper attribution to the original creator. You may not share, upload, host, distribute, or publish this object—or any derivative work of this object—on any other digital platform, marketplace, or distribution channel. Commercial use of this object and any derivative works is strictly prohibited. This includes, but is not limited to, selling, renting, sublicensing, or using the object in any context in which you receive monetary compensation or other financial benefits.
Comment & Rating (1)