
DCB107 Charger Wall Mount + Press-Fit Stand
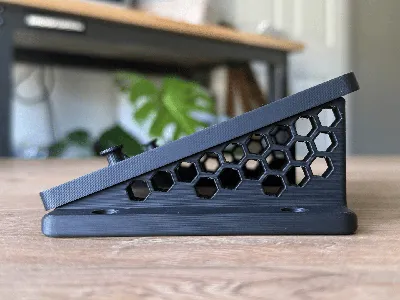
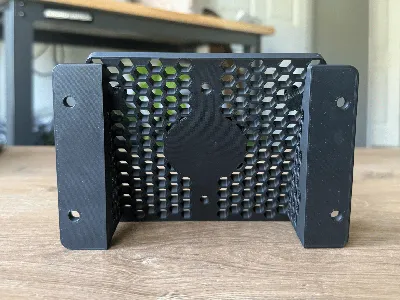
Print Profile(1)
Bill of Materials


Description
DeWalt DCB107 Battery Charger Mount — Two Ways to Mount, Zero Compromises
A dedicated mount for the DeWalt DCB107 12V/20V MAX Lithium Ion battery charger. Print it once, mount it two different ways depending on where you want the charger to live.
Two mounting options
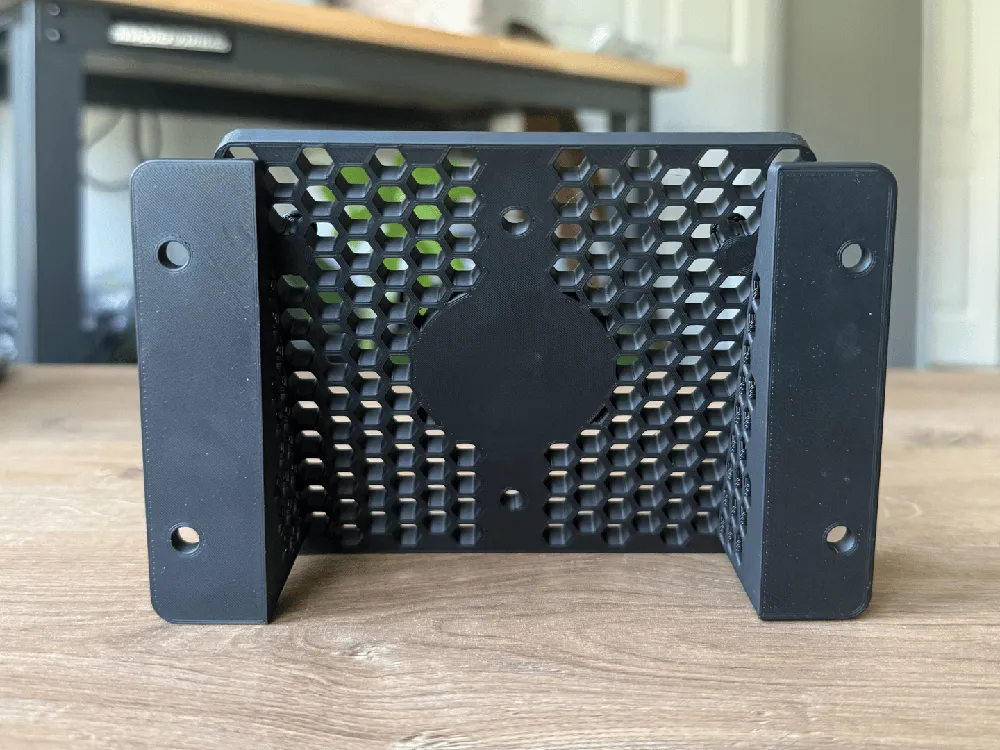
1. Base plate → wall stud (with screws) Use the base plate by itself. Pre-positioned mounting holes line up with a standard wall stud. Drive screws (countersunk #8 or #10 work well) and you've got a solid, permanent wall mount.
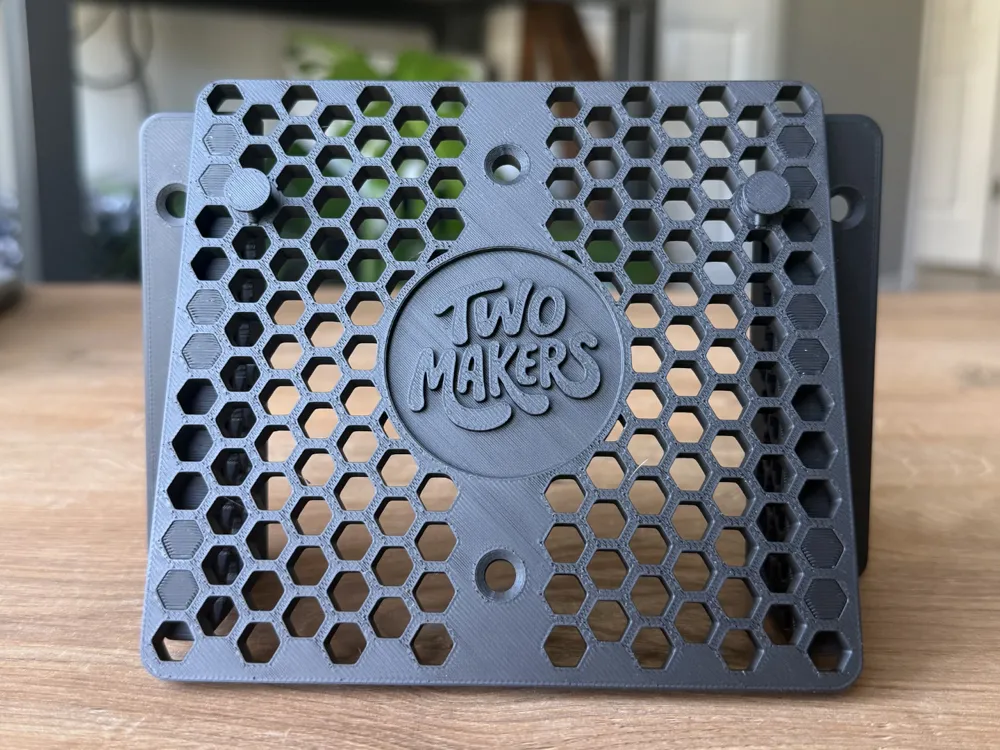
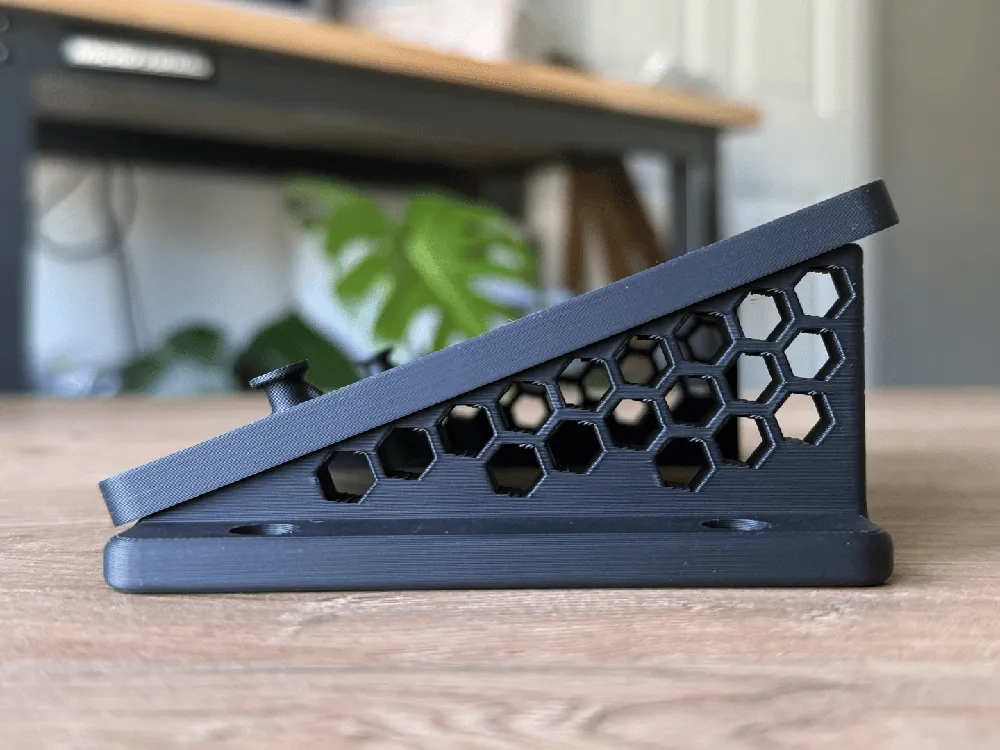
2. Base plate + press-fit legs (no fasteners) Snap the included legs into the base plate's hexagonal honeycomb. The pegs friction-fit into the cells — no screws, no glue, no hardware. Sets the charger at a comfortable angle on a workbench or shelf, and you can pull it apart and relocate it any time.
Why the hex honeycomb?
Beyond the look, the hexagonal pattern is functional: the press-fit legs key into specific cells, so you can decide which orientation the charger sits in. The pattern also keeps the print light, fast, and uses minimal filament. The center of the plate carries the Two Makers medallion — that's me.
Tested
- DCB107 charger seated and confirmed on the base plate
- Press-fit legs hold securely without adhesive
- Stud-spacing on the mounting holes verified for a standard 1.5" wall stud
Print settings
The 3MF ships with the slicer settings I used and is ready to print as-is — open it in Bambu Studio, slice, and send. Everything fits on a single plate.
- Filament: Bambu Lab PLA Matte (Black) — default profile
- Base settings: Bambu Studio defaults for that filament
- Modifiers (already in the 3MF): the press-fit studs on the base plate are set to 100% infill, 3 walls so they hold up to repeated insertion and removal. Everything else uses the default infill and wall count.
- Supports: enabled under the studs as a precaution. They also print fine without — disable in the slicer if you prefer.
- Plate count: 1 (base plate + both legs print together)
Other PLAs and PETG should work without changes, but I designed and tested with PLA Matte. If you switch materials, you may want to retune the press-fit clearance (see below).
Press-fit tuning
The pegs are sized for a snug press fit in PLA Matte. If your printer runs slightly oversized and the legs won't seat, scale the legs down 0.5–1% in X/Y. If the legs are loose, scale them up the same amount or add a drop of CA glue.
Notes
Designed and modeled from scratch by me. Free to share and remix for personal/non-commercial use — message me if you'd like to use it commercially.
If you print one, I'd love to see a Make!
License

You may create derivative works based on this object, provided that all such derivative works are published exclusively on the MakerWorld platform and include proper attribution to the original creator. You may not share, upload, host, distribute, or publish this object—or any derivative work of this object—on any other digital platform, marketplace, or distribution channel. Commercial use of this object and any derivative works is strictly prohibited. This includes, but is not limited to, selling, renting, sublicensing, or using the object in any context in which you receive monetary compensation or other financial benefits.


Comment & Rating (0)