
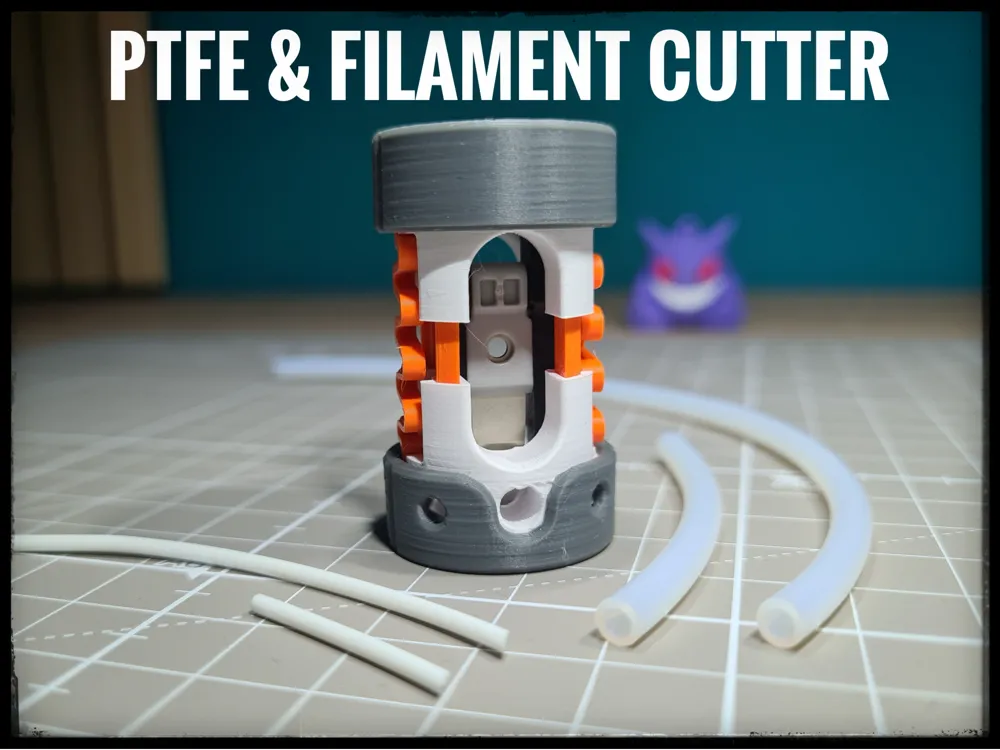
small PTFE & Filament Cutter
Print Profile(3)

Bill of Materials









Description
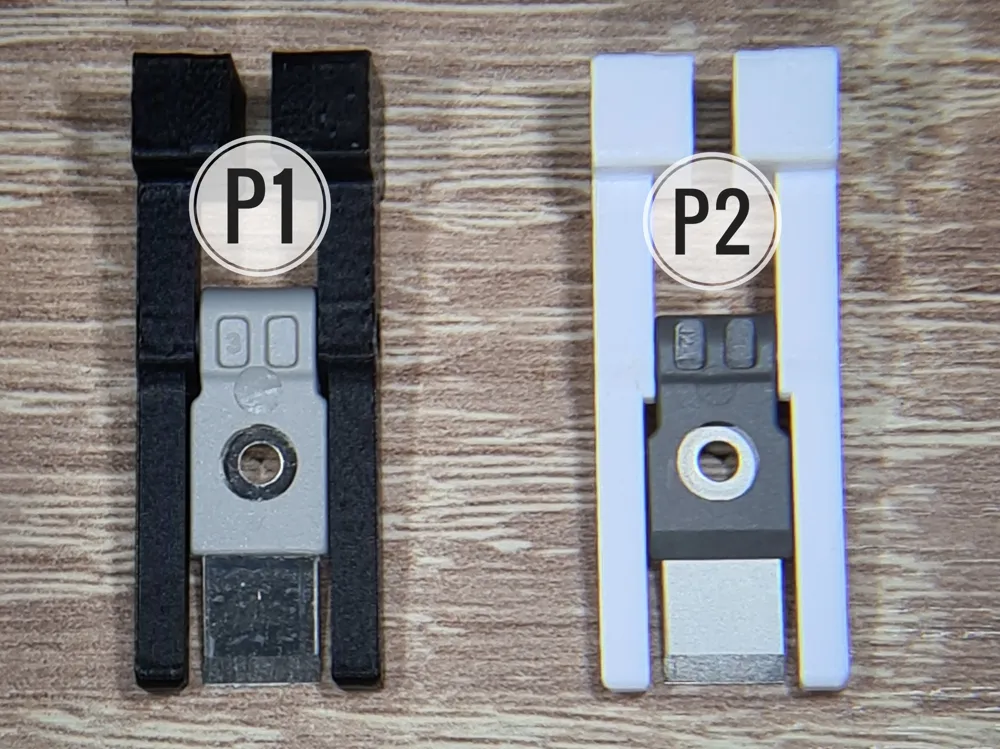
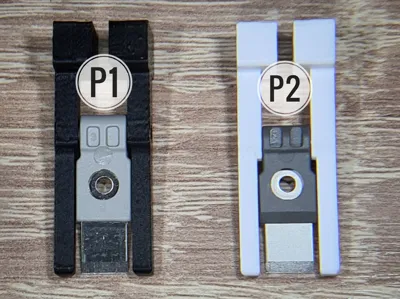
Update: For everyone who has a Cutter for the P2S, there is now a guide in Profile 2
Hello print friends!
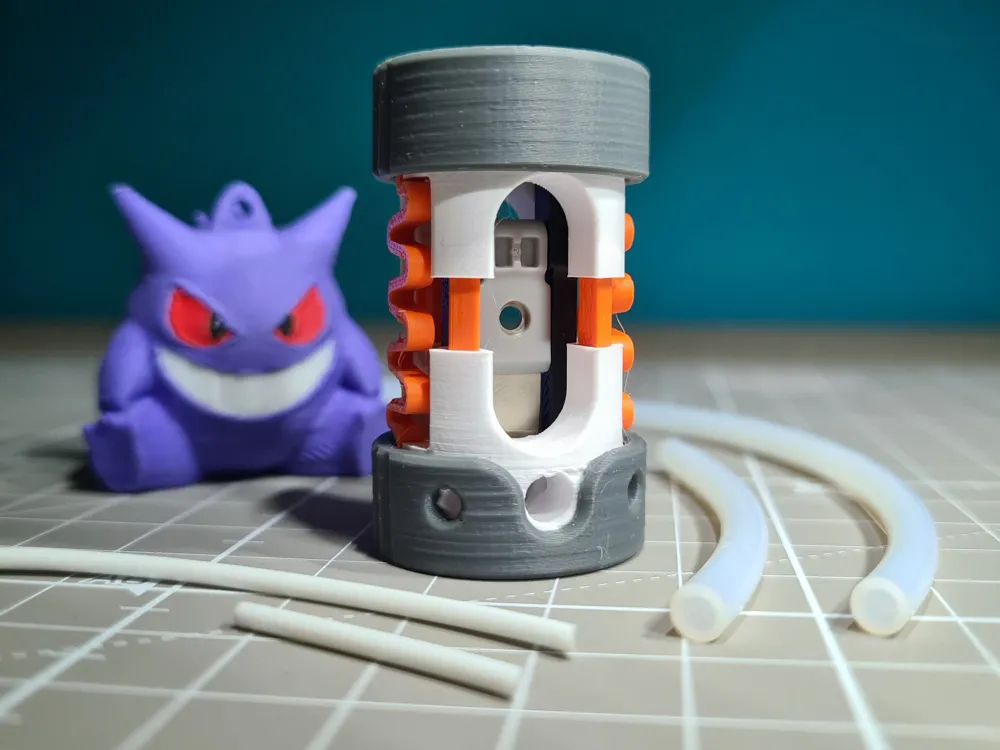
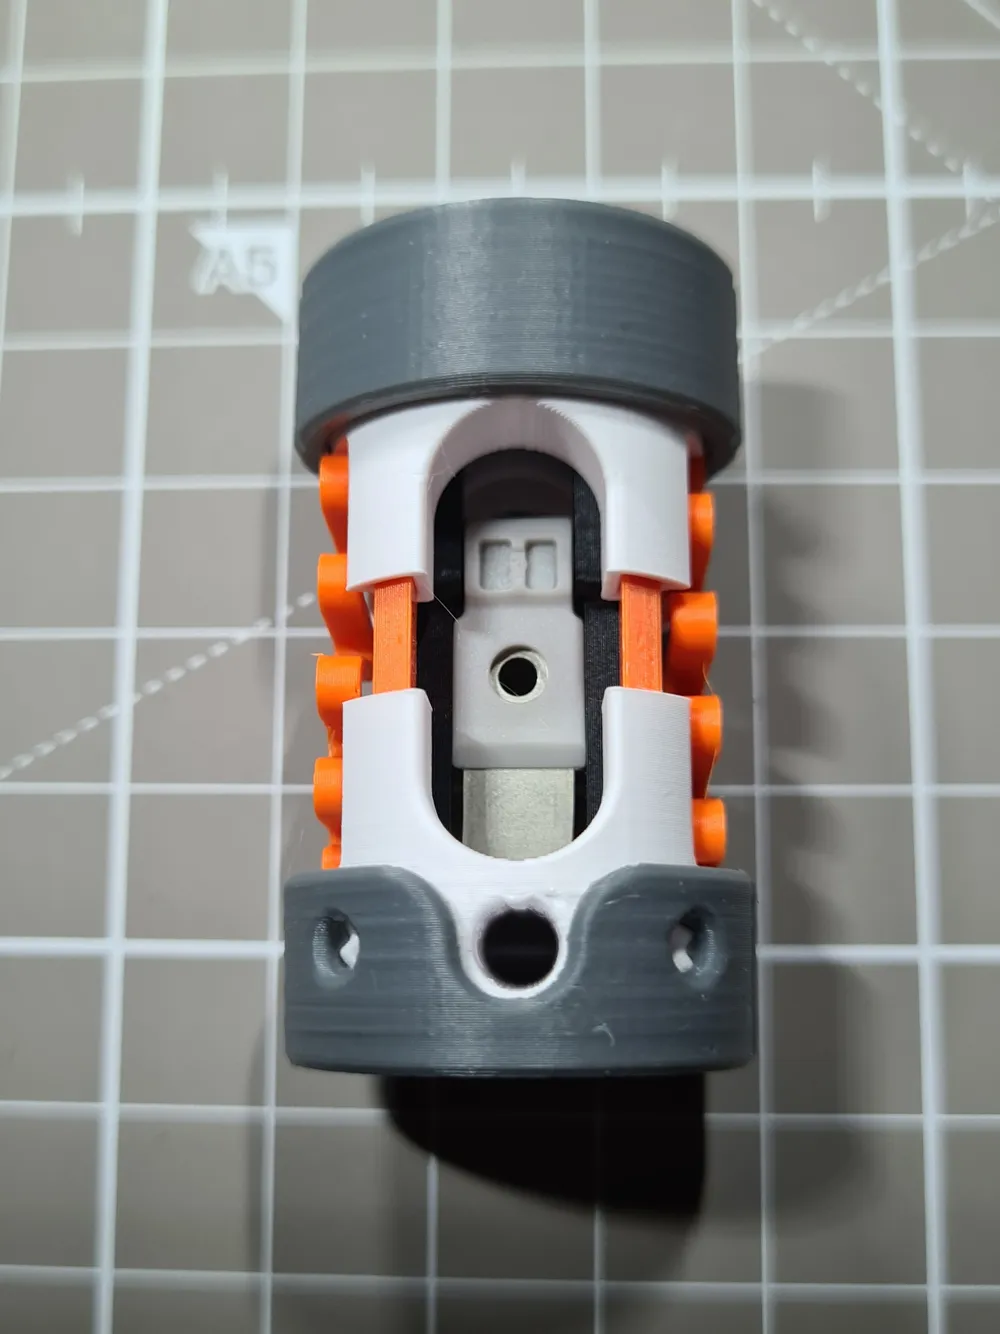

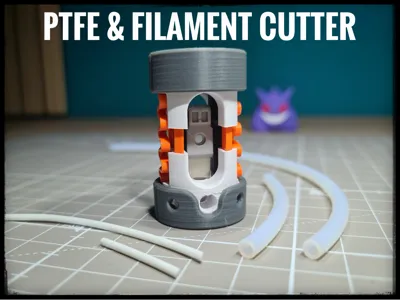
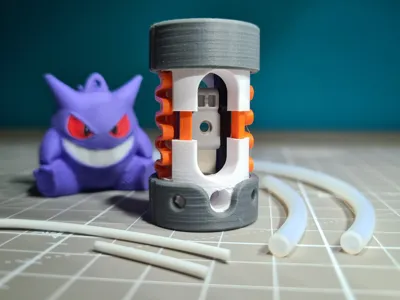
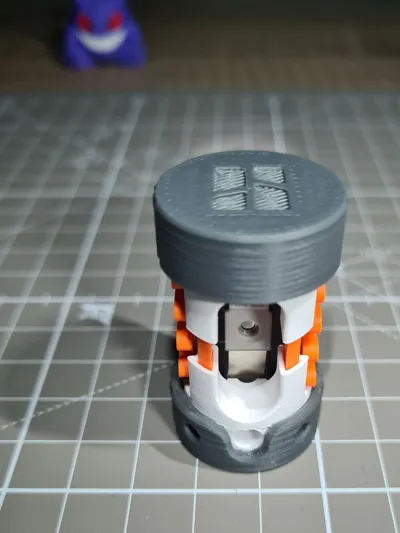
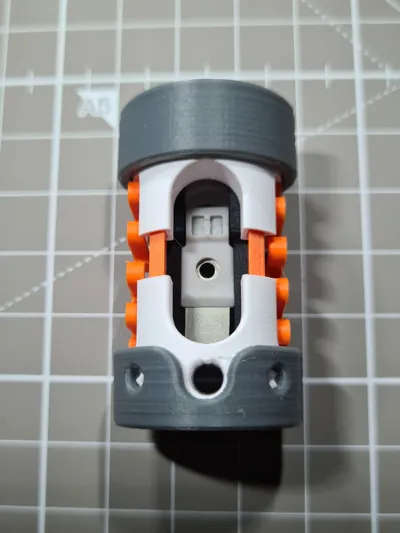
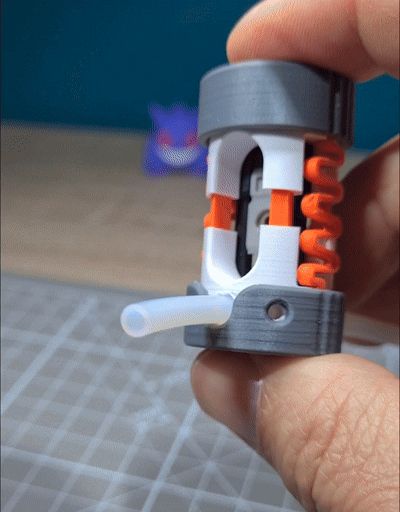
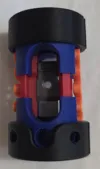
Today I'm sharing with you the ultimate PTFE & filament cutter
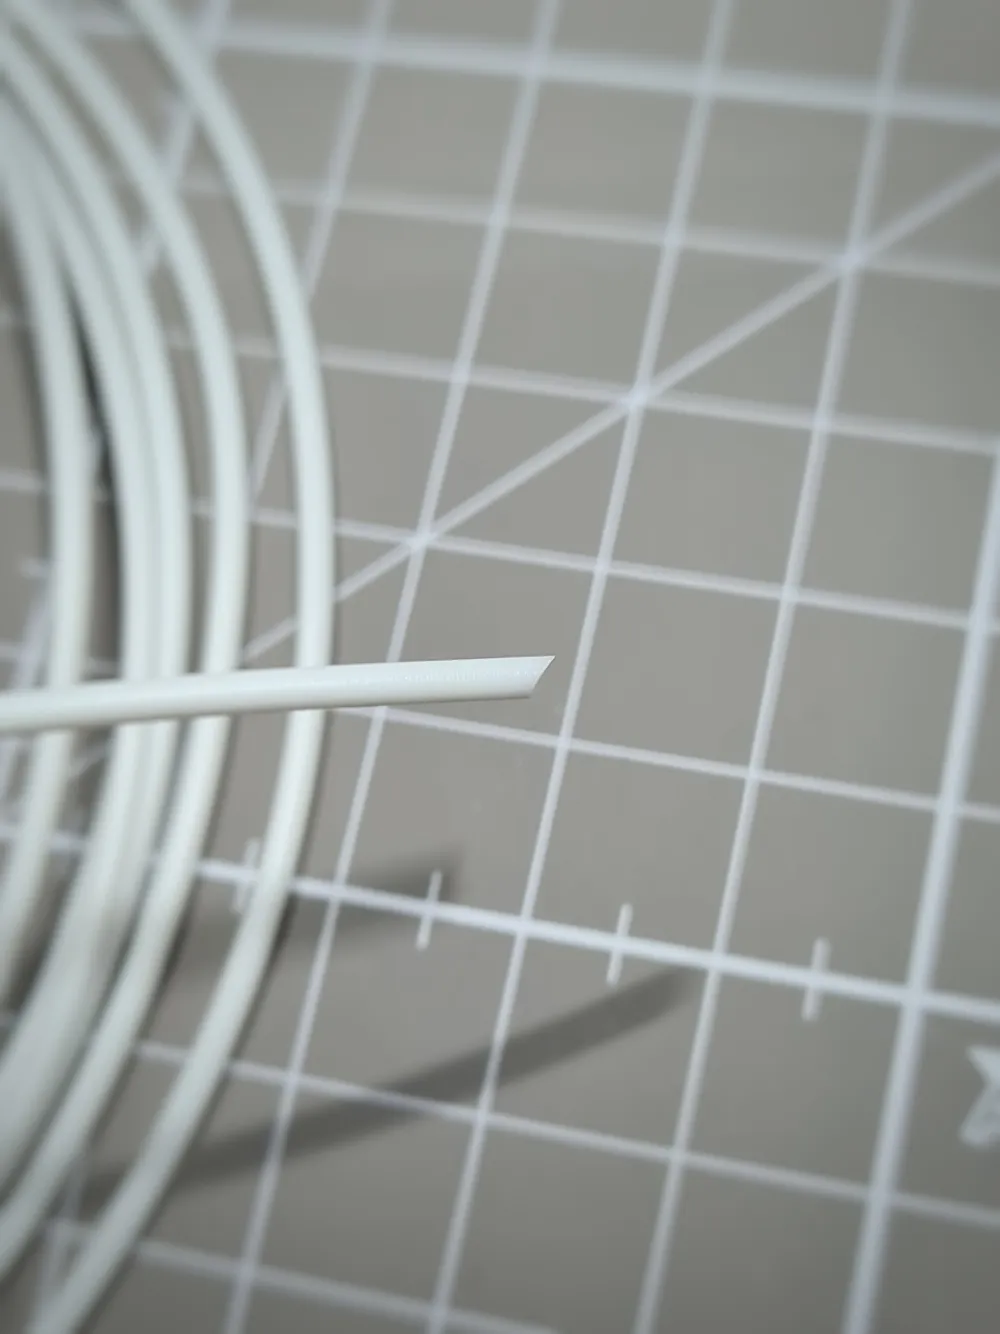
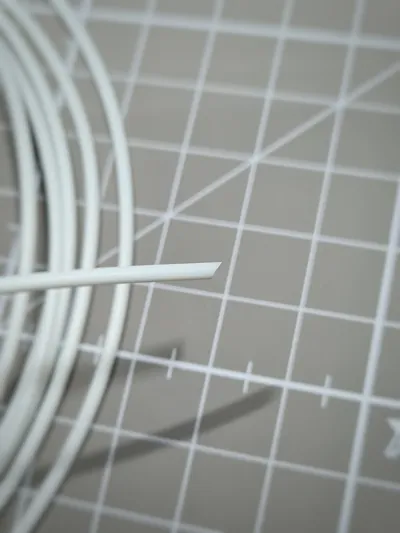
No more crooked cuts of PTFE tubing and printer filament! This compact tool guarantees you perfect angles
- 90 degrees for PTFE tubing
45 degrees for filament
and the best part: You don't need any tools, no glue, no screws, or mechanical springs
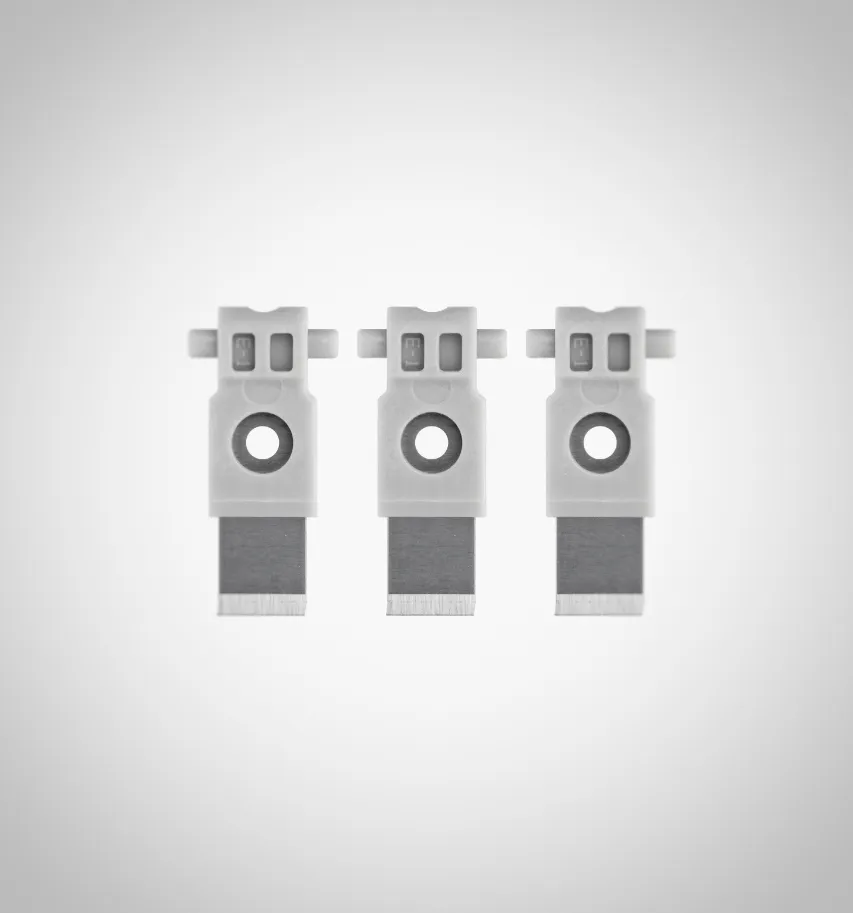
All you need is this:
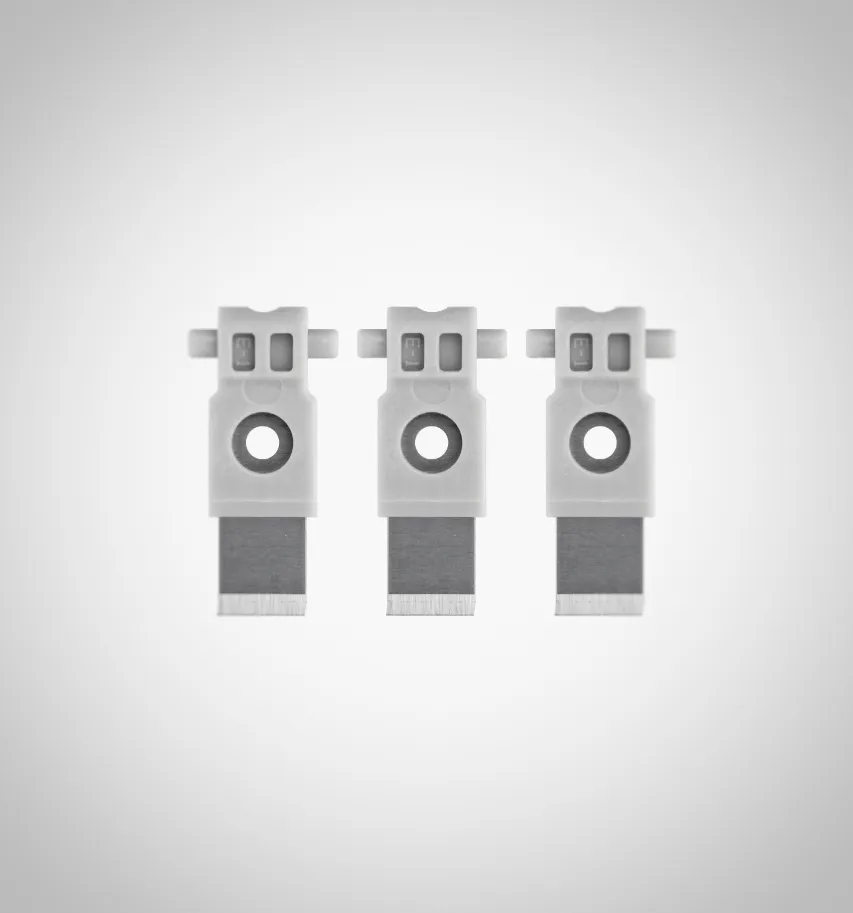
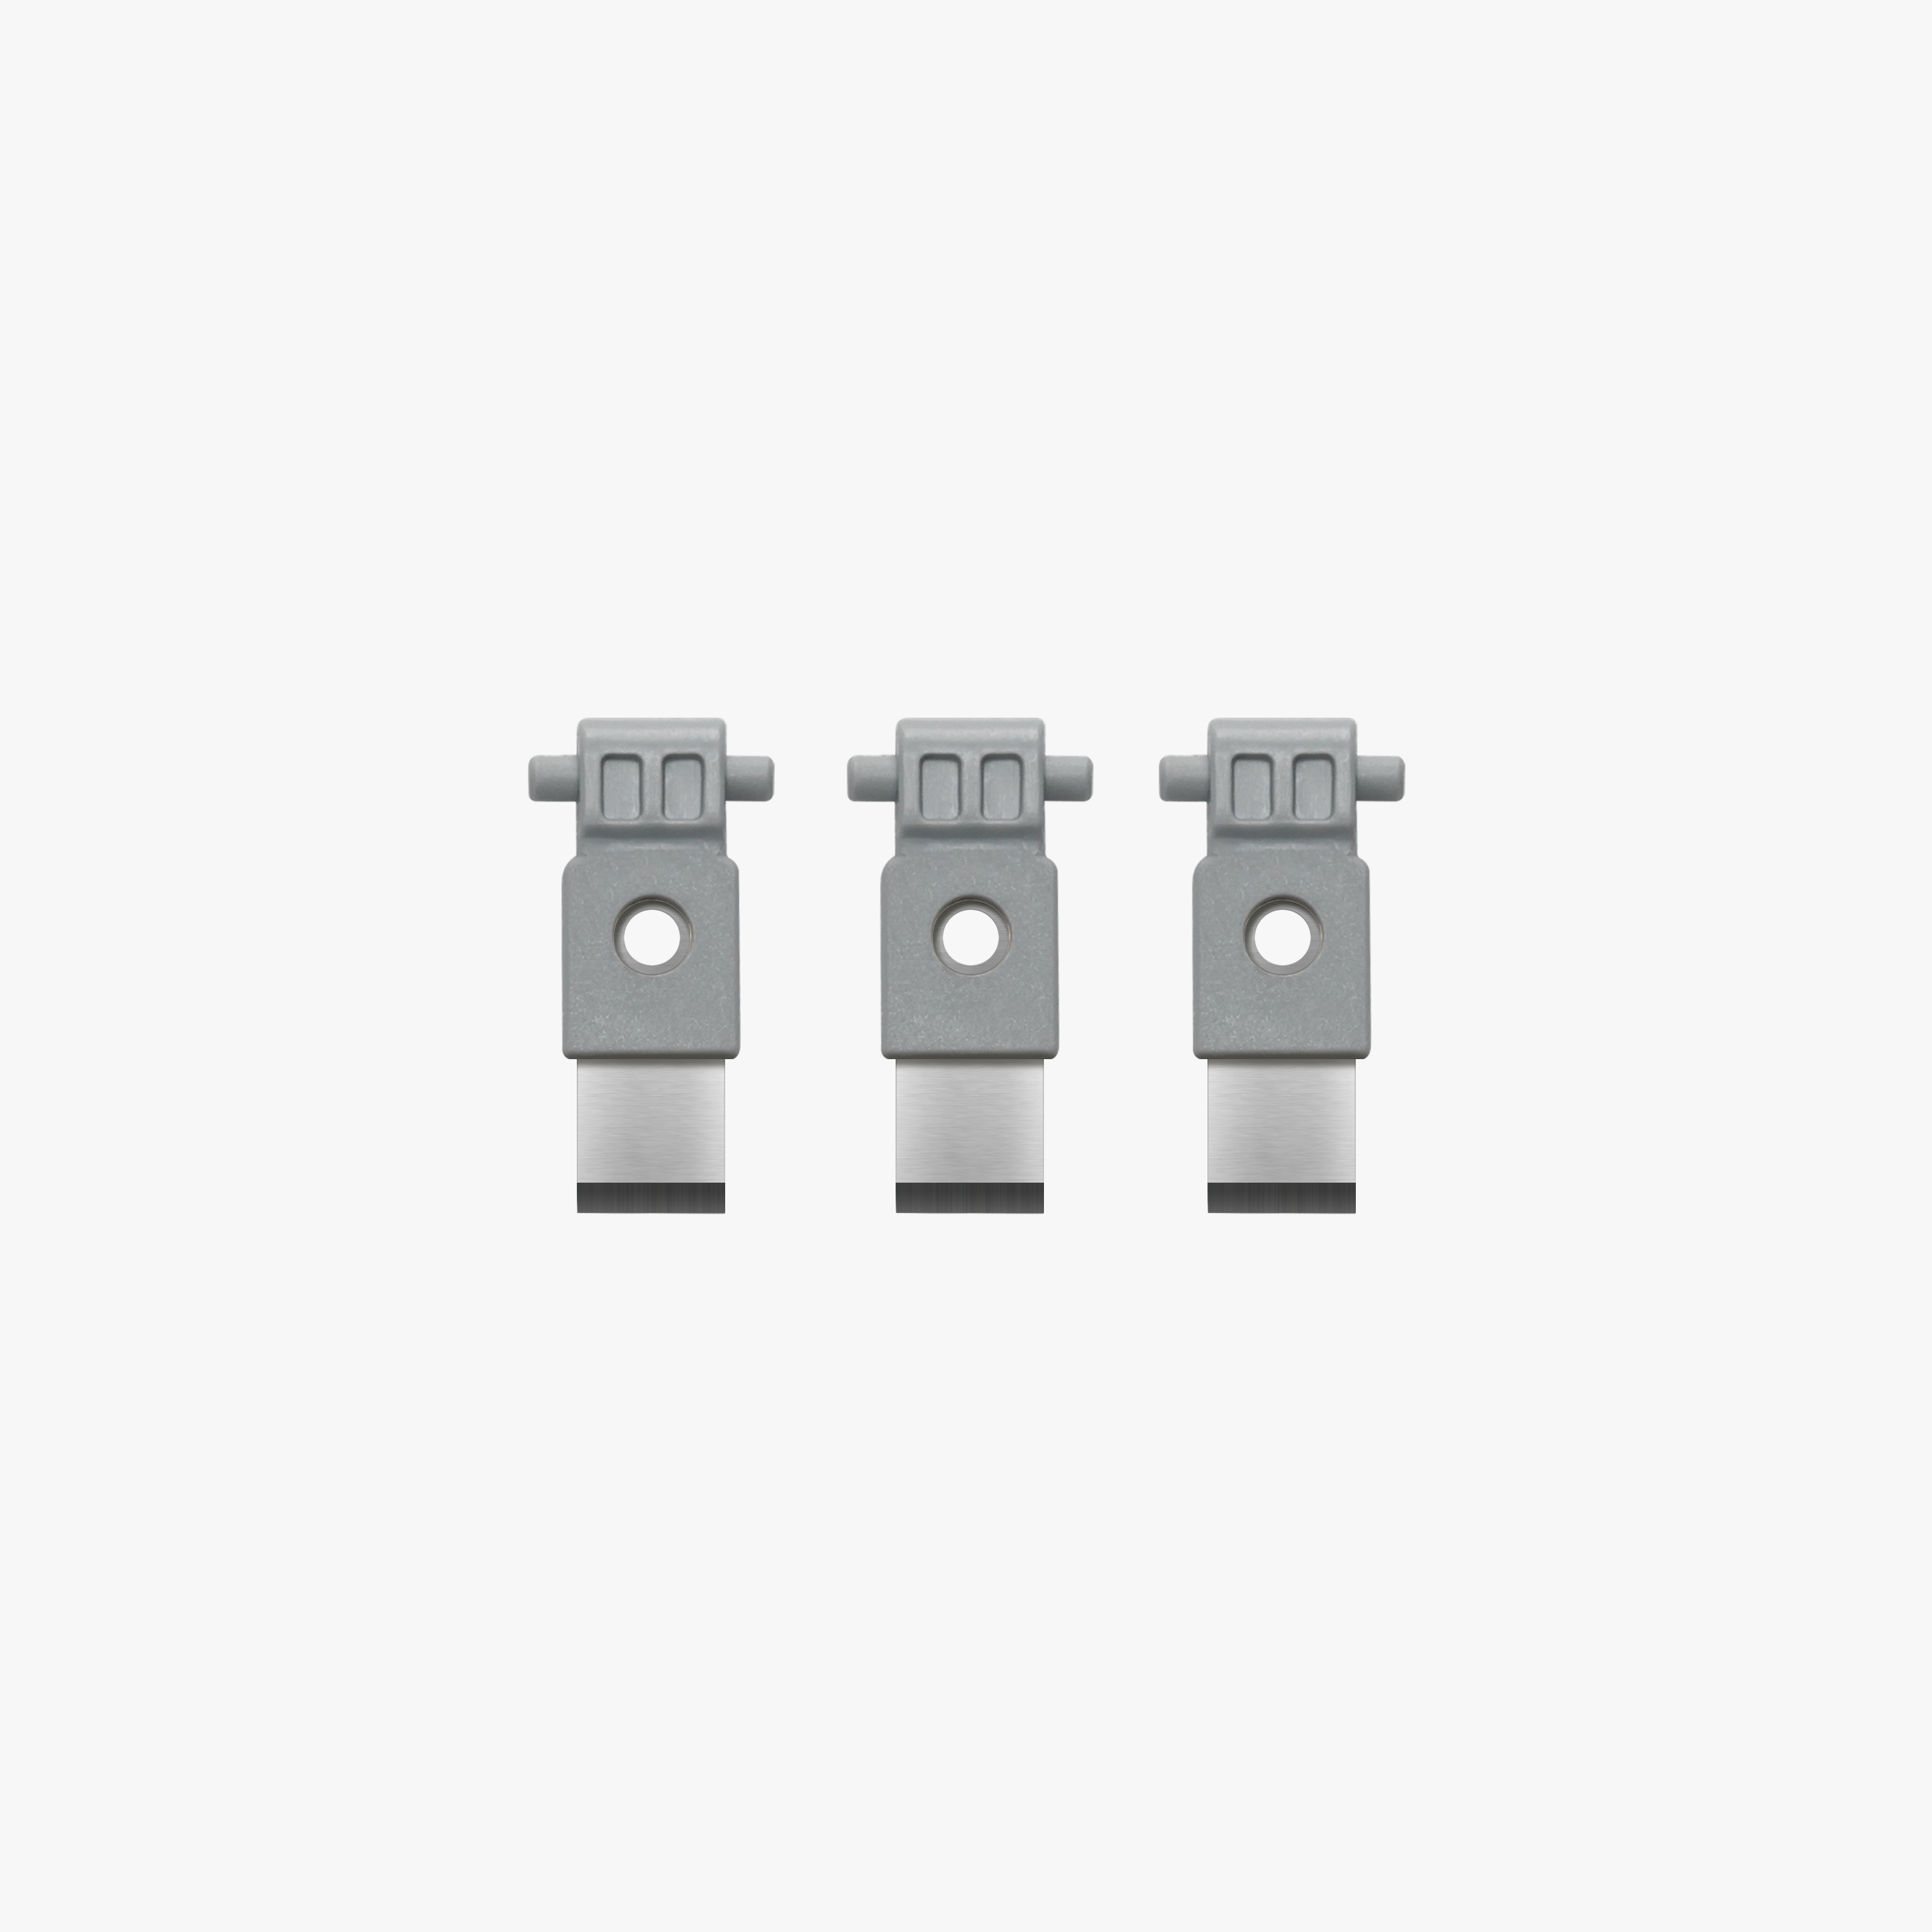
Every owner of a Bambu printer should have a Filament Cutter at home
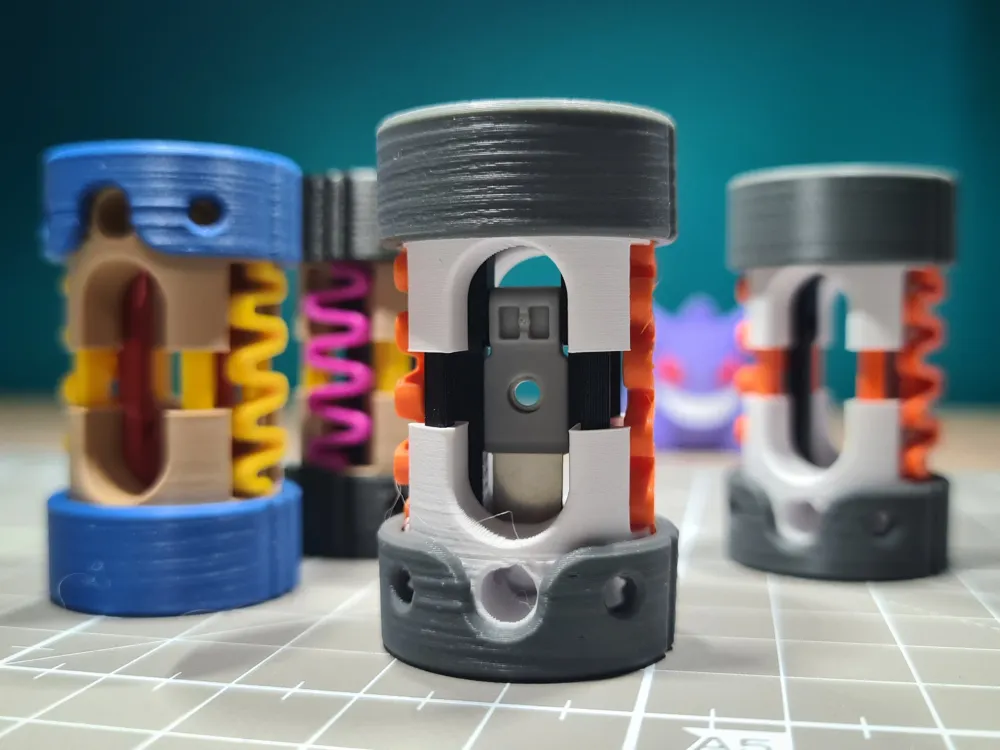
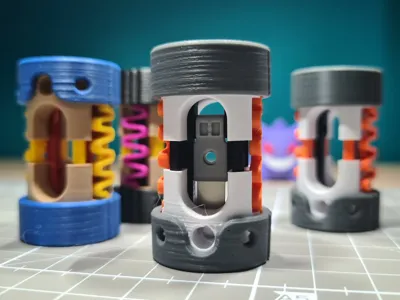
I recommend PETG for printing, especially for the spring and the guide rods, this is preferred. For the other parts, you are free to choose which filaments you use. Take what you have. However, keep in mind that each filament exhibits different shrinkage behavior and the parts might not fit together correctly in the end
I have tested with PLA and PETG
Here's another printing tip >>> You achieve the best results with object printing mode <<<
Assembly instructions:
These are all the individual parts that should be present
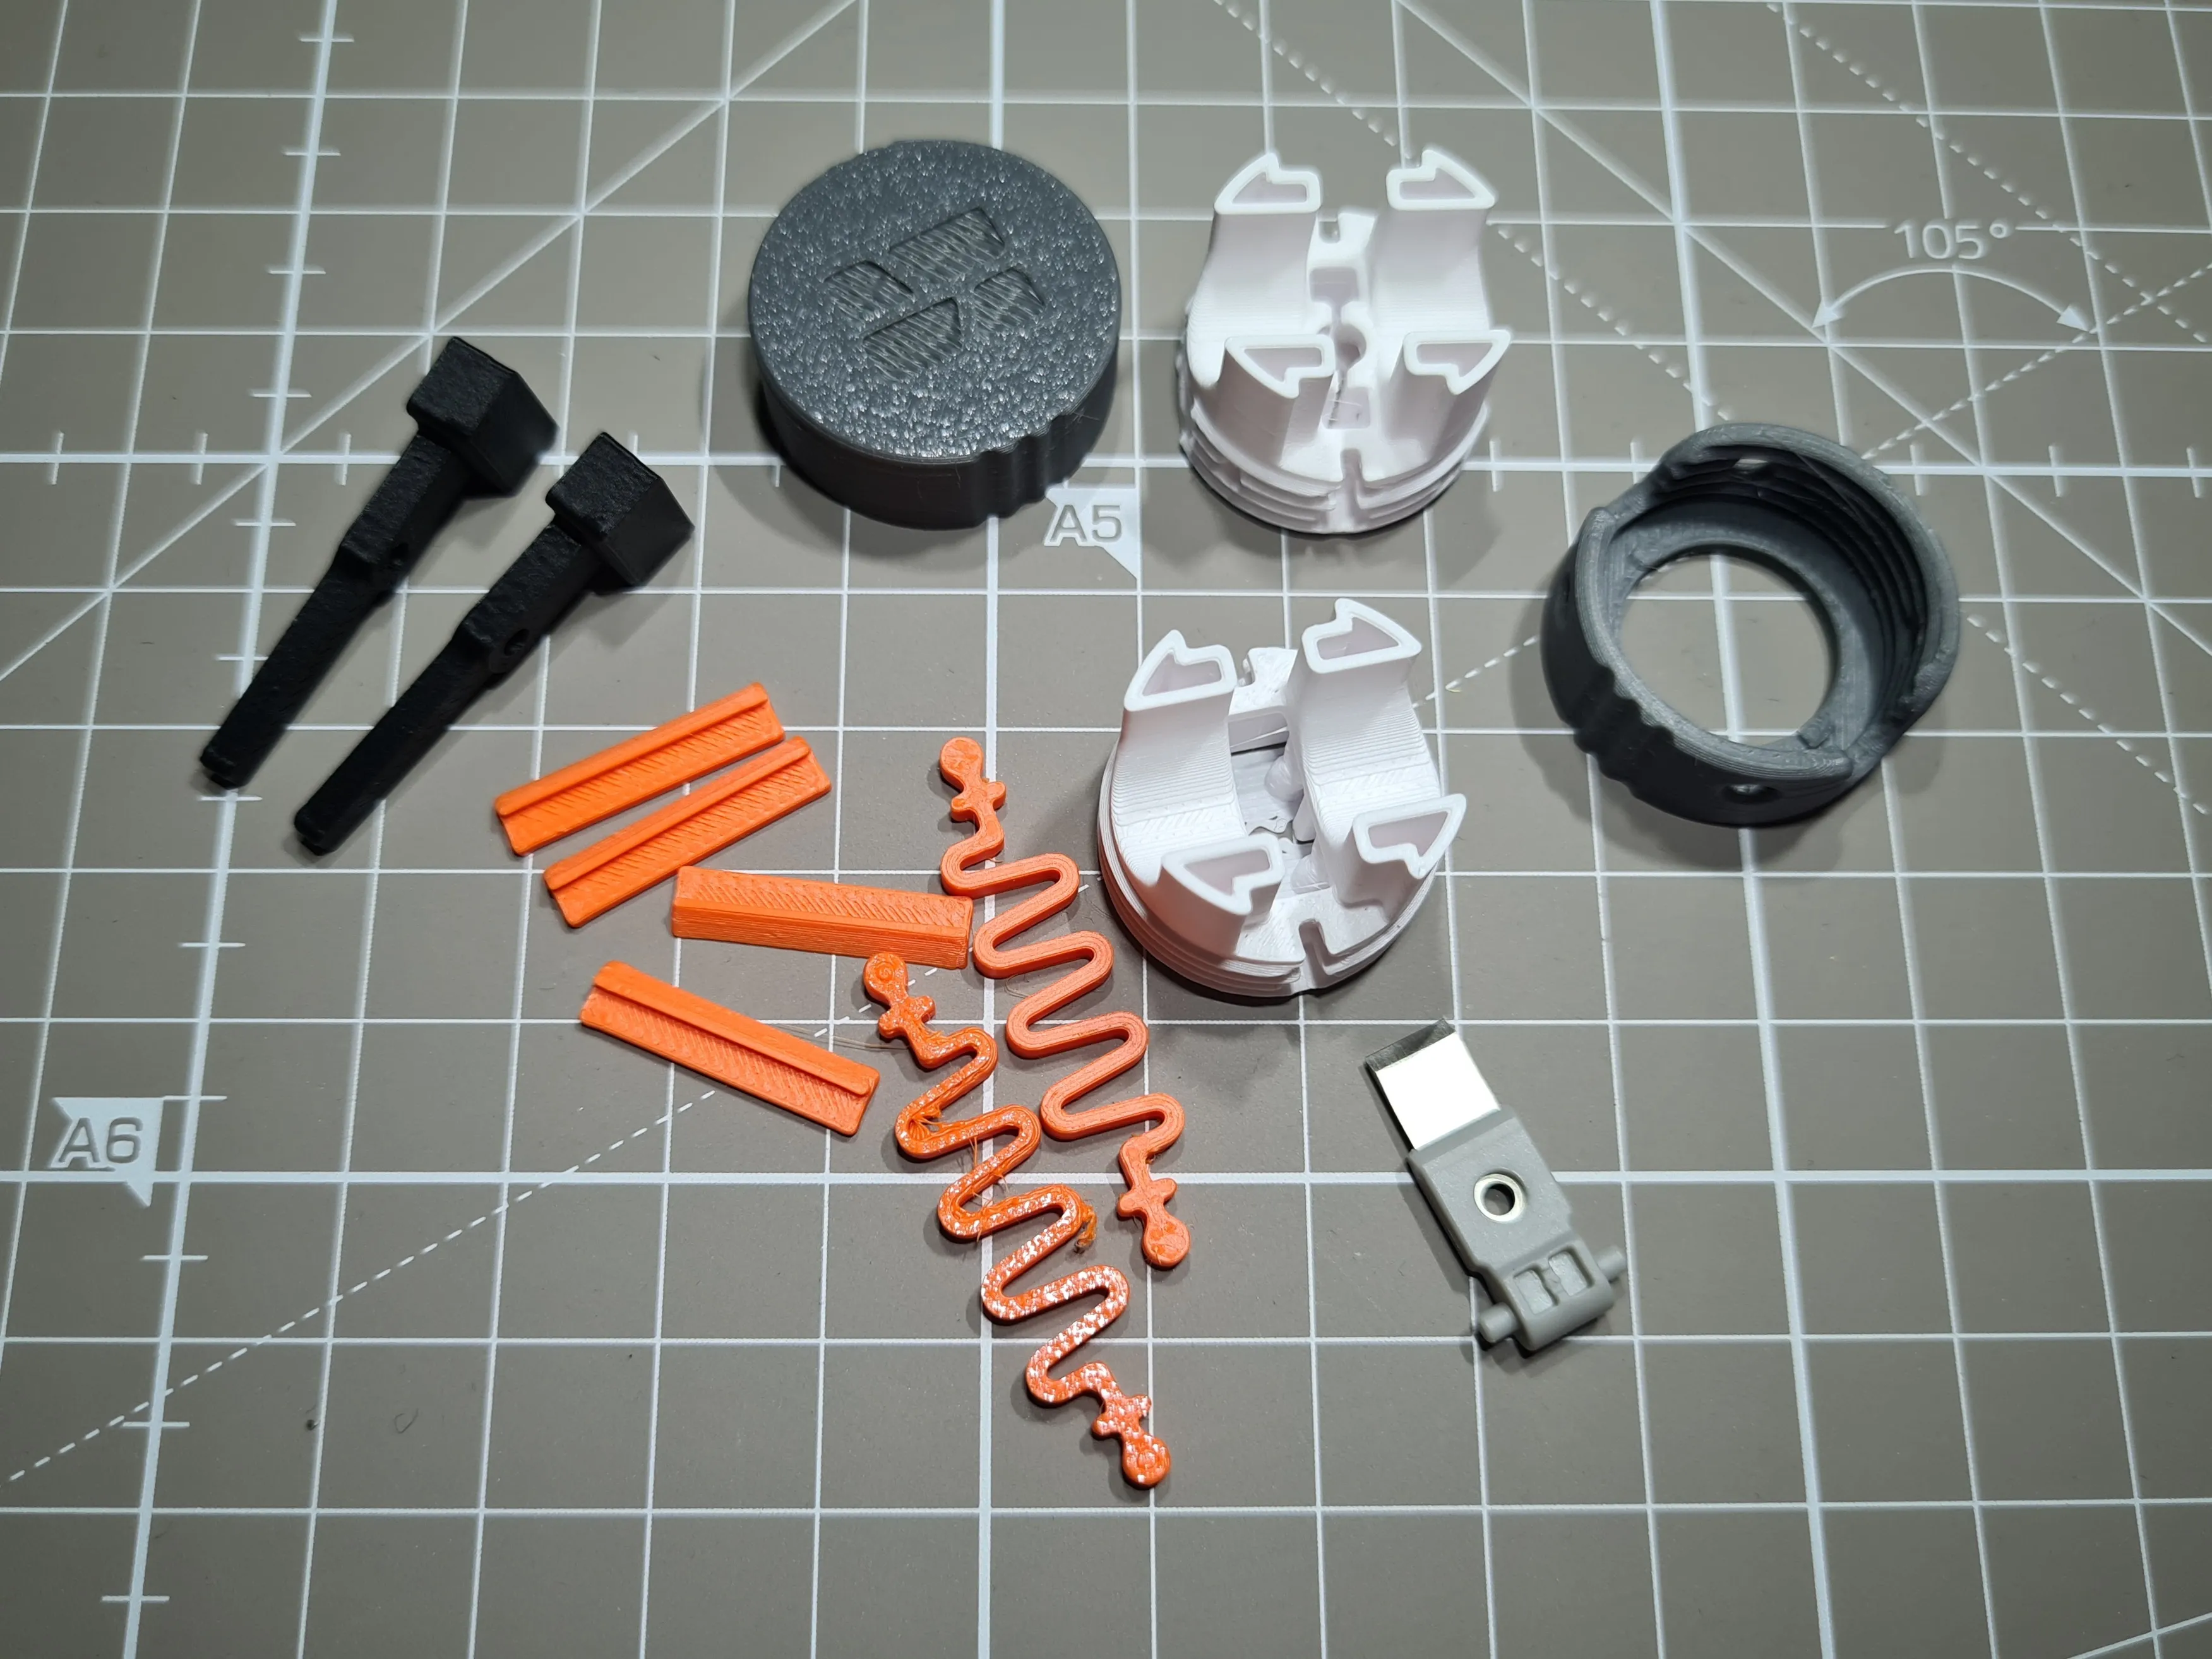
First, the support should be removed
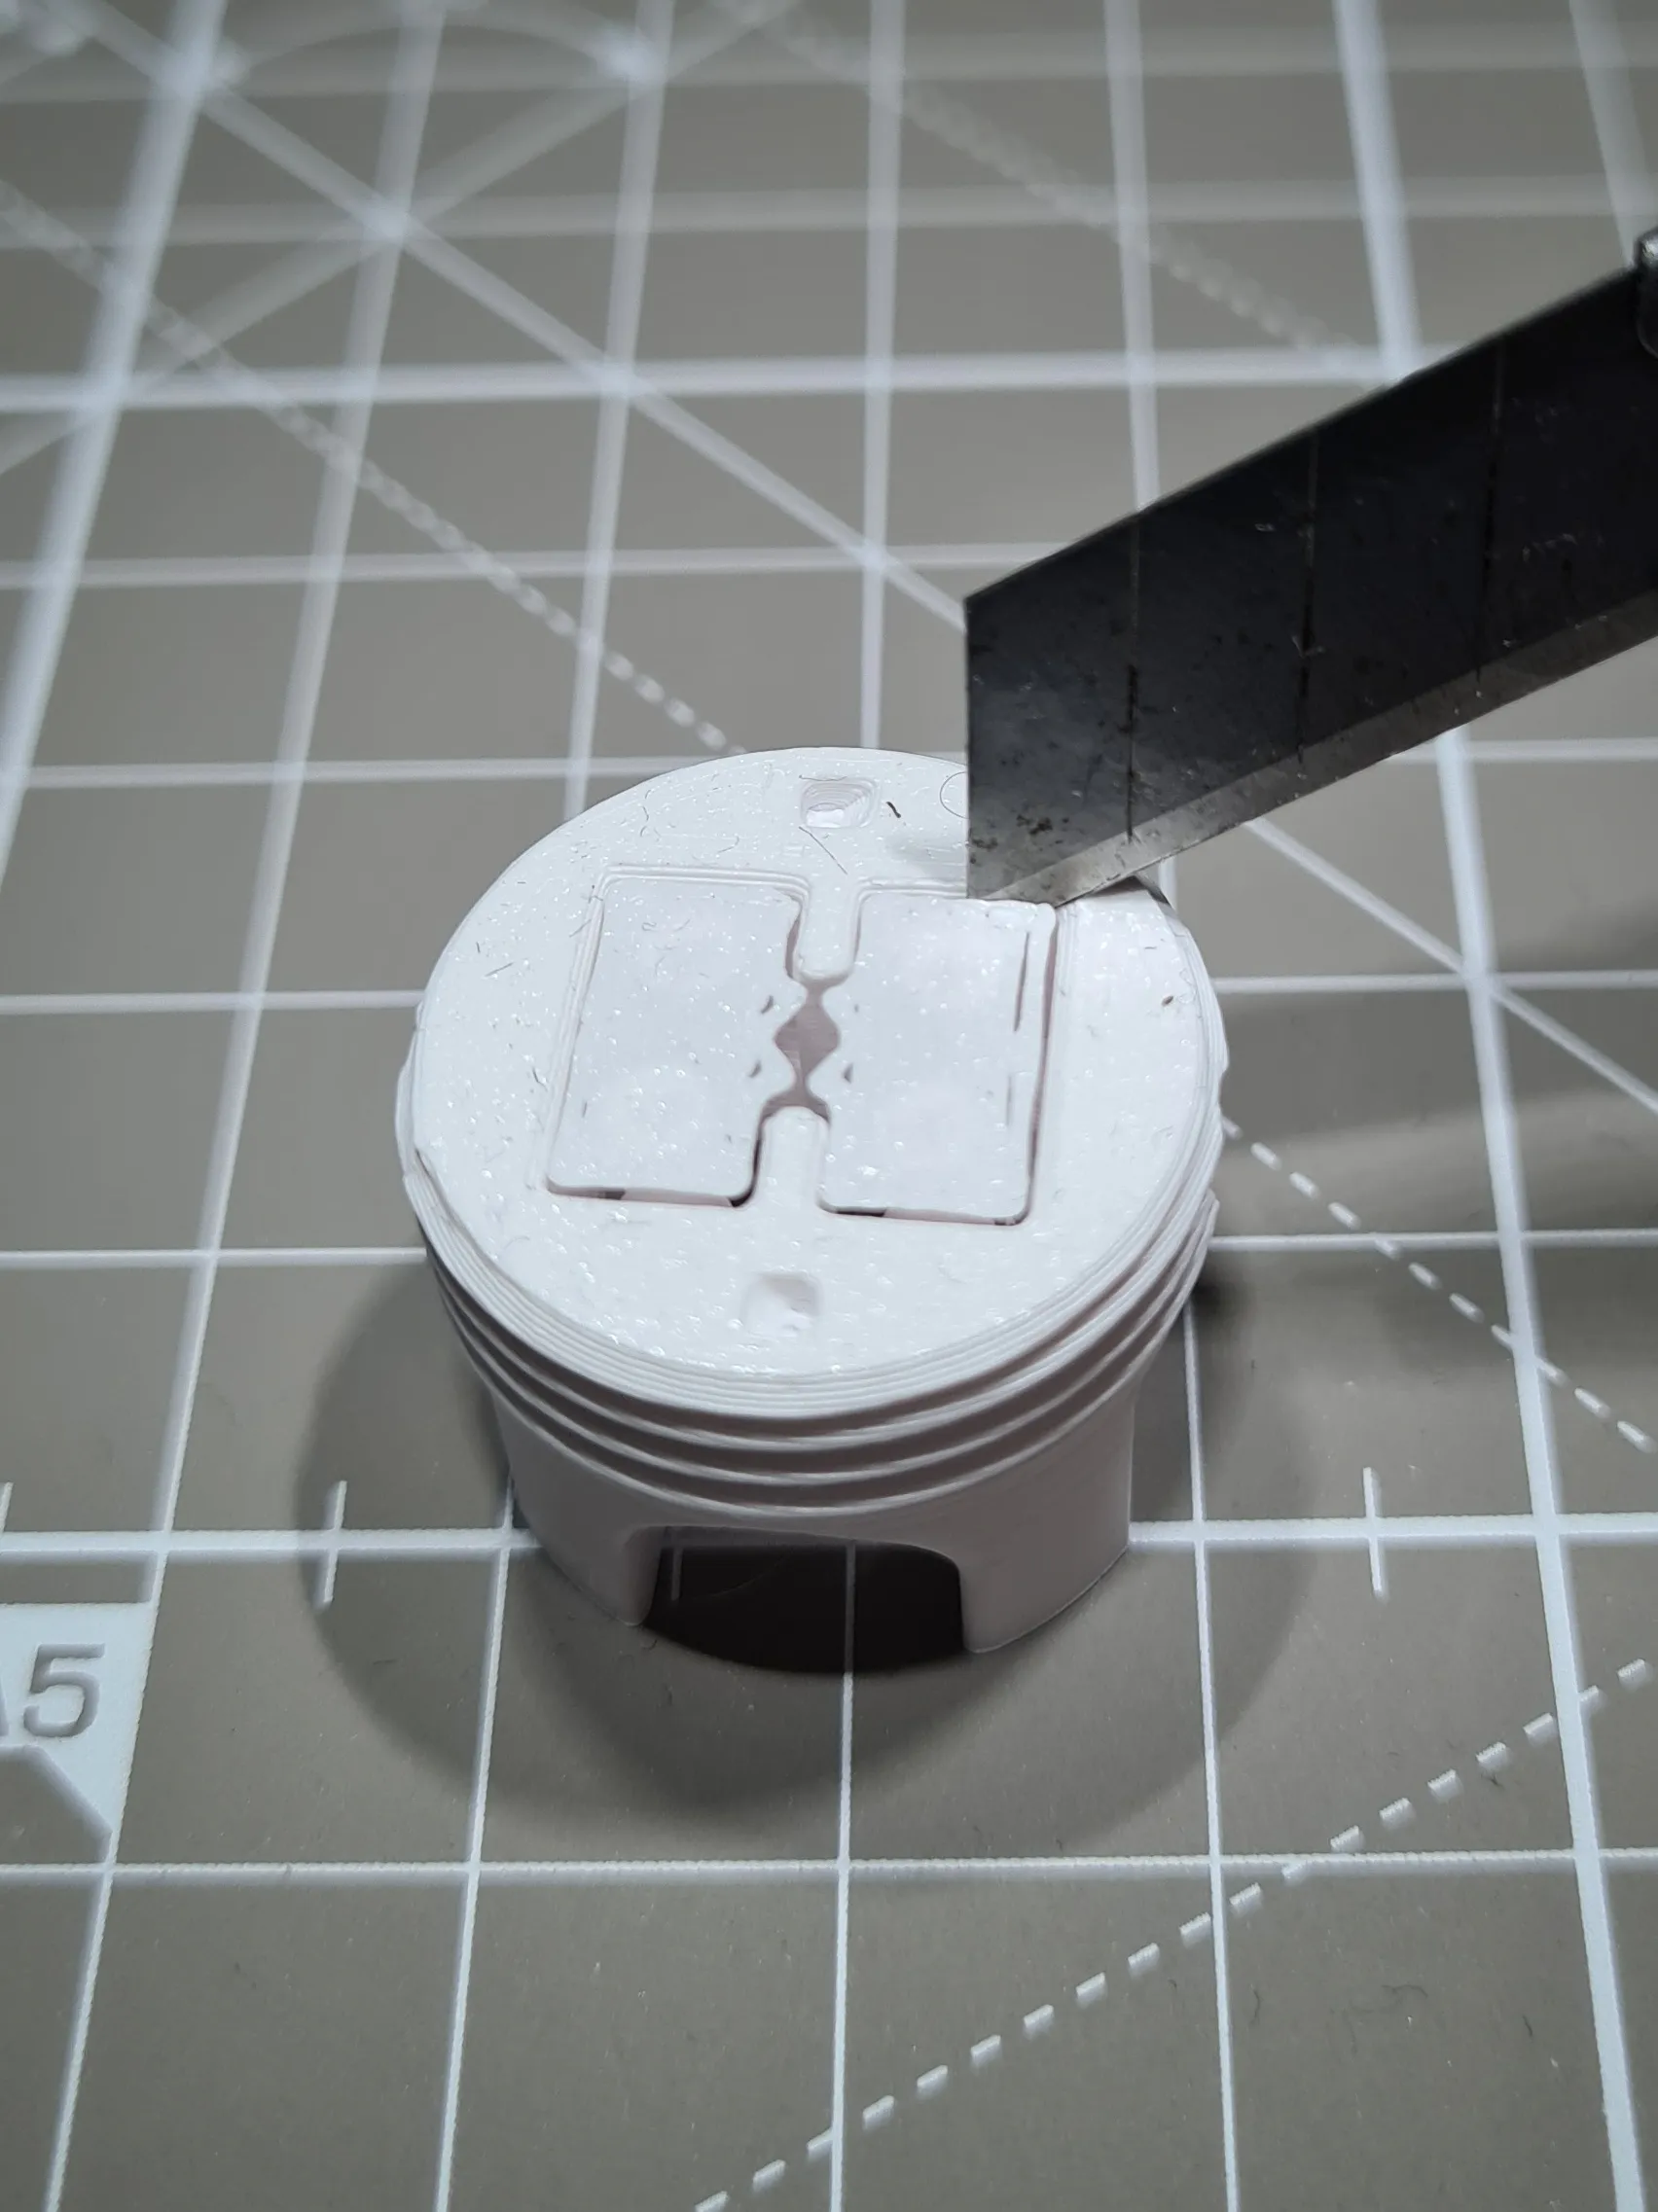
First, press the springs into the bottom part!
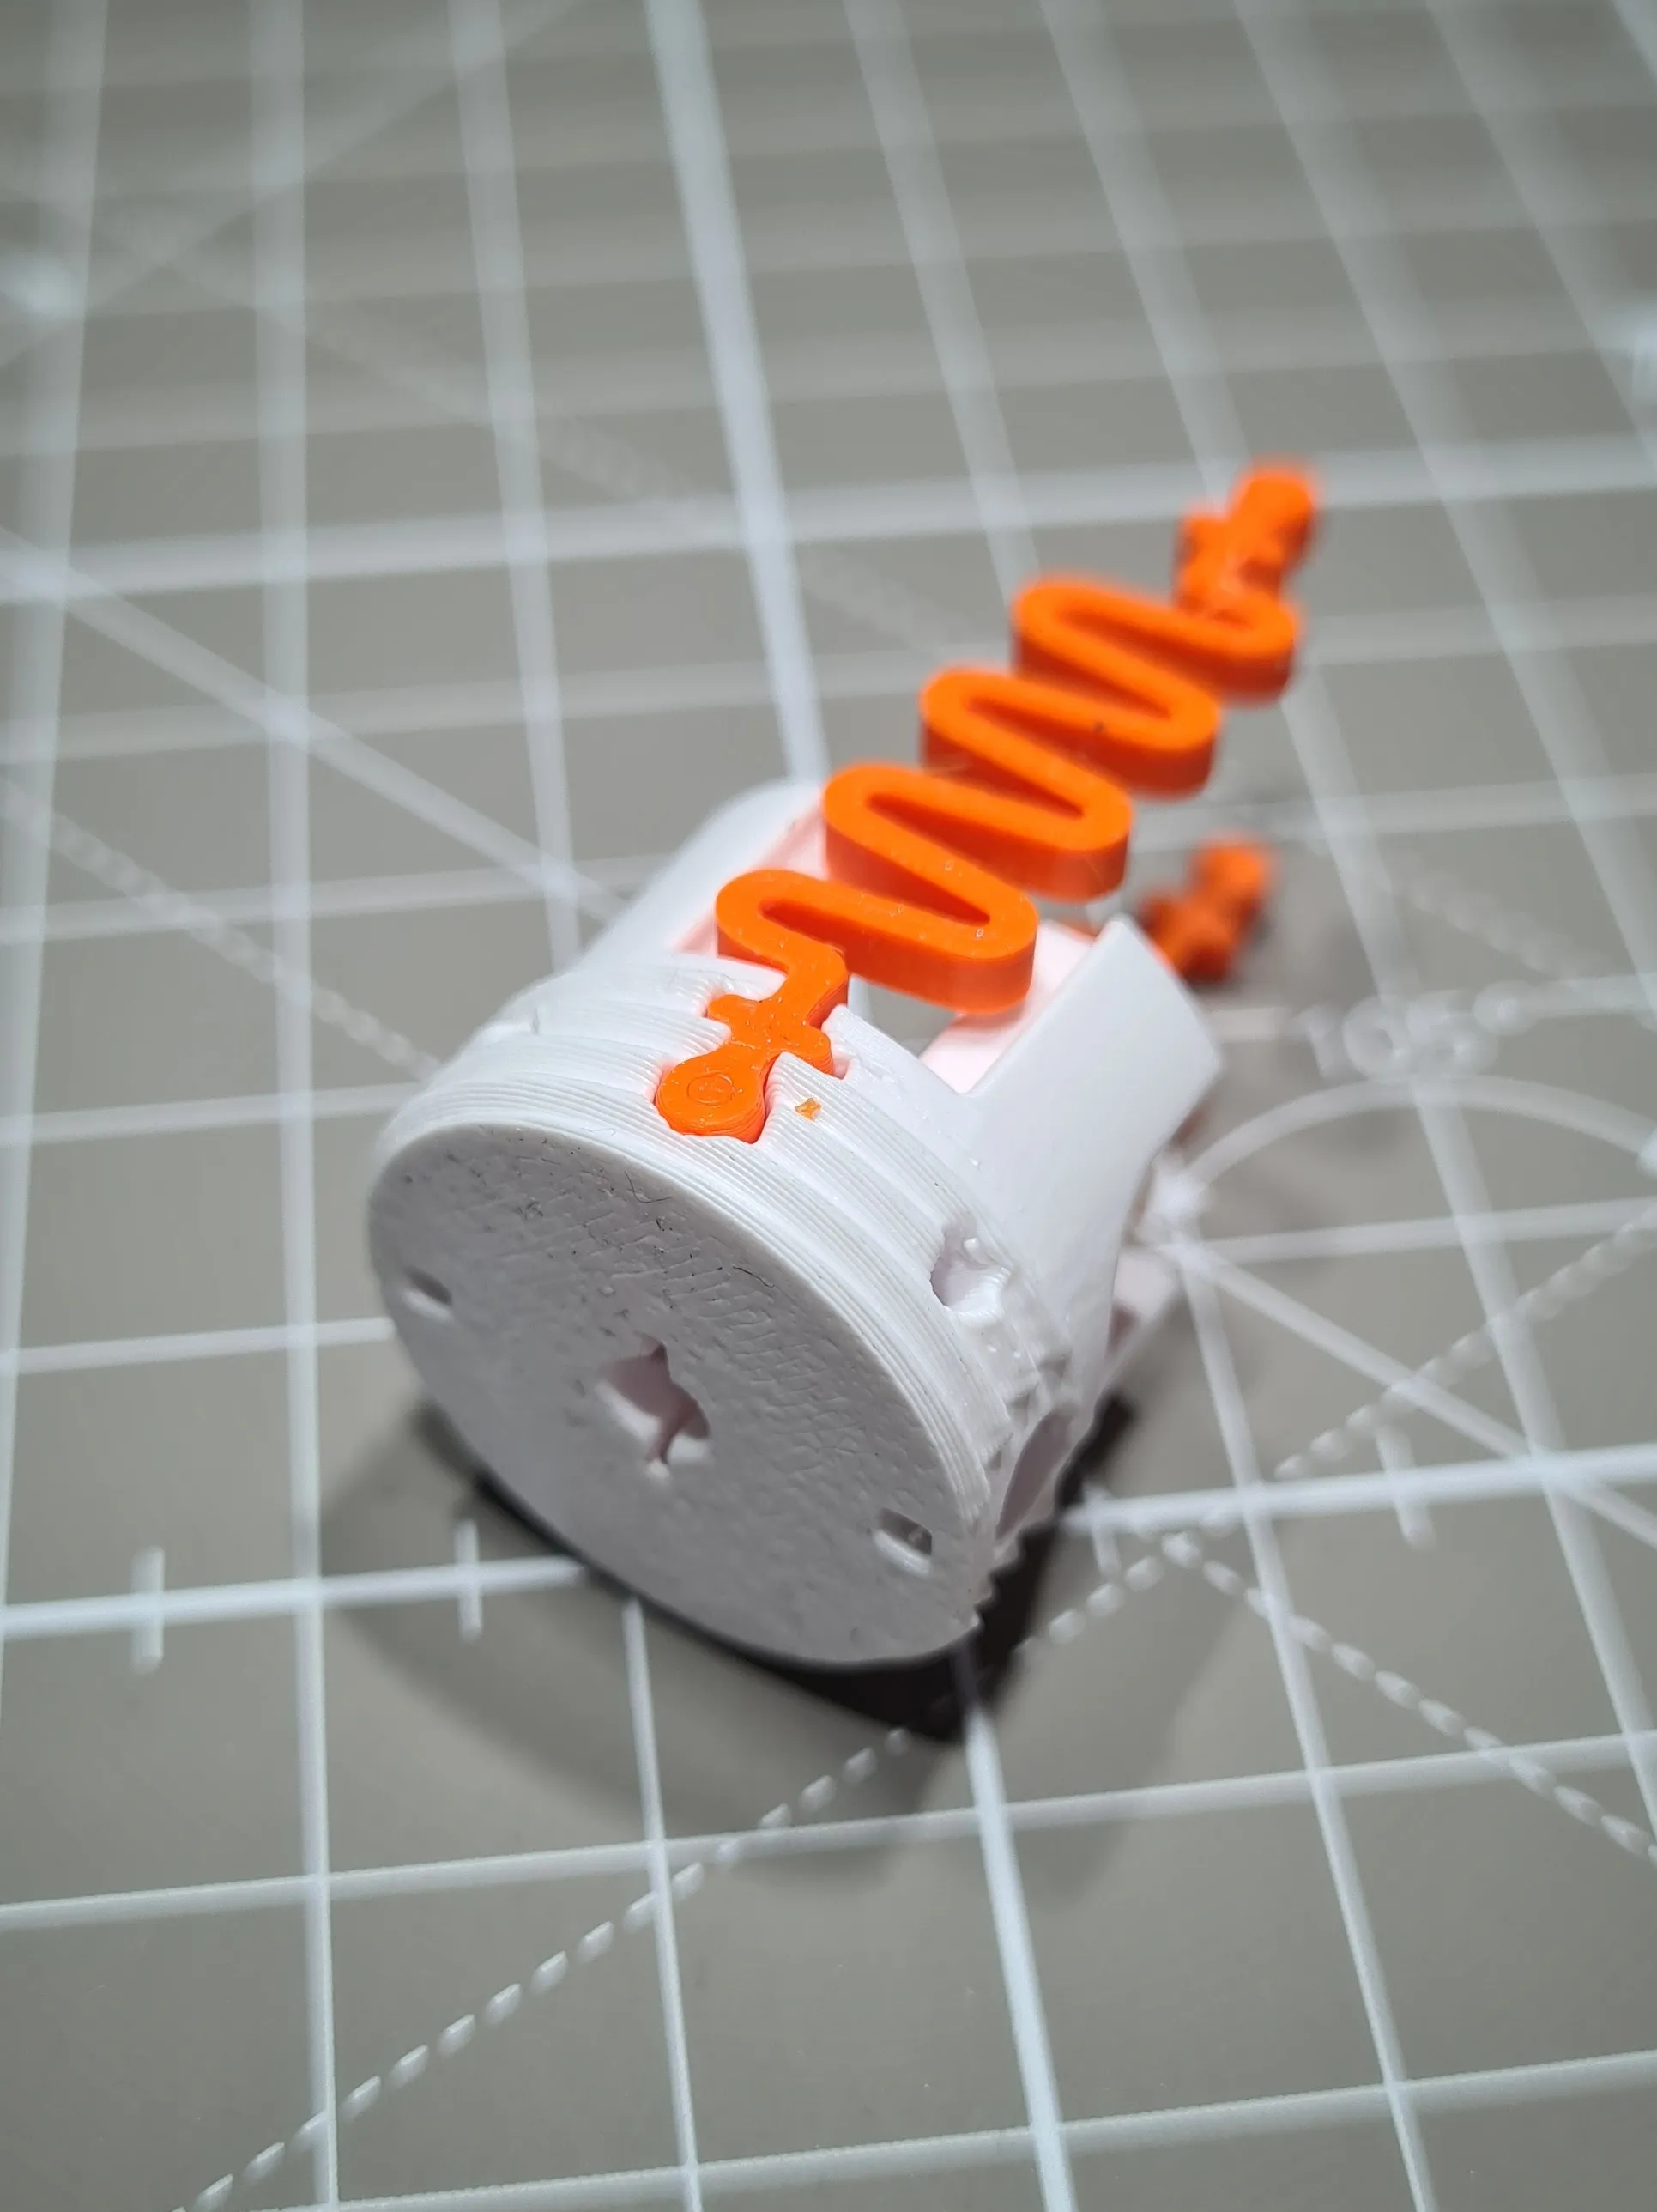
Then screw the bottom part until the opening is aligned. Then insert the slide rails and assemble the top part
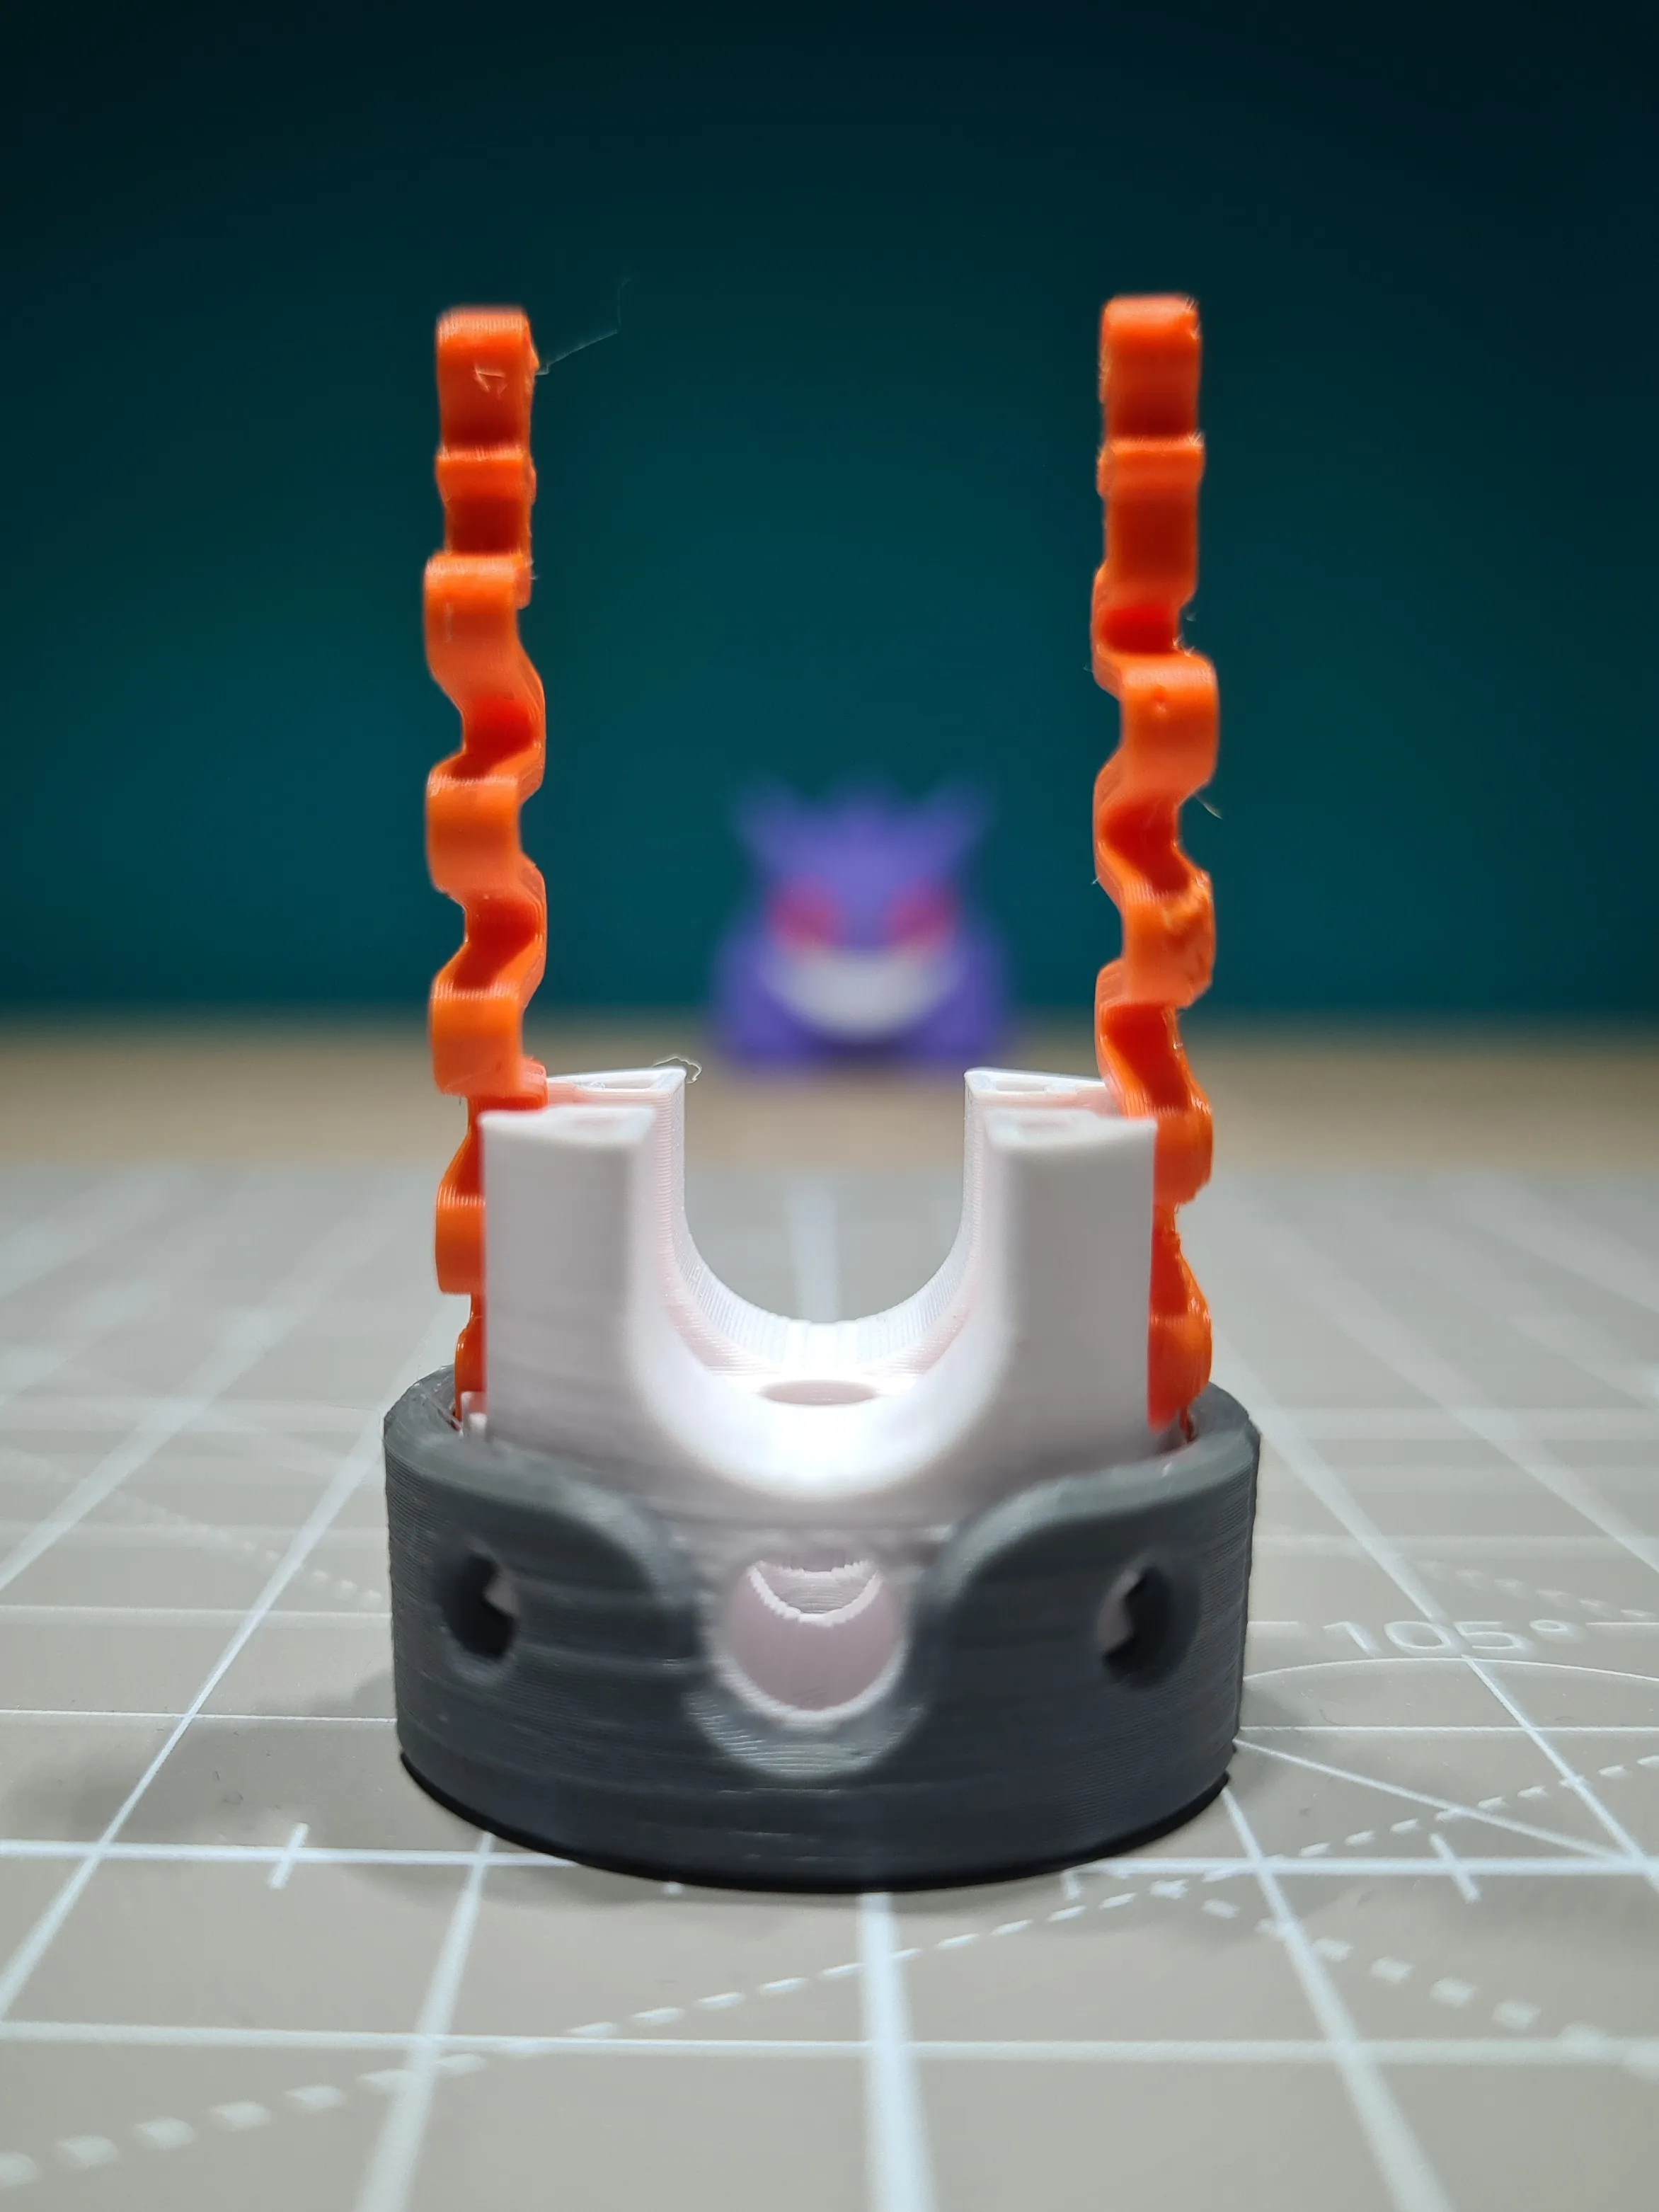
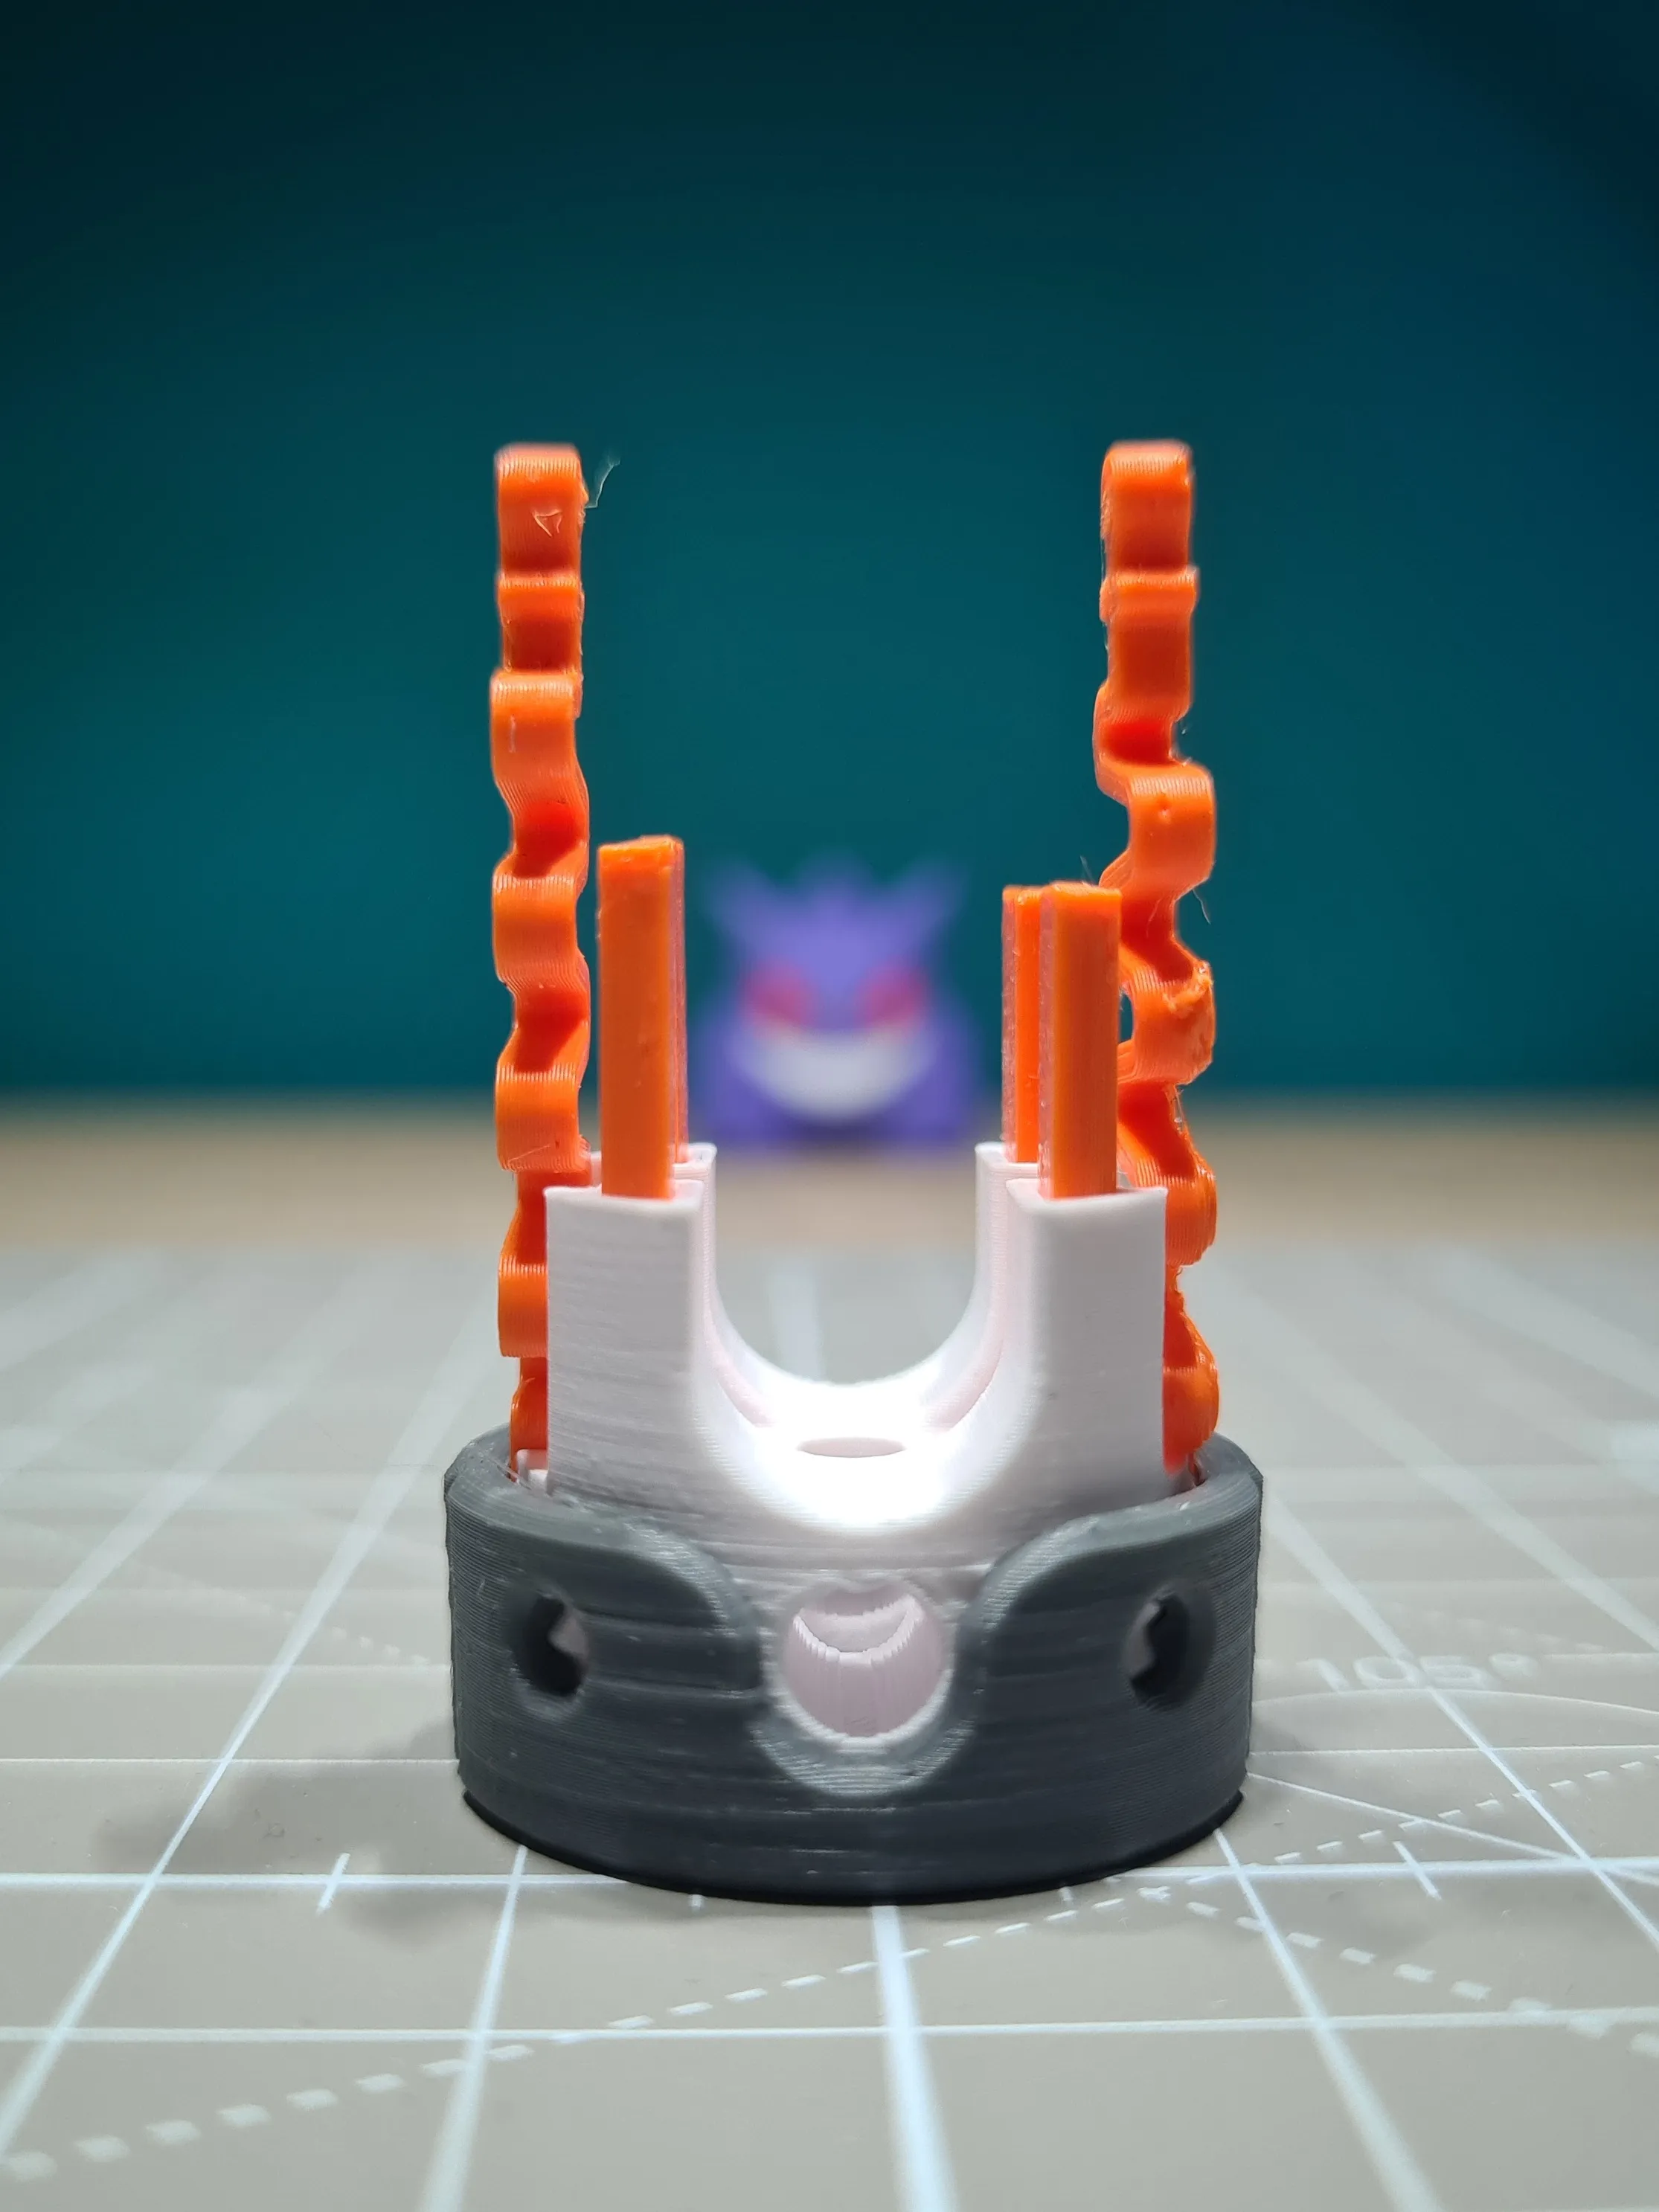
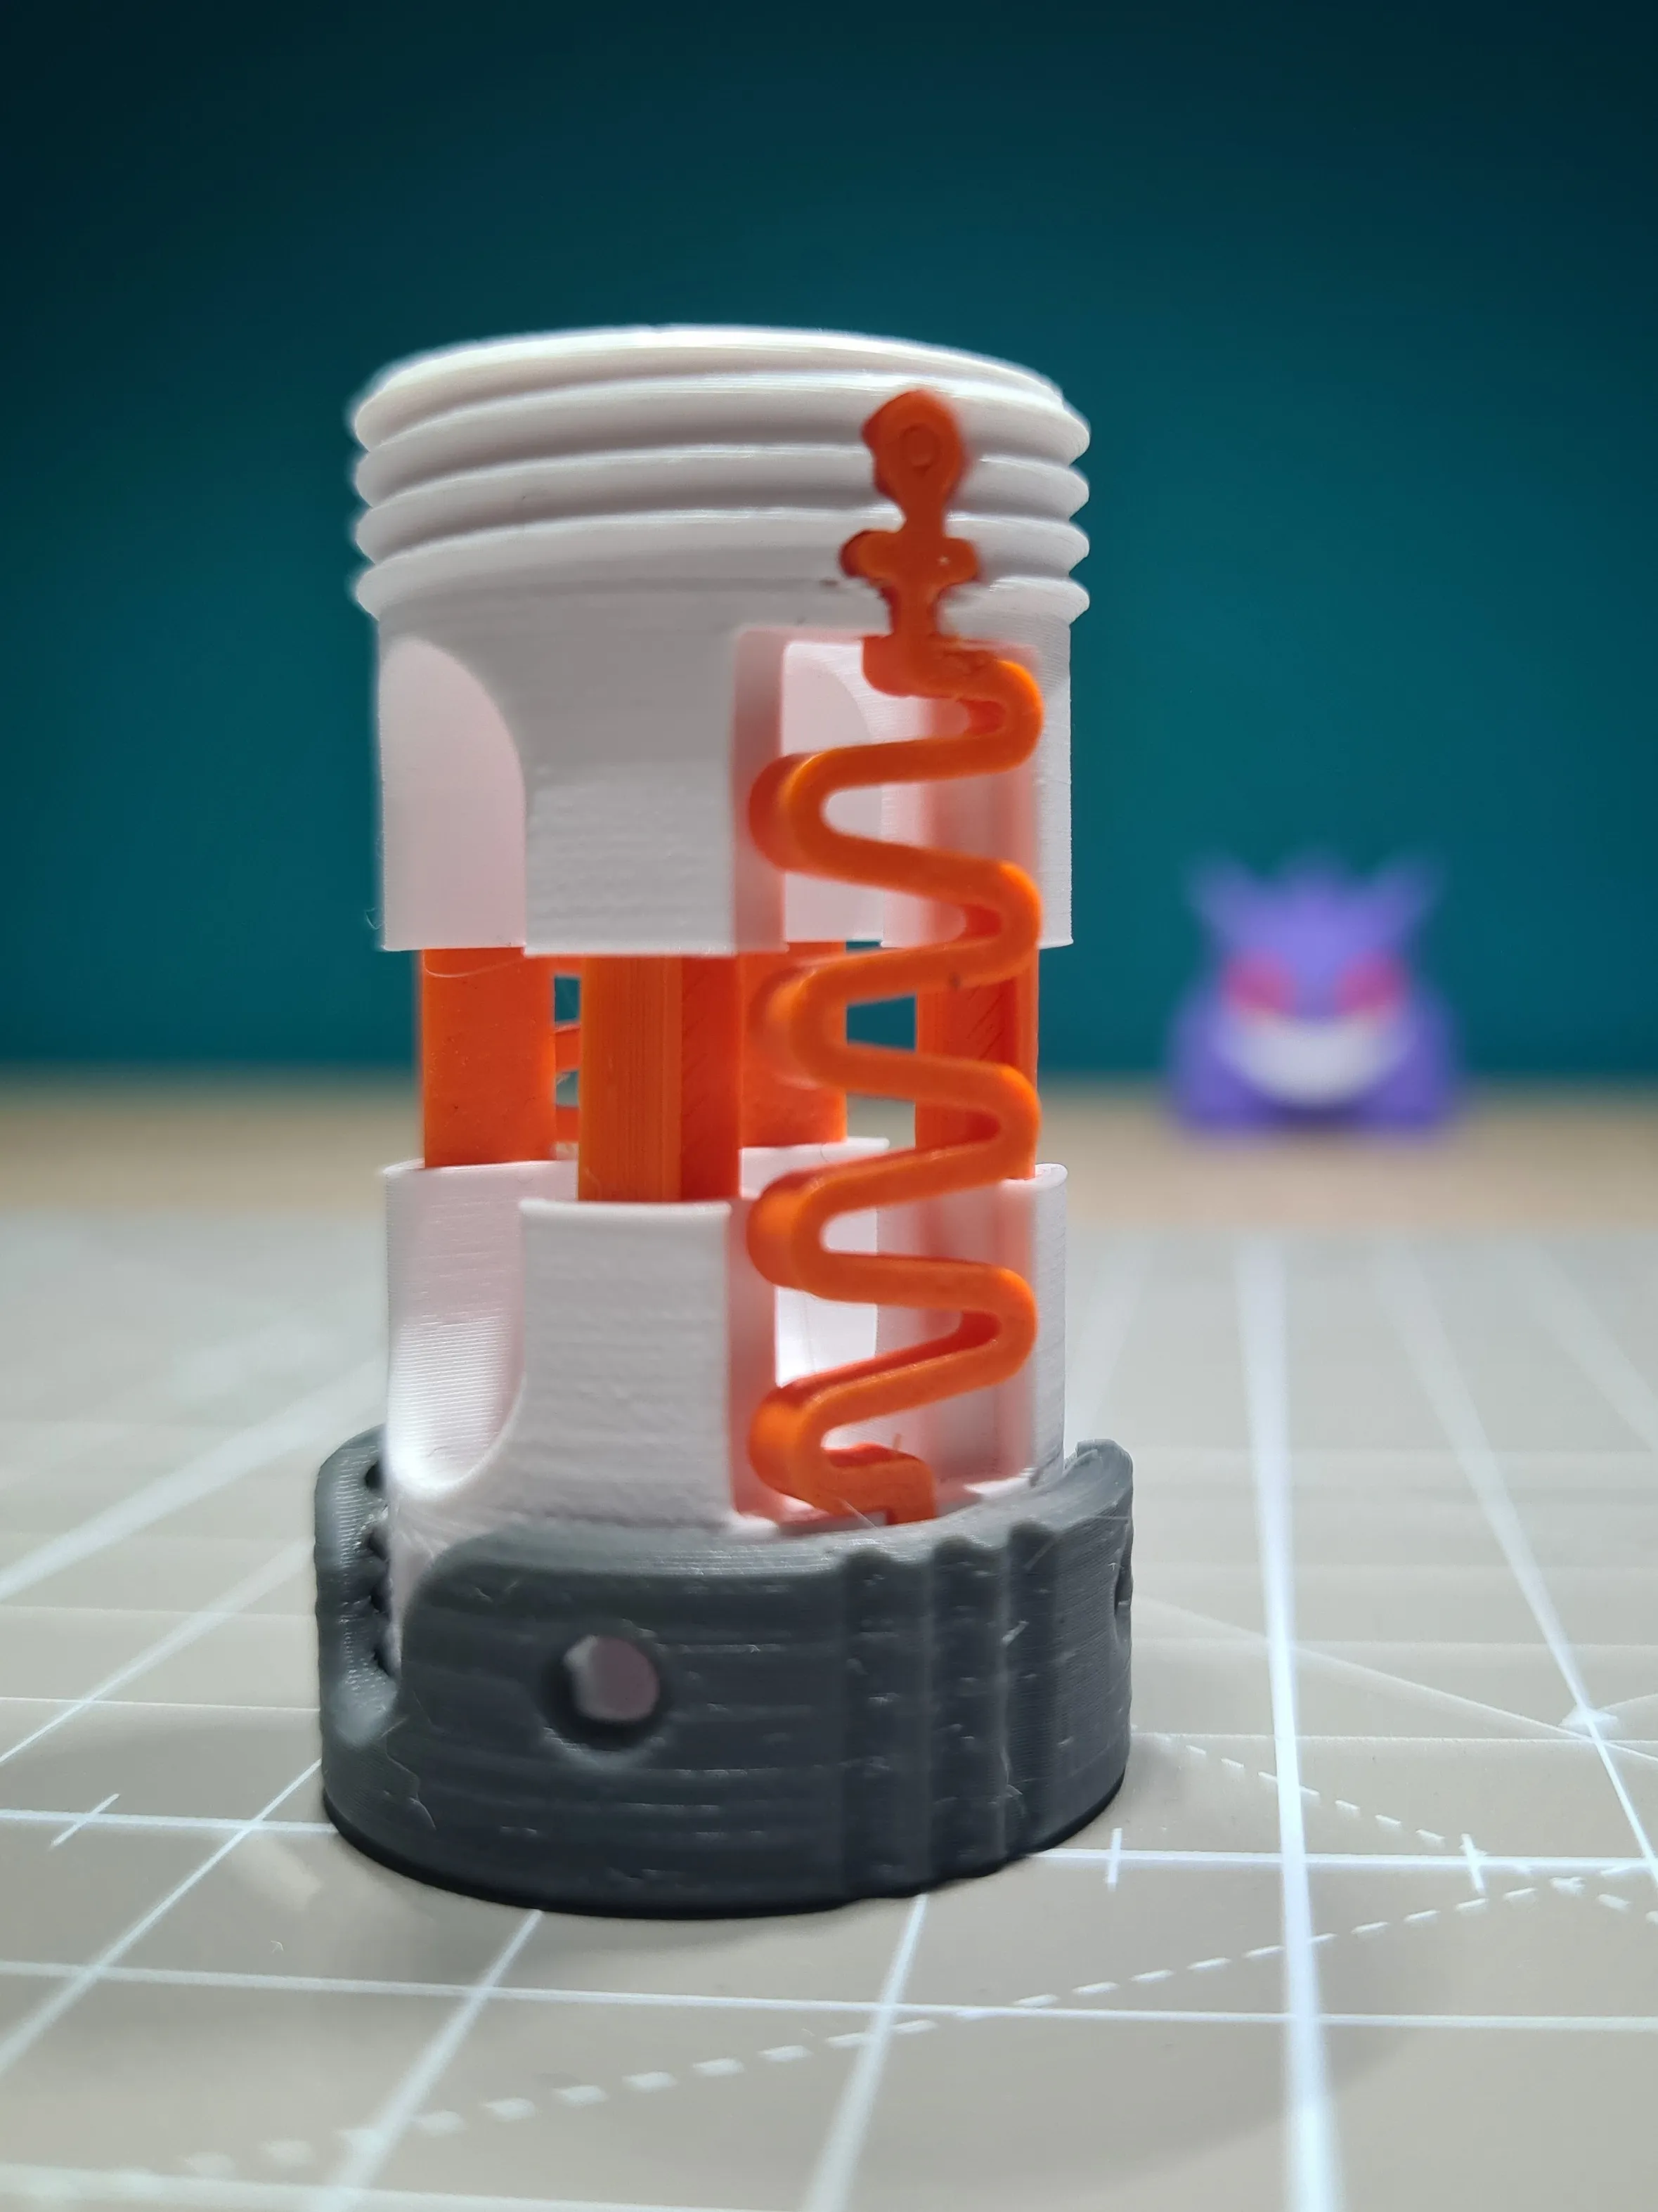
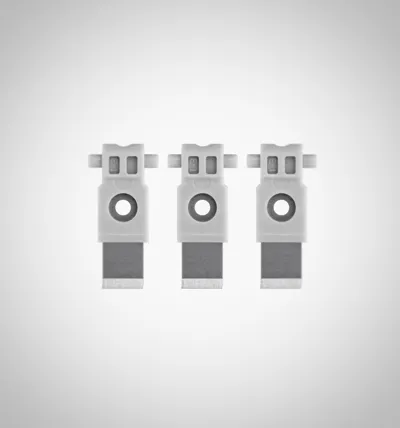
Now place the cutter into the holders as shown in the image below and push it in from the top. Be careful that the blade does not jam
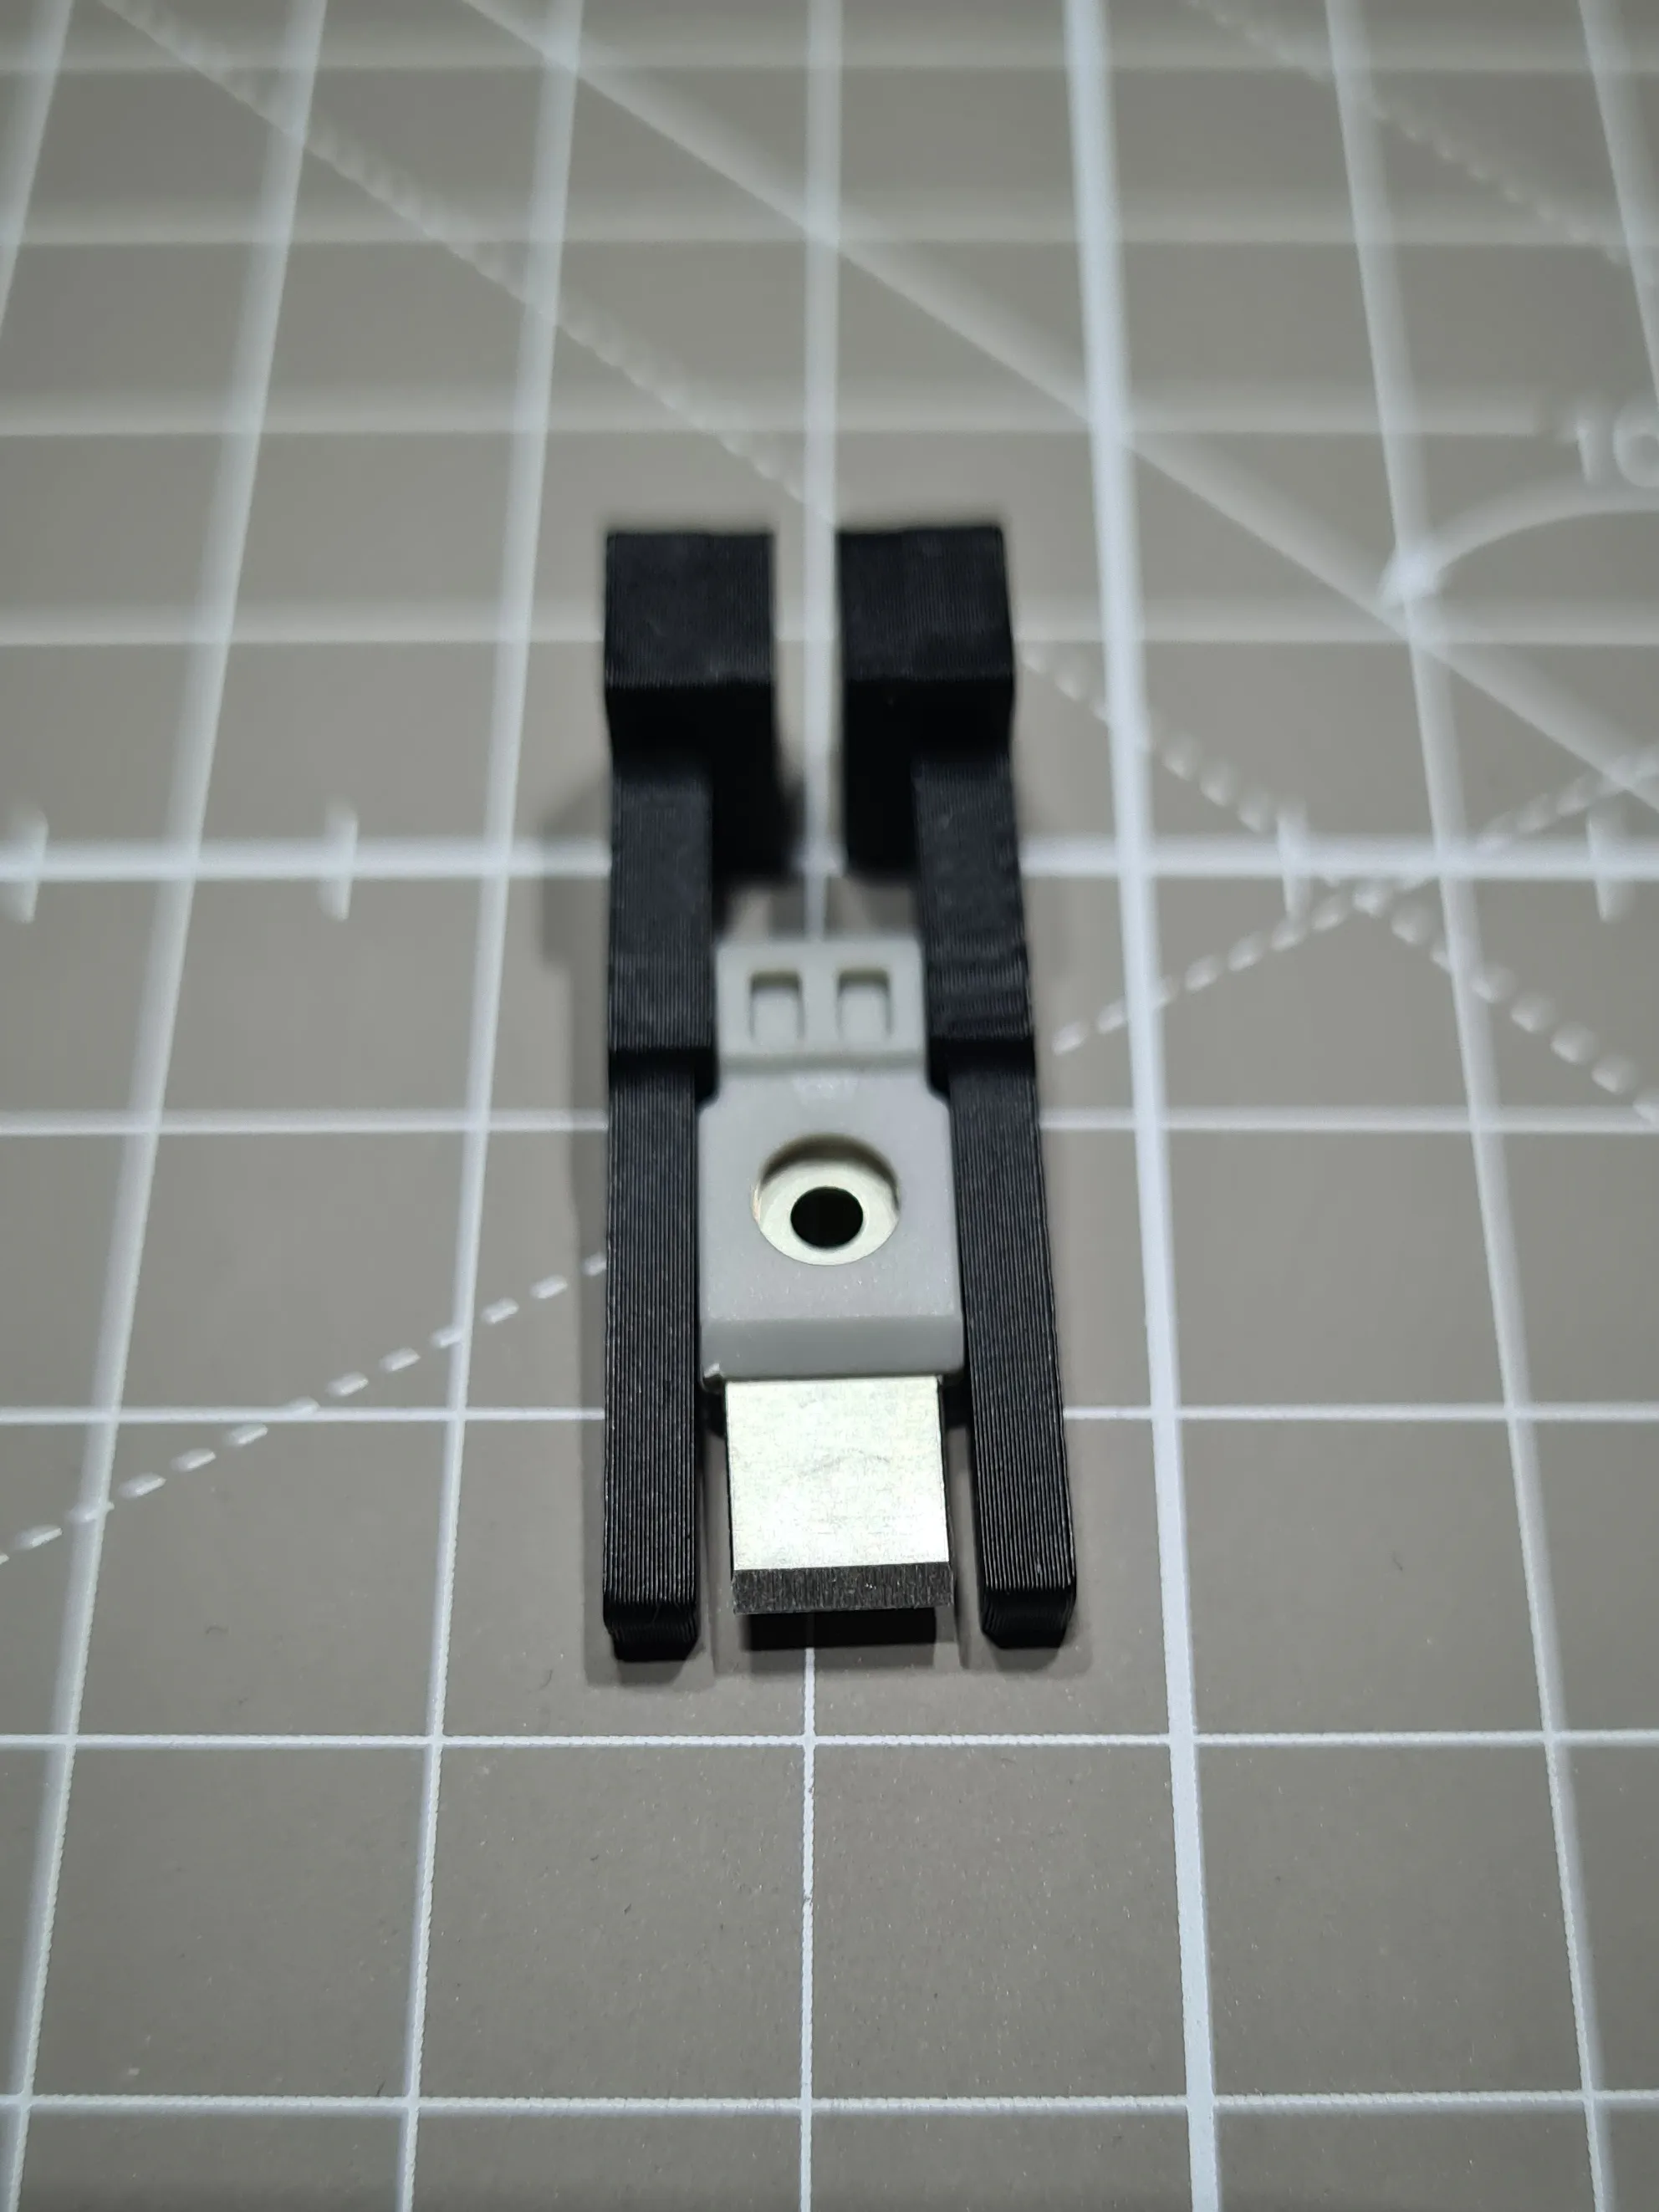
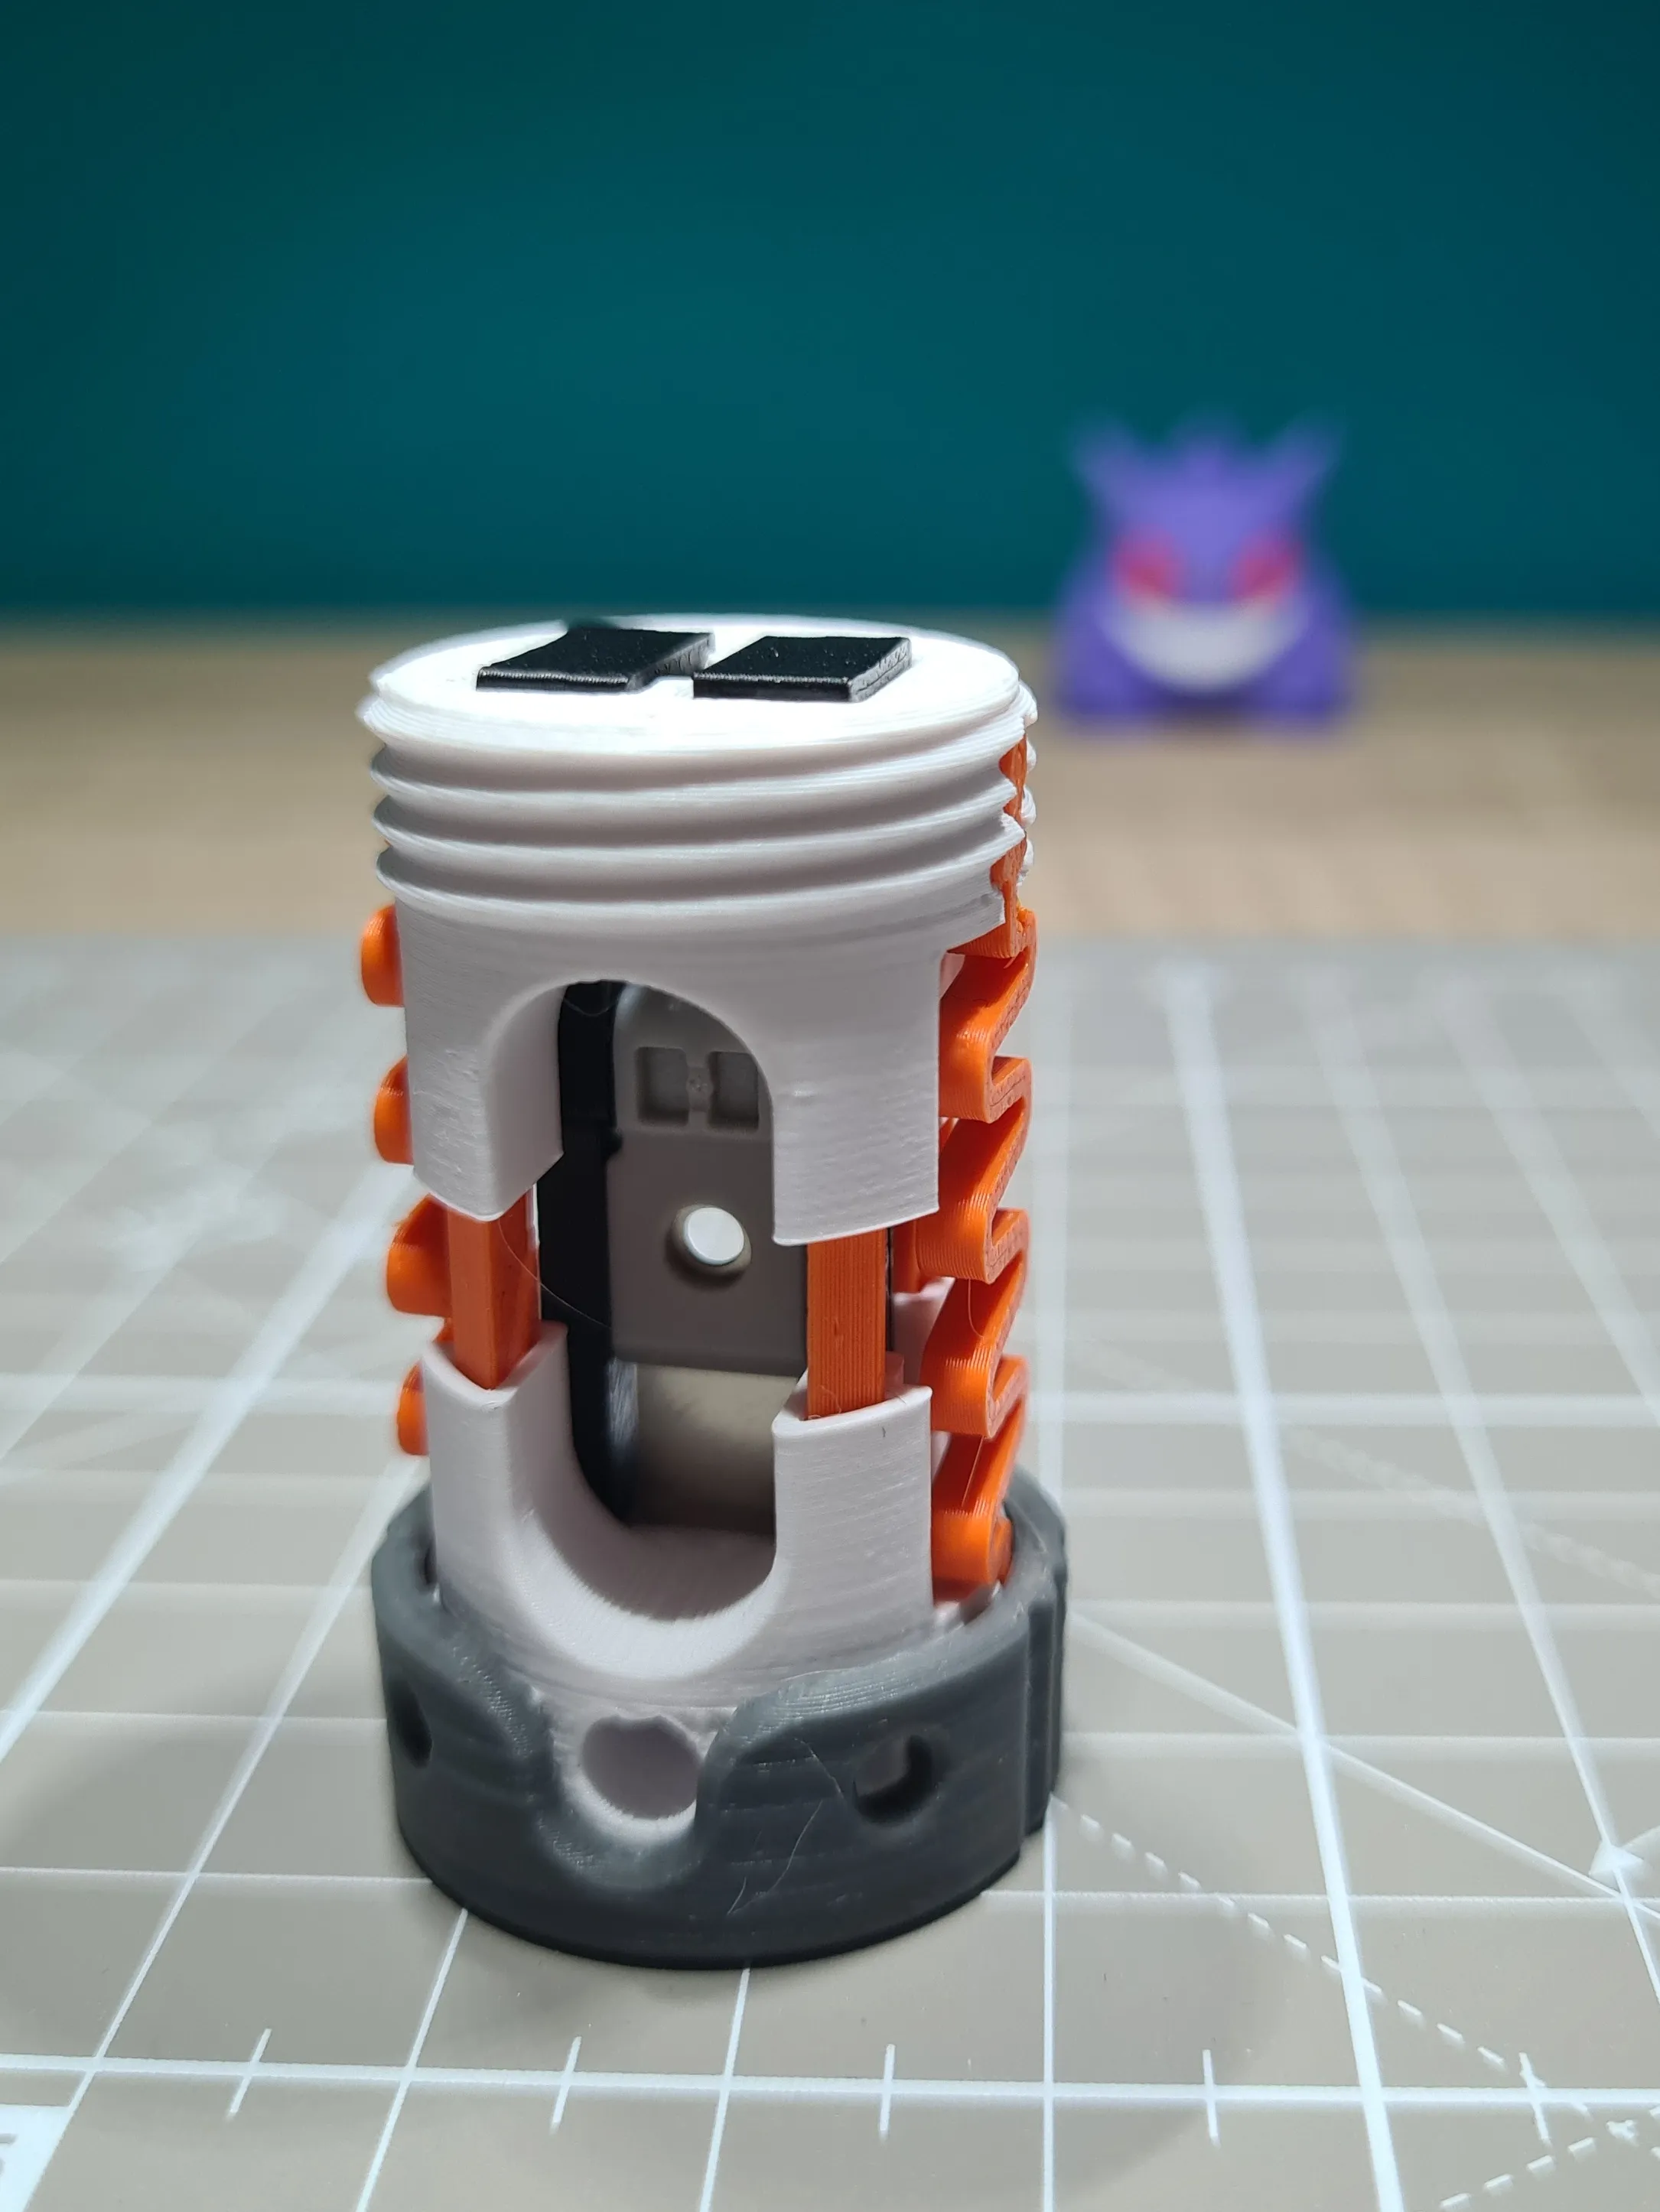
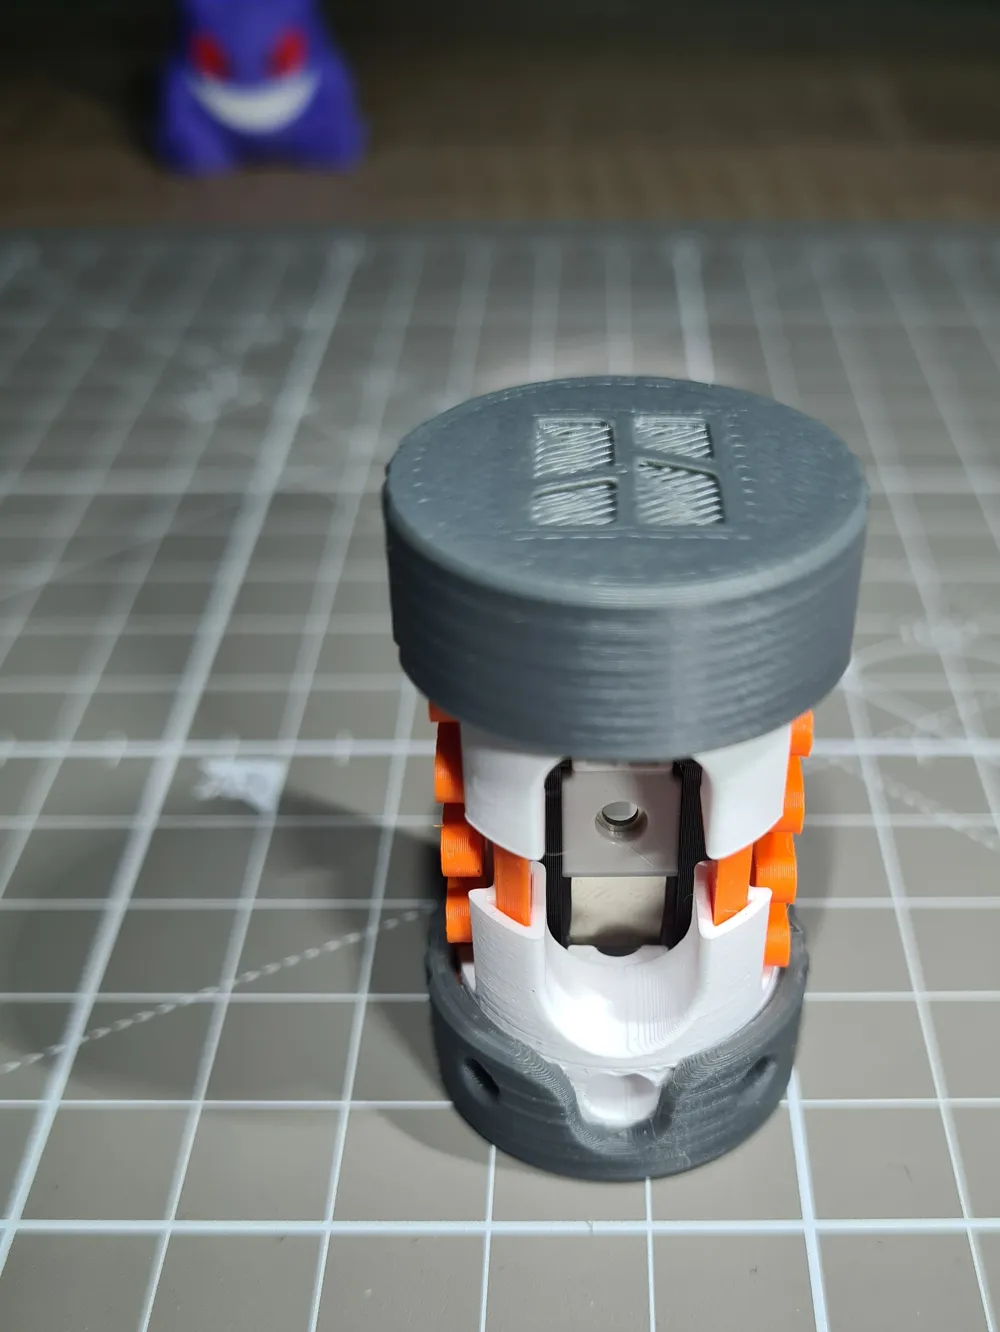
Lid on - finished!!!
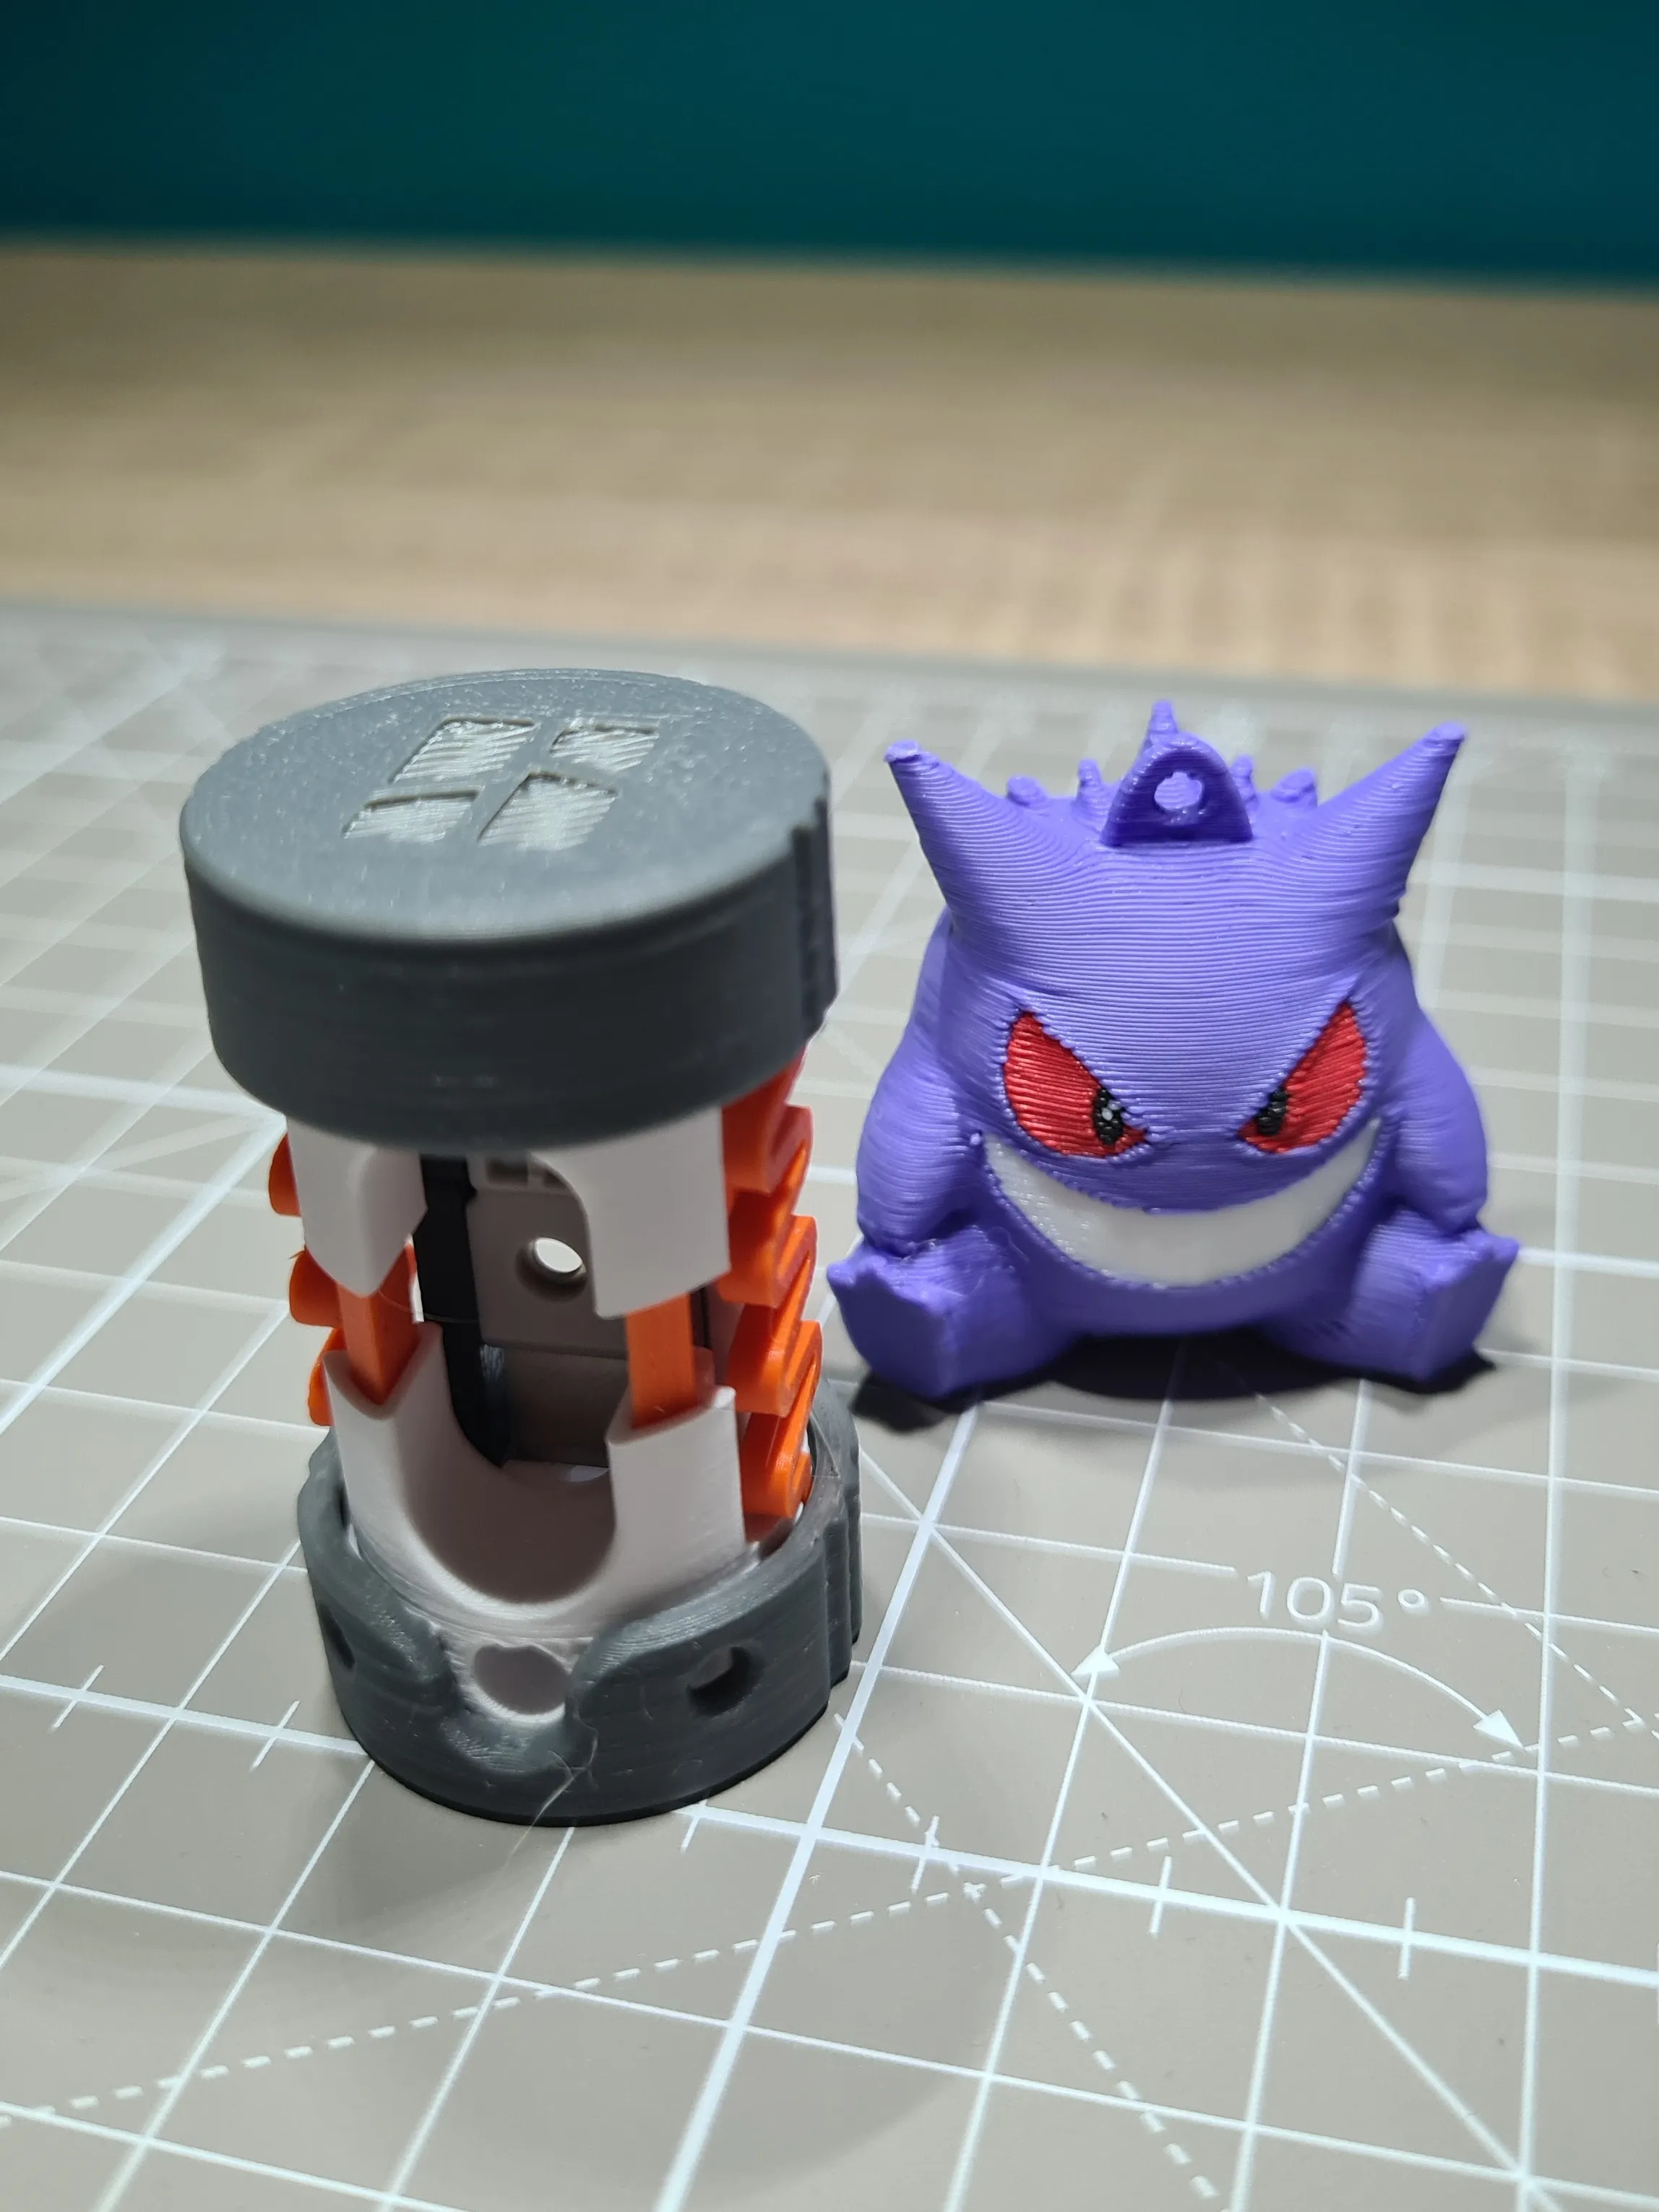
Have fun printing and assembling!!!
I would be happy to see photos of your creations - so bring them on! :-)
Boost Me (for free)
*** Thank you for the support, Makerworld rocks! 🚀 ***
Membership
Your prints, your sales. Secure your commercial license on MakerWorld now! Or simply support me and be part of my journey! 🚀🚀🚀
License

You shall not share, sub-license, sell, rent, host, transfer, or distribute in any way the digital or 3D printed versions of this object, nor any other derivative work of this object in its digital or physical format (including - but not limited to - remixes of this object, and hosting on other digital platforms). The objects may not be used without permission in any way whatsoever in which you charge money, or collect fees.


Comment & Rating (15)