Cabinet Shelf Organizer (Tripod)


Print Profile(2)
Description
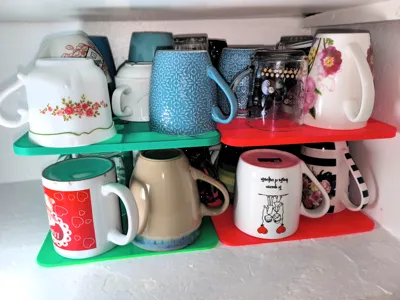
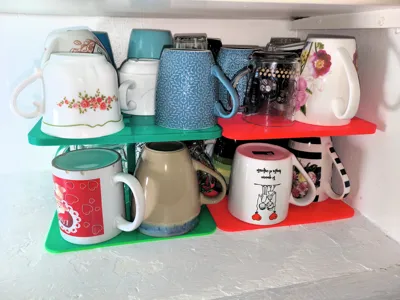
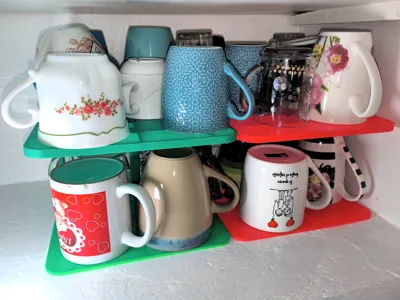
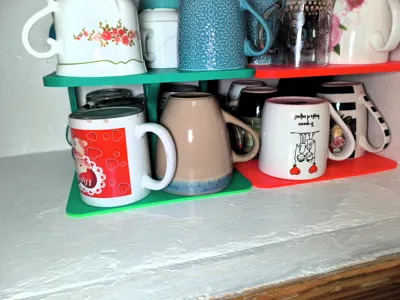
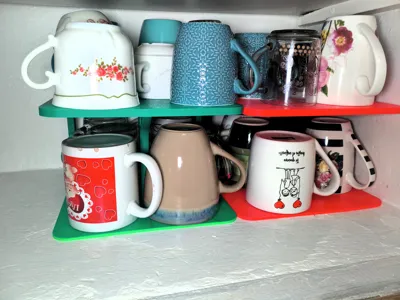
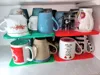
Shelf Organizer for cups and glasses 2026
If you still lack space and want your cabinet or shelf to have more style, download and print the variant that fits your printer.
Boost Me (for free)
If the model is of interest to you, I would be grateful if you supported me in this hobby.
Features:
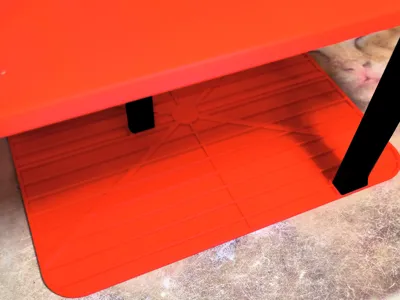
- Design.- The model was created to have a large part of the front open; for this, the design has 3 columns that distribute the load and move the center of gravity backward to prevent it from losing balance.
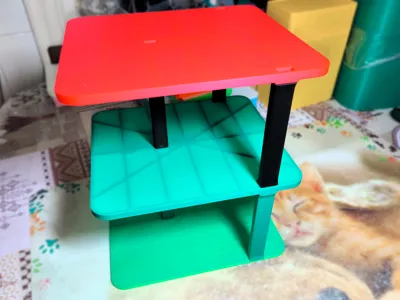
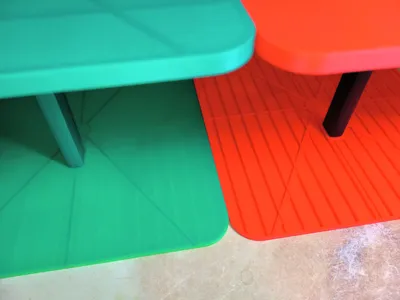
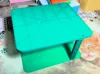
- Size.- The model has two completely different variants whose components are not compatible. The silver surface is 0.4mm, which, although thin, is resistant and flexible.
- Variants.- both variants have the same usable height of 15cm.
- Tripod shelf organizer 215 X 215 mm.
- Tripod shelf organizer 220 X 245 mm.
- Strength.- The model is designed to be sturdy. It is recommended that:
- Place heavy cups or glasses at the bottom.
- Heavier items can be stored at the top and back to maintain balance.
- Do not subject the upper section to excessive load.
- Efficient Design.- The decision to create 2 variants is to allow users to easily print the model even if they do not have a Bambu Lab printer. Filament usage and printing hours have been considered; if you have any suggestions, leave them in the comments.
Printing features:
Recommended Filament: PLA or PETG.
Tolerance: 0.2mm
3 walls, 10% infill.
Supports: Yes (Normal).
ASSEMBLY
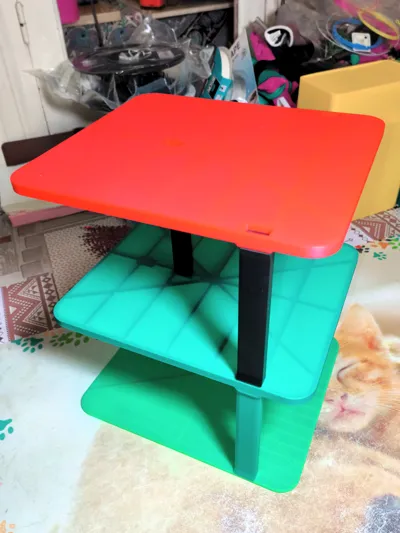
1) Insert the columns into the holes on the top platform.
Note: If desired, the columns can be glued into the holes with epoxy or cyanoacrylate.


Note: the central column has only one position. The rear columns are recommended to be placed as shown in the photograph.
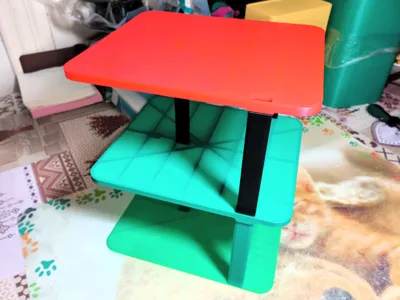
2) Place the body on the base. The columns must fit into the holes in the lower base.


3) The model can be stacked if desired, but it is advisable to glue it to prevent it from coming apart under certain circumstances.


License
You shall not share, sub-license, sell, rent, host, transfer, or distribute in any way the digital or 3D printed versions of this object, nor any other derivative work of this object in its digital or physical format (including - but not limited to - remixes of this object, and hosting on other digital platforms). The objects may not be used without permission in any way whatsoever in which you charge money, or collect fees.
Comment & Rating (0)