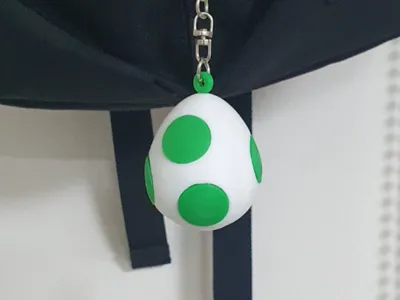
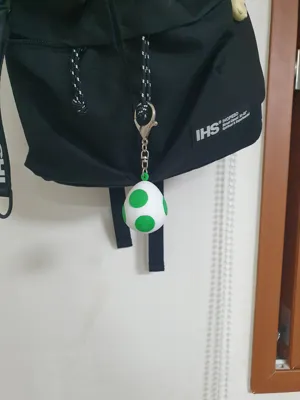
Yoshi Egg Keyring


Print Profile(1)
Description
Components Needed
Keychain Ring: Standard split ring, D-clasp, or ball chain.
No AMS Required: Designed for single-color printing and easy assembly.
Note: No magnets, mechanical switches, or adhesives are required for this model.
Assembly Instructions
Preparation: Print the white egg body and the five green spot parts.
Number Matching: You will find numbers 1 through 5 embossed inside the sockets of the white egg and on the back of each green spot.
Snap-fit: Simply match the numbers and press the green spots into the corresponding sockets until they click into place. The tight tolerance ensures a secure fit without glue.
Finish: Attach your keychain hardware to the integrated loop at the top. Your Yoshi egg is ready to go!
Follow me on Instagram for more designs: @frogmin_97
License
You shall not share, sub-license, sell, rent, host, transfer, or distribute in any way the digital or 3D printed versions of this object, nor any other derivative work of this object in its digital or physical format (including - but not limited to - remixes of this object, and hosting on other digital platforms). The objects may not be used without permission in any way whatsoever in which you charge money, or collect fees.
Comment & Rating (8)