12 Can FIFO Soda Dispenser


Print Profile(1)
Description
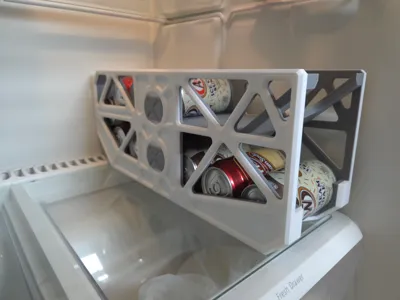
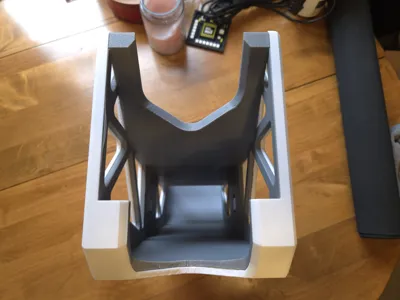
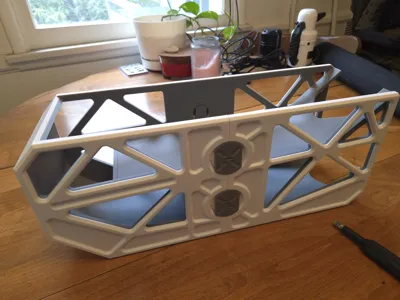
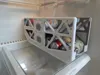
This is a 12 can first in first out (FIFO) dispenser that fits standard 12oz cans. I made this because all of the other Can FIFO dispensers I could find only fit 9 or fewer cans, and that struck me as bizarre considering cans are commonly sold in multiples of 6 (as packs of 6, 12, and even 24). Not only does this 12-can first-in-first-out dispenser fully fit 12 standard 12oz cans, but you can even squeeze a 13th can partly in there, so that when you get down to your last can, you can load in a full 12 pack. Since the 13th can partially extends out of the top, this functionality will depend on your available refrigerator space.
Features:
- First-in-first-out (FIFO)
- Fits 12 cans (Unlike all those 9-can FIFOs!)
- Fits 13th can depending on refrigerator space
- Rear and Front chamfers to fit shelves with lips
- Rigid hardware-free construction
- Assemble with just a flat-head screwdriver
- No filament changes required
- Successfully printed on a Bambu P1S
Dimensions:
- Width: 145 mm
- Depth: 458 mm
- Height: 190 mm
Assembly (follow the model pictures):
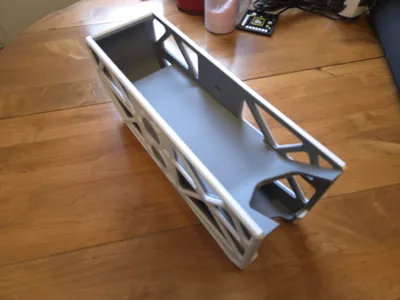
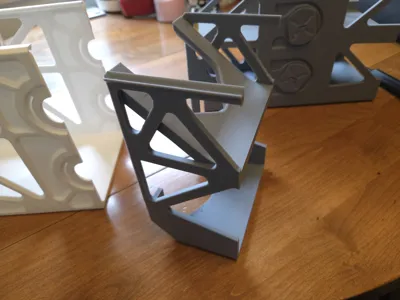
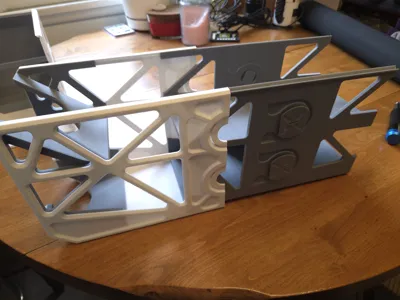
- Slide “Interior Front End” part (pictured) carefully and evenly all the way into the end of the “Exterior Front” part (pictured).
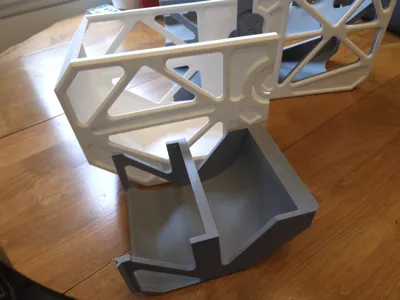
- Carefully snap the “Interior Front Puzzle” and "Interior Back Puzzle" parts together (not pictured) to form the “Interior Middle Assembly” (pictured). It is okay if some of the puzzle pieces partially break during this, although that wont happen if this step is done carefully enough.
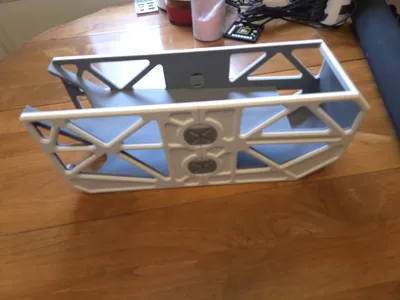
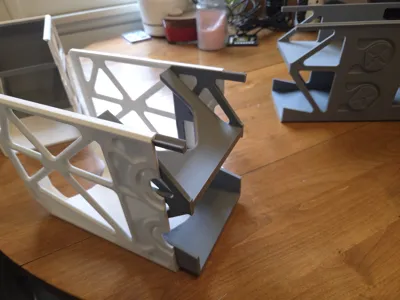
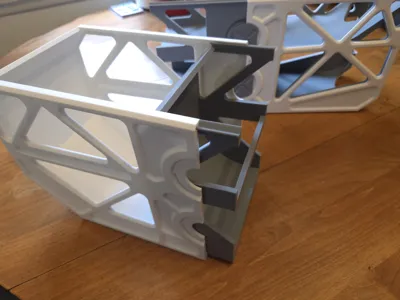
- Slide the interior middle assembly carefully and evenly into the exterior front part, taking care to rotate the locking latches so the internal teeth does not block the parts from sliding fully together to form a continuous internal slope for the cans.
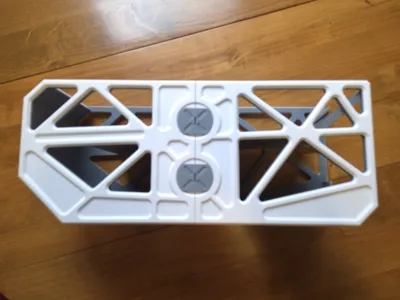
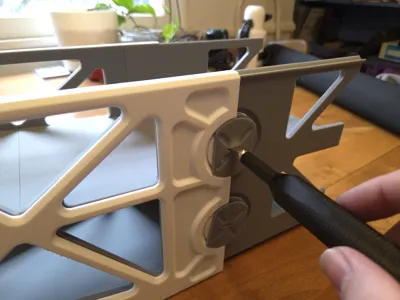
- Rotate the locking latches with a flat tool to engage the locking latch internal teeth with the “Exterior Front” part's corresponding curved tracks. If there is a lot of friction press the “Interior Middle Assembly” into the “Exterior Front” part while turning.
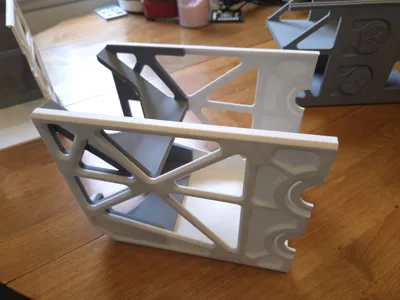
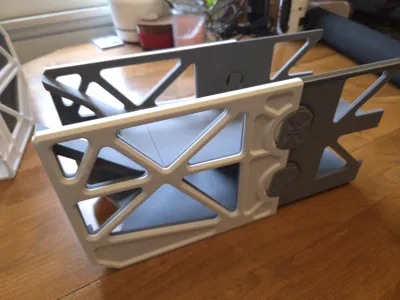
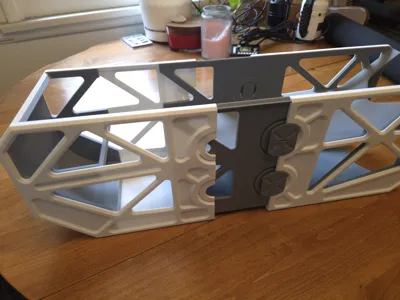
- Slide the “Interior Back End" part carefully and evenly all the way into the end of the “Exterior Back” part.
- Ensure the internal teeth of the locking latches on the “Interior Middle Assembly” would not prevent sliding the “Interior Middle Assembly” all the way into the “Exterior Back” part, and then do so.
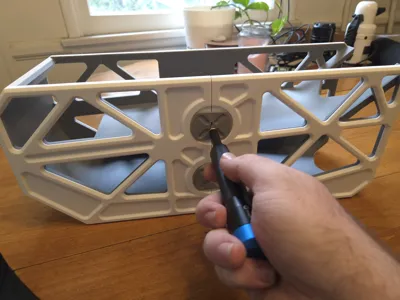
- Use a turning tool to rotate the locking latches to a fully horizontal position to lock the “Exterior Front” and “Exterior Back” Parts together. Depending on the end quality of the prints, this might require a tough click before the locking latches are horizontal, this is to keep them from unlocking on accident.
License
You shall not share, sub-license, sell, rent, host, transfer, or distribute in any way the digital or 3D printed versions of this object, nor any other derivative work of this object in its digital or physical format (including - but not limited to - remixes of this object, and hosting on other digital platforms). The objects may not be used without permission in any way whatsoever in which you charge money, or collect fees.
Comment & Rating (1)