
Predator Helmet with Braids 1987 original movie
Print Profile(1)
Description
UPDATE 5/21/26 - I re-mixed Martin.taichl's incredible plasma caster model to be colorized and wall mounted as an accessory to this predator mask. Check it out here:
Predator Plasma Cannon 1987 movie with wall mount - Free 3D Print Model - MakerWorld
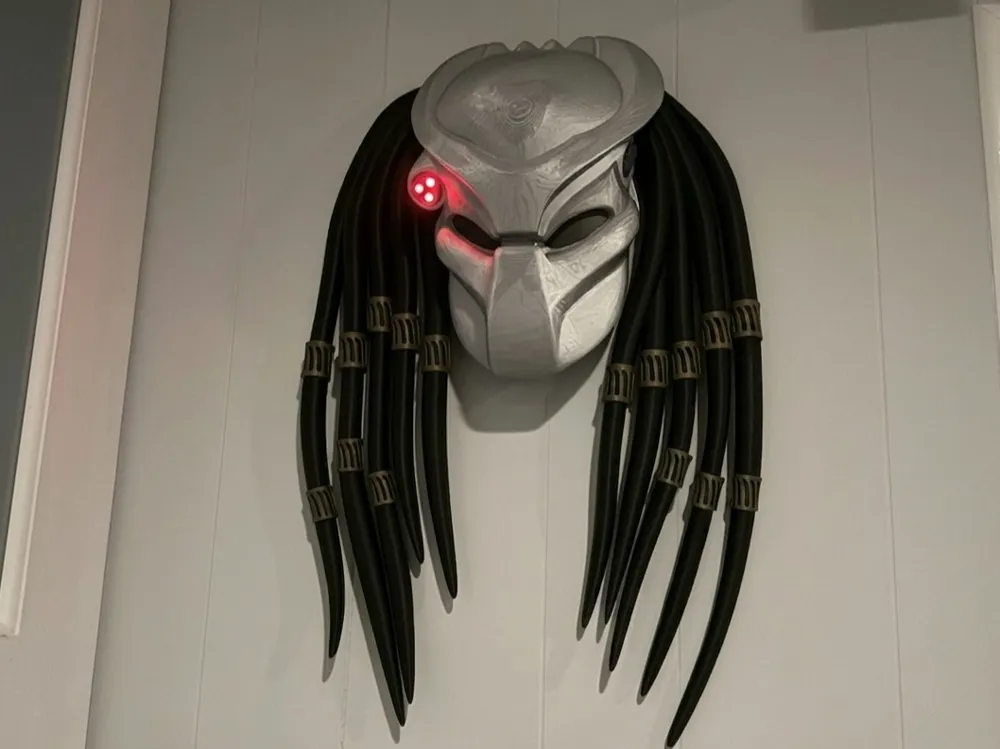
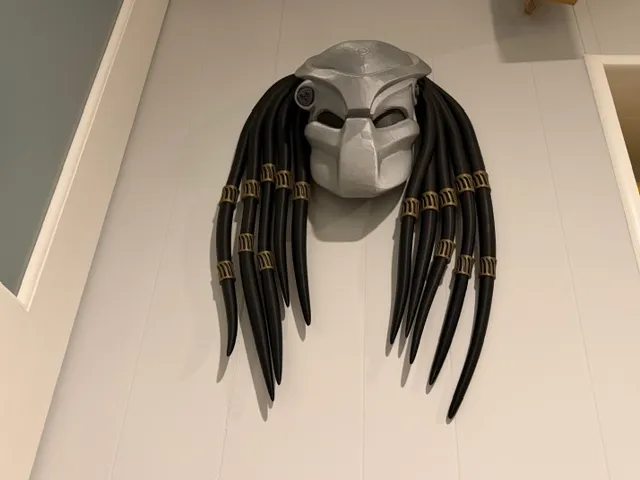
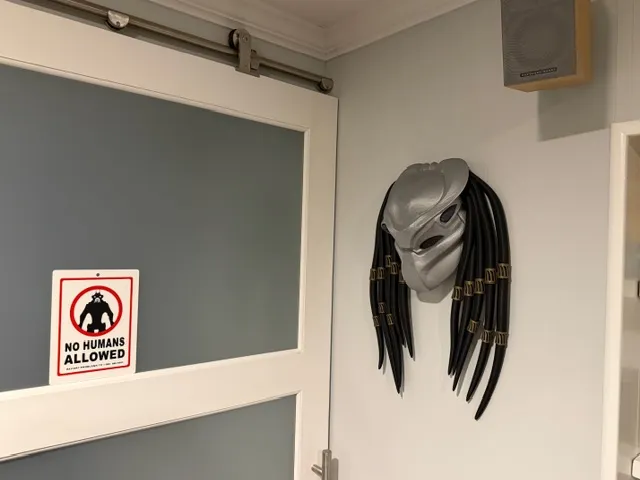
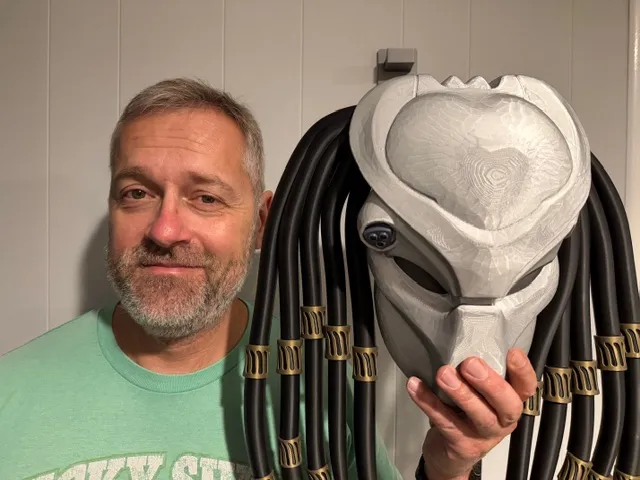
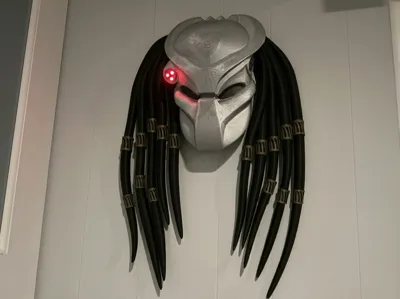
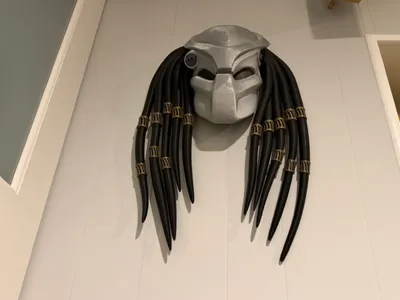
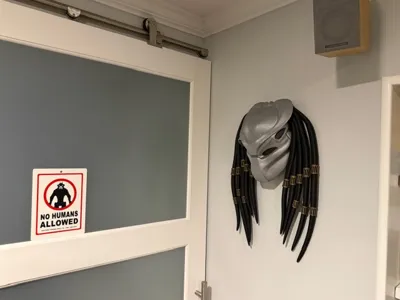
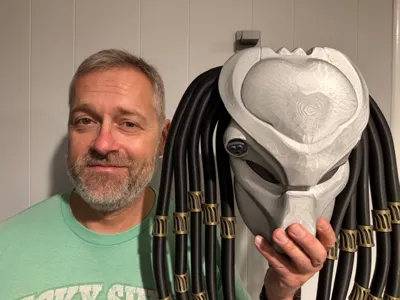
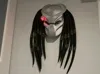
This is my wall mounted predator mask and braids from the original 1987 Predator movie with Arnold Schwarzenegger. After looking through lots of predator masks on Makerworld, I couldn't find what I wanted for wall art for my living room, so I created this model at almost 2 feet tall (21.9" [556mm]) and prints without the need for an AMS unit! Note: Actually… the hair braid cuffs in my pictures are the OPTIONAL 2-color cuffs that are available.
I also designed accommodations for LED lights for his helmet targeting device. If you don't care to install real LED lights, there are dummy LED printable lights that you can install instead.
PRINTING: There is a little bit of support material needed for a few parts. Most parts print flat on the build plates without support. I printed the main helmet parts (plates 1 & 2) in Bambu silver PLA. The helmet part is faceted by design. I wanted more of a textured, hammered metal look. It turned out better than I was expecting! (I do plan to print another version in white, sand out the layer lines and add filler, then spray paint a metallic grey. I will add pics of that when complete.)
ASSEMBLING: I used 2-part epoxy to assemble this model. Whatever glue you choose to use, be sure it is a glue that allows you some working time to get the parts positioned before the glue sets up. Basically, don't use quick activating CA glue. It crazes anyway and would look bad on the black hair braids. You are going to want to lay out the parts and assemble the model in phases. DO NOT ATTEMPT TO RACE THROUGH THIS AND ASSEMBLE EVERYTHING AT ONCE!
Before gluing, I noticed that the tree supports when I removed them from the main hair parts (build plate 3) left a slightly uneven surface. I used some 220 grit sandpaper and carefully sanded those areas flat. Not required, but will improve the final appearance of your model.
Begin by gluing dowels into the pointed braid ends and into the ends of the two main hair parts (go ahead and glue the four large hair braid dowels in place into the hair too). I used a toothpick to apply a small amount of epoxy into the dowel holes. Don't apply your glue to the dowels themselves….it will scrap off the dowels when you insert them and probably make a mess. The toothpick is the best method.
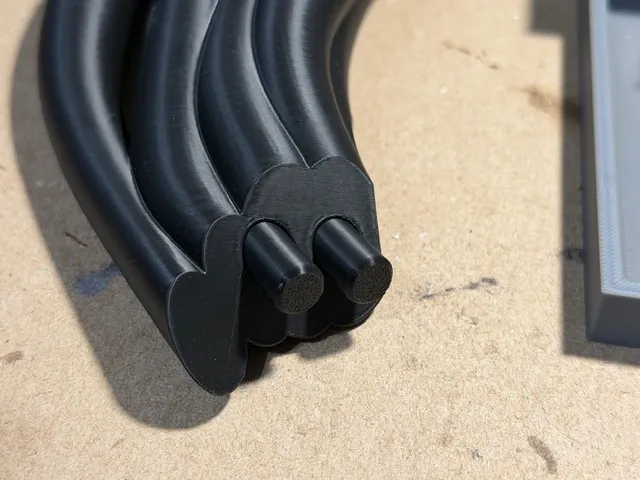
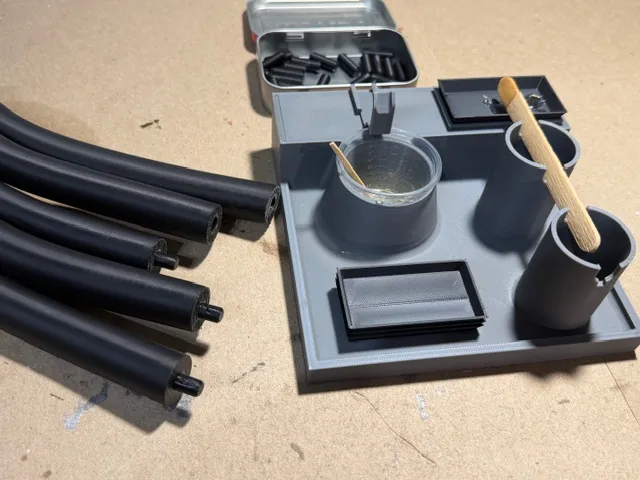
(If you like that epoxy mixing station, check out my model uploads to print it. It is exremely handy!)
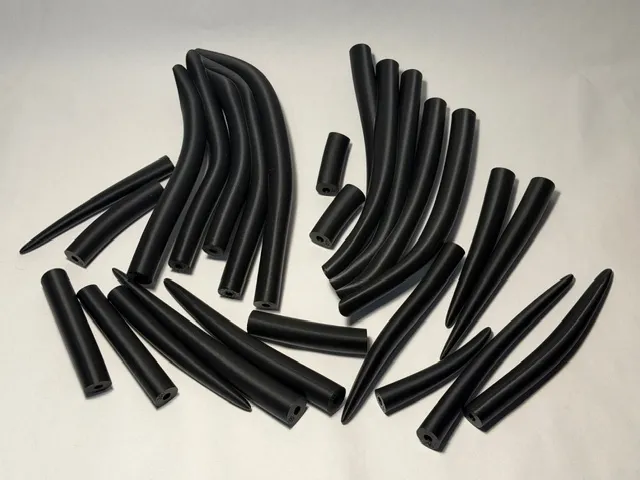
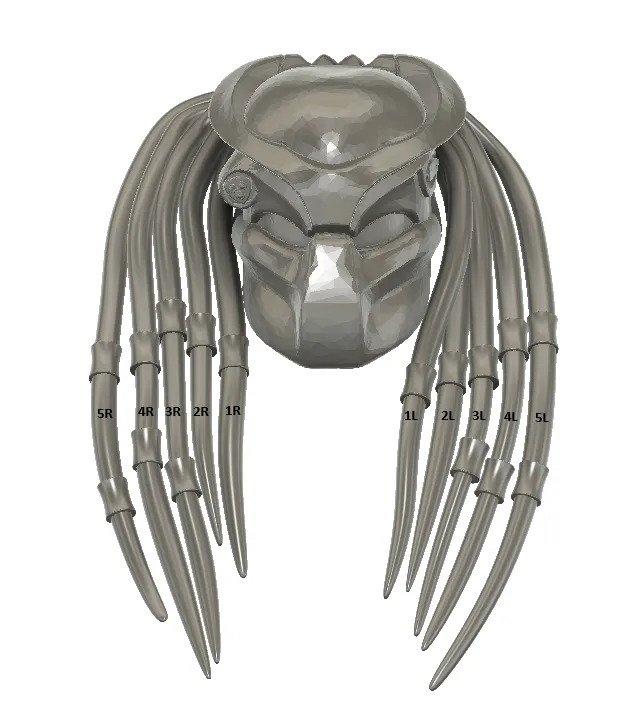
You'll notice that the braid parts have an identifier on each one (1L, 2L, 3L, 4L, 5L, 1R, 2R, 3R, 4R, 5R). These identifiers are placed on the TOP of each part, and toward the back (wall side). Keep this in mind while assembling the braid parts. Use this picture for reference:
These are the NO AMS braid cuffs. I didn't use them for my model but they are in the print profile on build plate 5 if you prefer. Print either plate 5 or plate 6. You do not need to print both plates of cuffs.
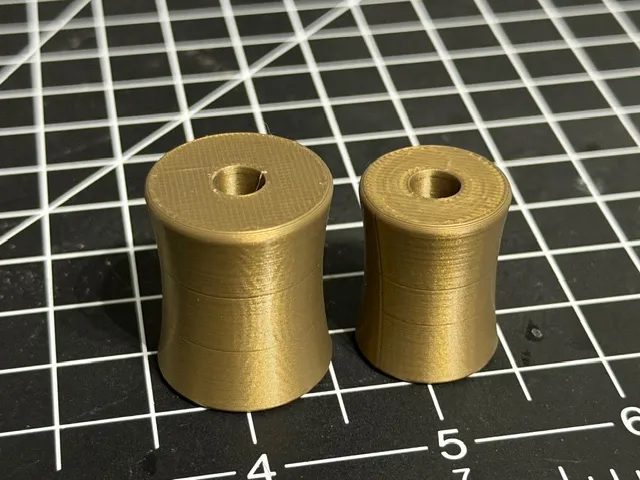
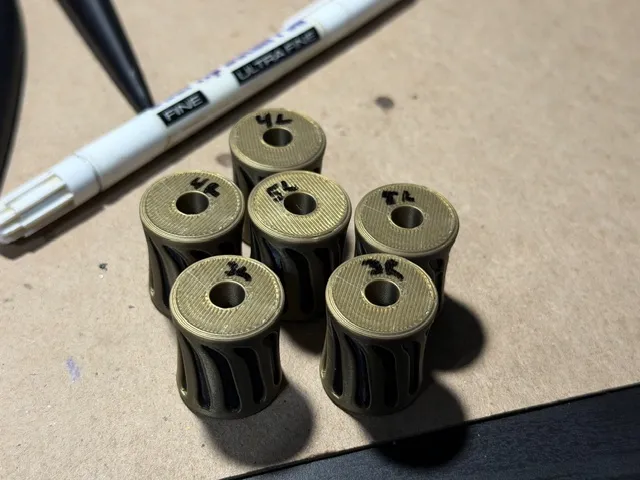
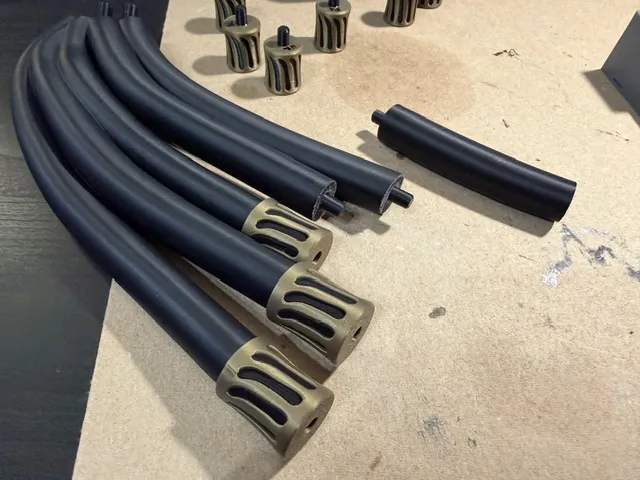
There are ten large braid cuffs for the top row and six small braid cuffs for the lower ones on braids 3L, 4L, 5L, 3R, 4R, 5R. Before I glued them in place, I marked the small cuffs as shown because when you attach them to the braid end parts, they will cover up the identifiers. Glue the small braid cuffs onto the braid ends and align the markings you made with the identifiers on the braid ends.
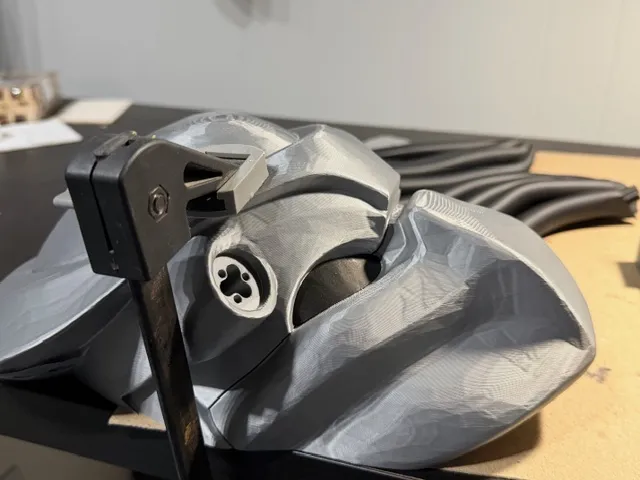
While the glue on the braid dowels is setting, assemble the top and bottom helmet parts using the 5 large dowels on build plate 2. Don't use an excessive amount of glue that it squeezes out when you press the two halves together. I used a woodworking clamp to hold the halves together while the epoxy cured. Not required, but if you don't have a clamp, find something heavy to weigh down the parts on your workbench so they don't move around while the glue sets.
NOTE: You don't have to put the eyes in place while you are gluing the helmet halves together, but they will be easier to insert if you do. The eyes are labeled left and right on the back (the left eye is the predator's left eye… not the way you see him when hanging on the wall).
Glue the large cuffs onto the main hair braid parts as shown.
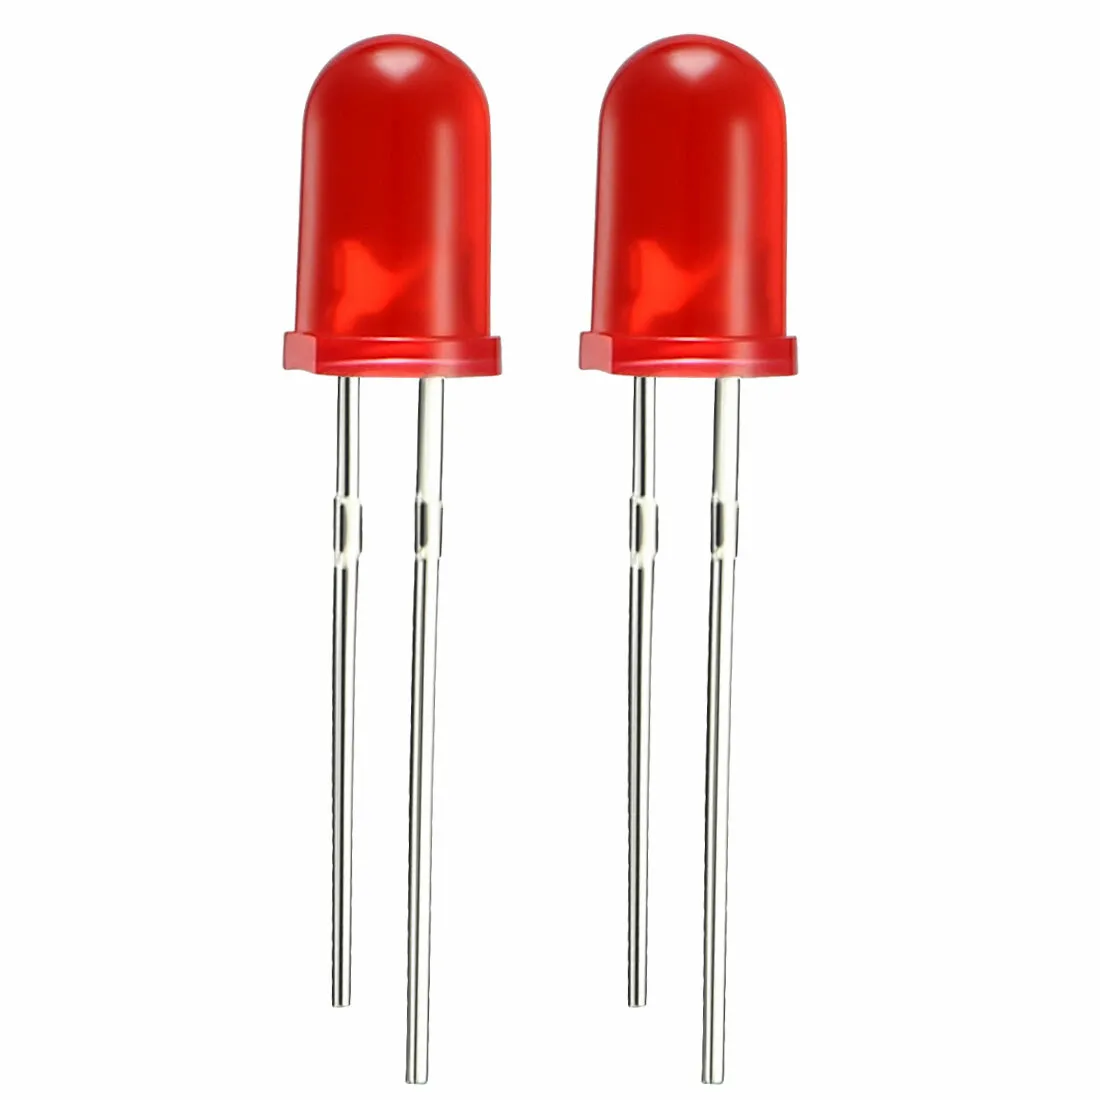
If you plan to install LED lights into the targeting device, you will need three standard 5mm LED lights similar to this:
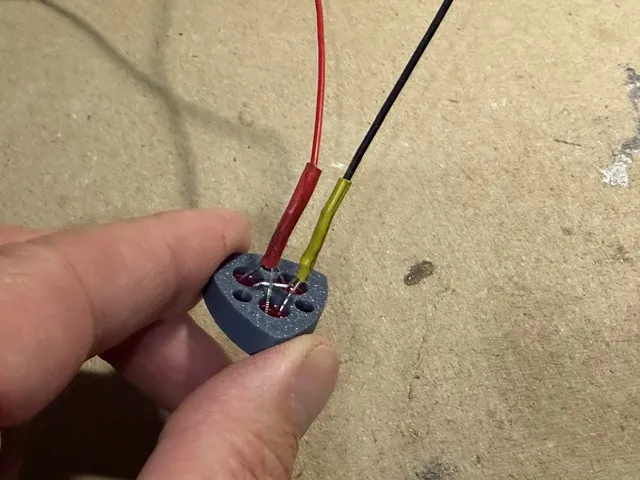
Push the LEDs into the targeting body. You should not need to glue them in place. If the LEDs you have don't already have wired pigtails on them, carefully bend the positive and negative wire posts together so you can solder a wire to them (the long post is +positive). Make sure the positive and negative posts aren't making contact or you will short out your circuit.
NOTE: The LEDs are wired in parallel. Two alkaline batteries (AA or AAA) should be enough voltage to light up the LEDs and no resistors are needed.
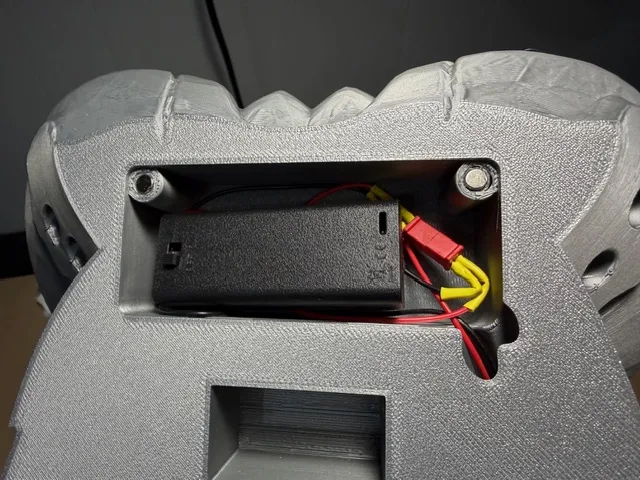
I bought this 6-pack of AAA battery boxes that have a switch on them. Super handy. I will use the other 5 in future projects:
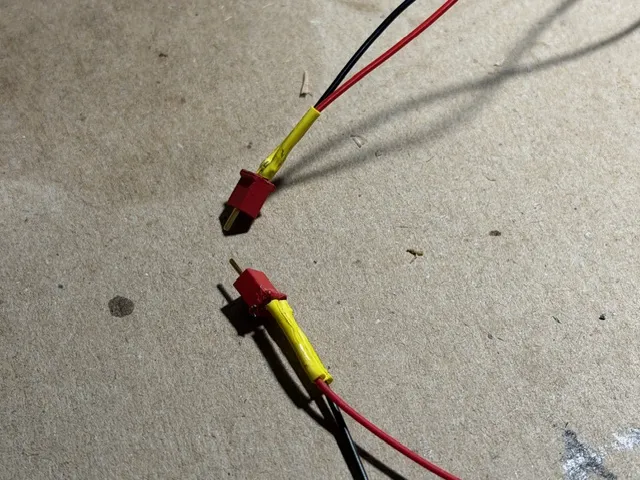
You can solder the wires from the LED lights directly to the battery box, but I opted to install a connector. It just makes it easier to replace the batteries, or just in case you need to remove the lights if one stops working. I had an old RC car battery connector laying around that I used.
Once everything is wired up, install the three small dowels for the targeting body and glue them in place.
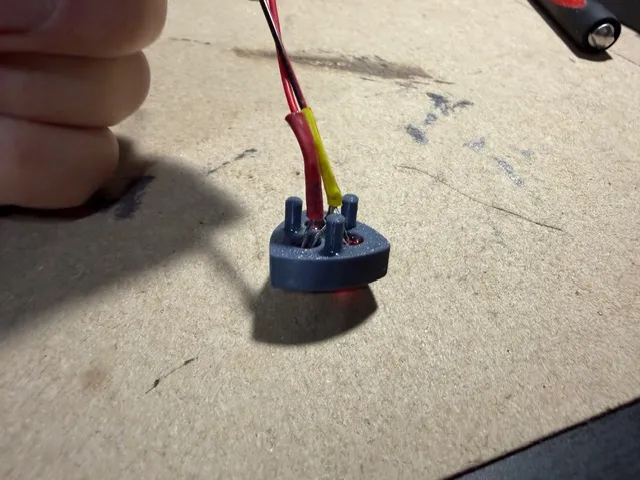
Feed the LED wires through the channel in the helmet and press it into place. I do not recommend gluing the dowels into the helmet. It's a tight fit and you may want to remove it in the future if an LED fails.
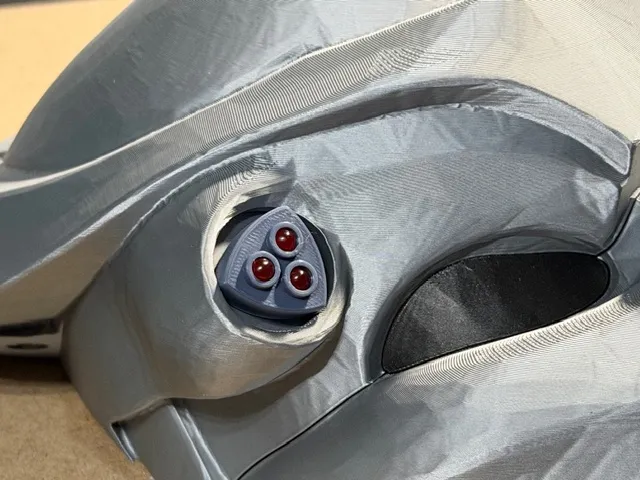
If you haven't done so already, pull out the tree support material from the inside of the battery box and the wall mount pocket. There are two holes for 5x2mm magnets. If you didn't install LEDs, you don't need to use the battery door. If you did, glue magnets into the holes in the top helmet half and into the battery door (be sure you install them with the correct polarities facing each other!). When the glue is set, connect your battery box and test your LED lights!
Glue this part in place.
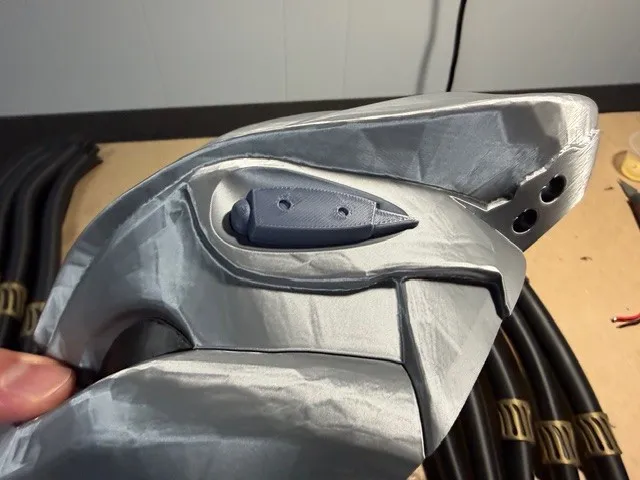
Glue the left and right hair braid assemblies to the helmet if you haven't already done so.
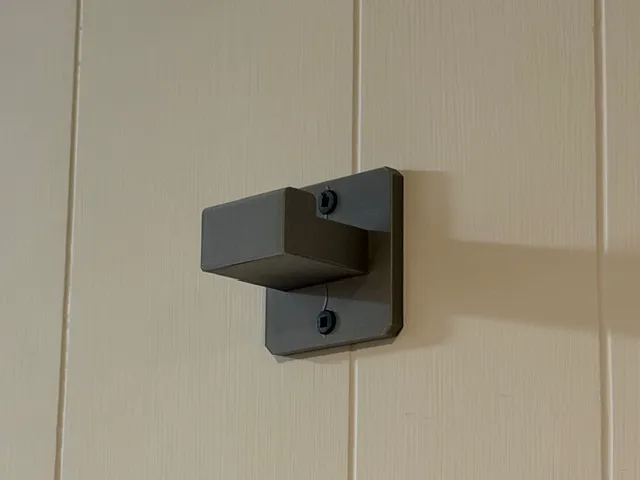
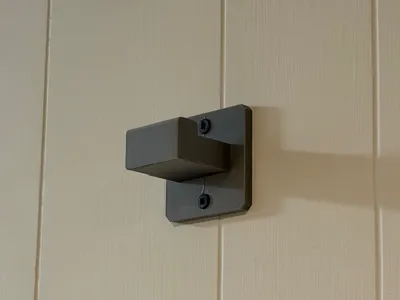
Decide where you want to mount your predator helmet. Transfer the location of the wall mount holes onto your wall and drill a couple pilot holes (I used a bubble level to ensure the wall mount was level before I marked the holes). Install the mount using #6 or #8 threaded screws or whatever you think is best. If you install directly into drywall and don't hit a wall stud, I would recommend using drywall anchors so you don't pull it off the wall one day when you take the helmet off to turn on the LED lights.
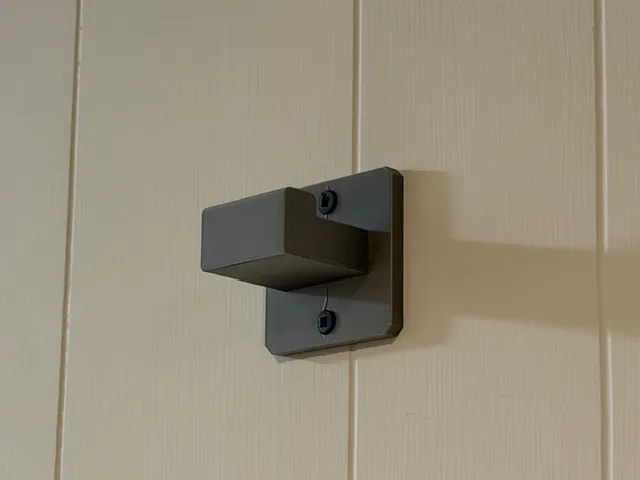
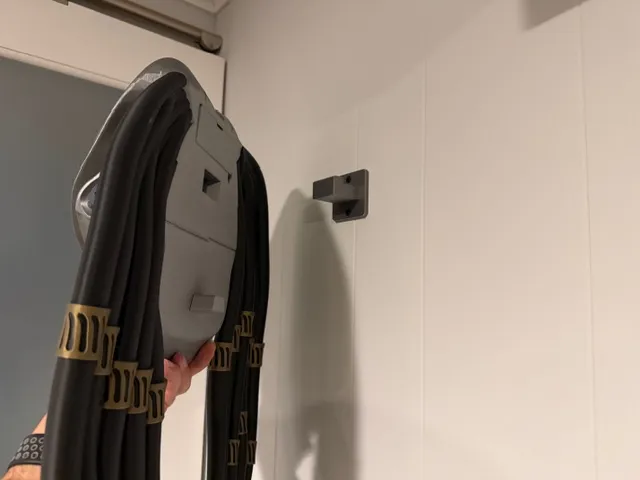
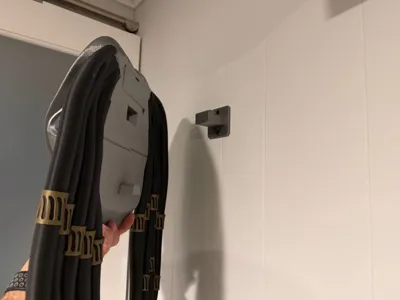
When you hang the helmet onto the wall mount, you'll see I designed it so it would not fit flush against the wall. This was done on purpose so the hair braids looked more realistic and not cut flat on the back side. There is a small lower standoff part that fits into the pocket on the back side of the lower helmet half. I modeled an arrow on the standoff part. The arrow points up (this part has a slight angle to match the plane of the wall mount so be sure to install this part with the arrow pointing up). Press the standoff into the pocket. You probably won't need to glue it in place.
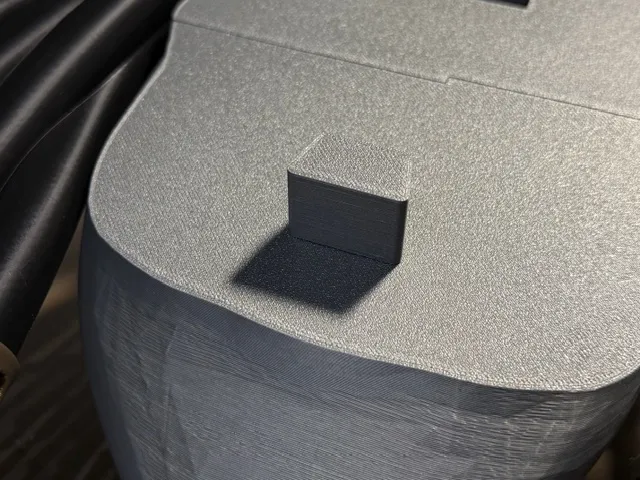
Test fit the helmet onto the wall mount. The wall mount fits into the pocket on the helmet, then the helmet slides down onto the wall mount which will basically lock it into place. To remove the helmet from the wall, lift the helmet up about 3/8" (10mm), then pull it off the wall mount.
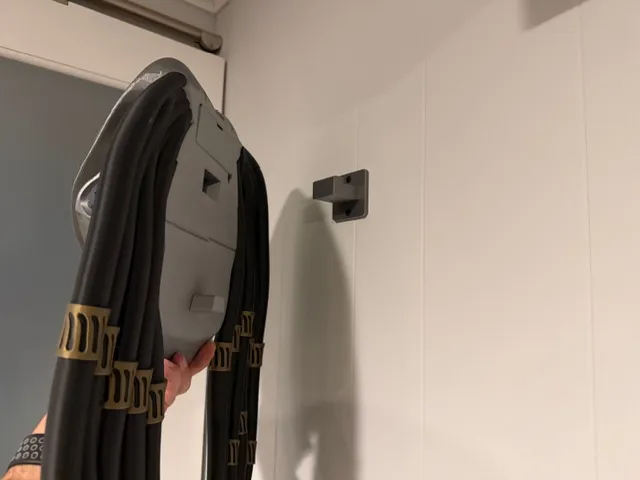
Well, congrats on your printing and assembly! I hope it looks amazing hanging on your wall! If you did something cool with LED lights like motion activated or hard wired to something else, please send a picture for inspiration!
Now for the part of asking for support- if you like this model and you think my talent is worthy enough to grace your home on display, please show your appreciation with a comment and photo of the finished work, and better yet, send a boost my way! Every little bit helps to support the creators on Makerworld!
Boost Me (for free)
Please send a boost if you like this Predator helmet! They are free to send and the creators greatly appreciate it!
License

You shall not share, sub-license, sell, rent, host, transfer, or distribute in any way the digital or 3D printed versions of this object, nor any other derivative work of this object in its digital or physical format (including - but not limited to - remixes of this object, and hosting on other digital platforms). The objects may not be used without permission in any way whatsoever in which you charge money, or collect fees.


Comment & Rating (23)