Volvo 240 Dashboard Gauge Holder


Print Profile(2)

Description
Boost Me (for free)
If you’re interested in practical accessories and custom parts for classic Volvos - especially the 200 series - please consider boosting this model.
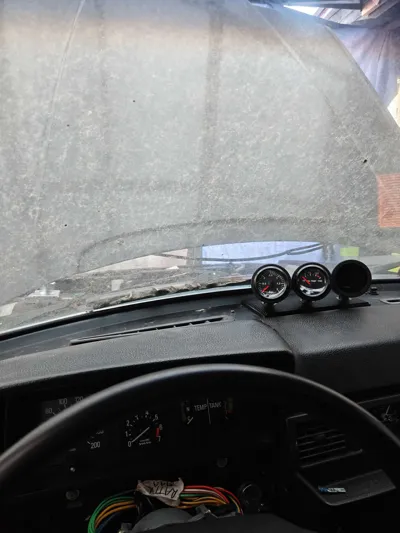
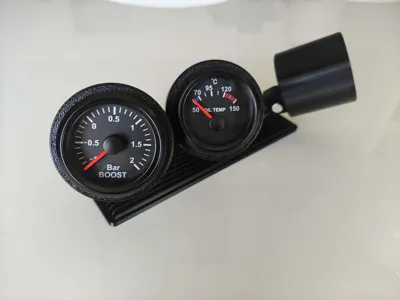
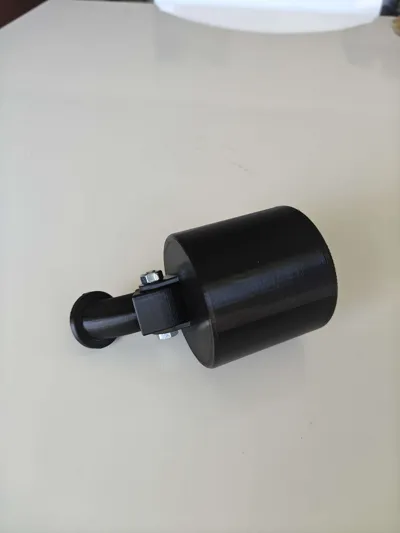
Upgrade your Volvo's interior with this custom triple gauge pod, designed to replace the original speaker or air vent grille (based on OEM part 1307095). This model allows you to seamlessly integrate three 52mm (2 1/16") gauges while maintaining a factory-clean look.
Perfect Fit for 52mm Gauges: Specifically designed and tested with Biltema 52mm gauges.
OEM Aesthetics: The outer frame and finish are modeled to match the original Volvo interior styling.
Direct OEM Replacement: No cutting or drilling required! This pod mounts directly into the original grille's location using the same attachment points. Your dashboard remains 100% reversible to stock.
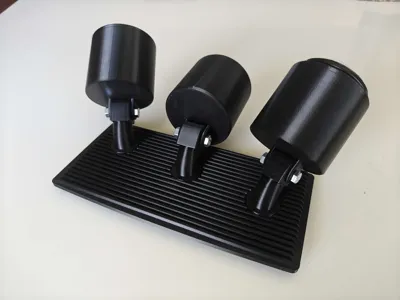
Fully Adjustable Viewing Angles: Unlike static pods, this design allows you to tilt the gauges up, down, or sideways. This ensures perfect visibility from the driver's seat, regardless of your height or seating position.
Integrated Cable Management: The internal structure is designed to hide all wiring inside the unit.
Use PETG at a minimum for its decent heat resistance. Avoid PLA, as it will likely warp or sag in a hot car during summer.
Installation:
- Remove the OEM Grille: Carefully pop out the original Volvo grille from your dashboard.
- Mount the New Grille: Place your 3D-printed grille into the dashboard opening and secure it using the separate mounting pins.
- Attach the Gauge Arms: Secure the gauge mounting arms onto the grille.
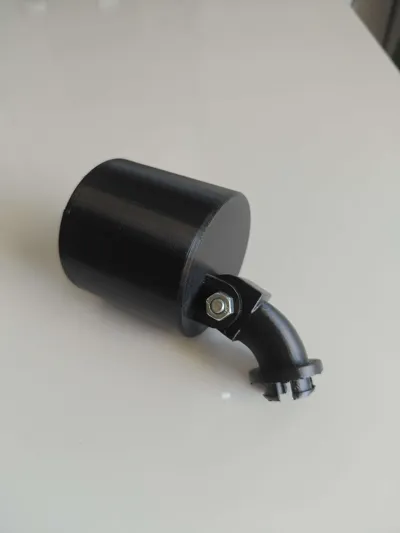
Assemble the Pods: Attach the gauge pods (housings) to the arms.
Note: You will need separate bolts and nuts for this step to allow for the tilting/swivel function.
- Route the Cables: Thread your gauge cables through the openings in the grille and up through the mounting arms.
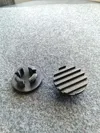
- Prepare the Gauges: Fit each gauge into its printed mounting ring.
- Connect & Finalize: Plug the cables into the back of your gauges. Then, simply press-fit the gauge and ring assembly into the pods for a clean finish.
Also added blanking plate profile if are not using all three gauge spots.
License
You may create derivative works based on this object, provided that all such derivative works are published exclusively on the MakerWorld platform and include proper attribution to the original creator. You may not share, upload, host, distribute, or publish this object—or any derivative work of this object—on any other digital platform, marketplace, or distribution channel. Commercial use of this object and any derivative works is strictly prohibited. This includes, but is not limited to, selling, renting, sublicensing, or using the object in any context in which you receive monetary compensation or other financial benefits.
Comment & Rating (0)