Adattatore Faro LED Vespa PX LED Headlight Adapter


Print Profile(1)

Description
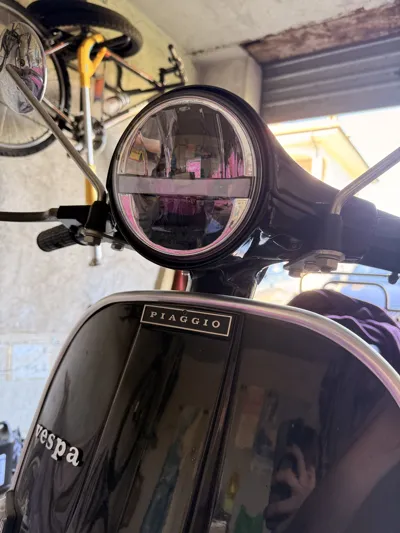
Bring your Vespa PX into the future with modern, safe, and approved LED lighting! 🛵💡
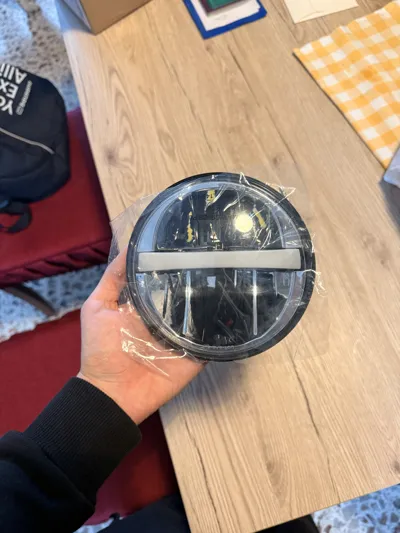
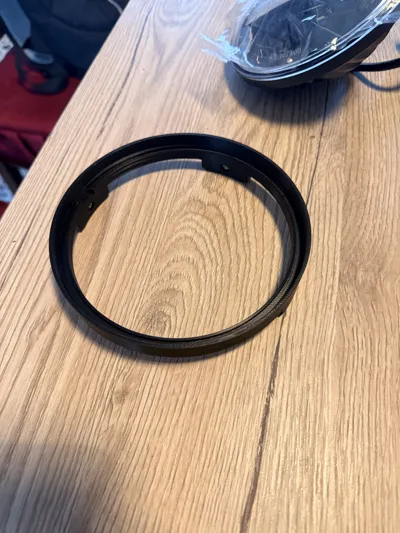
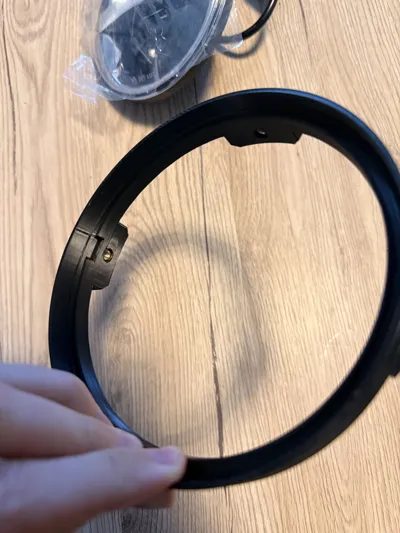
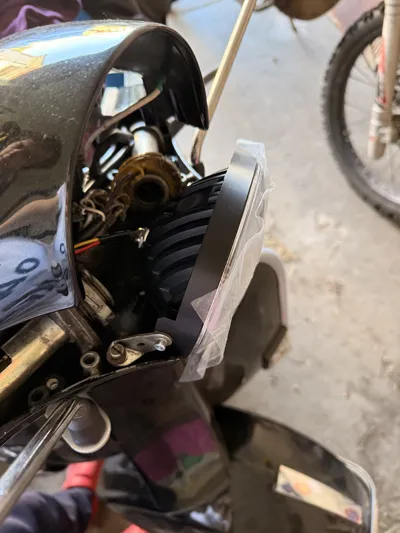
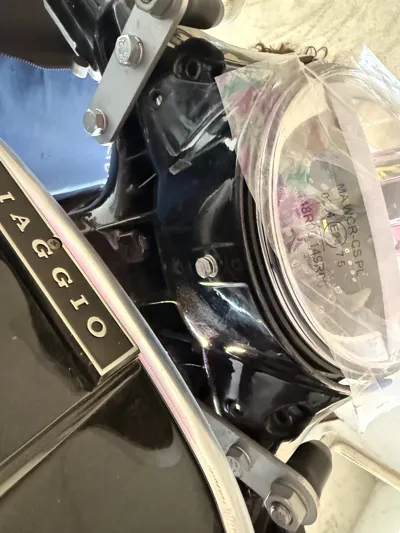
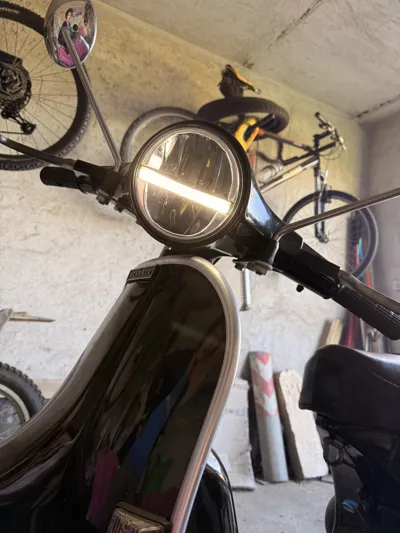
This 3D Printed adapter allows you to easily install an aftermarket LED headlight ("Vespa Classic" type model) inside your Vespa PX's original fairing, keeping the scooter's classic aesthetic intact.
Specifically designed for Vespa PX 1st series (1977-1983) models and also compatible with PX Arcobaleno.
🌟 Highlights of this mod:
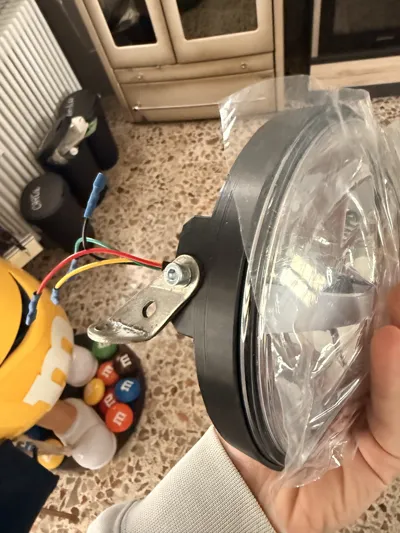
- 100% Reversible: You don't need to permanently cut plastics or wires. If you want to remount the original SIEM halogen headlight in the future, you just need to put the rivets back on the supports.
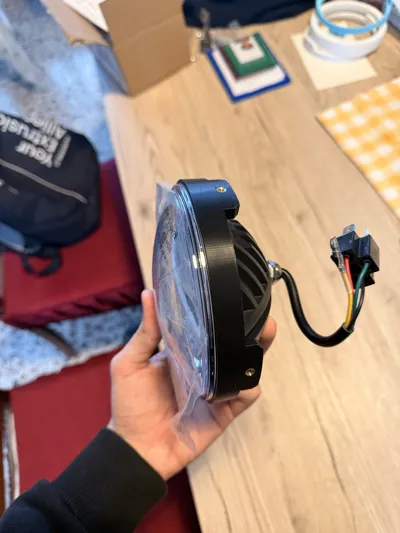
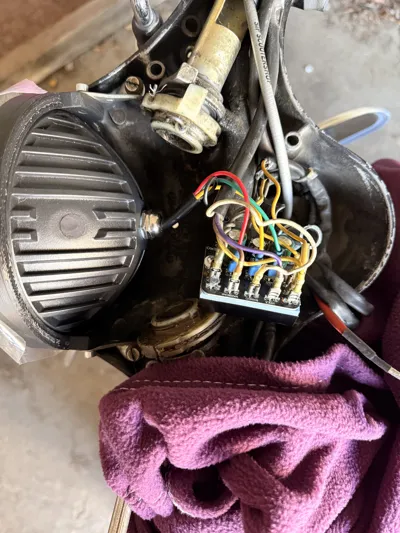
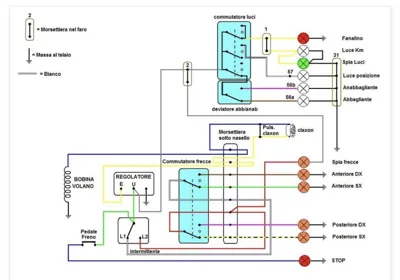
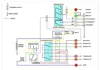
- Plug & Play: Thanks to the converter (for versions without a battery), the Vespa's original electrical system remains unaltered.
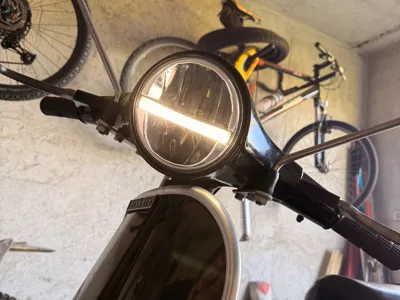
- Maximum Performance: Significantly superior night visibility compared to the original headlight, for safe travel.
⚙️ Bill of Materials (BOM - Required Material)
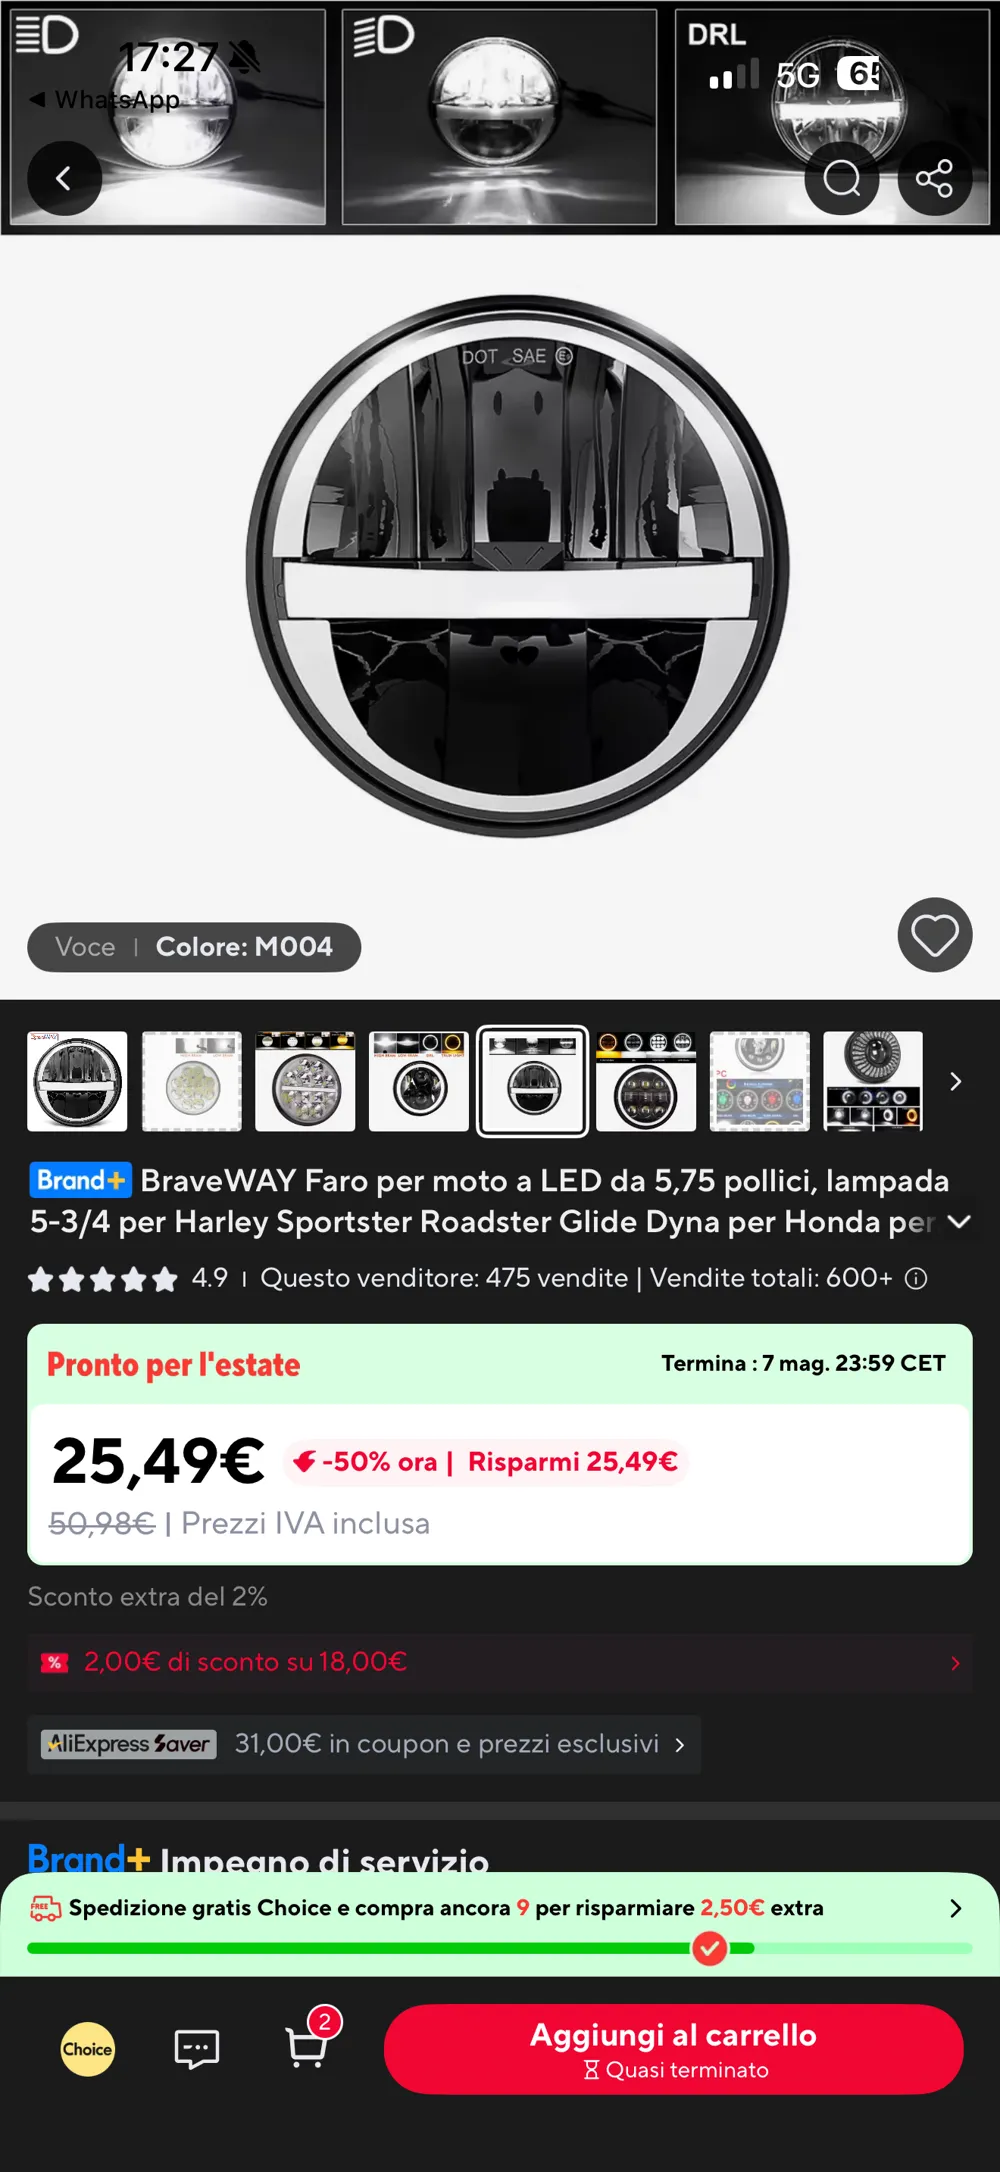
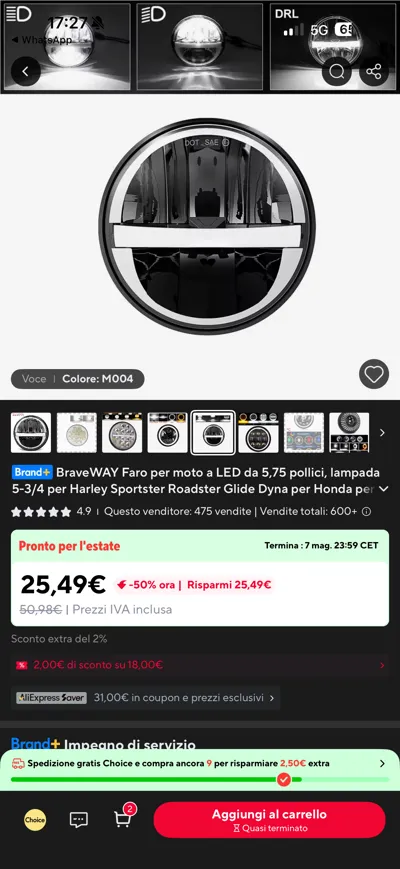
- Approved LED Headlight: Available on AliExpress or as "Vespa Classic" on RDV Scooter Shop.
- 12V AC/DC Converter: Essential for AC models. Find a tested model on RicambiMoto2000. (Note: Not necessary for Elestart versions with battery or PX converted to DC).
- Hardware: 3x M4 Bushings (inserts), 3x M4 Screws.
- Security: M4 grower washers, Nord-Lock or threadlocker to counteract vibrations.
- Assembly: Saratoga transparent universal silicone for gluing and sealing the headlight to the adapter.
🖨️ 3D Printing Tips
- Material: Highly recommended PETG, ASA. Avoid PLA, as the headlight is exposed outside, under summer sun and near components that can get hot.
- Infill: 25-30% to ensure structural rigidity.
- Walls: At least 3 or 4 to provide solidity to the holes where the M4 bushings will be inserted.
👇 Scroll down to read the complete step-by-step Assembly and Wiring Guide!
Documentation (5)

License
You shall not share, sub-license, sell, rent, host, transfer, or distribute in any way the digital or 3D printed versions of this object, nor any other derivative work of this object in its digital or physical format (including - but not limited to - remixes of this object, and hosting on other digital platforms). The objects may not be used without permission in any way whatsoever in which you charge money, or collect fees.
Comment & Rating (0)