
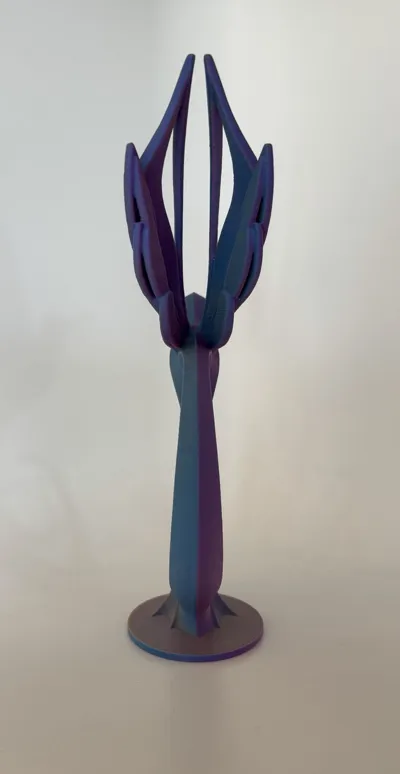
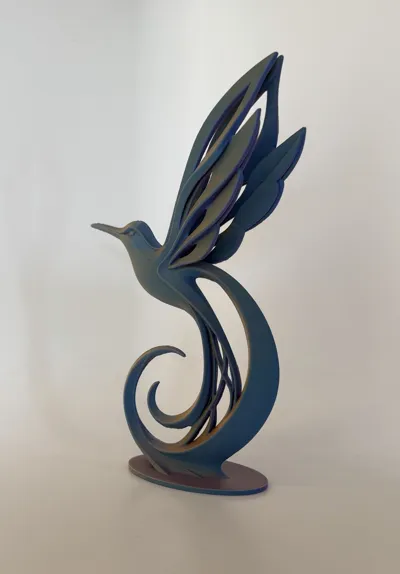
Print Profile(2)
Bill of Materials
Description
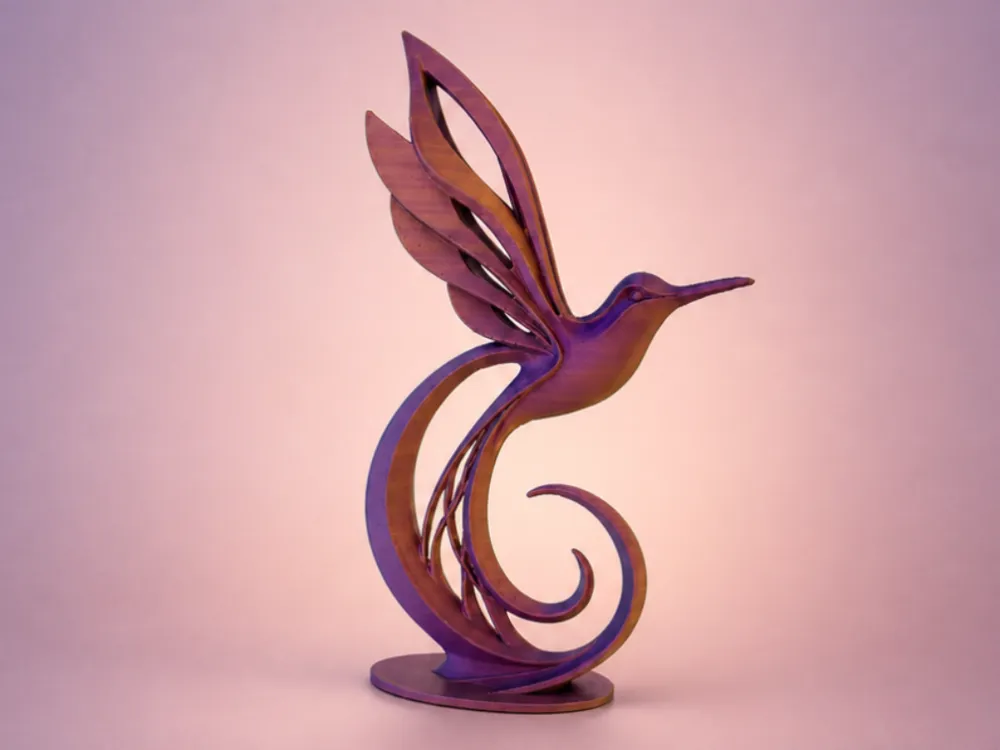
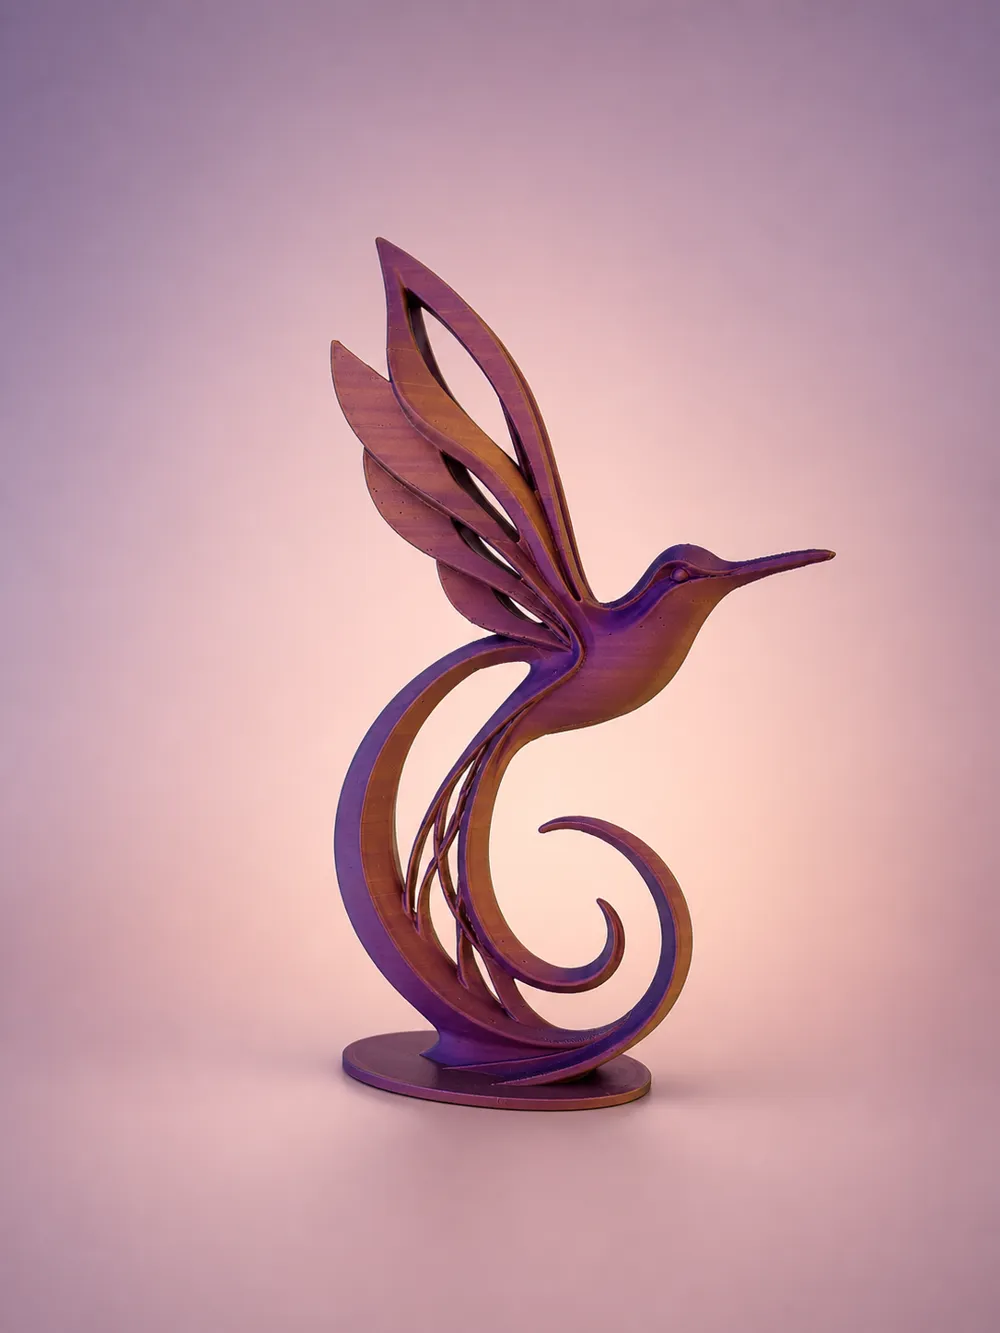
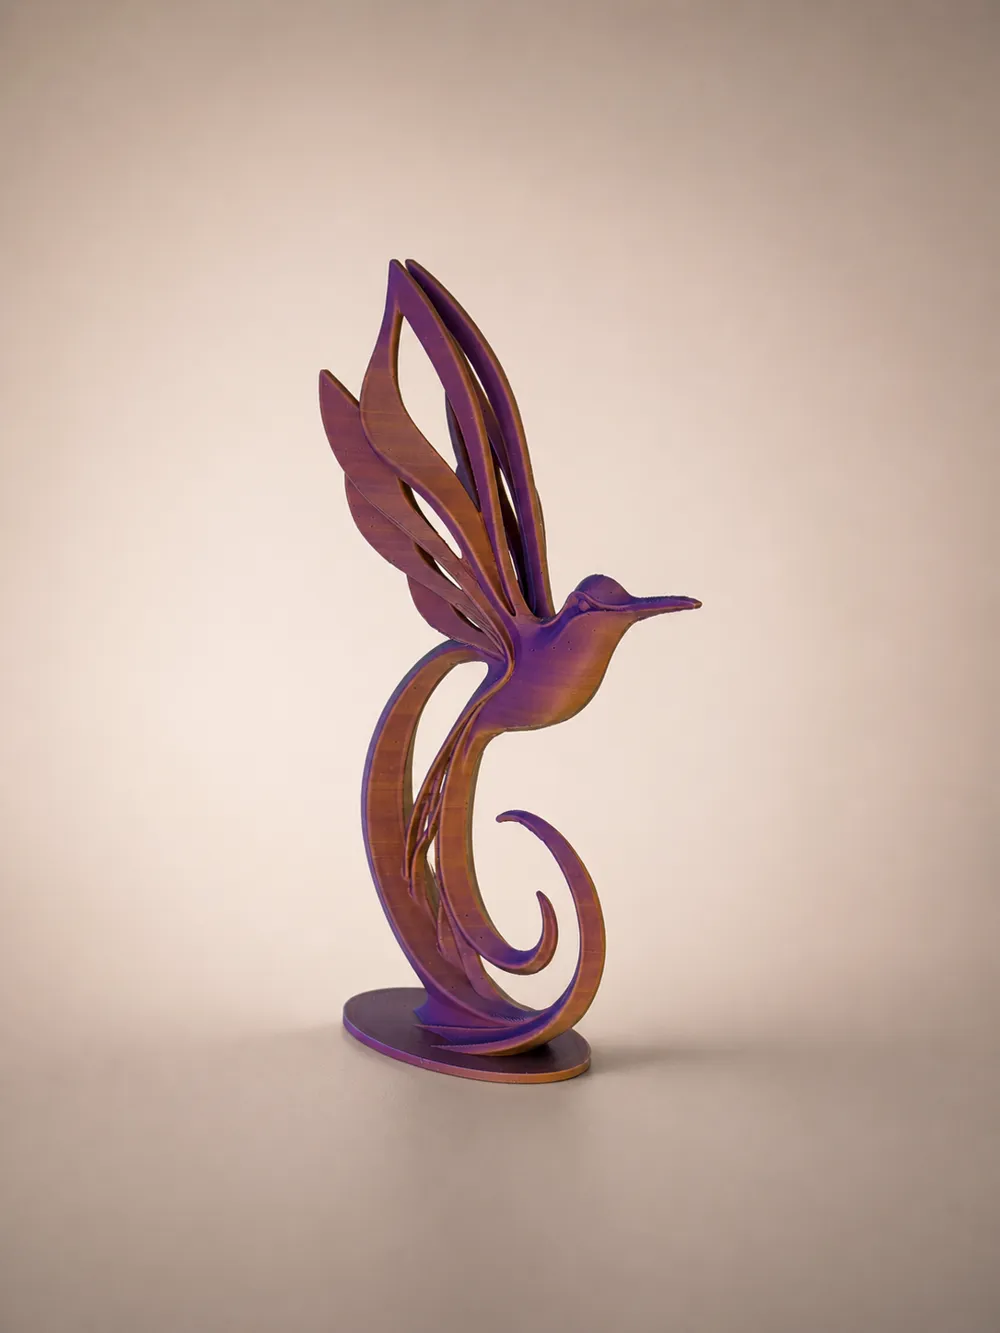
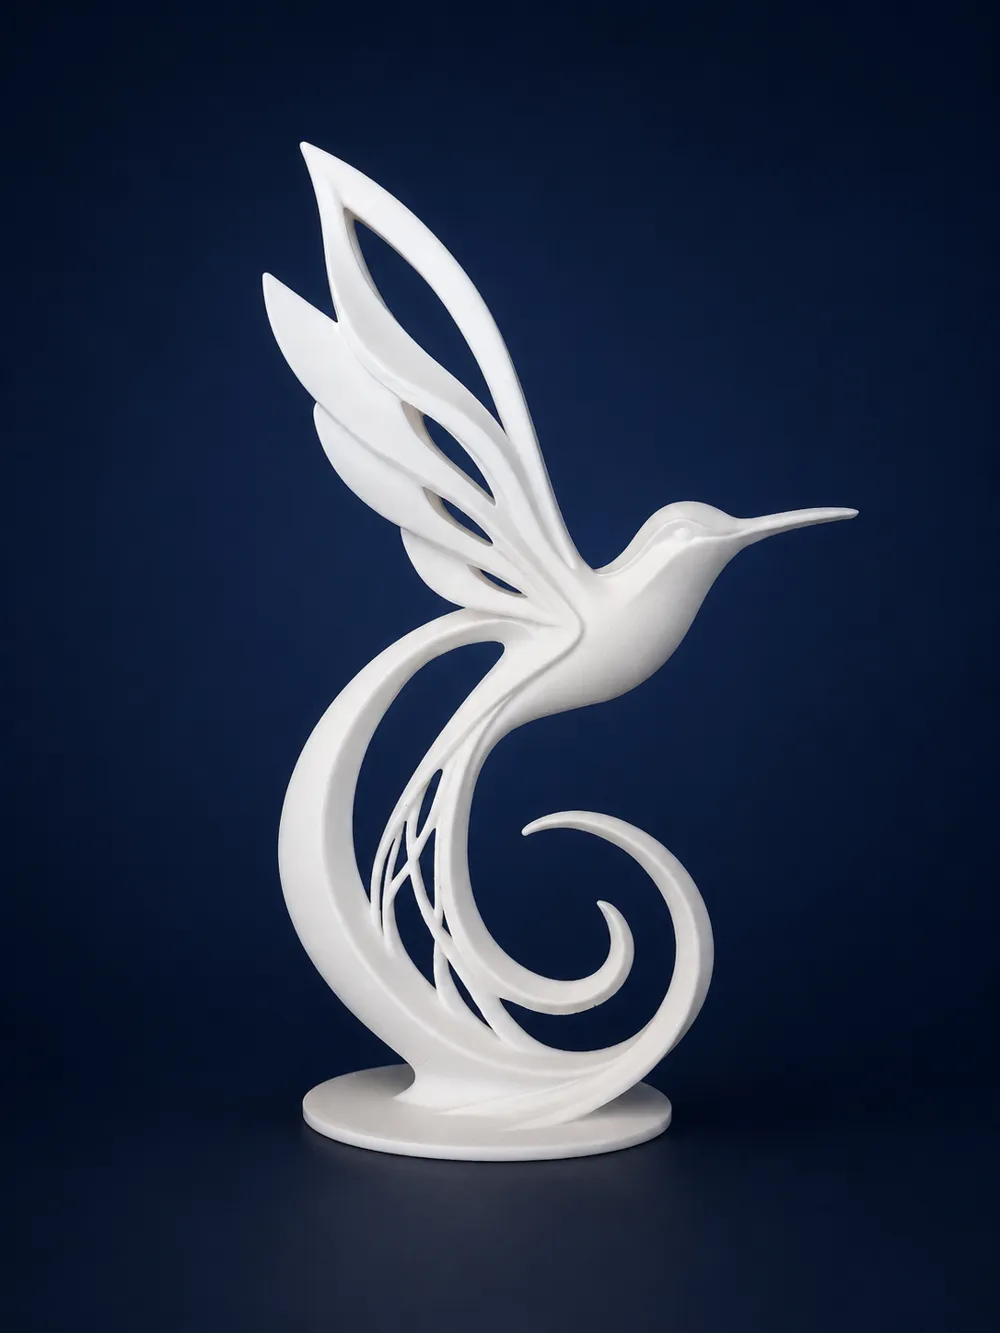
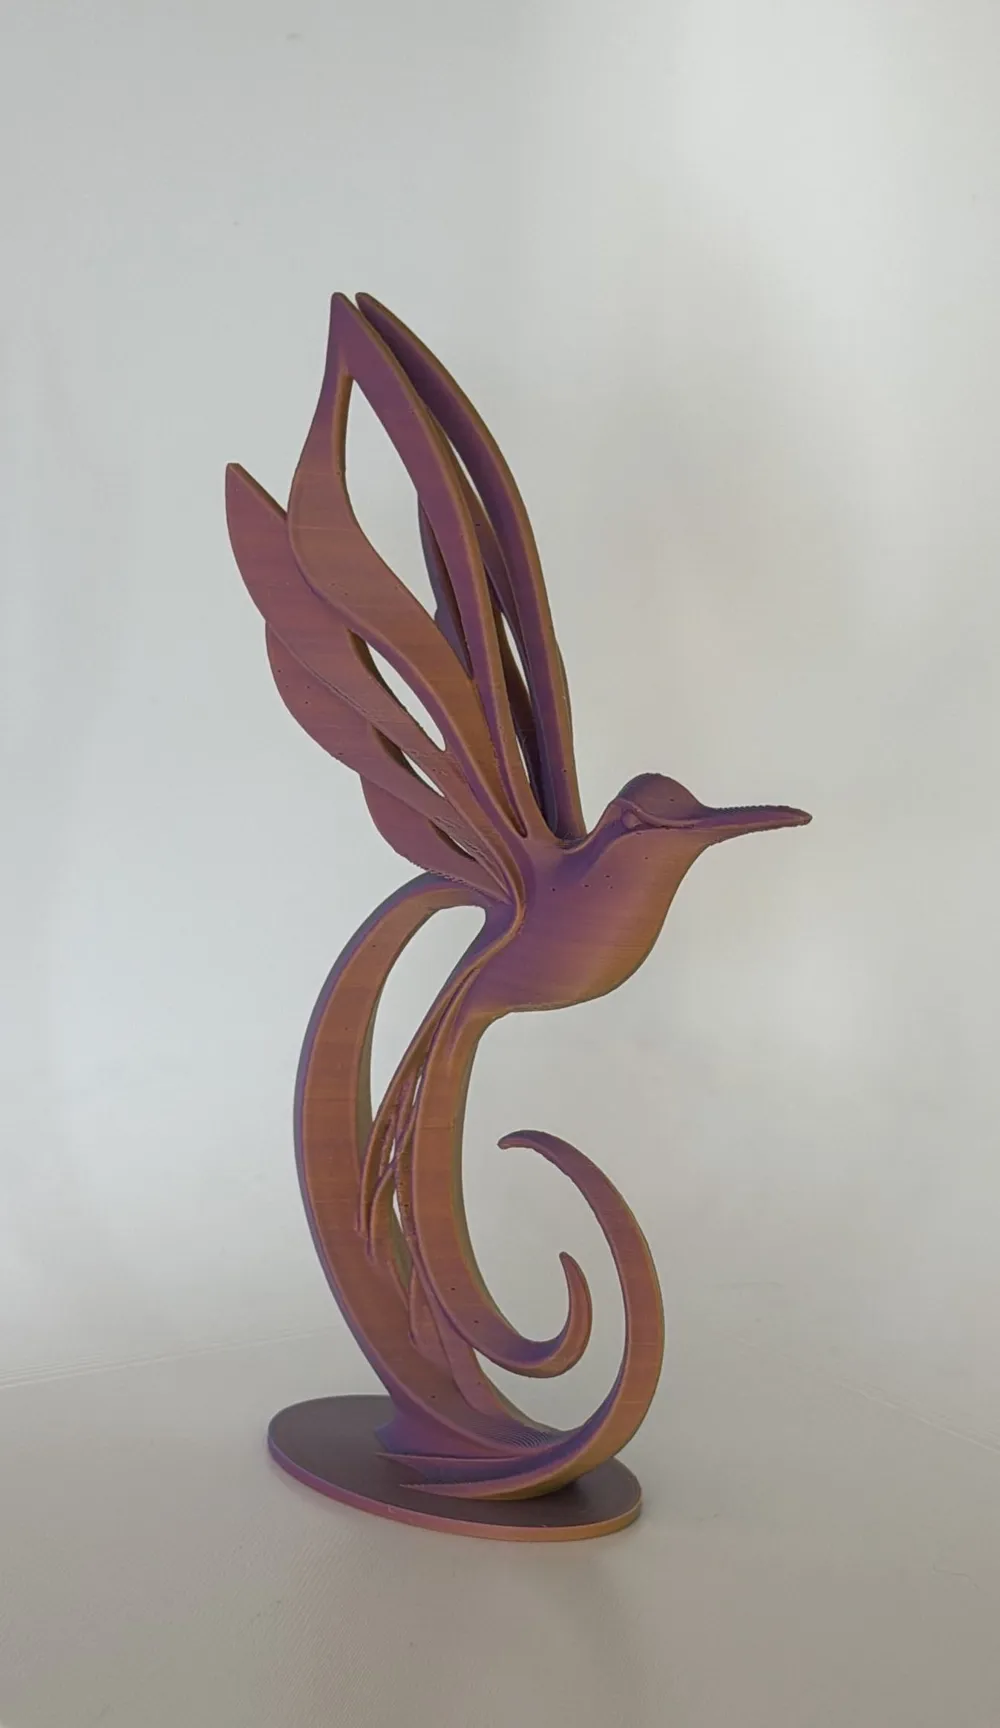
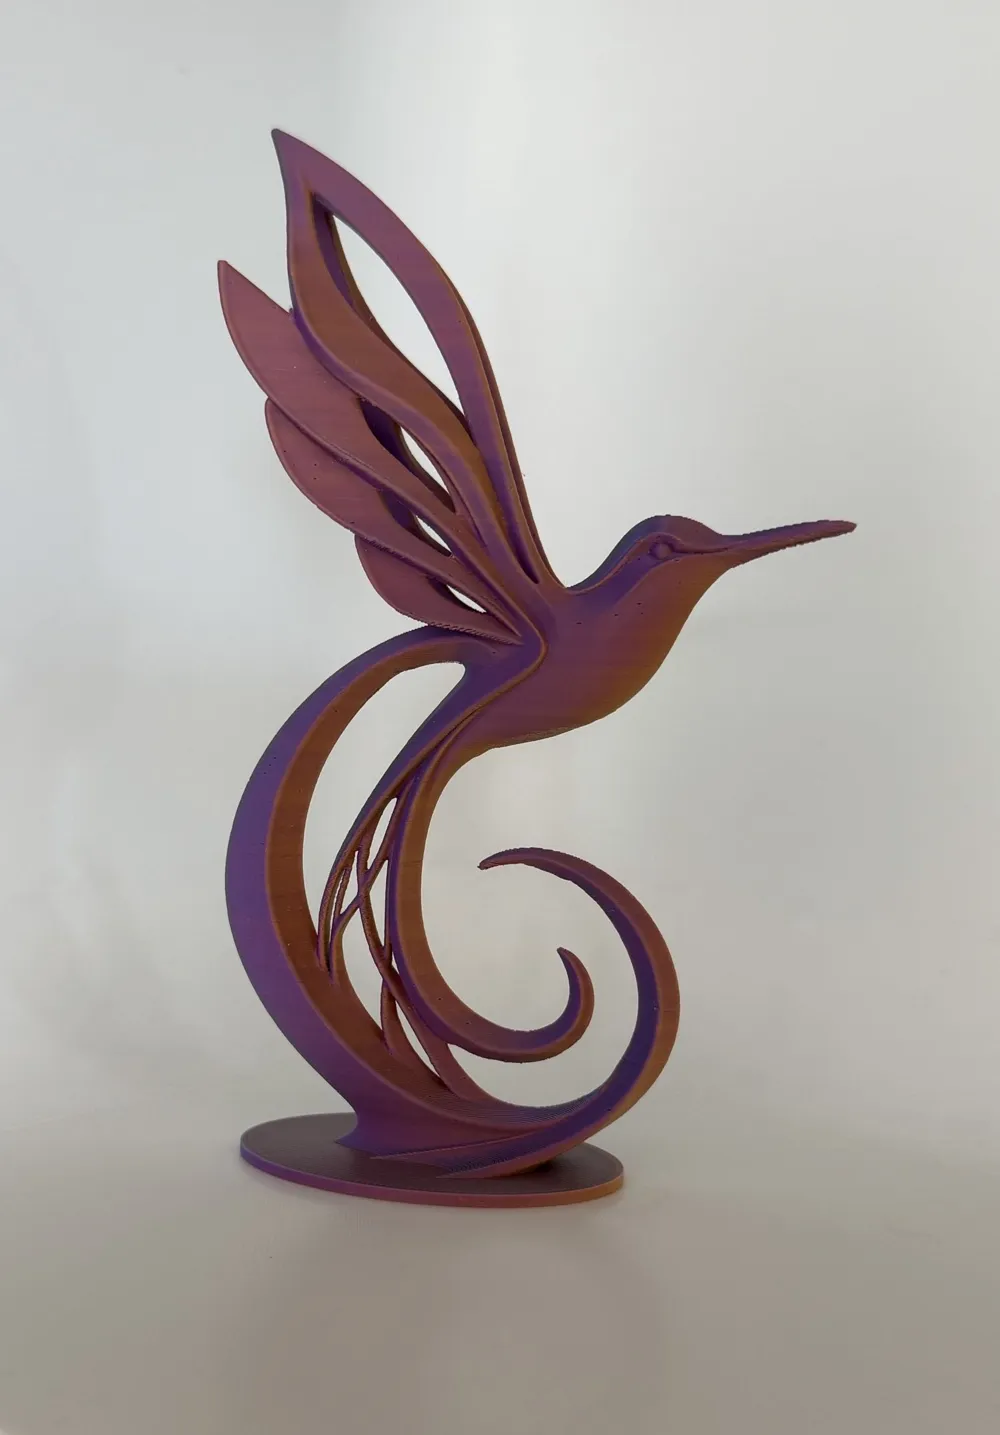
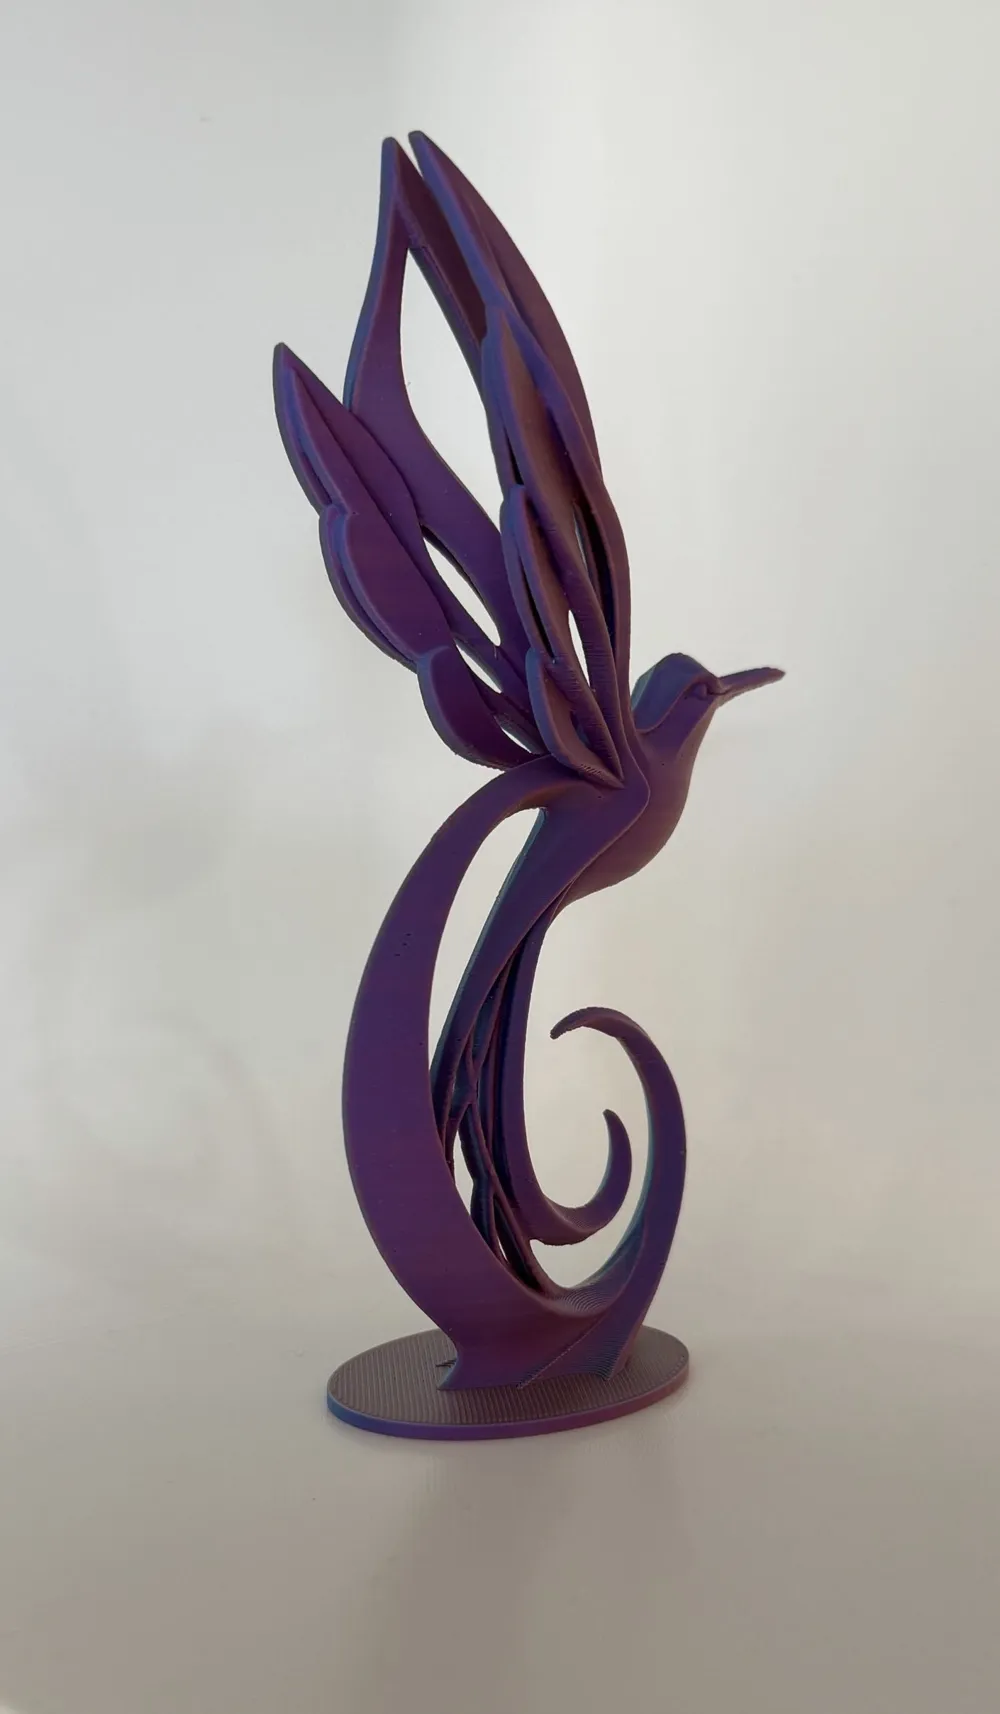
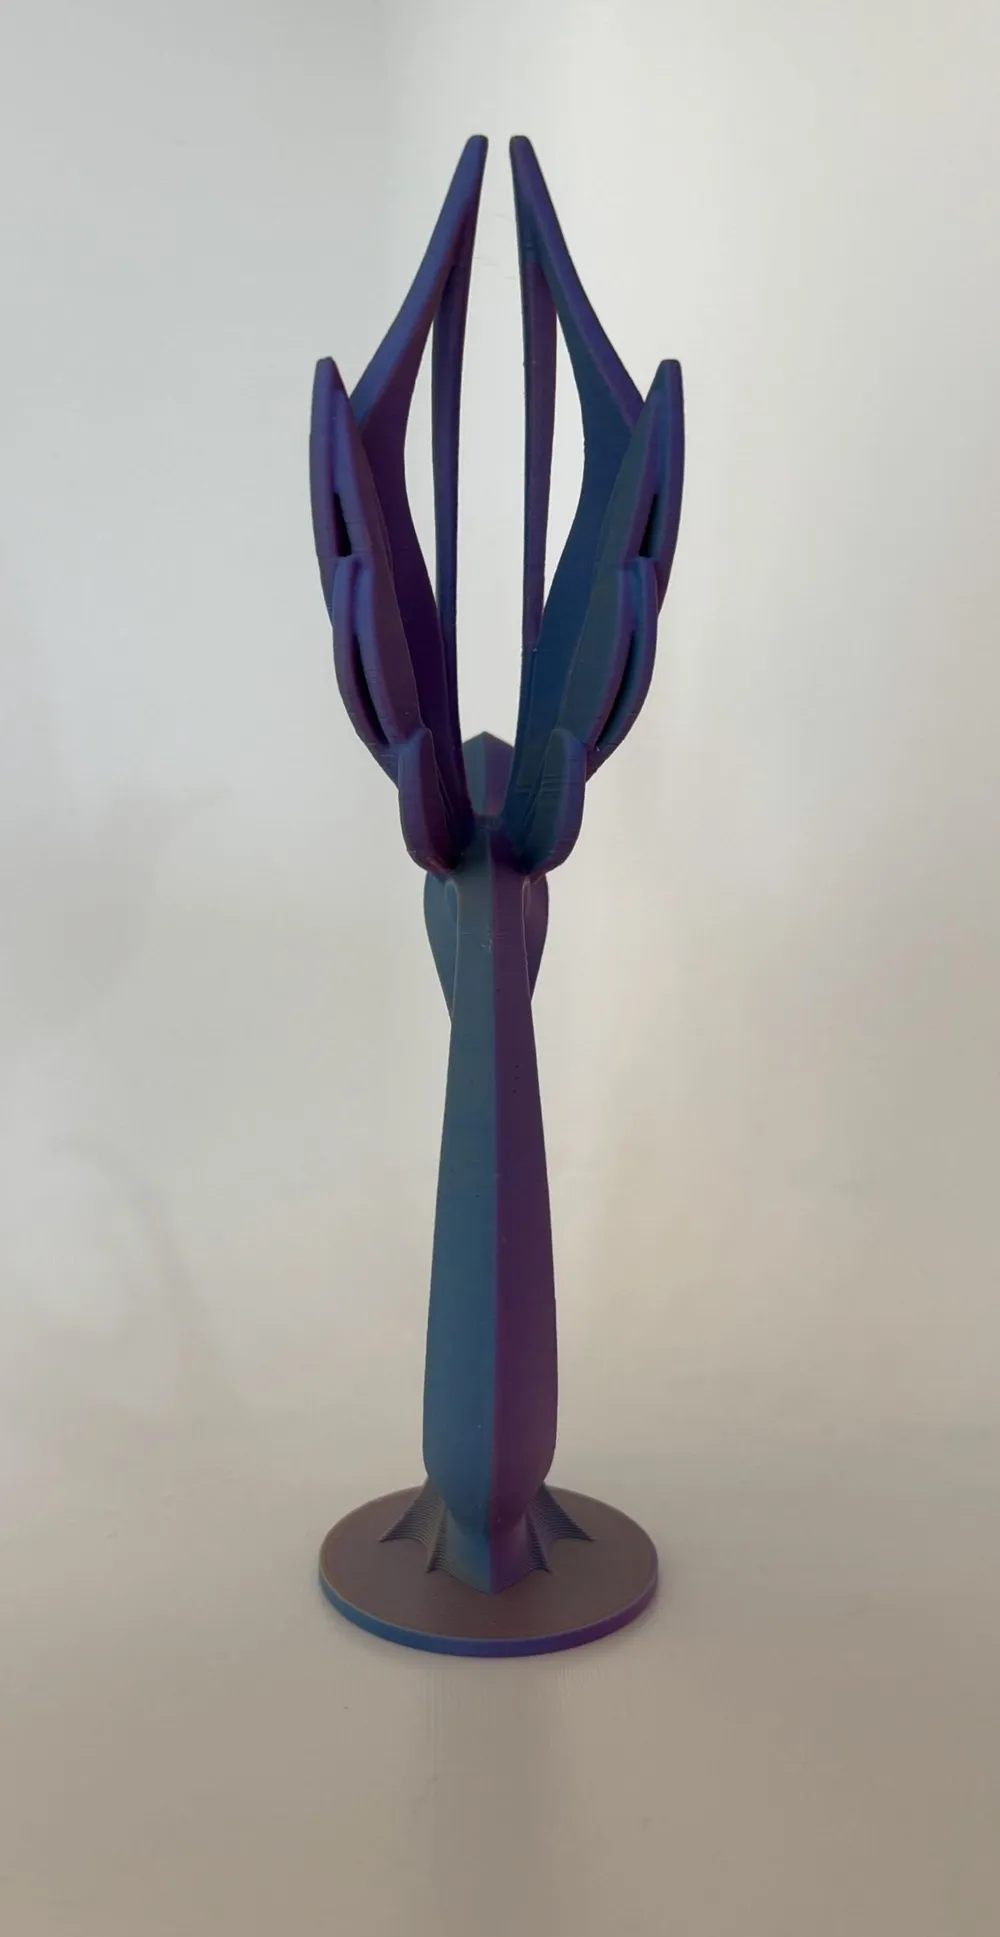
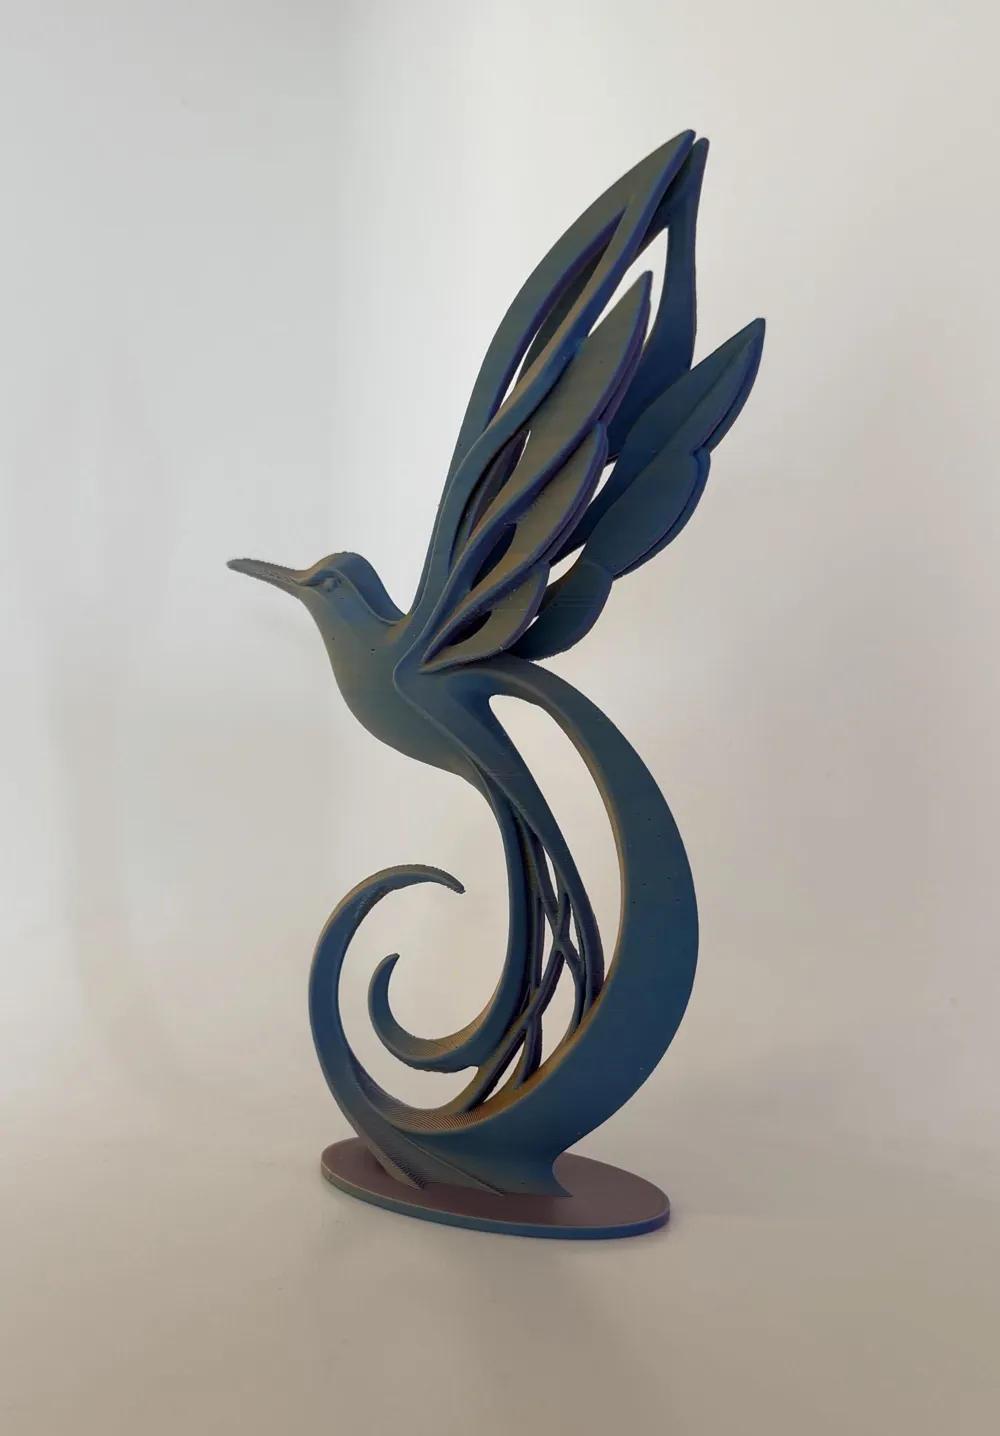
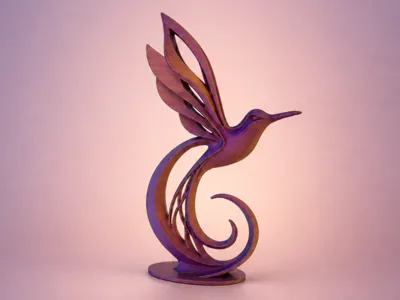
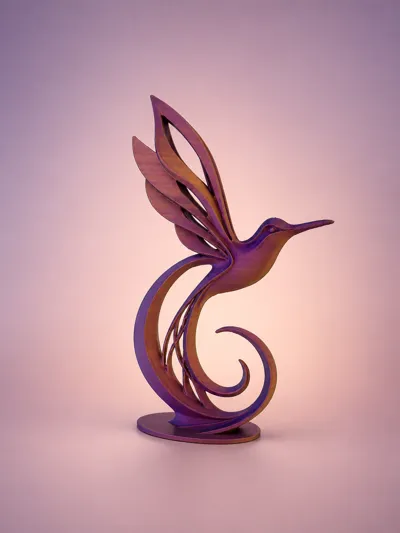
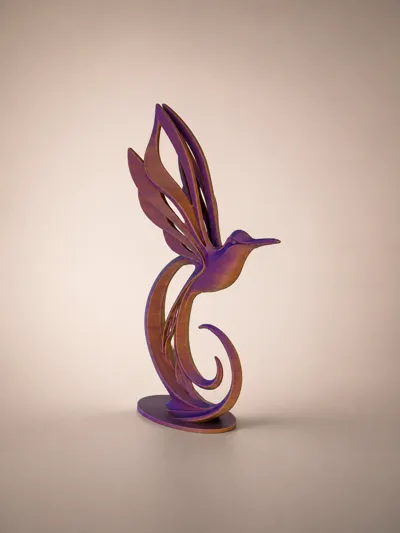
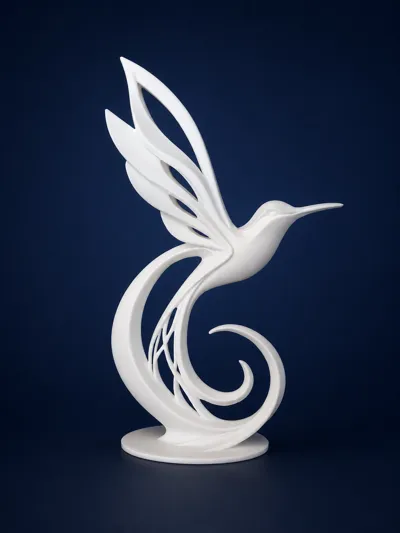
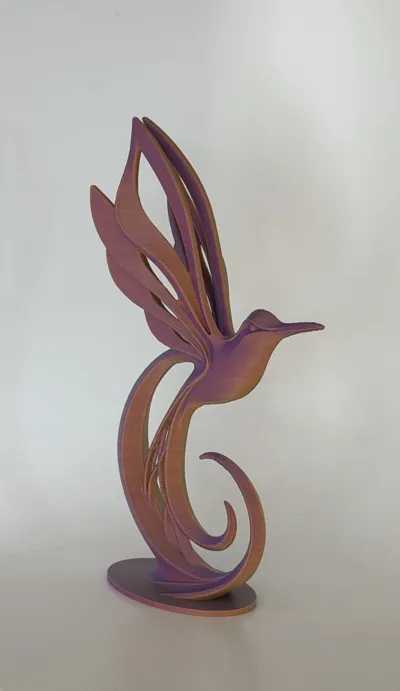
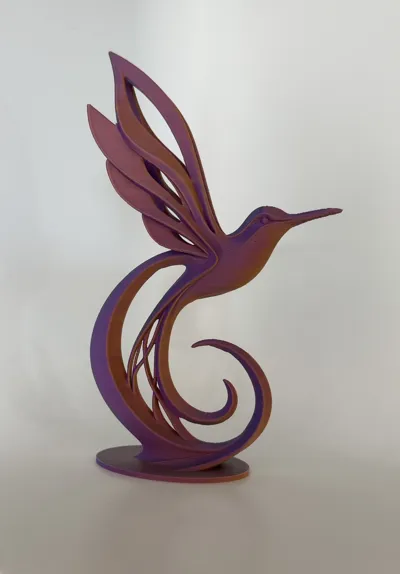
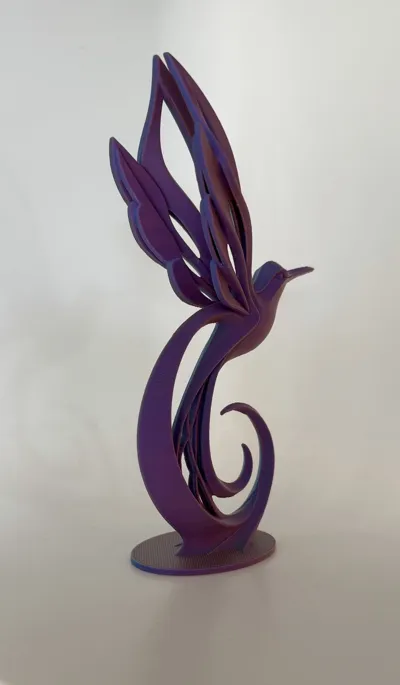
A sleek and elegant take on the hummingbird, this modern sculpture captures motion, balance, and light in a flowing, minimalist form. Designed with smooth curves and open lines, it creates a striking visual whether displayed on a desk, shelf, or as part of a larger decor setup.
For more modern minimalistic home decor, go here: https://makerworld.com/en/collections/21918876-modern-home-decor
Filament used:
Purple Sunset (Matte Multicolor) - ZIRO PLA Filament 1.75mm: https://www.amazon.com/dp/B0CZ42KM1W?ref_=ppx_hzsearch_conn_dt_b_fed_asin_title_3&th=1
Matte Ivory White (11100) - Bambu: https://us.store.bambulab.com/products/pla-matte?id=41078280159368
Printing:
- Current height is ~15cm, can be resized but don't go below 10cm in height as the finer details might not form correctly.
- Use a clean print plate with some glue (unless you are using a super tack plate)
- Use dried out filament.
- (Different filament types impact the print differently, please adjust your settings accordingly.)
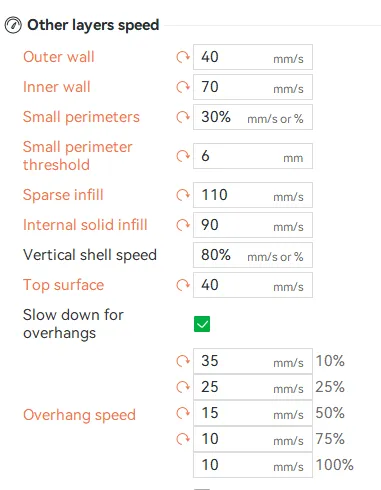
- If printing with Silk PLA please adjust your Other Layer speed settings to a lower speed. Example:
- Support is needed. Please keep the positioning and the support settings as is as the settings have been adjusted to minimize scaring and proper printing.
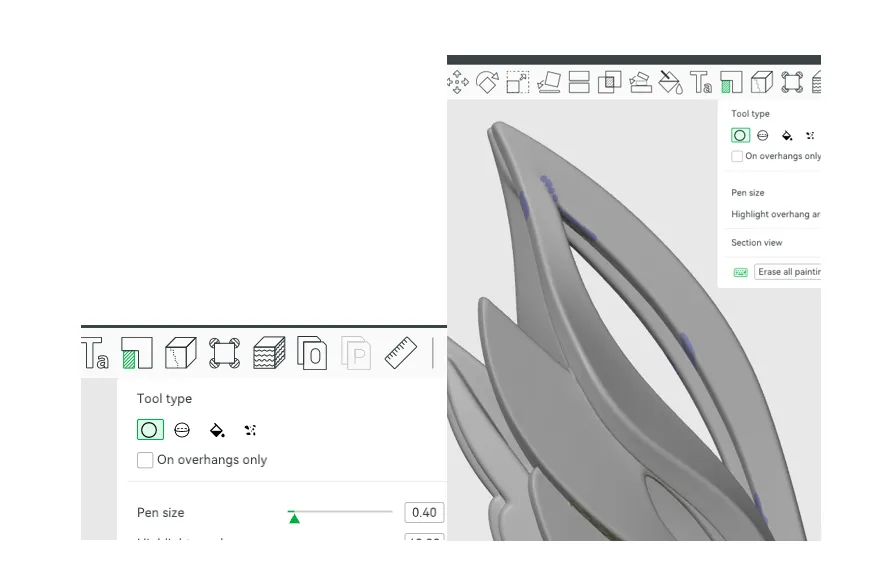
- * A1 mini printers might need additional support on the upper wings - I do recommend to manual paint extra support and to position the hummingbird so it follows the direction of the back and forth movement. I have never printed on a A1 Mini printer so if someone have other print setting recommendations, please let me know!
Try with changing these settings:
1) Enable Avoid crossing walls.
2) Increase to 4 wall loops.
3) Rotate the sculpture on the A1 Mini so the bed movement acts along the direction of the wings and not sideways.
4) Manually paint a tree-support contact near the upper portion of each outer wing. (purple painted areas)
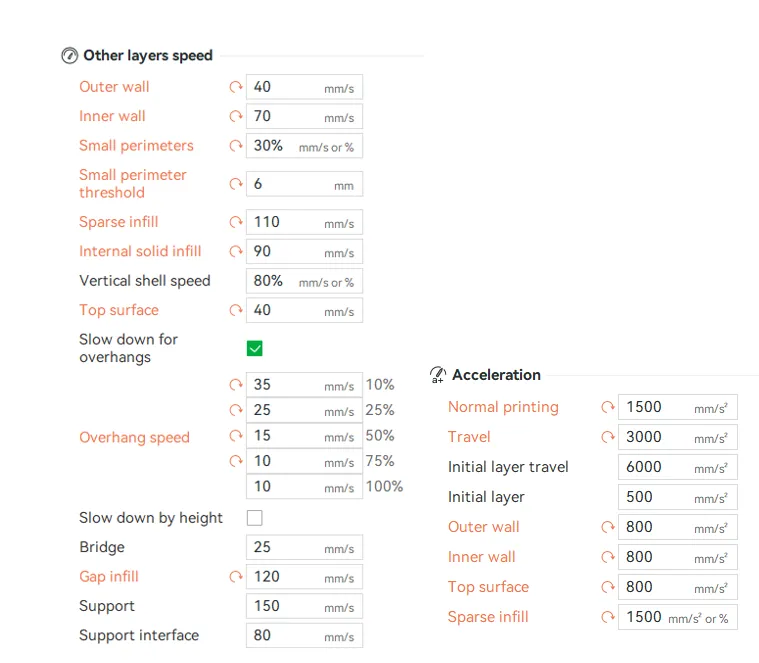
5) Change the layer speed, Overhang speed and acceleration speed. See image below (I have never printed on a A1 Mini printer so if someone have other print setting recommendations, please let me know!)
Support Removal:
- Let the model cool down before removing the supports.
- Use pliers when removing the supports.
- Start with breaking the support between the wings at the top, under the belly and the beak.
- Jump to the the arches at the bottom
- Gentle wiggle/remove the support, it should come of pretty easy.
- Light sanding and gentle heating might be needed. Different filaments impact this as well.
If you like this design, please leave a rating, a comment or a boost.
Boost Me (for free)
Caught your eye? Give it a boost!
License

You shall not share, sub-license, sell, rent, host, transfer, or distribute in any way the digital or 3D printed versions of this object, nor any other derivative work of this object in its digital or physical format (including - but not limited to - remixes of this object, and hosting on other digital platforms). The objects may not be used without permission in any way whatsoever in which you charge money, or collect fees.


Comment & Rating (74)