Search models, users, collections, and posts

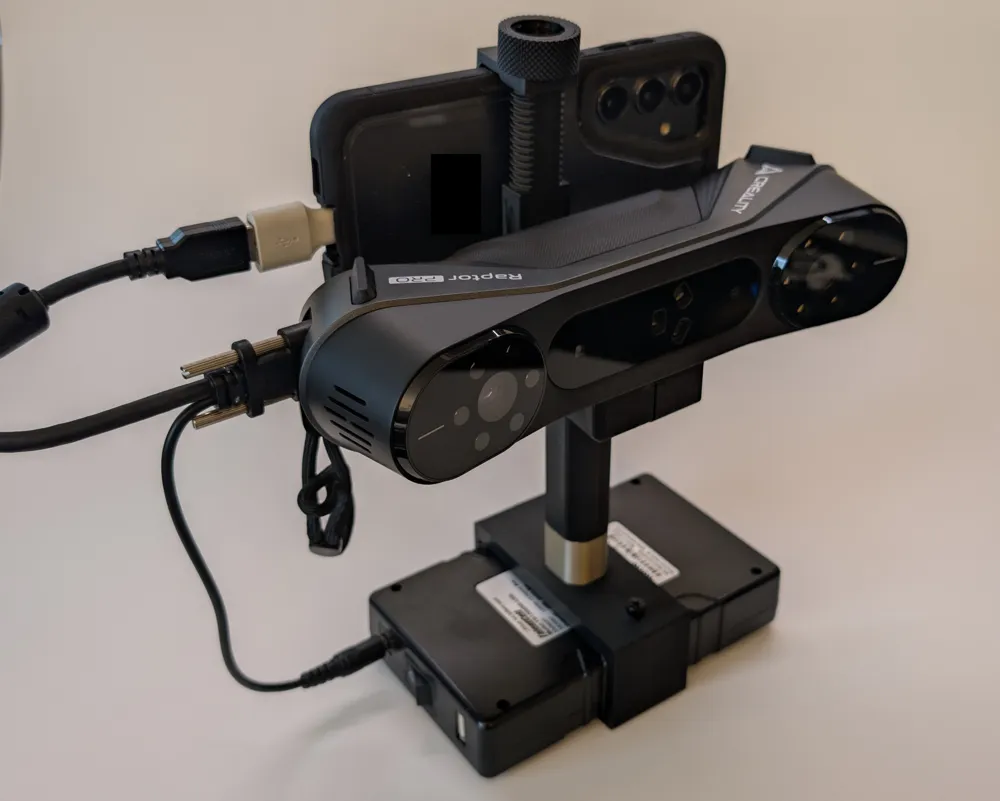
Creality Scan Raptor Pro(+more) battery handle
Print Profile(1)
All
P1S
P1P
X1
X1 Carbon
X1E

0.2mm layer, 4 walls, 25% infill
Designer
4.2 h
2 plates

Open in Bambu Studio
Boost
15
44
6
1
20
5
Released 

Description

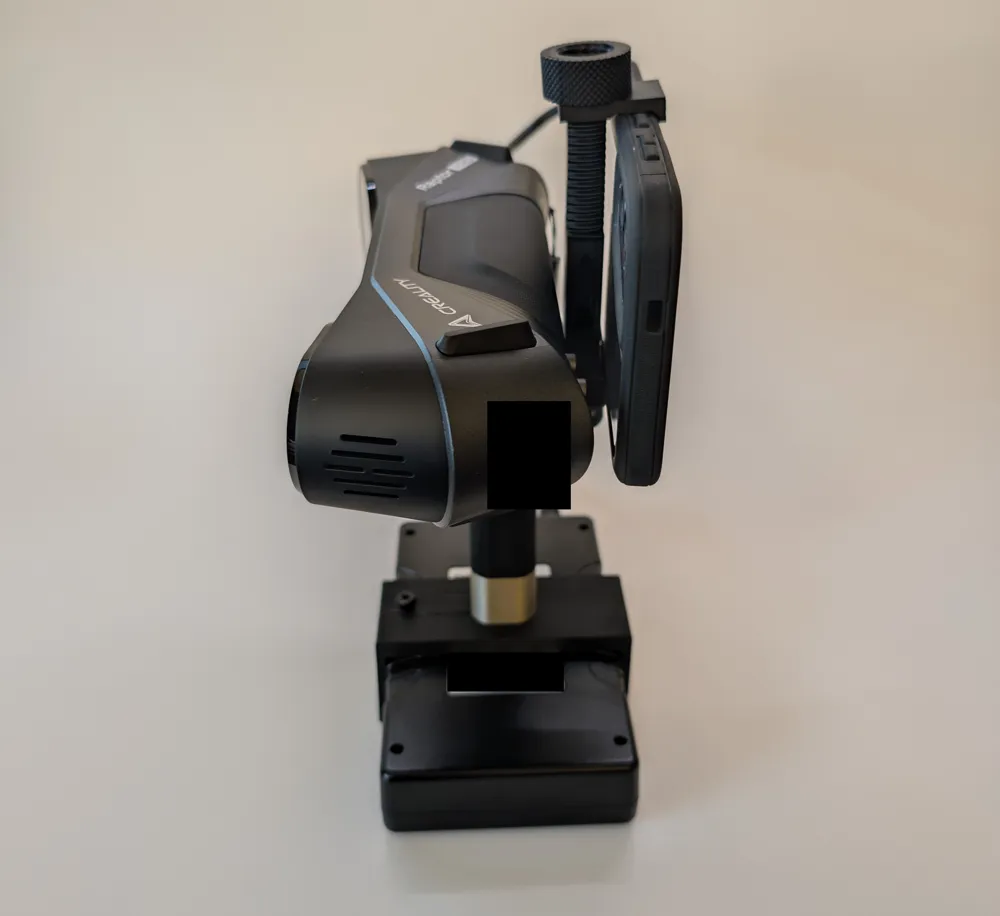
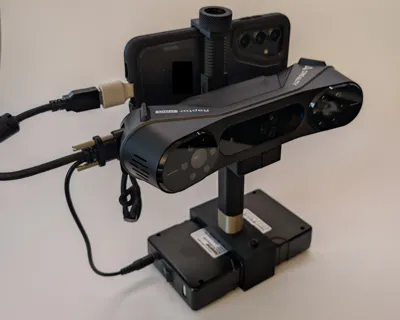
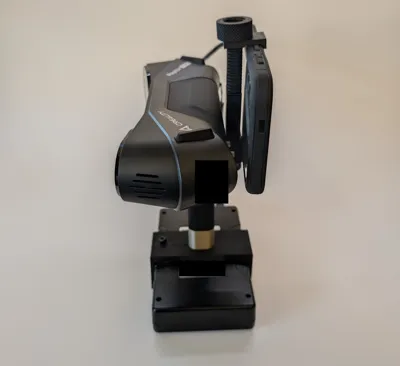
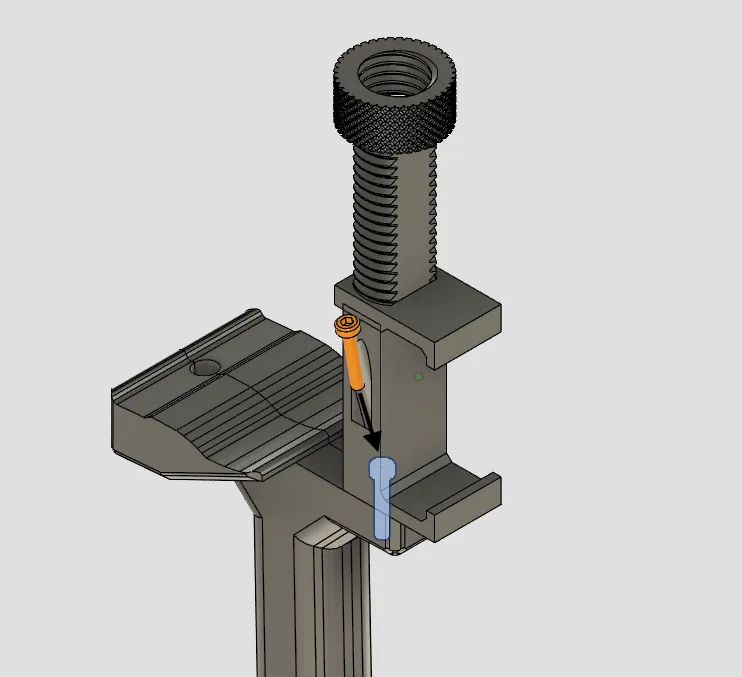
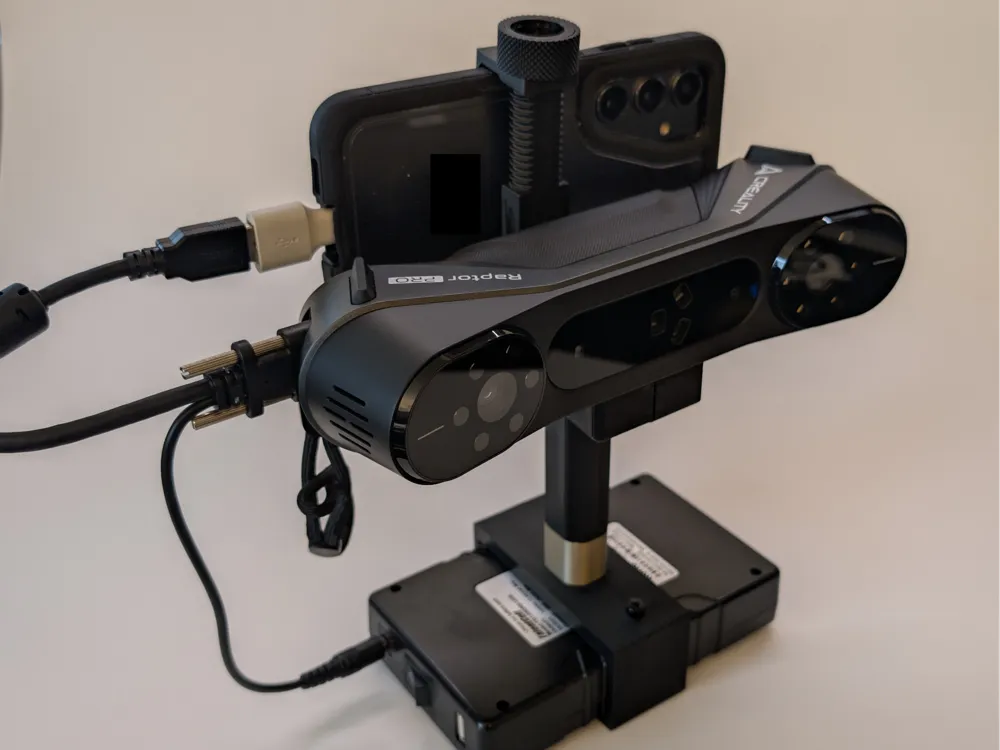
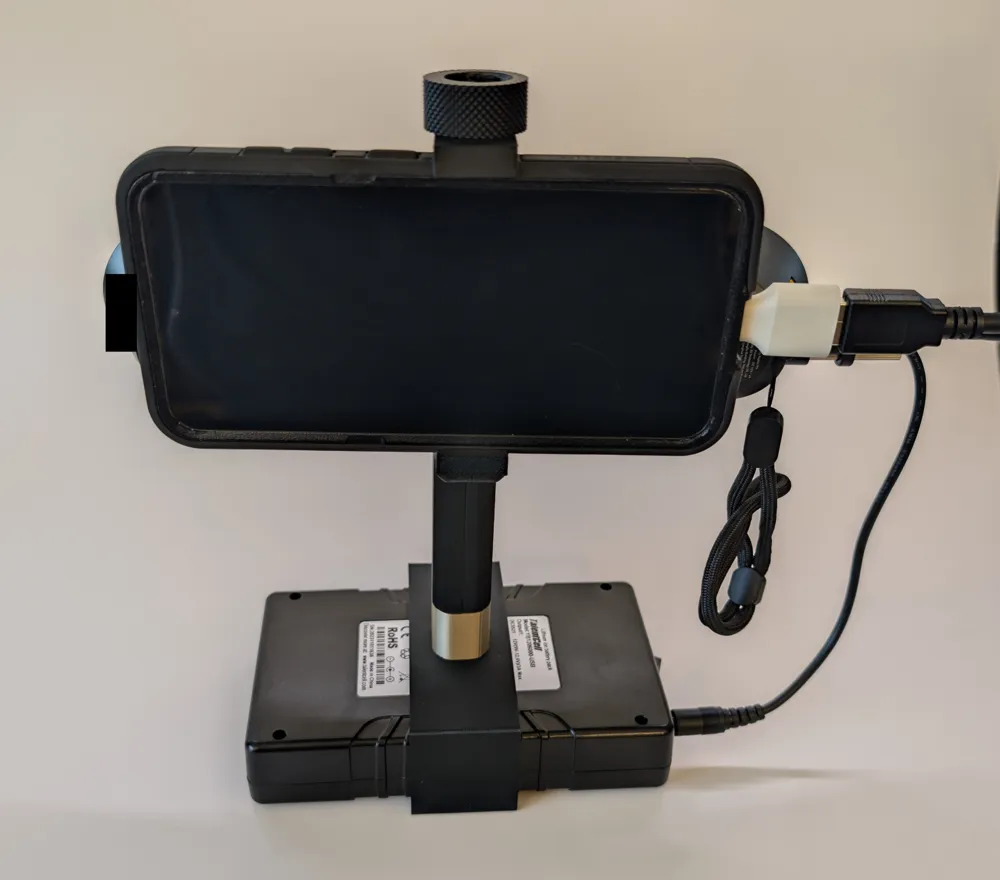
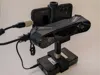
Simple handle I designed to hold my Raptor pro and phone together while scanning. I designed the phone mount specifically to fit my Pixel 9 XL + Spigen case, which is about 83mm tall when in landscape orientation. That is about the limit of the screw mechanism, if you need to mount a larger device I encourage you to design a custom mount. The mounting system is designed to be interchangeable and attaches using 2 heat set inserts.


BOM:

QTYPART
2M3x4x5 heat set insert
21/4-20 x 3/4 Inch BHCS
2M3x16 SHCS
1M4x12 bolt (BHCS ideal but it does not matter)
1Talentcell Rechargeable 12V 6000mAh/5V 12000mAh DC Output 
1Raptor Scan bridge cable

Assembly instructions:

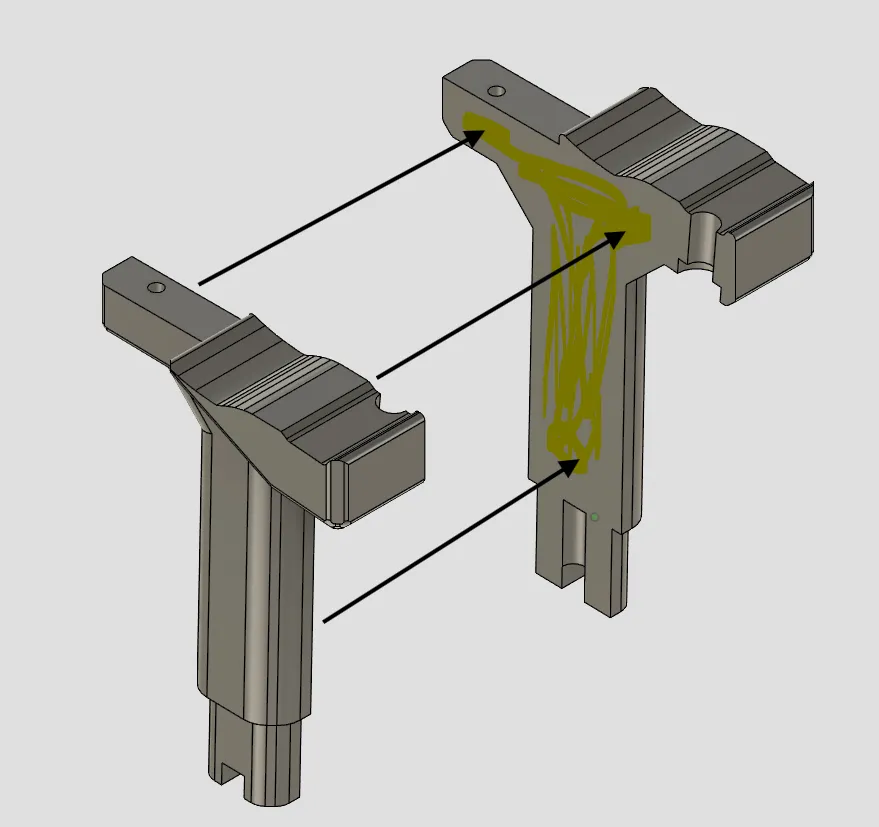
Apply thin film of super glue where yellow highlighter shows and then press the two halves together, avoid excess super glue to avoid it seeping out.
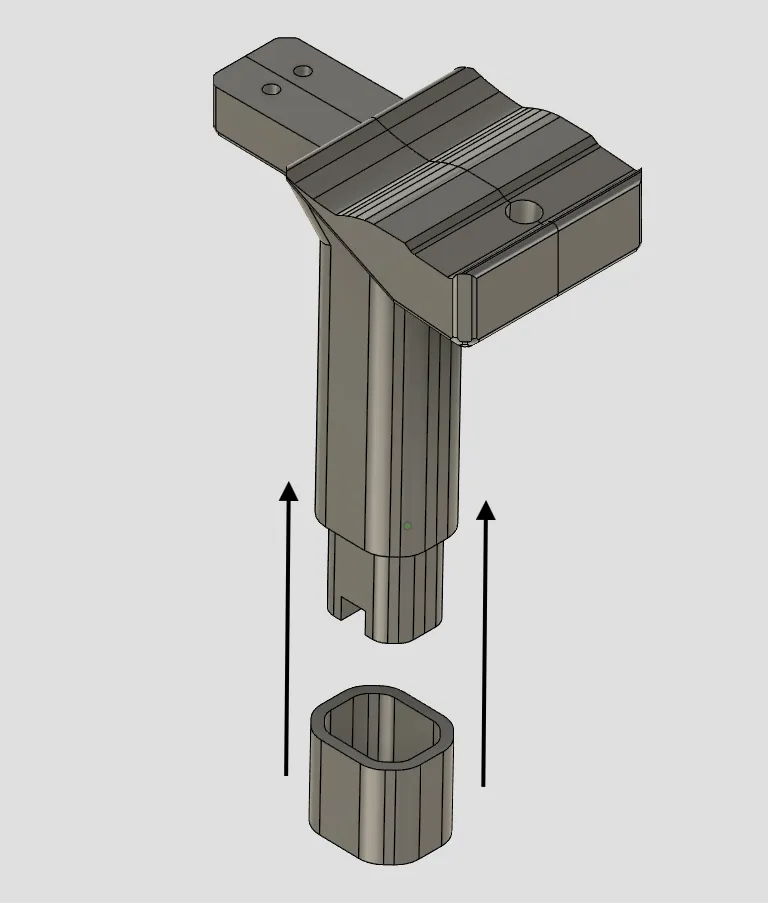
Apply locking ring, important to keep the two halves together.
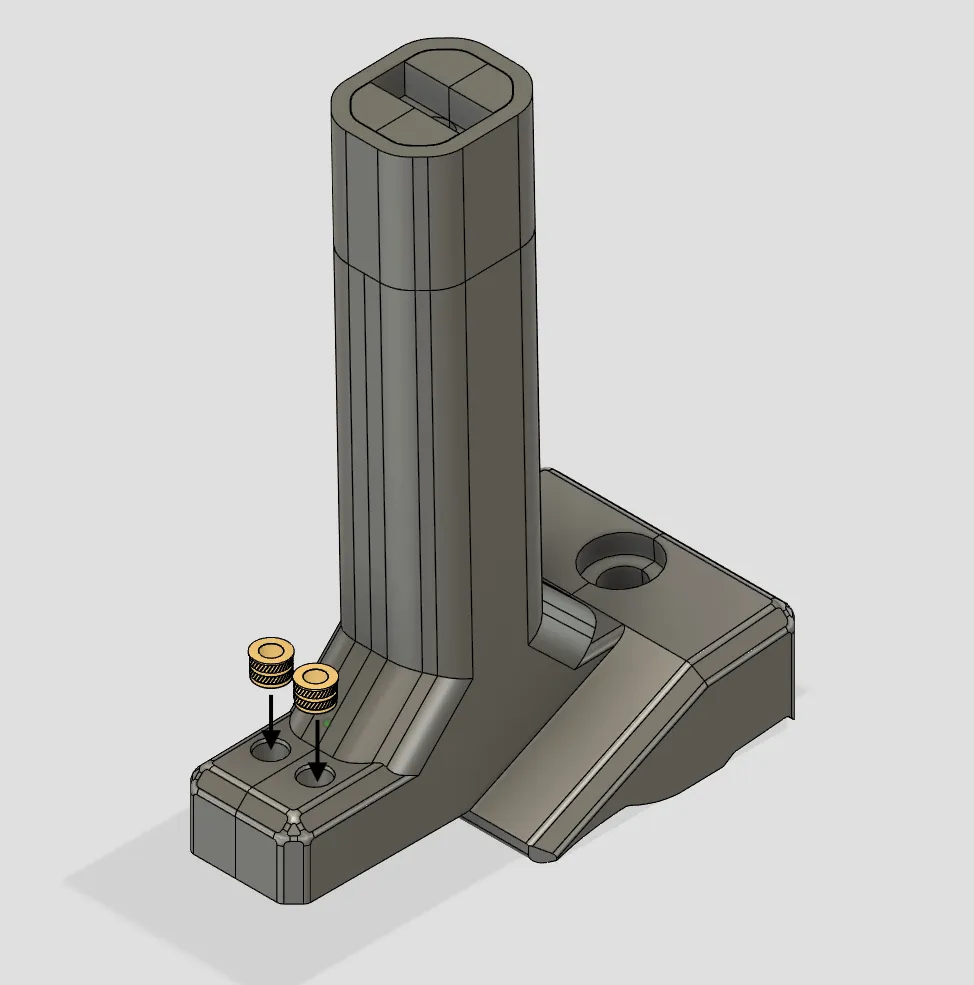
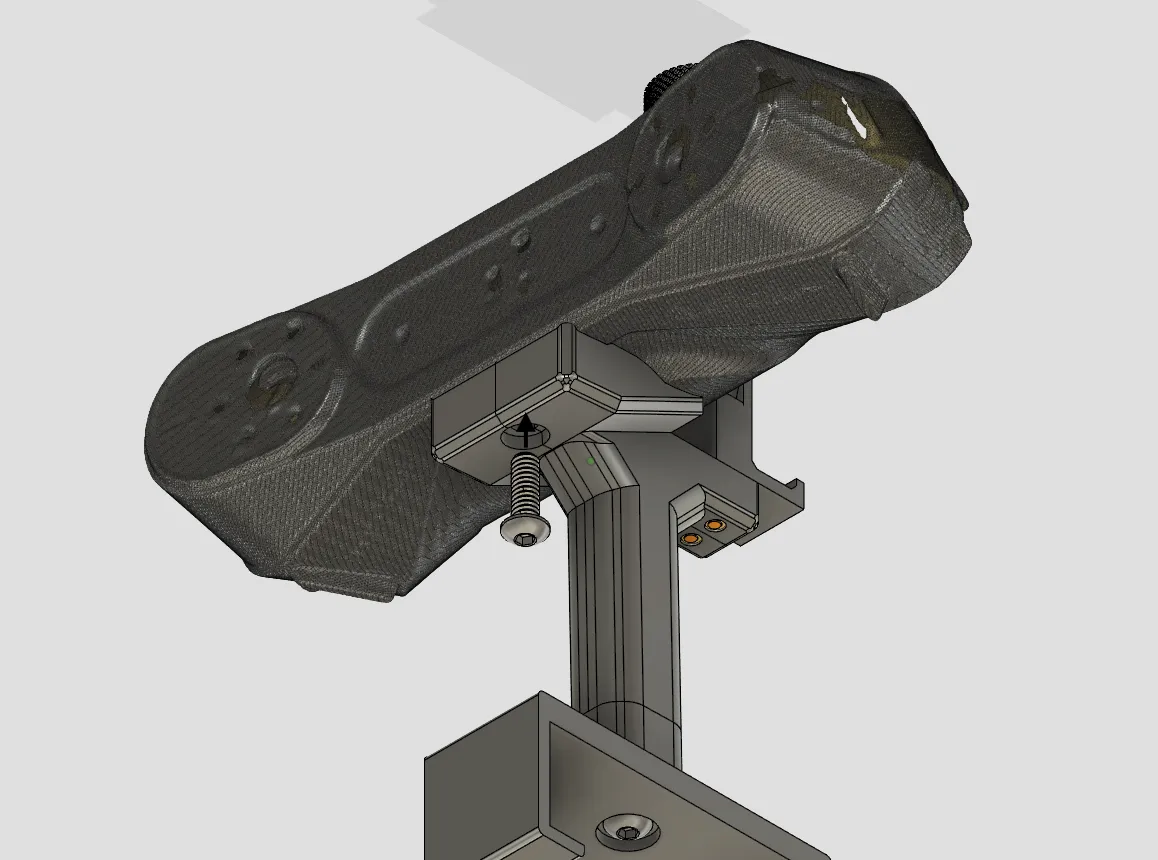
Insert heat set inserts into the underside of the handle
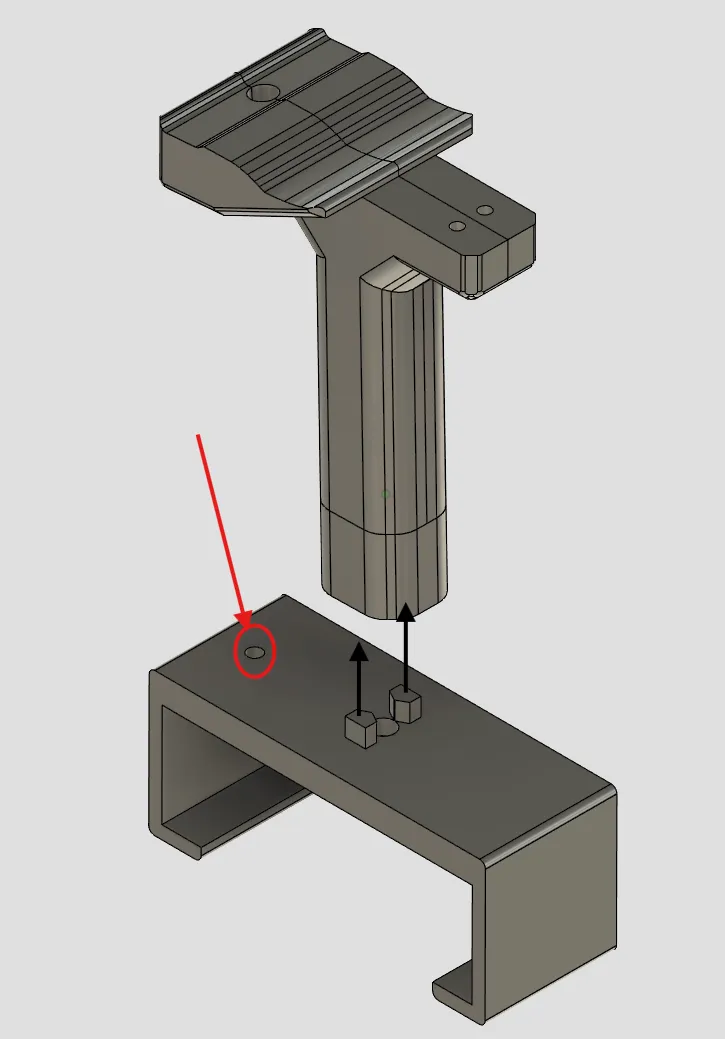
Slide the battery holder into the base of the handle like so. Pay attention to the set screw orientation, you want this towards the front of the scanner so it doesn't dig into your hand while you hold it.
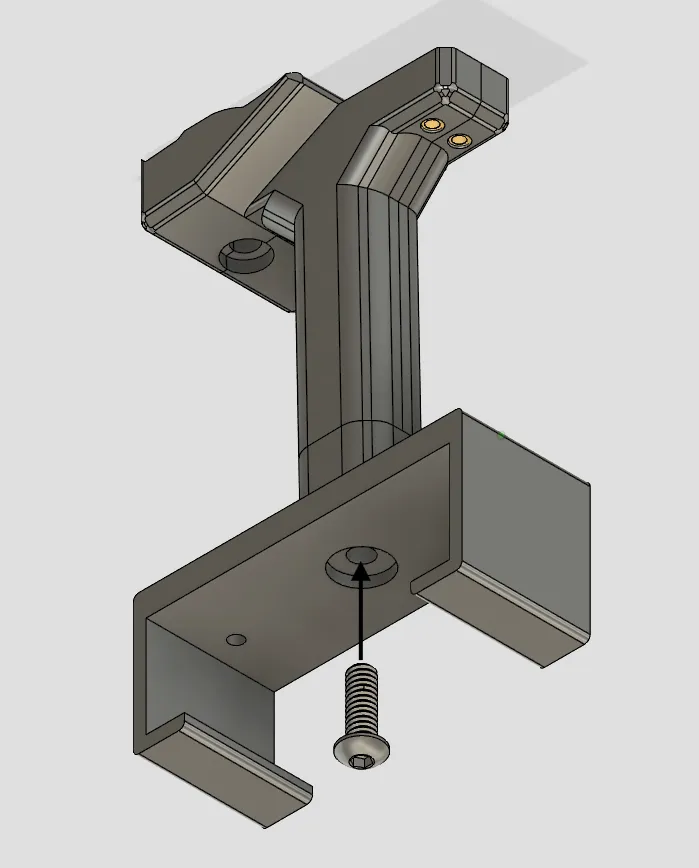
Insert the 1/4-20 x 3/4 Inch BHCS, this will thread into the inside of the handle
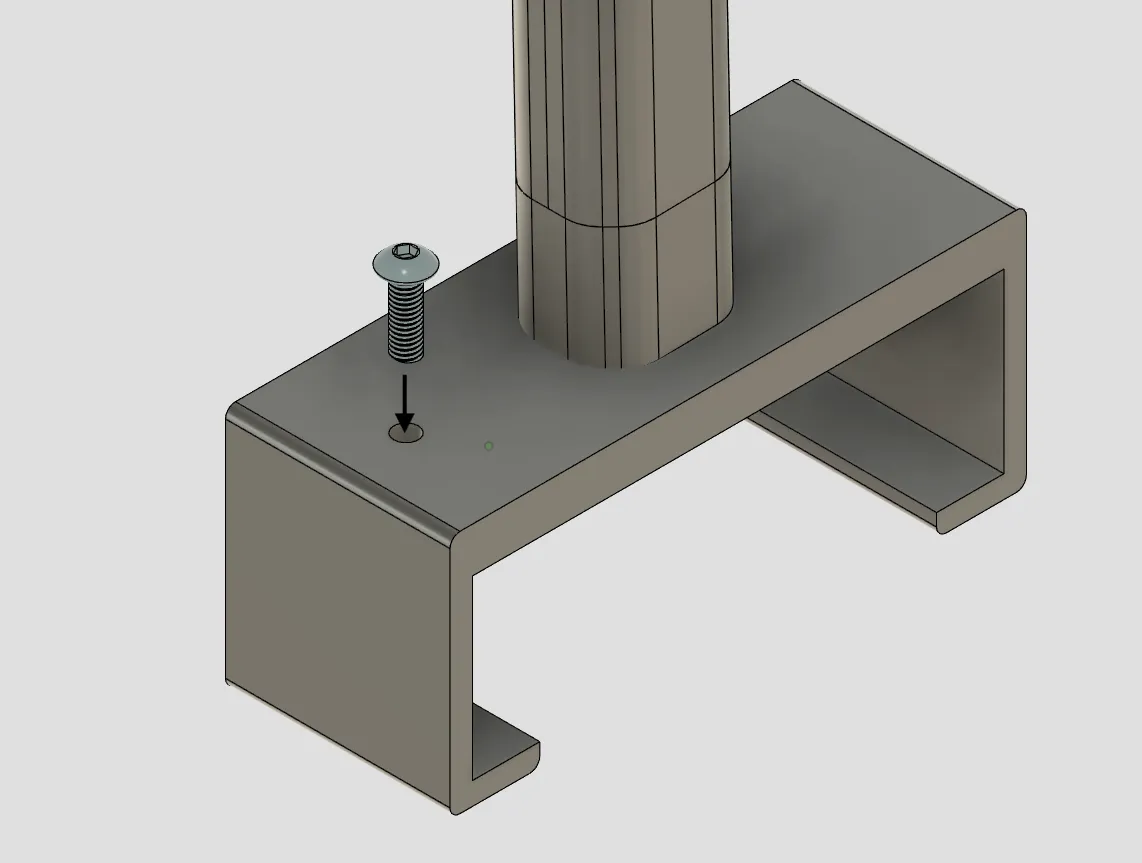
Slide the Talentcell battery into the hook and then insert the set screw here, carefully torque the screw until it makes contact with the battery and holds it in place firmly, because to not damage the battery pack.
On each side of the phone mount, insert the M3x16mm SHCS and. It takes a little bit of finesse to get get screw down into the insert, I recommend putting both screws into the mount and pushing them through and then setting it on top of the handle and screw it in. You will need an Allen wrench or “RC driver” style M3 screwdriver to insert these due to the angle, a standard bit driver will not fit.
Lastly, carefully attach the Raptor Pro to the handle. Enjoy!

Comment & Rating (6)

(0/1000)

License

This user content is licensed under the MakerWorld Exclusive License.

You may create derivative works based on this object, provided that all such derivative works are published exclusively on the MakerWorld platform and include proper attribution to the original creator. You may not share, upload, host, distribute, or publish this object—or any derivative work of this object—on any other digital platform, marketplace, or distribution channel. Commercial use of this object and any derivative works is strictly prohibited. This includes, but is not limited to, selling, renting, sublicensing, or using the object in any context in which you receive monetary compensation or other financial benefits.