F1 Diecast mainline displays

Print Profile(31)
Bill of Materials


Description
Boost Me (for free)
If you find this useful, I would appreciate a boost! It's like DRS, but for me to be able to make more models! Even if you don't have a boost to give, don't forget to rate it and share a pic!
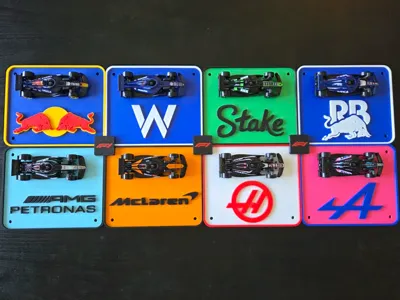
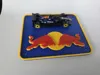
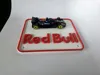
Display for your F1 mainline car that can be mounted on a wall using the screw holes. This model doesn't work for the premium F1 cars or any other line of cars than the ones in the pictures.
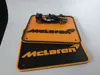
If you are printing multiple displays and want to link them together and/or hide the small gaps between the corners of the display, there are profiles for filler plates as well!
**The car is held to the display with the attachment on the second plate. see pics and GIF video below for how to attach the car to the display. Make sure to remove supports from the main display and trim any excess material away before inserting the attachment. No glue necessary, mount is a tight pressure fit. Once car and mount are in position, you can flick it fully into place by placing the grid on a solid surface such as a table, and press on the top of the display around the car (do not press on the car itself). If you want to remove the car from the grid, you just lift the rear of the car up a little to be able to get a tool or your finger under it to push the back part of the mount down to swing it in the opposite direction as installation
**If this model will be in a hot area or direct sunlight, you may want to consider using PETG since the hooks securing the cars are thin to be able to fit the car. I have not tested PLA long term, but just a thought if you are concerned.


License
You may create derivative works based on this object, provided that all such derivative works are published exclusively on the MakerWorld platform and include proper attribution to the original creator. You may not share, upload, host, distribute, or publish this object—or any derivative work of this object—on any other digital platform, marketplace, or distribution channel. Commercial use of this object and any derivative works is strictly prohibited. This includes, but is not limited to, selling, renting, sublicensing, or using the object in any context in which you receive monetary compensation or other financial benefits.
Comment & Rating (0)