
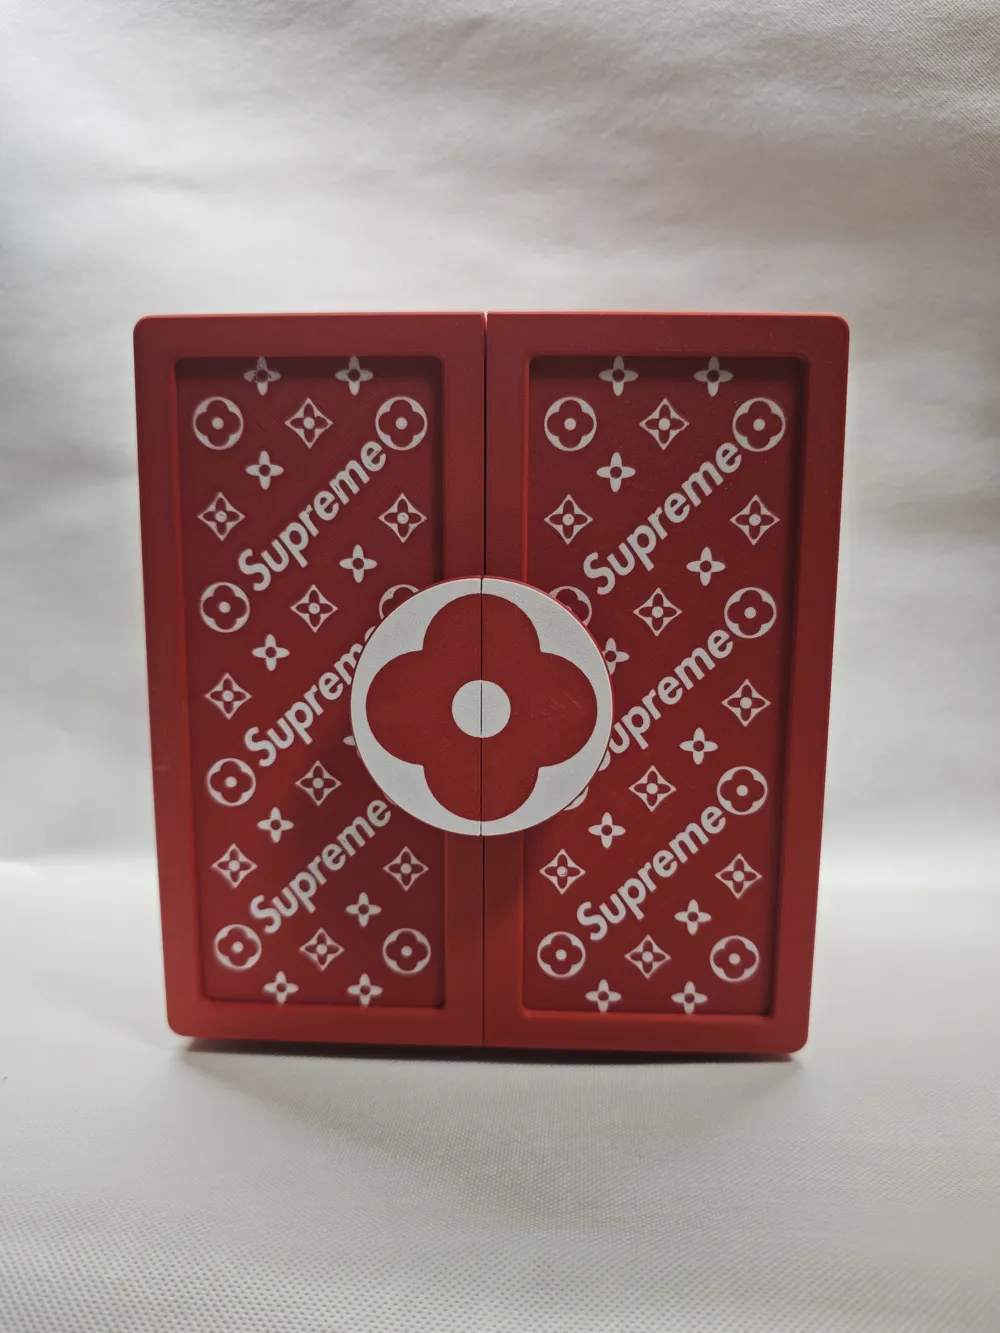
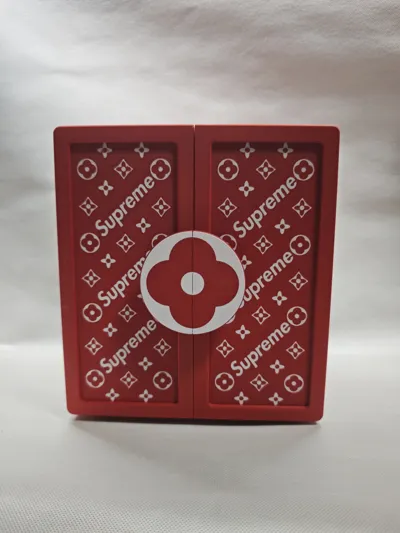
Supreme Drawer Cabinet 4-tier version/Stackable




Print Profile(5)

Description
All creations adopt a split design structure, with AMS undergoing no more than 1-2 color modifications.
Boost Me (for free)
Focus on Top-tier Logos. Thank you for your support.
Supreme Drawer Cabinet/4-tier Version
Configuration instructions for two versions of the drawer cabinet
I. Metal Hinge Version (for domestic users)
Pros: Exquisite and aesthetic appearance, sturdy and durable structure
Cons: Accessories are difficult to source in overseas markets, limited compatibility
Required Accessories
- Specified linked hinges: 4 pieces
- M2.6×10 flat head self-tapping screws: approximately 30 pieces
- Round magnets: 8 pieces (6mm diameter, 3mm thickness, official equivalent magnets can be used)
For detailed assembly and installation instructions, please refer to the accompanying assembly guide.
II. Plastic Hinge Version (for overseas users)
Pros: Hinges can be Print-in-Place directly, easy to source and produce
Cons: Less aesthetic and durable than metal hinges
Required Accessories
- M2.6×10 flat head self-tapping screws: approximately 30 pieces (can also be fixed with glue, but screw installation is recommended for easier future adjustments)
- Round magnets: 8 pieces (6mm diameter, 3mm thickness, official equivalent magnets can be used)
For detailed assembly and installation instructions, please refer to the accompanying assembly guide.
Important Installation Tips
1. Please be sure to purchase the hinge style linked in the installation instructions. Do not use the screws provided with the accessories; you need to choose the specifications I recommend: M2.6×10 flat head self-tapping screws.
2. Installation sequence:
- First install the door panel: successively install the door panel hinge → door panel handle → door panel inner frame; if the inner frame is not securely latched, screws can be used for reinforcement.
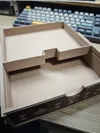
- Then install the main body: first install the drawers. The drawers have limiters designed on both sides, so insert one side first, then the other, and do not push both sides simultaneously to avoid damaging the structure.
3. When finally installing the door panel, you can use an item of similar height to the main body to prop it up, making hinge alignment easier and installation more effortless.
4. When installing magnets, be sure to confirm the polarity direction; a small amount of glue may be needed.
Commercial use and sale of any work containing brand logos are strictly prohibited.
Documentation (1)
License

You shall not share, sub-license, sell, rent, host, transfer, or distribute in any way the digital or 3D printed versions of this object, nor any other derivative work of this object in its digital or physical format (including - but not limited to - remixes of this object, and hosting on other digital platforms). The objects may not be used without permission in any way whatsoever in which you charge money, or collect fees.


Comment & Rating (3)