


Print Profile(3)

Bill of Materials


Description
Boost Me (for free)
Liked my model? Consider giving me a boost so my model can reach a broader audience.
See “Fitting Your Own Panel & Parameters Reference” section to understand the parameters.
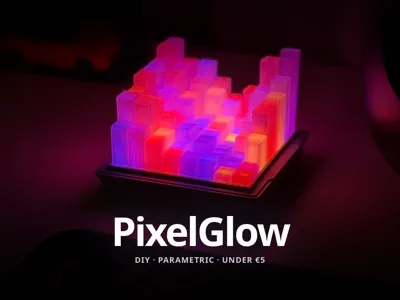
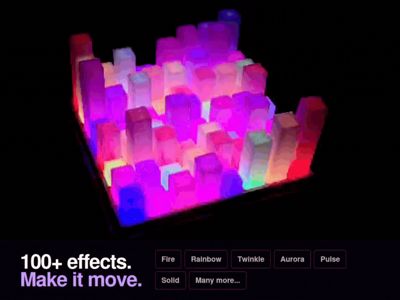
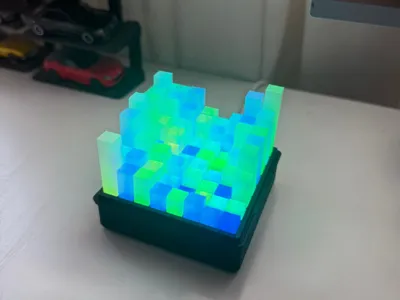
PixelGlow: A DIY Parametric Smart Desk Lamp
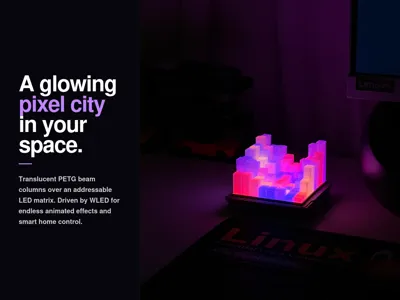
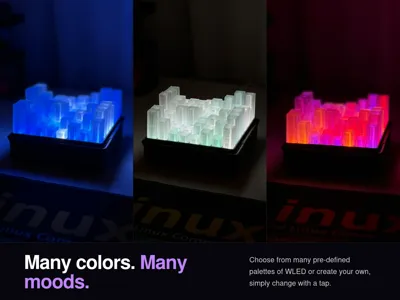
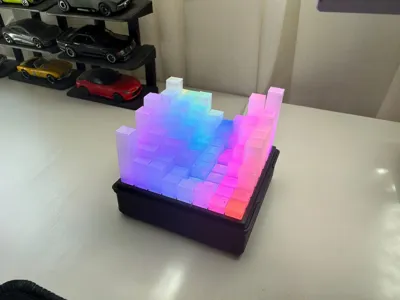
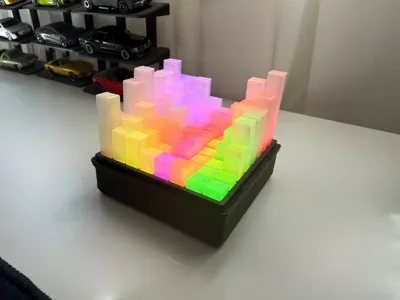
PixelGlow is a desk lamp that you design and build yourself. Translucent PETG beam columns sit over a WS2812B LED matrix in a printed case. Everything is controlled wirelessly using the WLED app on your phone.
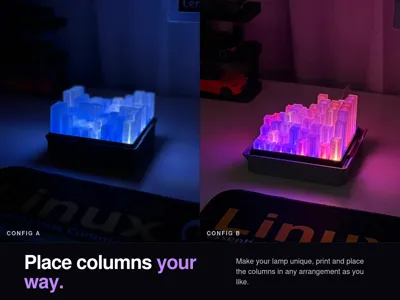
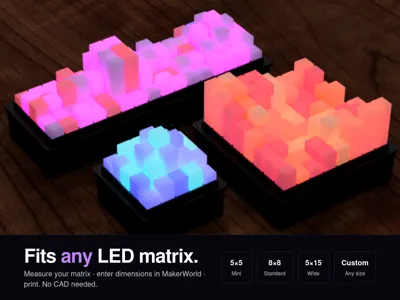
The columns are loose, which allows you to place them in any arrangement you like. Because of this, every build ends up looking unique. The design is also parametric to fit series or different sizes of matrices. You enter your own panel dimensions into the Maker World Parametric Model Maker. This generates a case that fits your exact hardware.
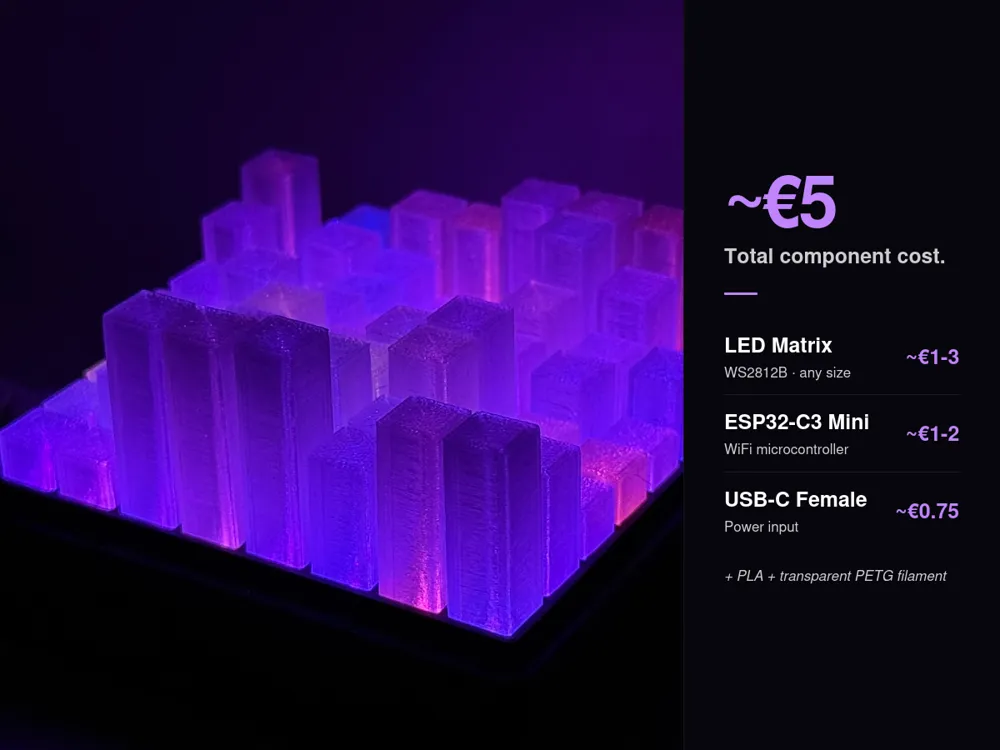
If you have been curious about building projects with LEDs and microcontrollers but needed a good starting point, this is a solid chance! The soldering is minimal and there is no CAD involved and the software is handled entirely by WLED. It is a genuinely approachable first electronics project that also looks great. Its also very cheap, the total component cost is around €5.
What You'll Need
Parts
| Component | Link | Cost |
|---|---|---|
| WS2812B LED Matrix - Solid or Flexible | Aliexpress | ~€2 |
| ESP32-C3 SuperMini | Aliexpress | ~€2 |
| USB-C Female Connector | Aliexpress | ~€1 |
| Jumper Wires | Aliexpress | ~€1 |
Total component cost: ~€5
*You can definietly find cheaper parts in Aliexpress, i have listed my first findings.
Tools and Filament
- Soldering iron and solder
- PLA filament for the case
- Translucent PETG filament for the beams
Printing
The print file includes a plate for the case and two different beam methods. You can pick the one that best suits your needs.
Standard Beams
- This uses about 30g of PETG for the 8×8 configuration.
- It is faster to print.
It provides good light diffusion and a clean look.
Standard Beams Print Parameters Top Shell Layers 0 Wall Count 2 Sparse Infill Density 0 Brim Type Outer and Inner
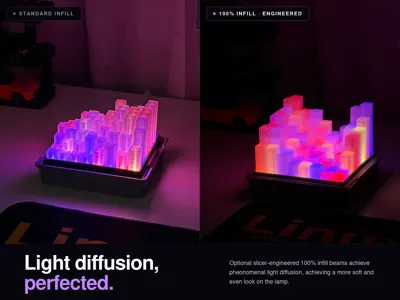
Full Infill Beams
- This uses around 75g of PETG for the 8×8 configuration.
- The light diffusion is noticeably softer and more even.
- This is a great option if you have extra filament to spare.
| Full Infill Beams Print Parameters | |
| Top Shell Layers | 0 |
| Bottom Shell Layers | 0 |
| Wall Count | 2 |
| Sparse Infill Density | 100 |
| Sparse Infill Pattern | Aligned Rectilinear |
| Infill Direction | 0 |
| *Uses special height modifiers, see the video | |
CRITICAL: Before You Print the Beams Clean your print plate with hand soap and rinse it thoroughly before starting the print. The beams have very little surface contact with the plate, making adhesion critical. Poor adhesion is the most common reason for failed prints.
If you generated your own beams using the Maker World Parametric Model Maker, the video below walks through the full setup process for proper printing in Bambu Studio:
*If you didn't change the beam edge length in the model maker you can simply copy the default config beams to you liking and print from the file instead.
Wiring
This build involves a small amount of basic soldering. Three components need to be connected:
- WS2812B LED matrix
- ESP32-C3 Mini
- USB-C female connector

Double check all joints before powering the device on. If the LEDs do not light up after the WLED setup, you should check for loose solder connections first.
Setting Up WLED
Once the wiring is complete, getting WLED running takes about 10 minutes.
- Open this link in Chrome and plug in your ESP32 via USB. Follow the on-screen steps to flash the firmware.
- If the WiFi configuration screen does not appear after flashing, unplug and re-plug the ESP32 and hit Install again. The option should appear this time.
- After configuring WIFI, detach the USB and plug it into the external female USB-C port.
- Install the WLED app on your phone. Your device should appear automatically once it is connected to WiFi. Tap it to open the interface.
- Navigate to Config → LED Preferences → LED Outputs and apply the following settings:
| Setting | Value |
|---|---|
| LED Type | WS281x 55mA |
| Color Order | GRB |
| Length | Your total LED count |
| Data GPIO | 4 |
5. Select Save, and your LEDs should light up.
6. Go to the 2D Configuration tab. Set it to 2D Matrix and configure the dimensions to match your specific panel size and count.
You can now assemble the electronics and the case together. Some sort of glue or tape is needed to fix the USB-C port in place.
Fitting Your Own Panel & Parameters Reference
While the 8×8 configuration is the only preset size currently available, fitting any solid or flexible WS2812B matrix is a straightforward process.
- Measure the dimensions provided in the below image.
- Open the Maker World Parametric Model Maker.
- Enter your dimensions and led numbers in each side so the model maker can generate a case for your exact panel.
Reference: my 8×8 panel measured l1 = 66.54 mm, l2 = 65.6 mm, l1_led_span = 64.2mm, l2_led_span = 61.7mm .

Case Parameters
| Parameter Name | Definition |
| l1, l2 | The edge length of the PCB in respective sides. |
| l1_led_span, l2_led_span | The distance between the farthest edges in a line of leds. In respective sides. |
| l1_led_count, l2_led_count | Number of leds along the respective side. |
| container_depth | The depth of the container. |
| beam_edge_len | The edge length of a beam cross section. Default is 7.2mm for solid PCB matrices (see Note), Default is 9mm for flexible PCB matrices. |
| beam_tolerance | Defines the tolerance between beam and case slots. Only affects the case slots. Only modify this if your beams don't fit the case. |
NOTE: The beam_edge_len parameter can be increased depending on the size of your panel. Bigger solid PCB matrices have increasingly larger gaps between the leds, this allows you to increase the size of beams for a denser arrangement of beams. Make sure the top case slot walls are printable in case you increase this value.
Beam Parameters
| beam_edge_len | Make sure its same as the case parameter. |
| beams_()mm_count | Number of beams of that size generated. |
- Note that taller beams diffuse light less evenly, so you should use full infill for taller profiles.
Build Time
| Phase | Time |
|---|---|
| Printing | ~5 hours |
| Assembly & Setup | ~2–3 hours |
You can plan for a relaxed weekend afternoon once the prints are finished. Happy building!
Feedback
The model has been tested thoroughly, even then some problems may arise. Please let me know in the comments if you face any issues and i will be happy to help you solve them.
Boost Me (for free)
Liked my model? Consider boosting my model so it can reach a broader audience.
Oh, hey! You made it to the end of the description. If you liked this model and want to support my work, please consider leaving a tip by clicking the image. As a student, your support really means the world to me and gives me the motivation to keep designing and sharing cool stuff with you!

License
You may create derivative works based on this object, provided that all such derivative works are published exclusively on the MakerWorld platform and include proper attribution to the original creator. You may not share, upload, host, distribute, or publish this object—or any derivative work of this object—on any other digital platform, marketplace, or distribution channel. Commercial use of this object and any derivative works is strictly prohibited. This includes, but is not limited to, selling, renting, sublicensing, or using the object in any context in which you receive monetary compensation or other financial benefits.
Comment & Rating (14)