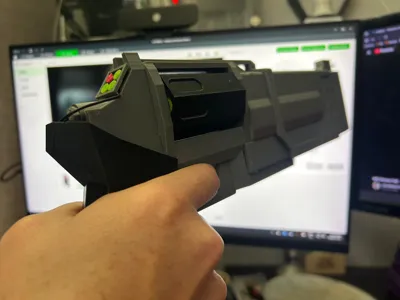
ULTRAKILL Marksman Revolver - Remix


Print Profile(1)
Description
Each plate is print by object but the second and third plates are print by layer. Settings already saved to each plate.
Print with supports, if printing with PETG be prepared to smooth out edges, I find a nail file with two grits very handy to clean up rough parts.
If you pour boiling water over sanded parts they clean up and bring full color out again.
Only the last plate uses AMS, original author person made option for no AMS if that is what you are looking for.
***Be sure to sand bullets and chamber bar smooth where the chamber fits on it
Glue the battery in the screen holder and glue the screen on. Then glue screen holder to grip.
Glue trigger and trigger guard onto grip.
Glue on notched dark grey part with hole in it to top of grip. Notch should be on the left when holding the grip.
Insert chamber bar with a dab of glue on the end.
Glue on the bottom of the chamber onto notched piece.
Glue in bullets into chamber. Slip chamber on bar with bullets facing you if holding the grip.
OPTIONAL you can put in a skateboard bearing in the end of the chamber for that metal on metal sound when spinning chamber!
Glue on end of chamber piece to bottom of chamber piece, slip bar through hole.
The trigger guard and piece that slips under bottom chamber piece are finicky, play with it dry before gluing!
Glue the Lower barrel to that piece mention in last line.
Insert upper barrel and glue on each end.
Slip top of chamber into upper barrel then glue to top of chamber area.
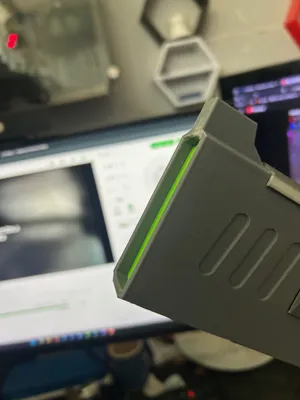
Lastly you can slip a small LED battery and lights in tip before either gluing or tacking in the green tip.
The last piece is the loop part. It slips on and looks better glued on centered. Look from sight and from front bottom to make sure it is centered.
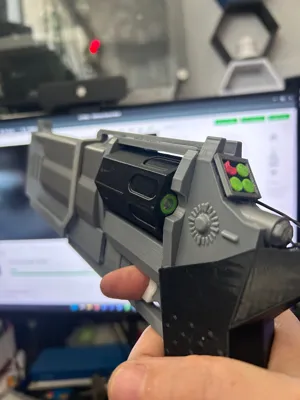
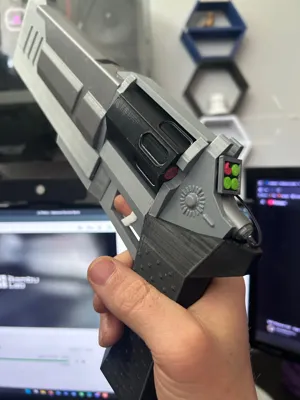
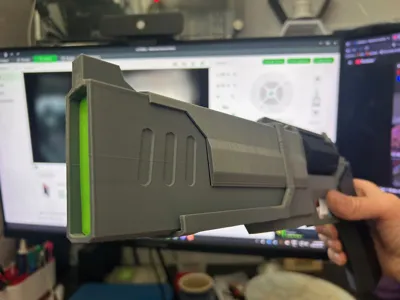
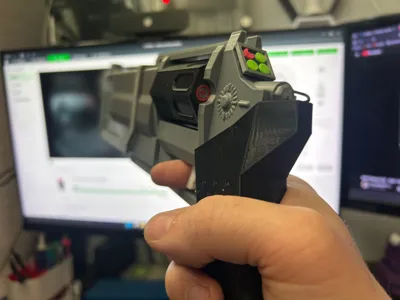
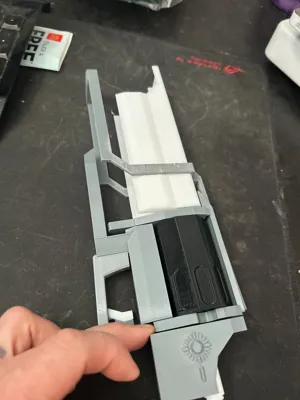
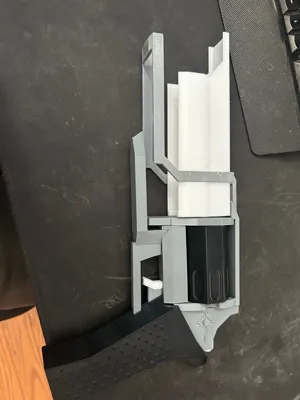
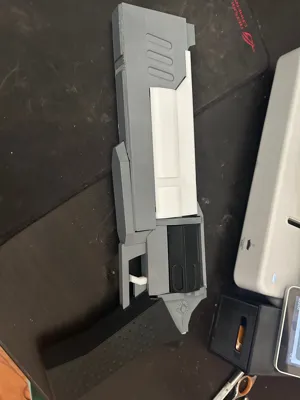
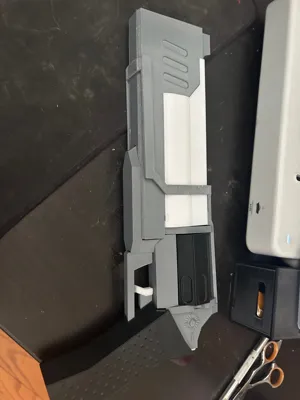
See photos for partial assembled gun.
Comment & Rating (6)