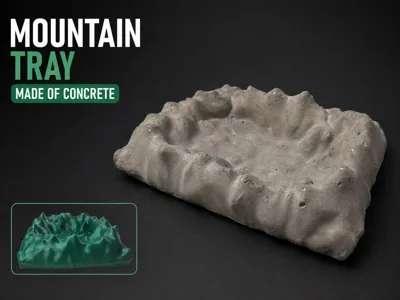
Concrete Mountain Valet Tray


Print Profile(1)
Description
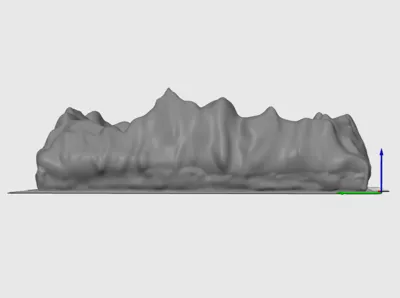
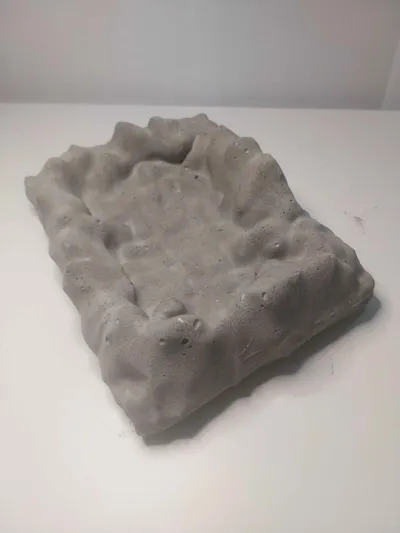
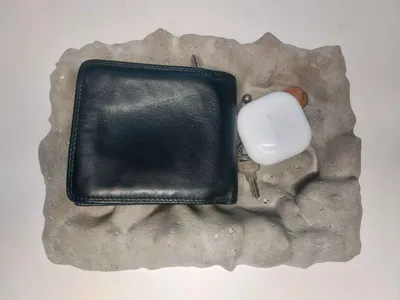
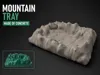
Mountain Range Catch-All Tray
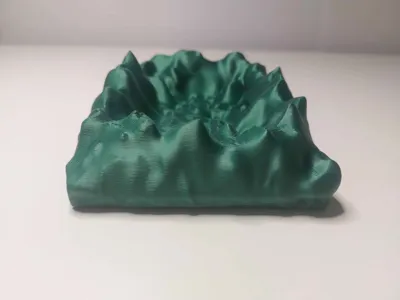
This model was originally designed to create a mold and be cast in concrete, but you can certainly keep it as is as a 3D print
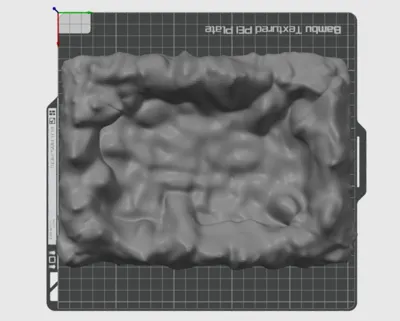
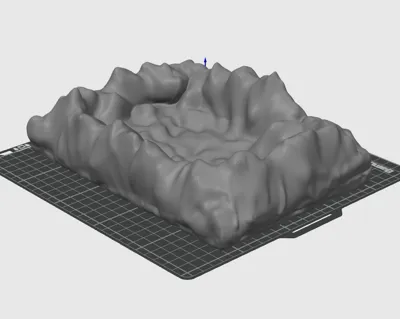
If you want to use it directly 3D Printed:
- It is not necessary to use a high infill rate
- You can use 'lightning' supports to optimize printing
⚠️ Pay attention to the intended use: the reliefs take up a lot of space. Think carefully about the dimensions, the model can quickly turn out to be too small
⚠️ Warning
Read the entire following section carefully before starting the concrete version. The process is quite long
Mold + Concrete Version
The previous tips also apply
Materials Needed
- Silicone (entry-level sufficient)
- Cornstarch
(There is another method with soap, but I have not tested it.)
👉 I advise you to watch a video to fully understand the preparation of the silicone + cornstarch mixture
⚠️ Precautions
- Wear gloves (silicone sticks everywhere)
- Wear a mask (strong and potentially harmful odor)
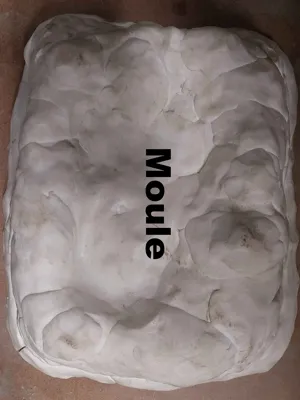
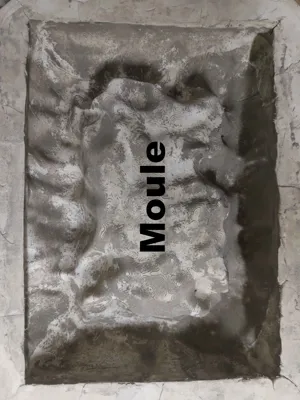
Mold Making
Once the paste is ready:
- Make the mold thick enough to prevent it from tearing
- Place the 3D printed model on a flat surface (e.g., plywood)
- Apply the paste, pressing firmly to get flat edges (this makes casting easier)
With the surplus, you can:
- Add reinforcements
- Create feet to stabilize the mold
Once dry:
- Peel the mold off the plate with a spatula
👉 Removing the 3D printed model:
- Peel the mold off the model as much as possible
- Use wire cutters / flat-nose pliers
- Remove the plastic gradually, layer by layer
- Be careful not to damage the mold
Concrete Casting
The mold is ready
- Stabilize it correctly (wedging)
- You can add a small rebar (wire)
Mortar Preparation
- 1 volume of cement
- 3 volumes of sand
- ~0.5 volume of water (adjust according to texture)
👉 The mixture should be moist but not liquid
Tips
- Wear gloves (cement is aggressive on the skin)
- Fill gradually
- Try to limit air bubbles
- Tap or vibrate the mold to bring the bubbles to the surface
Let it dry long enough
Demolding
- Demold gently so as not to damage the mold
✅ And there you have it, your catch-all tray is ready!
If you have any ideas to simplify the molding process, feel free to leave a comment
Boost Me (for free)
Thank you for taking the time to discover my model!
Each design I share is carefully crafted, with the idea of being useful, practical, and easy to print for all 3D printing enthusiasts.
If you like this model, a small boost makes a huge difference: it helps me gain visibility, continue sharing free creations, and constantly improve my future models.
So, thank you in advance to all who take a few seconds to boost me!
License
You may create derivative works based on this object, provided that all such derivative works are published exclusively on the MakerWorld platform and include proper attribution to the original creator. You may not share, upload, host, distribute, or publish this object—or any derivative work of this object—on any other digital platform, marketplace, or distribution channel. Commercial use of this object and any derivative works is strictly prohibited. This includes, but is not limited to, selling, renting, sublicensing, or using the object in any context in which you receive monetary compensation or other financial benefits.
Comment & Rating (0)