
Print Profile(1)
Bill of Materials


Description
Boost Me (for free)
If you liked this design and would like to support me in continuing to create functional and unique accessories, please consider giving me a Boost. Every Boost helps me earn points towards filament and keep innovating. Your support means a lot! 🩵
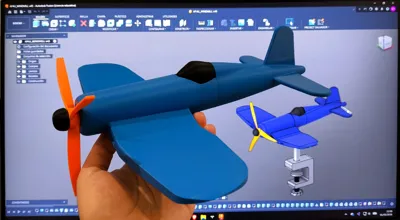
F4U WINDMILL — F4U Corsair Wind Spinner

The F4U Windmill brings together the iconic silhouette of the legendary Vought F4U Corsair fighter plane and the simplicity of a classic wind spinner. The propeller spins freely with the breeze, making it a functional and decorative piece you can place on your desk, hang from a ceiling, or display outdoors. This model was designed to be printed as easily as possible while keeping every detail of the aircraft recognizable and well-defined.
What makes it special
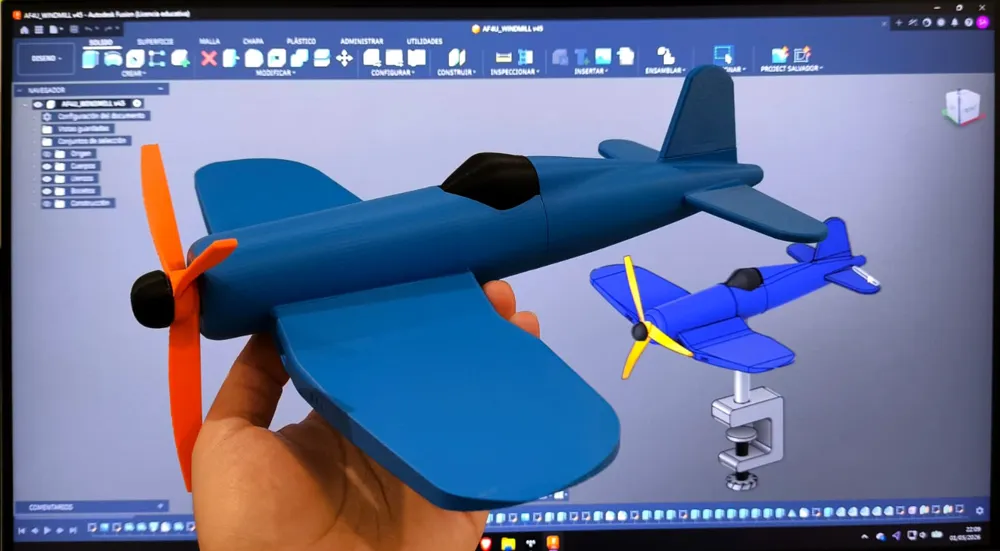
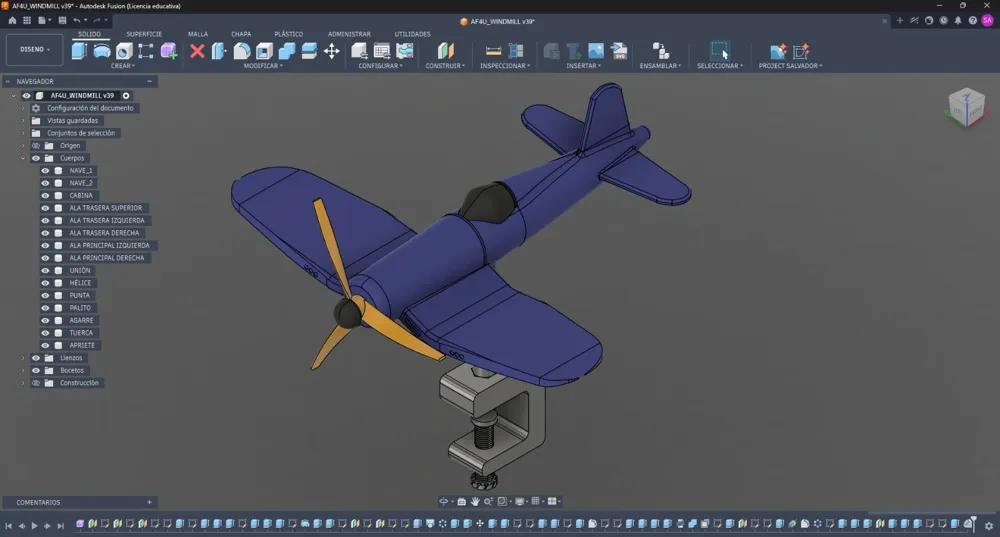
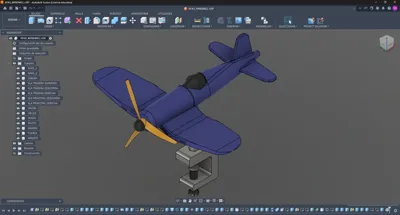
The model includes the full aircraft, the connecting rod, and a C-clamp style base that screws from the bottom to keep everything locked in place. No hardware required — just glue the parts together with instant adhesive and you're done.
DIMENSIONS
- Wingspan: 294 mm
- Clamp height: 72 mm
- Clamp jaw opening: 40 mm
Assembly guide
- Print all parts and remove the support material from the propeller axis and cockpit carefully.
- Apply instant adhesive to join the fuselage and wing components.
- Insert the propeller onto its axis — do not glue this part, it must spin freely.
- Attach the rod to the aircraft body and thread it into the clamp base.
- Screw the bottom of the clamp to lock the rod in place and secure the whole assembly.
Possible issues
If the propeller doesn't spin smoothly, lightly sand the axis to remove any leftover support material. If the instant adhesive doesn't bond well, add a small amount of baking soda to the joint to improve adhesion on tight or small surfaces.
Final thoughts
This project started from the idea of combining something functional, like a wind spinner, with something visually striking. The F4U Corsair has one of the most recognizable silhouettes in aviation history, and seeing its propeller actually spin in the wind makes it feel alive. Whether you hang it outside, place it on your desk, or mount it on a shelf, it always draws attention.
The model was designed entirely in Fusion 360. The exterior images have been enhanced using local AI on my computer to optimise the visual presentation.
Furthermore, this process helps to protect my privacy by preventing the actual location where the video was recorded from being revealed.
Boost Me (for free)
If you liked this design and would like to support me in continuing to create functional and unique accessories, please consider giving me a Boost. Every Boost helps me earn points towards filament and keep innovating. Your support means a lot! 🩵
Documentation (1)
License

You shall not share, sub-license, sell, rent, host, transfer, or distribute in any way the digital or 3D printed versions of this object, nor any other derivative work of this object in its digital or physical format (including - but not limited to - remixes of this object, and hosting on other digital platforms). The objects may not be used without permission in any way whatsoever in which you charge money, or collect fees.


Comment & Rating (32)