Topper per Torta Zoey- Stile Chibi (Cake Topper)


Print Profile(1)
Bill of Materials


Description
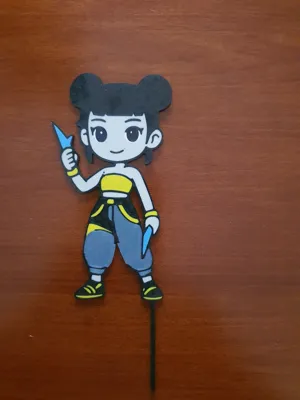
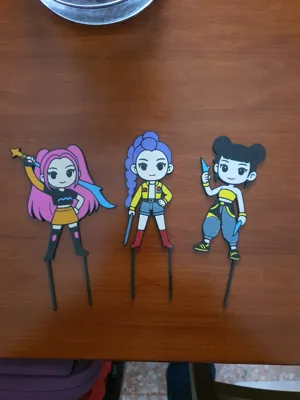
Make your party special with this cake topper inspired by Rumi! The design has been optimized for 3D printing, featuring a cute 'chibi' style and crisp lines that facilitate color rendering. It's perfect for birthdays, themed events, or simply as a desk decoration (by removing the supports).
The model already includes two bottom pins for stable and secure insertion into any type of cake.
Print Settings (Recommended)
- Material: PLA (recommended for decorative use). Note: if the topper directly touches food, make sure to use a food-safe coating or protect the pins with food wrap.
- Layer Height: 0.2mm for a good compromise between speed and detail.
- Infill: 15-20% (not much weight needed, it should remain light).
- Supports: Not necessary if printed flat on the build plate.
- Color Change: The design is perfect for those using systems like AMS (Bambu Lab) or for manual filament changes at different height levels.
Dimensions
The model is scalable, but the recommended standard dimensions are:
- Width: 120mm - 150mm
- Total thickness: 3mm - 4mm (to ensure robustness).
Boost Me (for free)
"I put a lot of passion into refining every detail of this model to ensure that the print is smooth and the final result... simply epic! If you like this design and want to see more characters in this style:
Print the model and share a photo of your cake (I love seeing your creations!).
Leave a 5-star rating if the print went well.
Support me with a BOOST! ⚡ Your support is essential for me to continue creating free models
If you only have one AMS, you can manage the change manually by organizing the 'fake' slots in the slicer. Here are the key steps:
1. Slicer Configuration
During slicing, add all necessary colors (e.g., 6 colors) and assign them to the various parts of the model. Make sure to set a logical print sequence: the goal is to ensure that extra colors are only requested after one of the first four has completed its task.
2. Slot Mapping
When you send the print, the software will ask you to associate the project colors with the 4 physical AMS slots. You will need to 'double up' the assignments:
- Colors 1, 2, 3, 4: Assign them to slots 1, 2, 3, and 4 respectively.
- Color 5: Assign it to slot 1 (or the one that will finish first).
- Color 6: Assign it to slot 2.
3. 'On-the-fly' Replacement
Once the printer has finished using the filament in Slot 1 for parts related to 'Color 1', you will have enough time to remove that spool and insert the one intended for Color 5.
Please note: When the AMS calls for the fifth color, it will find the new spool already ready in the previously emptied slot, allowing you to continue printing without interruptions or 'missing filament' errors.
In summary
To succeed, you just need to ensure that the physical spool present in the slot matches the color the printer expects at that precise moment in the sequence.
Comment & Rating (0)