

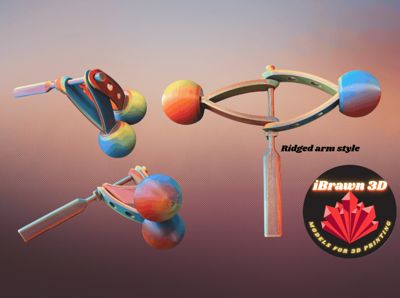
Clackers ridged arm style
Print Profile(1)

Description
Clackers
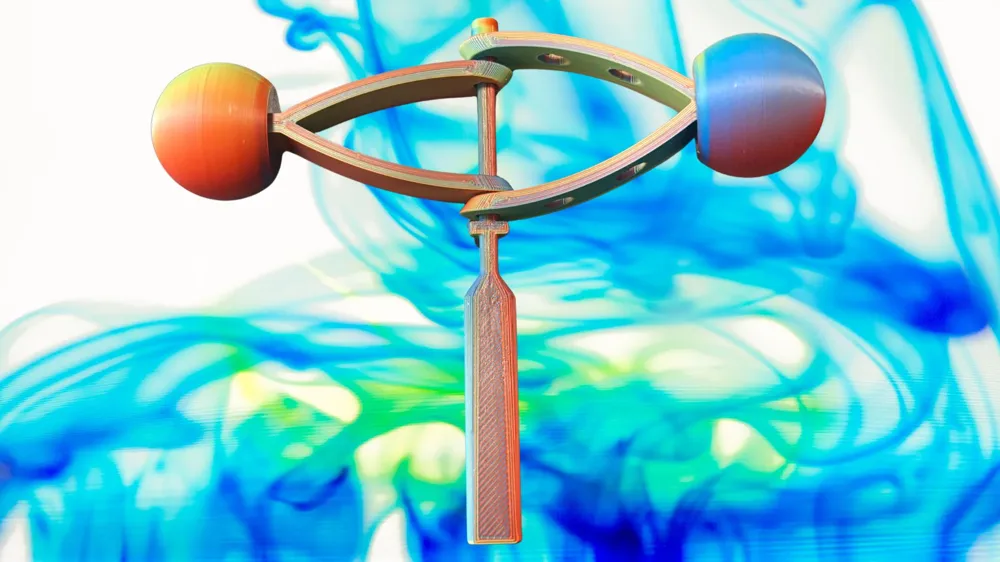
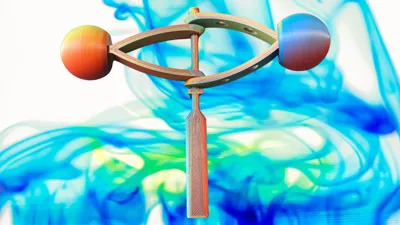
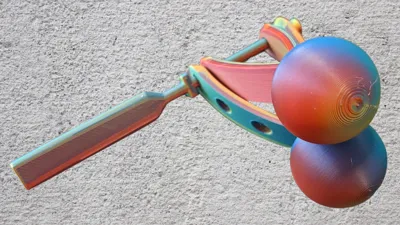
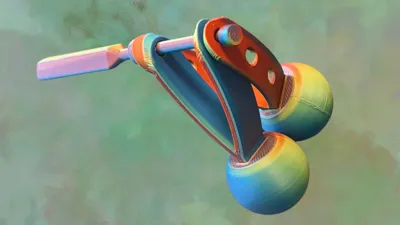
Ridged arm style
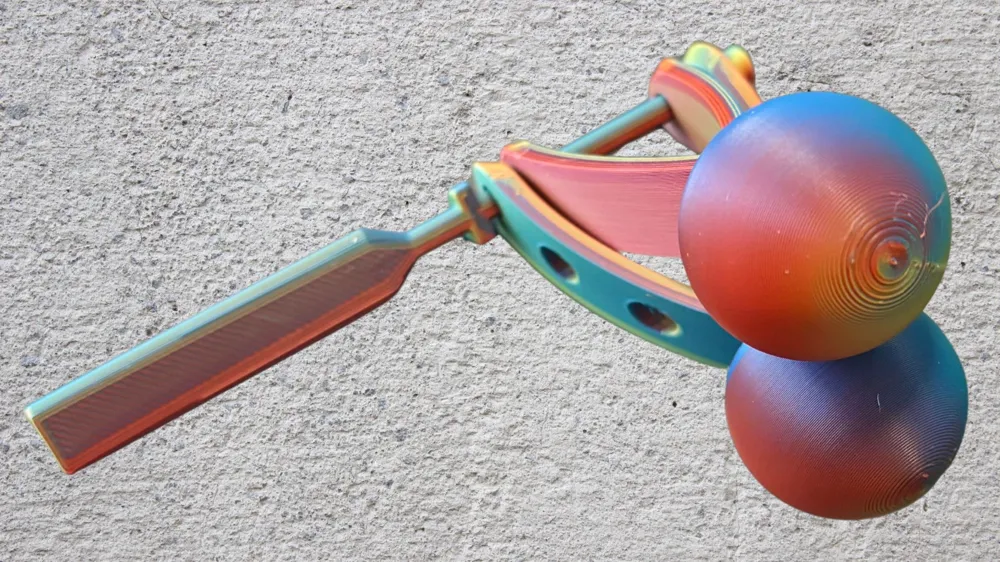
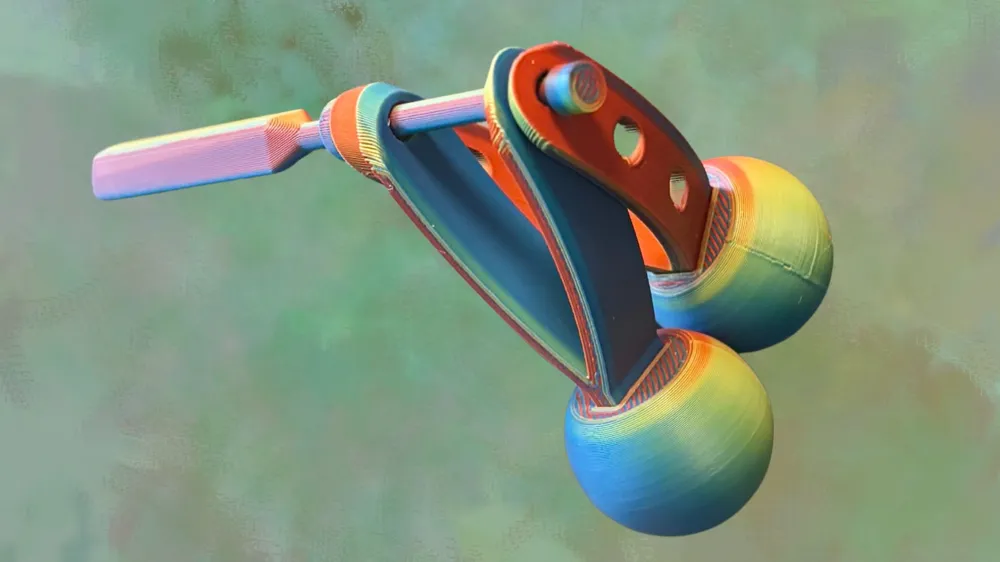
Welcome to today’s post! Today, we’re exploring a unique clacker design featuring ridged arms instead of traditional strings.
The holes in the large outer arms are to help achieve a closer weight balance on both sides.
You can print the arms, making assembly easier without needing to find the correct string.
Assembly is pretty straight forward.
- print the size you would like.
- remove inner brims from the two balls
- match each ball with its arm (the holes and pegs are obvious different sizes) and glue them in using superglue
- line up the axel holes in the large and small arms, and slide the thin part of the rod through the 4 holes
- put a small dab of superglue on the tip of the rod, and firmly press the cap over it. Press firmly, but try not to bend
- wait a few minutes for the glues to dry
- CLACK!!!
Boost Me (for free)
Boots help motivate designers to spend more time designing models for you to download for free
Membership
Would you like to sell one of my models? You can subscribe here for our commercial license!
I use glue on all of my build plates. My favourite is Elmers washable school glue, disappearing purple
Beware: 3D printed things are not for small children. Some of the models have sharp edges or corners that can break the skin. Parts can break off and be swallowed. Smooth parts can break and become sharp. Please supervise small children while they play with 3D printed things.
Happy Printing from iBrawn3D
License

You shall not share, sub-license, sell, rent, host, transfer, or distribute in any way the digital or 3D printed versions of this object, nor any other derivative work of this object in its digital or physical format (including - but not limited to - remixes of this object, and hosting on other digital platforms). The objects may not be used without permission in any way whatsoever in which you charge money, or collect fees.


Comment & Rating (2)