
Print Profile(1)
Description
Just a regular guy designing prints for the masses.
Hey Everyone!
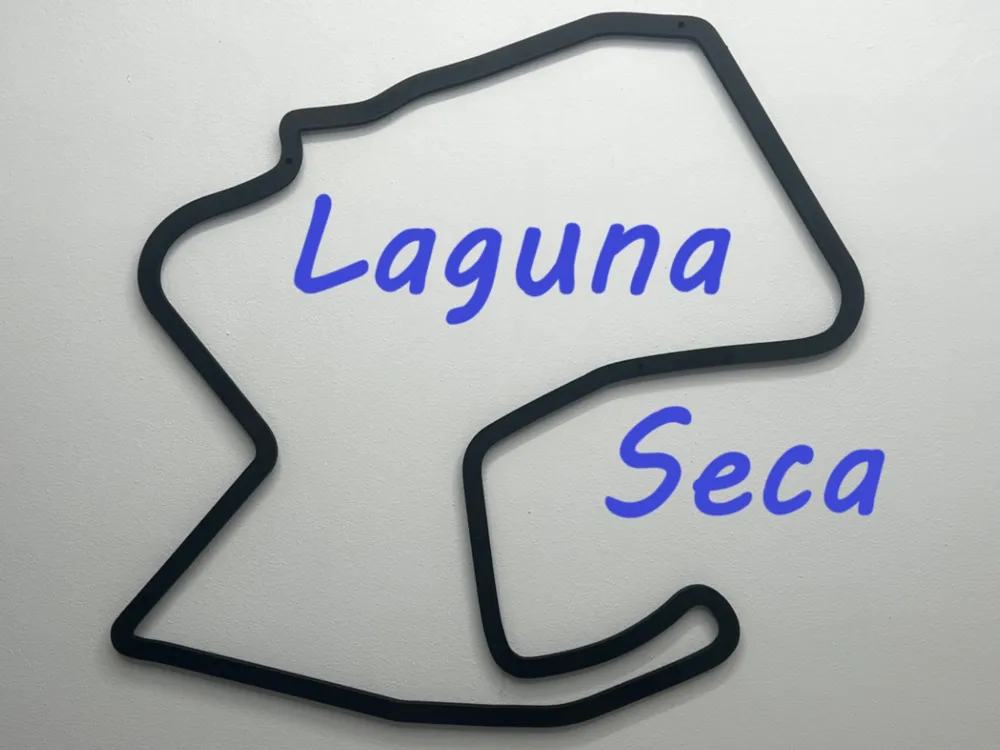
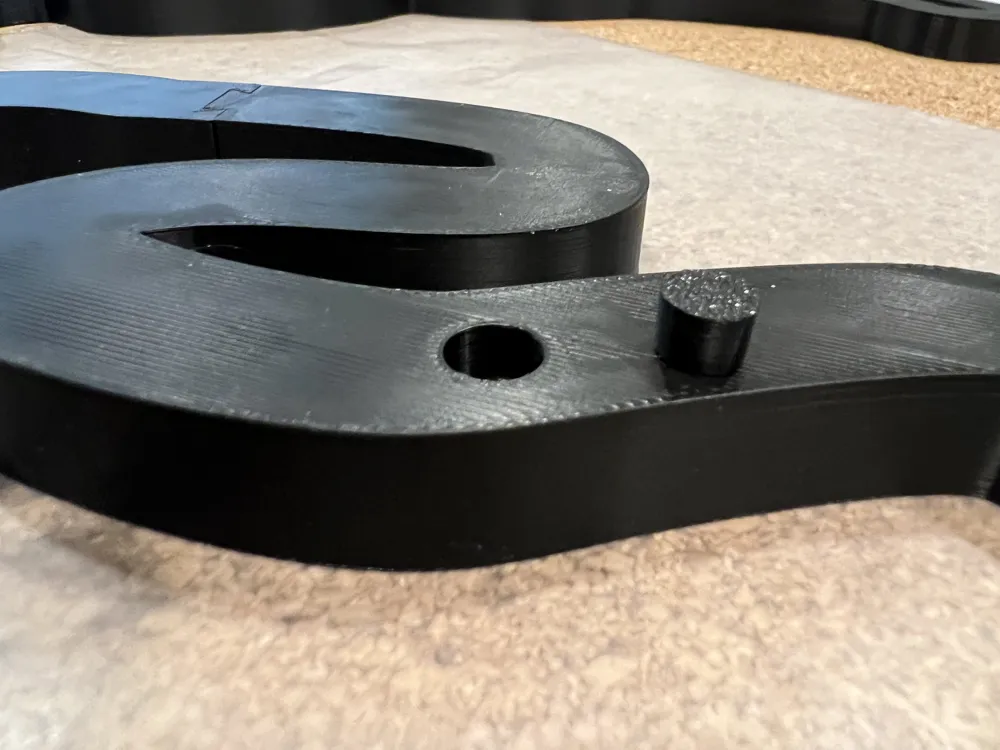
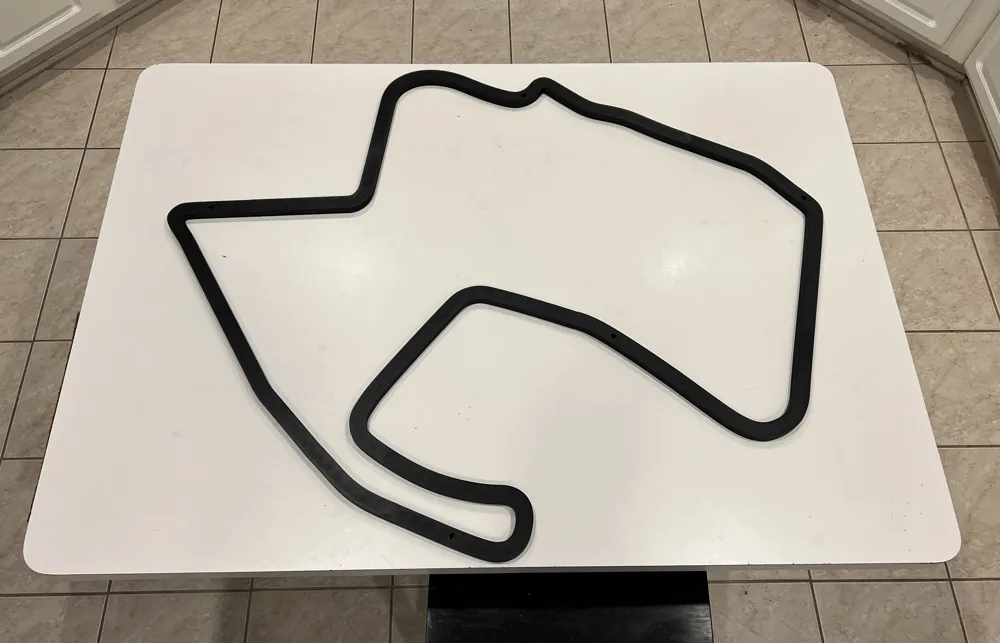
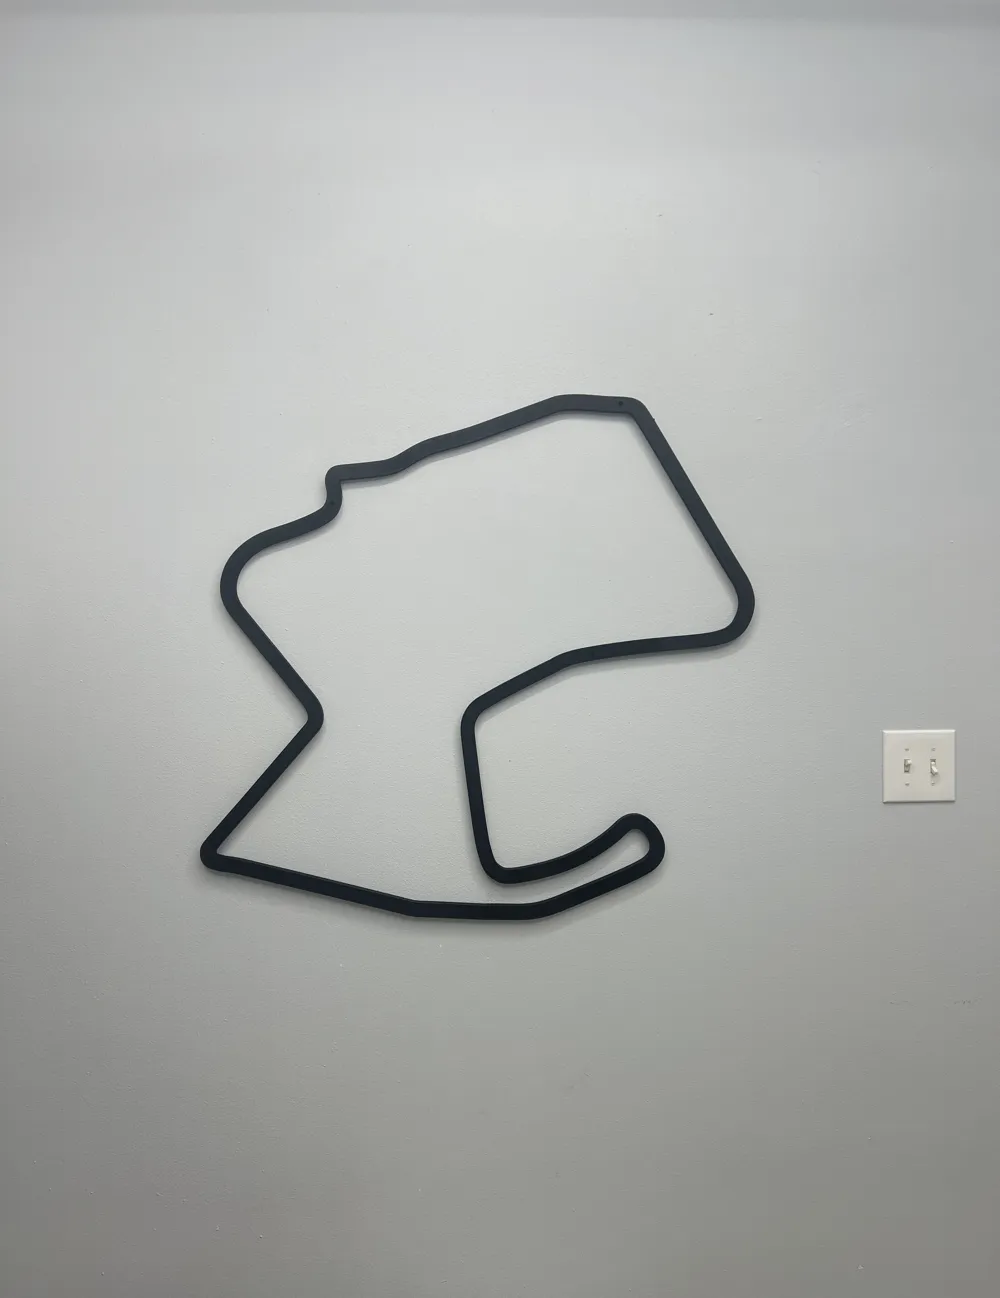
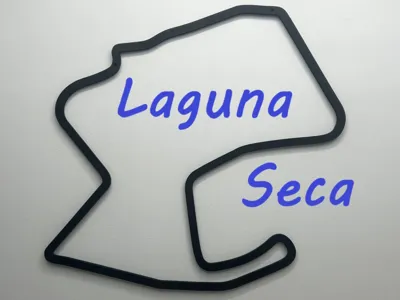
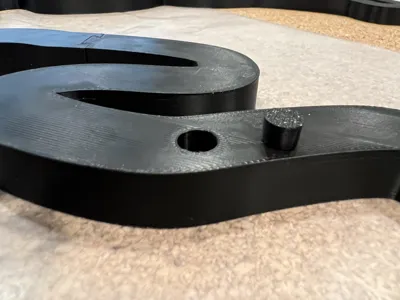
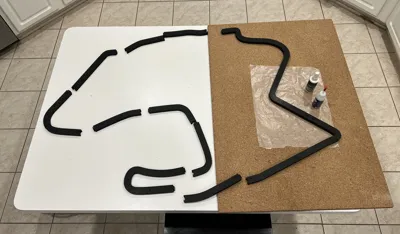
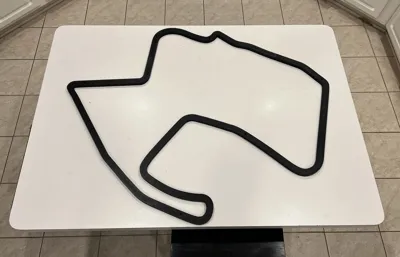
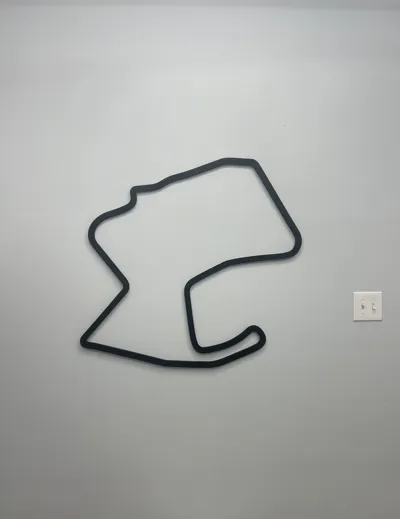
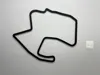
Its been awhile since uploading a track in this print series. I'm happy to share the famous Laguna Seca with you! Its located near Salinas/Monterey, California, Laguna Seca (officially Weather Tech Raceway) is a 2.238-mile road course renowned for its 11 turns, including the famous "Corkscrew" drop. Built in 1957 on former Army land to replace dangerous road races at Pebble Beach, the track hosts elite car (IndyCar, IMSA, historic racing) and motorcycle (MotoAmerica, World Superbike) events. This print is huge (for scale the island in the photos is 36in x 50in) each segment is .950in wide and .600in thick. Assembly is pretty easy, I have included a few instructions and gluing tips below.
Dimensions:
Approx. 36in x 42 in
This is a LARGE model, I would caution scaling it down due to the close dovetail connection tolerance.
Print Specifications:
PLA
0.4 mm nozzle
0.2 mm layer height
2 wall loops
5% infill
no supports needed
Assembly Instructions:
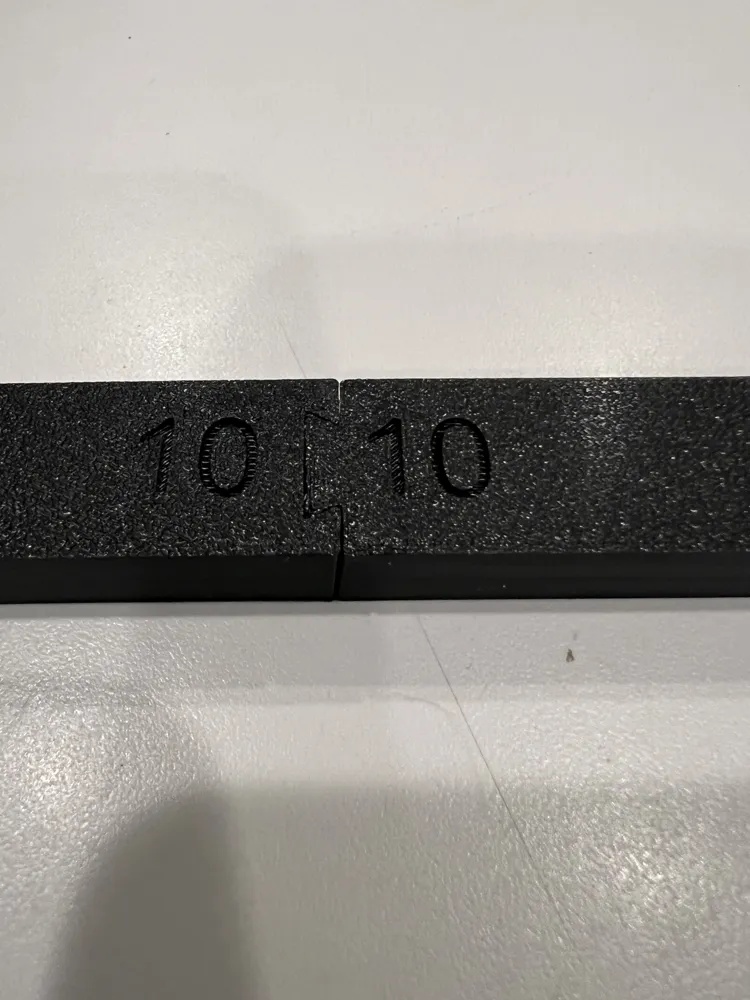
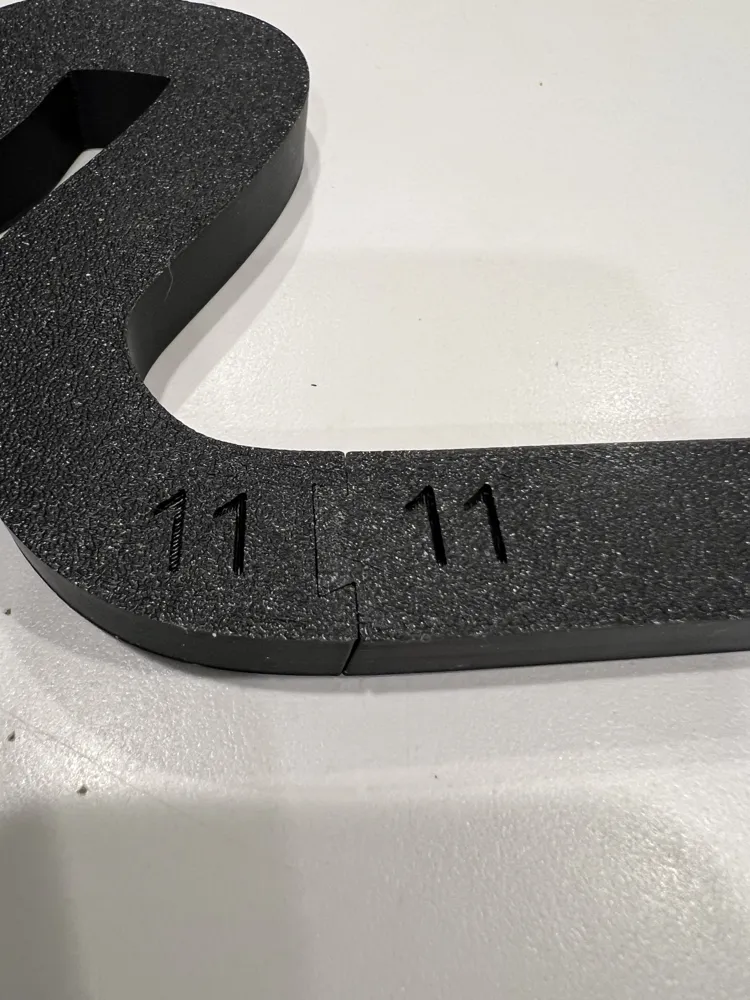
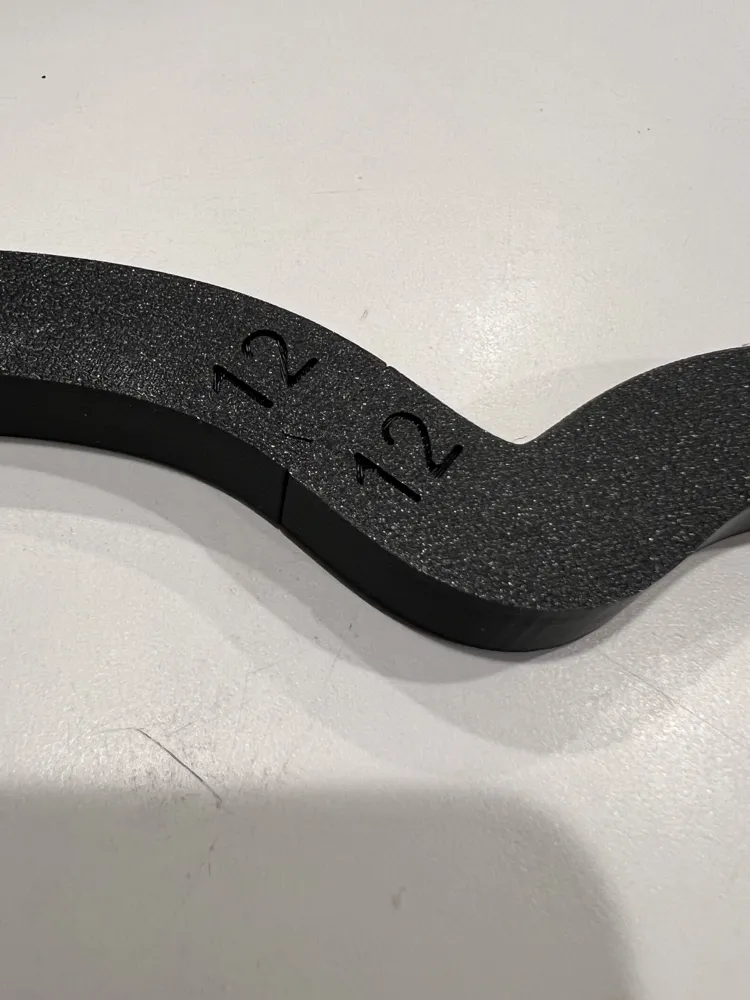
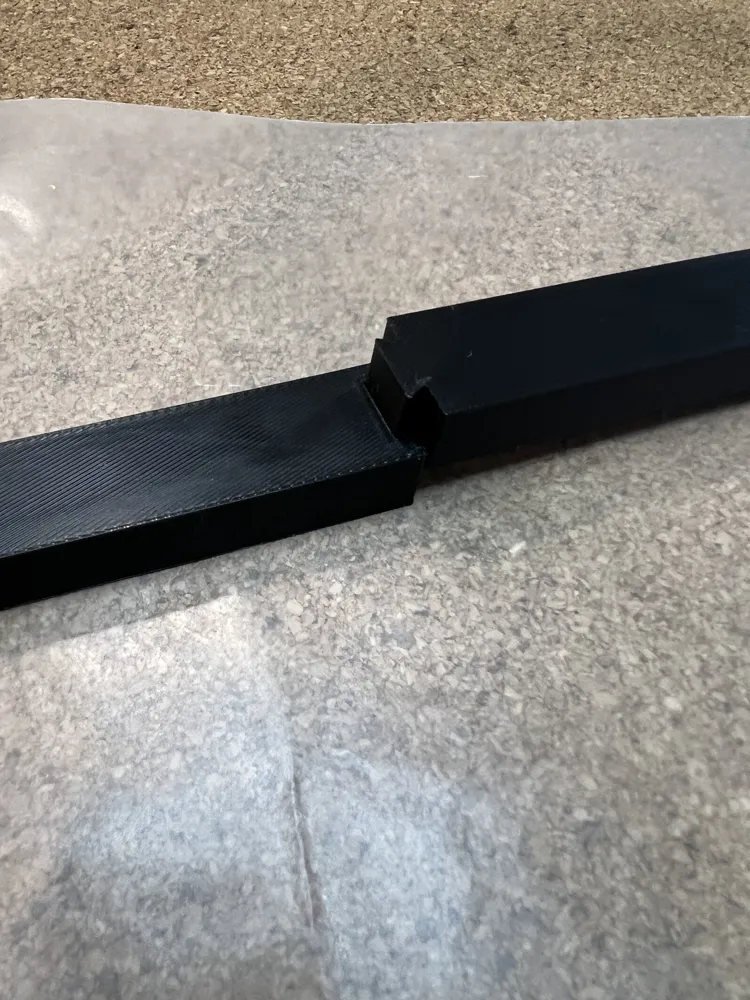
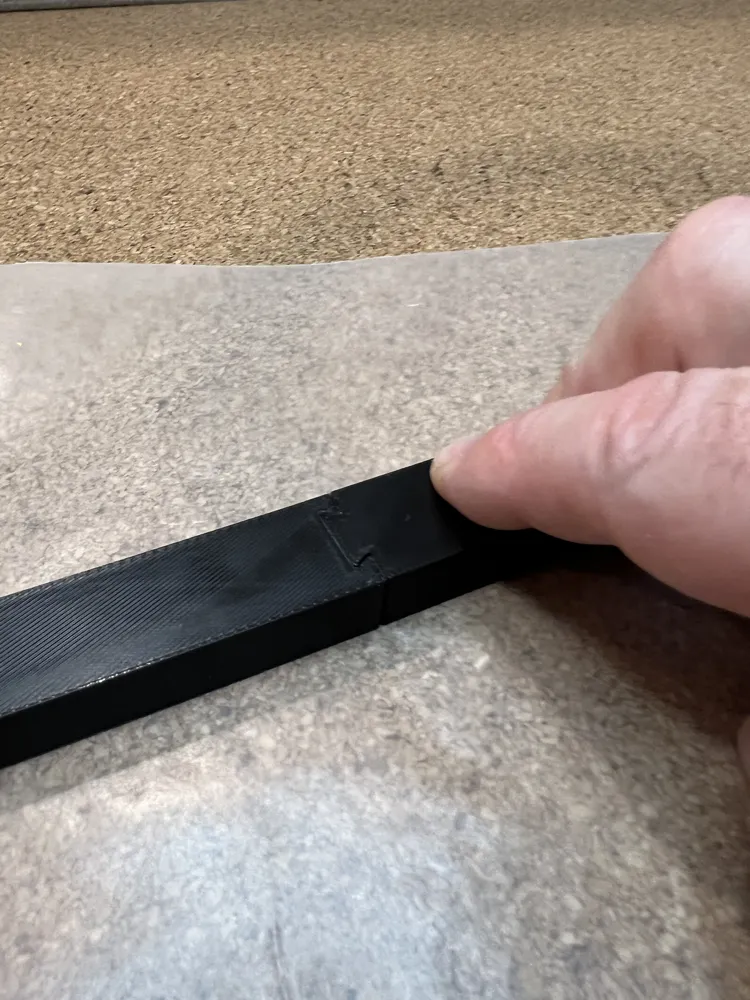
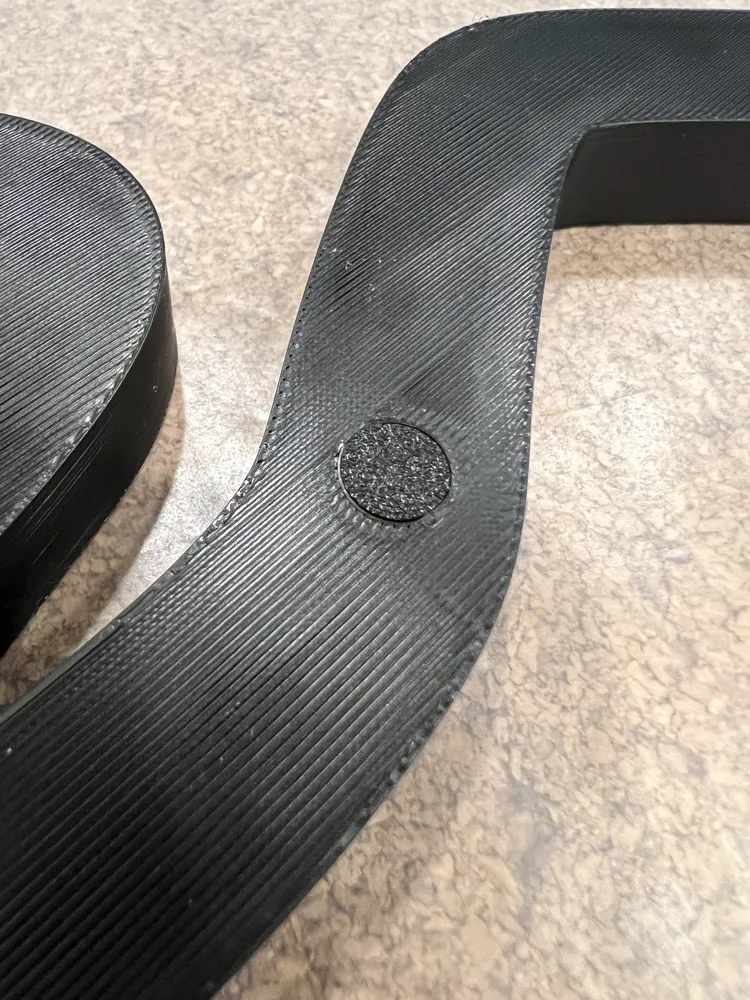
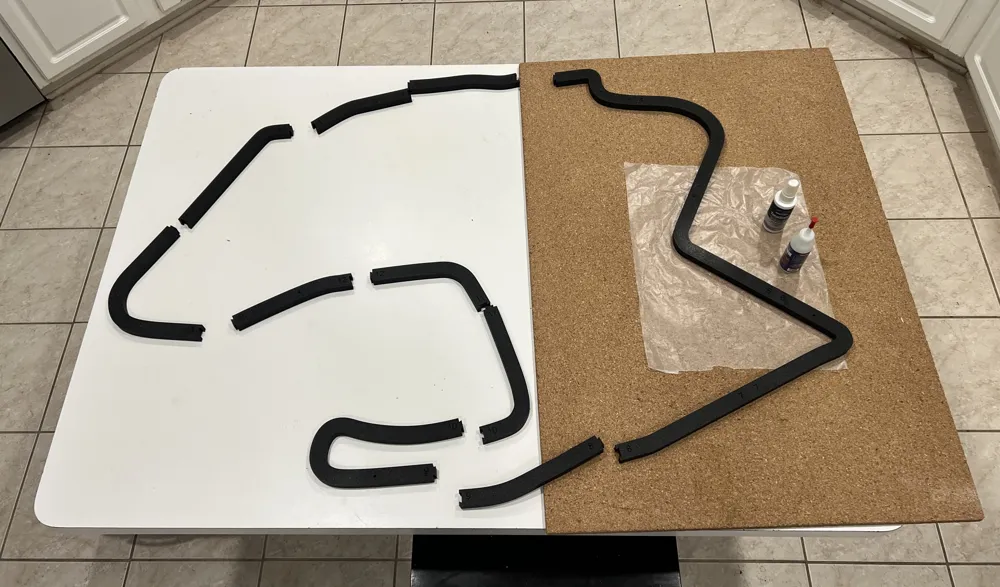
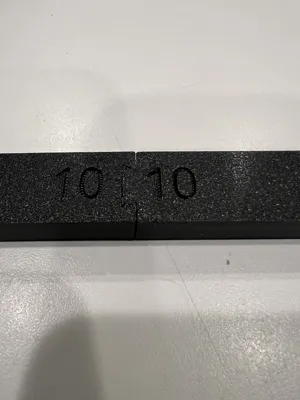
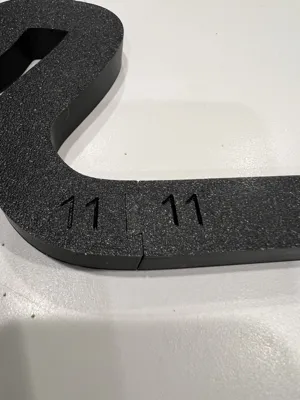
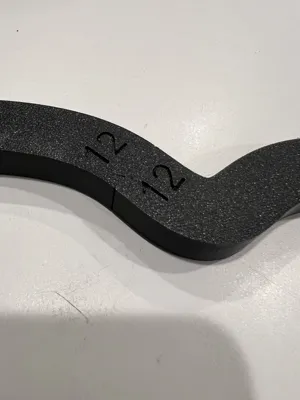
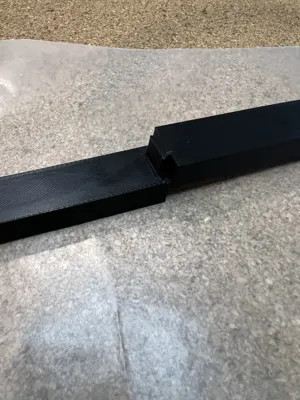
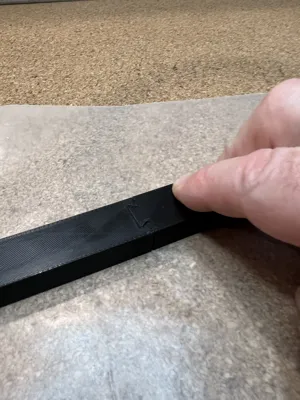
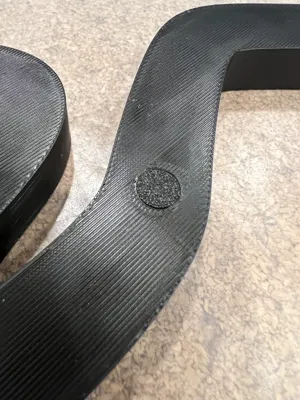
I think this print is beginner friendly, it does however have interlocking pieces that you will need to fit together. Each piece is clearly marked on the back with a corresponding number. Because the dovetails are the same size it is important to have the pieces laid out correctly before assembly . Gluing is optional, they will stay together without. There are 5 recessed and countersunk screw holes for mounting (I used #6 1 5/8 sheetrock screws) For a more finished look after mounting there are also optional plugs, they are tapered and the side that was down when printed goes out when installing, DO NOT GLUE THEM IN. They can be removed later by running the tip of a screw in the center and pulling them out, it will damage them and they will need to be replaced, this is the reason they are on their own plate.
Pro Gluing Tips:
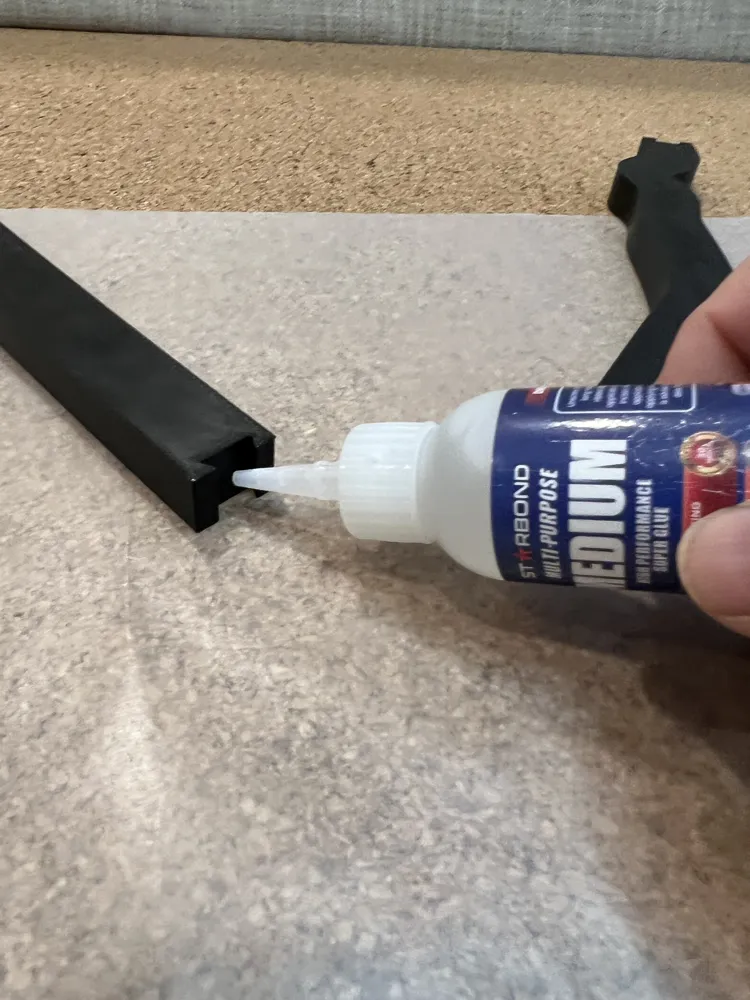
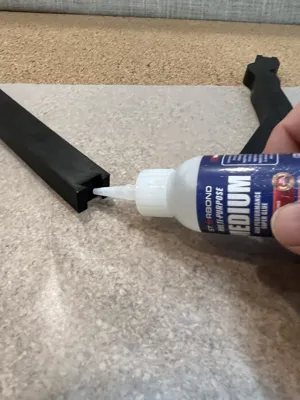
Test fit the pieces before gluing, If needed, de-burr any sharp edges. (a nail file works great) Apply a drop of glue about halfway down the joint to only one piece, place that piece with the front facing up on a flat surface and wax paper underneath. Spray the other joining piece with accelerator (optional) and slide down onto the piece laying on the wax paper. Any squeeze out will be on the back side and out of view. It will assure they are even as well.
Boost Me (for free)
If you enjoy my models, please consider following me, leaving a comment, like, and Boost!
Link to my models:
https://makerworld.com/en/@Little_Eddy_M/upload
Instagram link:
https://www.instagram.com/lem_little_eddy_m?igsh=MWl3NHloOTBiaHY3OQ%3D%3D&utm_source=qr
YouTube:
https://www.youtube.com/@LittleEddyM
DISCLAIMER:
I design models for fun, the files are posted for “PERSONAL USE ONLY” and are provided ”AS - IS" without warranty of safety or functionality. CAUTION!! some models have small parts, pieces could break off or come loose causing a choking hazard, always use extra care monitoring your children when playing with them.
License

You shall not share, sub-license, sell, rent, host, transfer, or distribute in any way the digital or 3D printed versions of this object, nor any other derivative work of this object in its digital or physical format (including - but not limited to - remixes of this object, and hosting on other digital platforms). The objects may not be used without permission in any way whatsoever in which you charge money, or collect fees.


Comment & Rating (0)