
Aesthetic Desktop Air Purifier
Print Profile(1)

Bill of Materials


Description
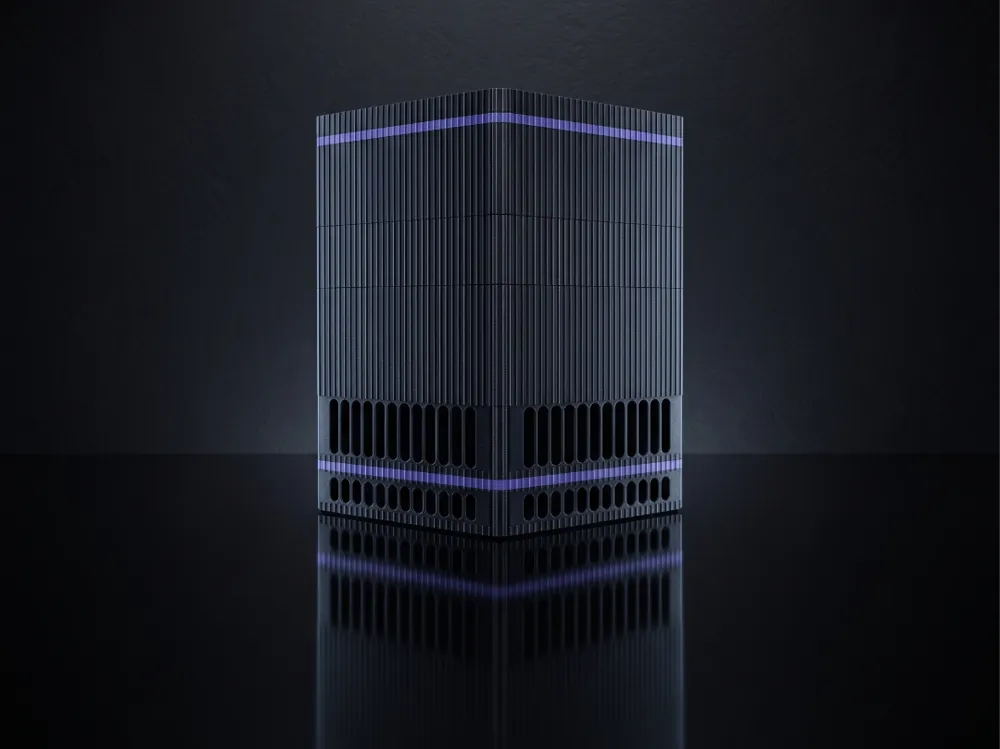
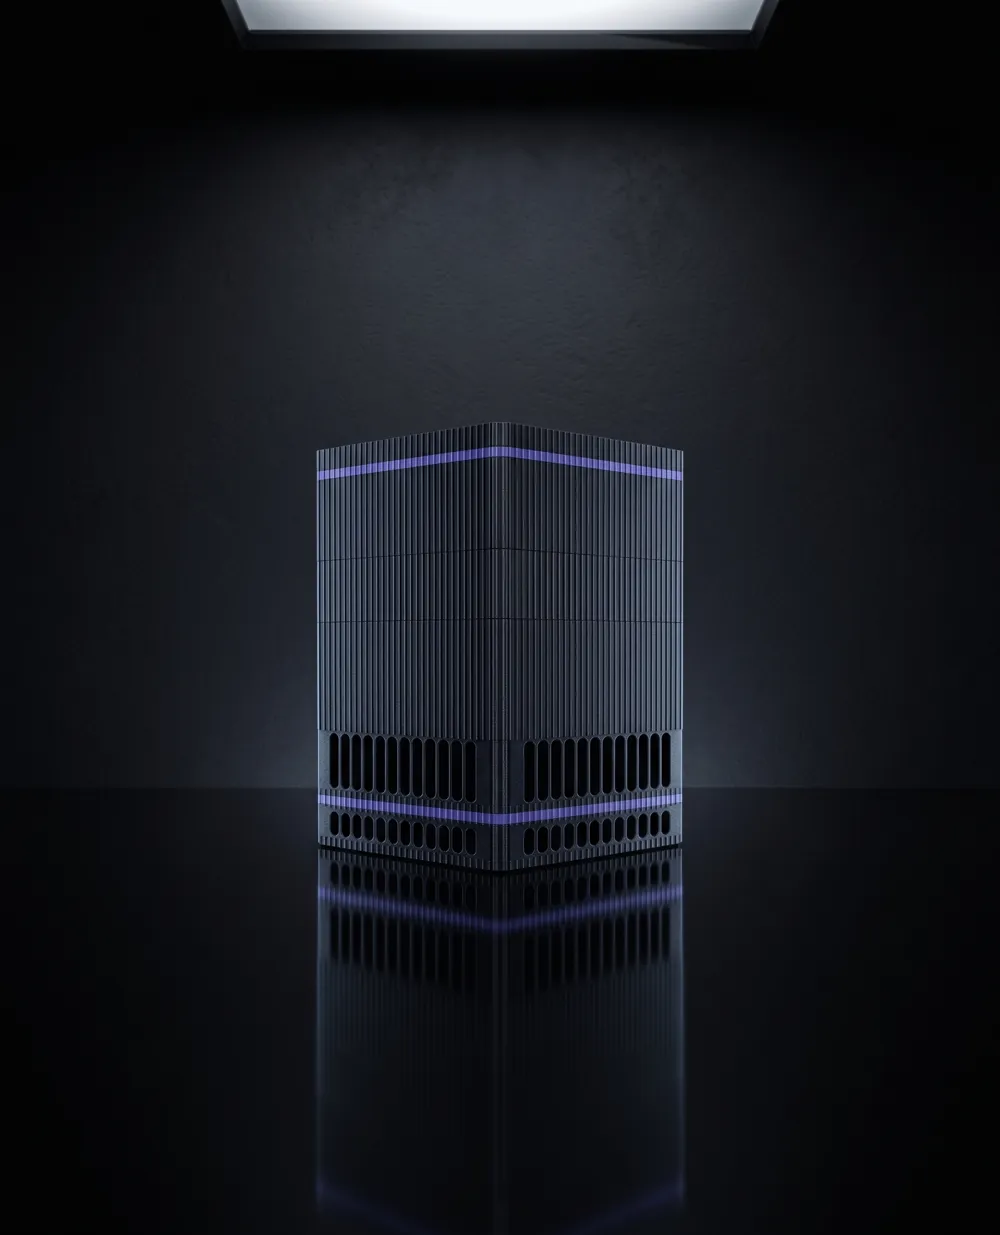
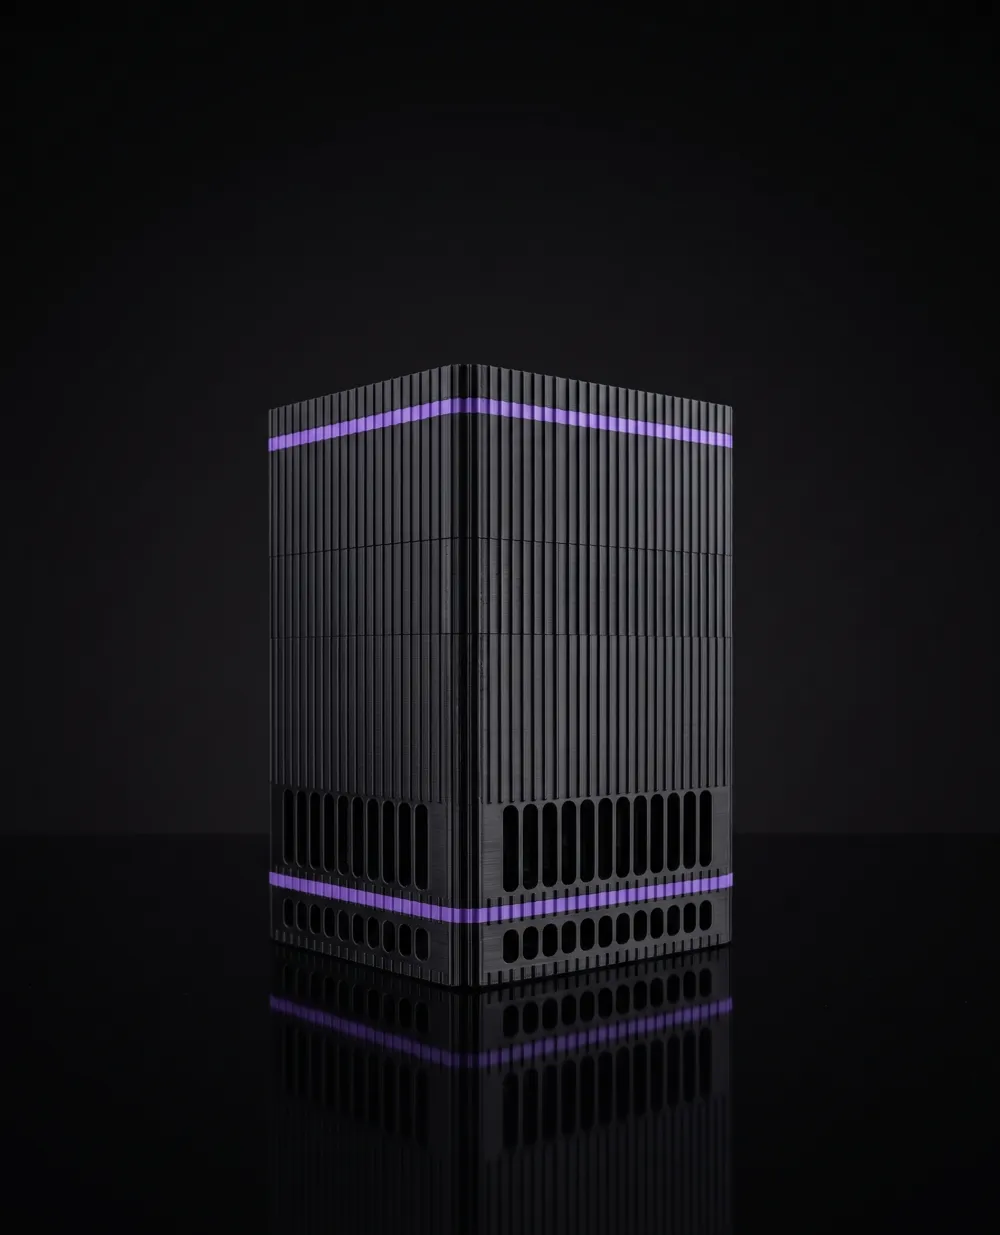
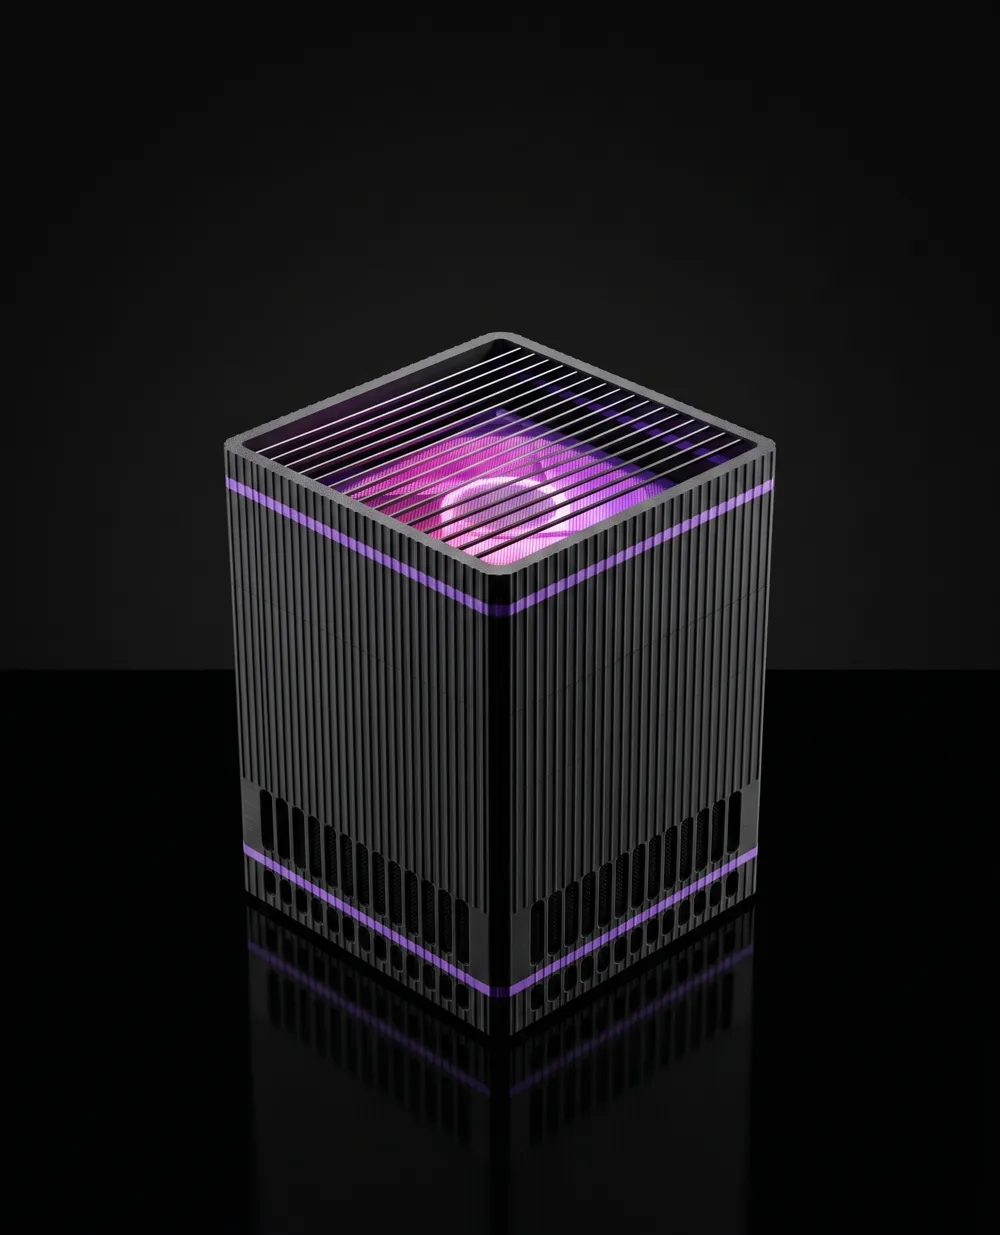
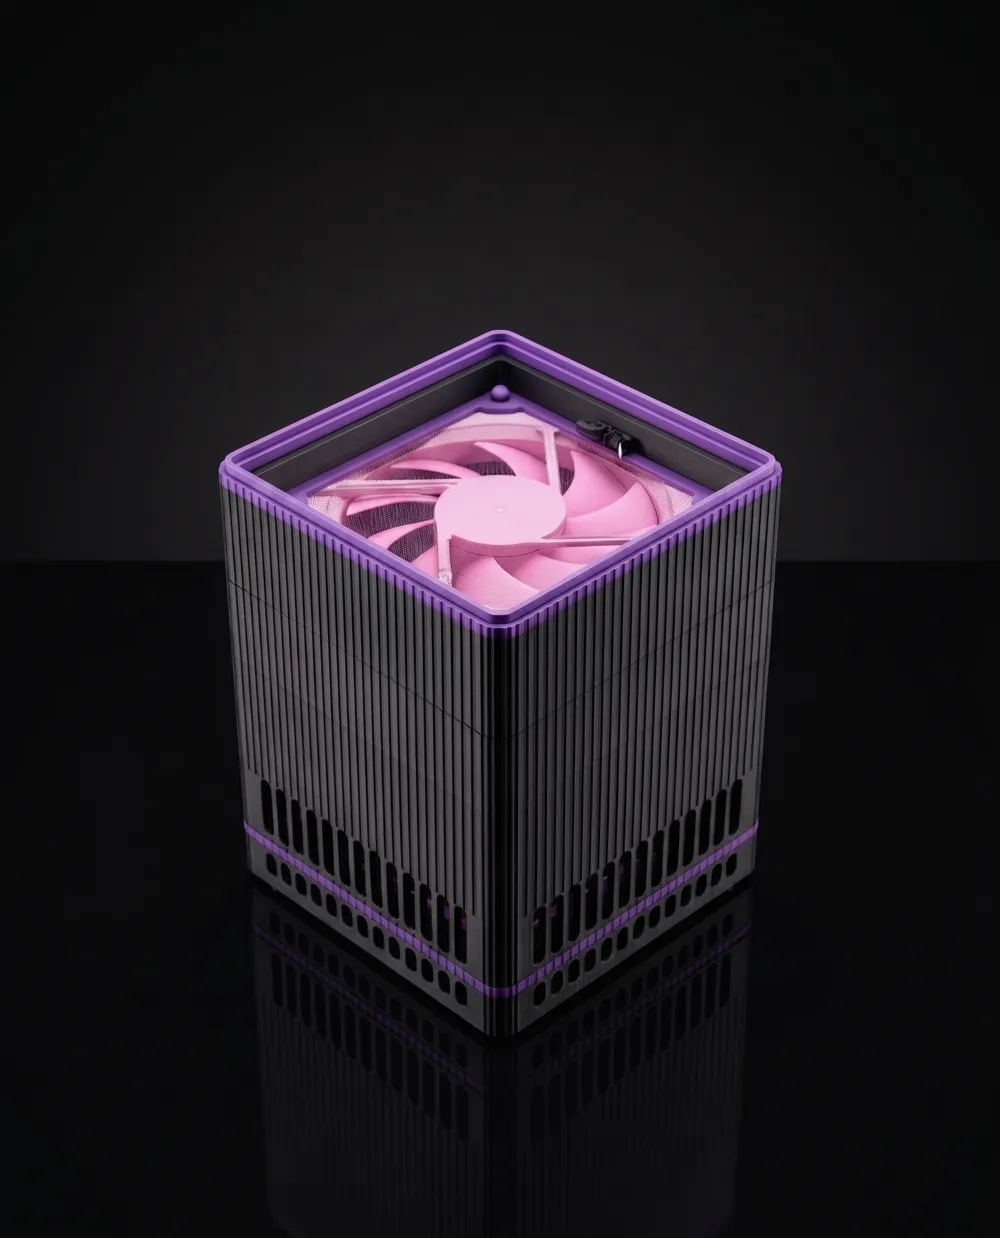
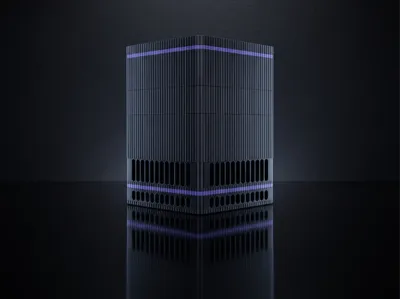
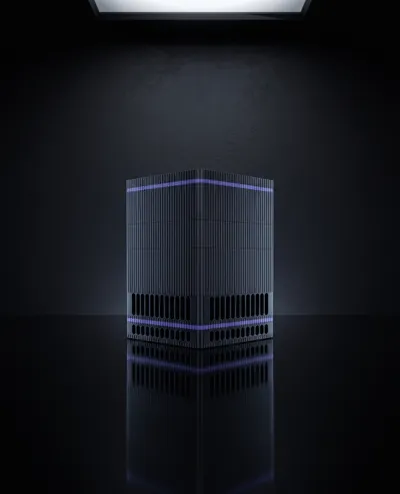
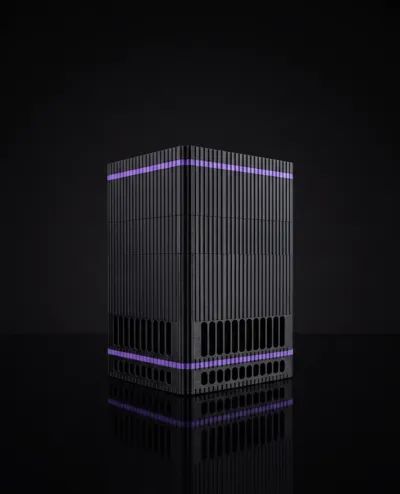
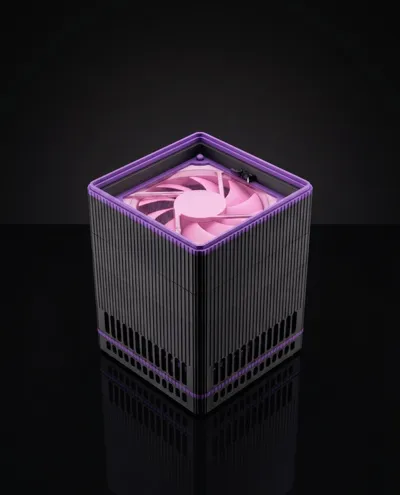
🌟 Breathe Cleaner Air with the Ultimate Modular Purifier! Tired of expensive and ugly commercial air purifiers? This fully 3D-printable, modular desktop air purifier is engineered for maximum airflow, aesthetic appeal, and zero air leaks. It utilizes a powerful 140mm PC fan to pull air through both a Carbon layer and a True HEPA filter, ensuring your workspace or bedroom is free of dust, odors, and allergens.
🔥 Key Features:
- 100% Support-Free Printing: Thoughtfully designed overhangs and bridges mean you can print every single part without supports!
- Wavy Interlocking System: The HEPA cartridge uses a custom-engineered "Wavy Groove" locking mechanism with a 0.8mm clearance for an airtight, satisfying "click" fit. No screws needed for the filter housing!
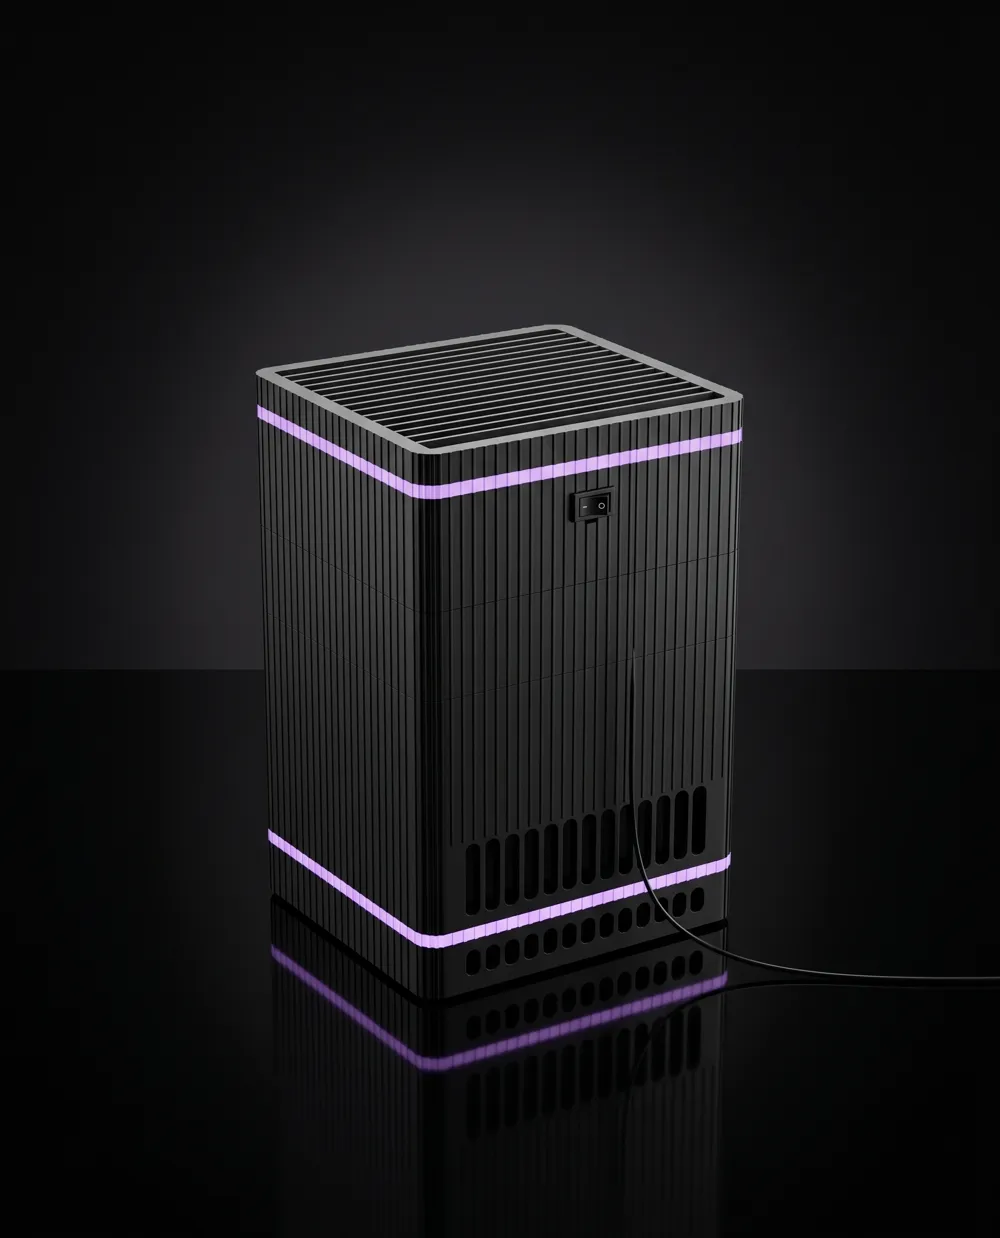
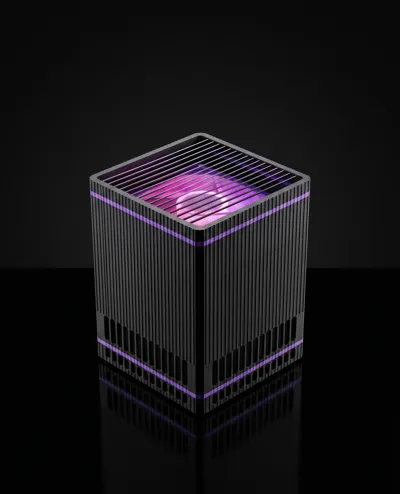
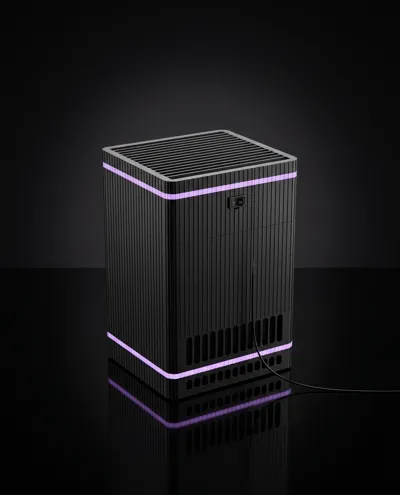
- Modular Stackable Design: Base, Extension, Carbon Chamber, HEPA Chamber, Fan Housing, and a 45-degree Louvered Grille. Stack them easily!
- Aesthetic Accent Rings: Includes 5mm accent rings to customize the look with different filament colors.
- Flush Switch Integration: Side panel features a perfectly sized cutout for a standard KCD1 rocker switch and DC barrel jack.
⚙️ Hardware Requirements (BOM):
- Fan: 1x Arctic P14 Pro PST 140mm Fan (or any standard 140x140x25mm PC fan).
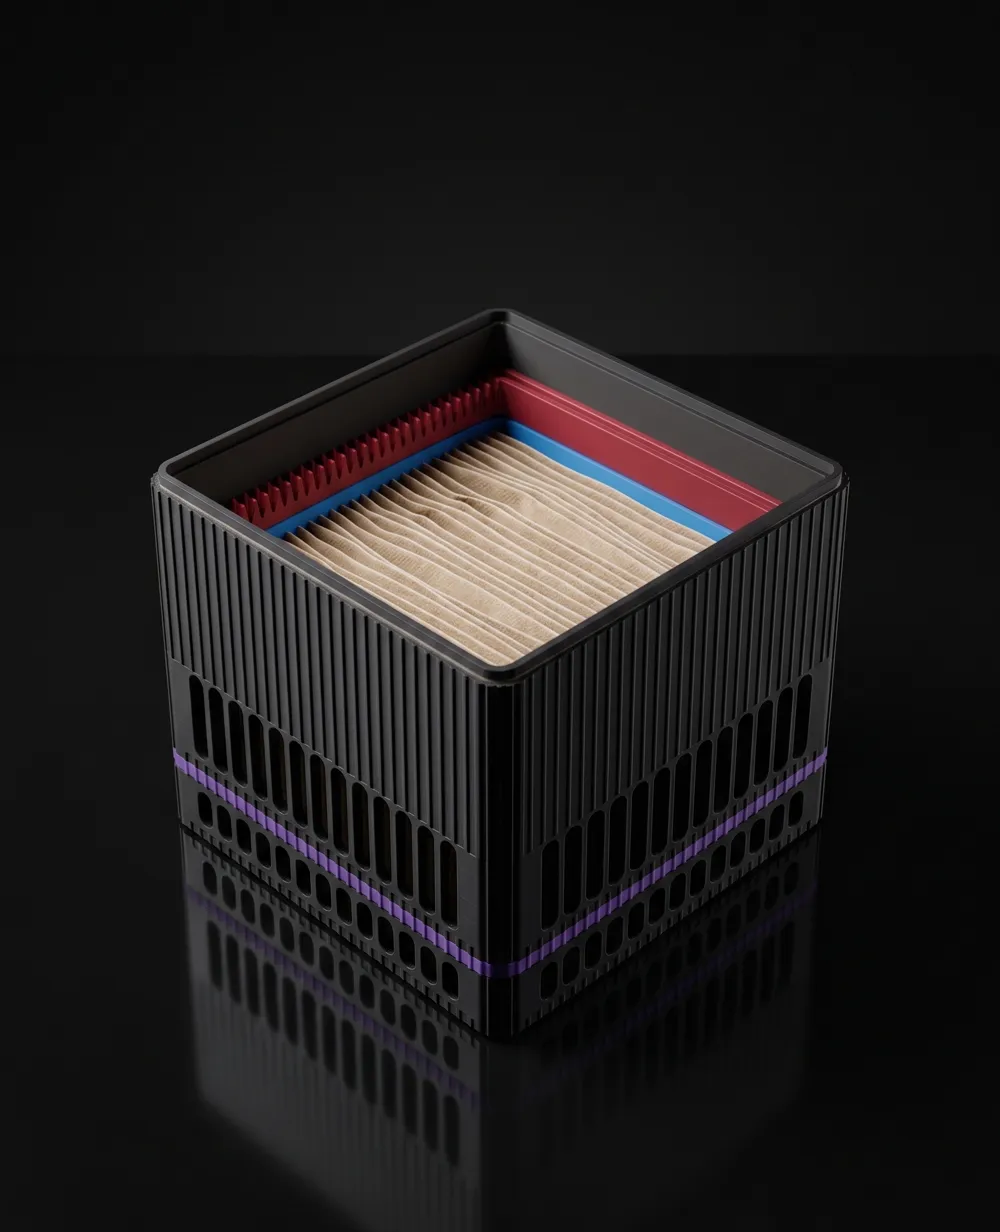
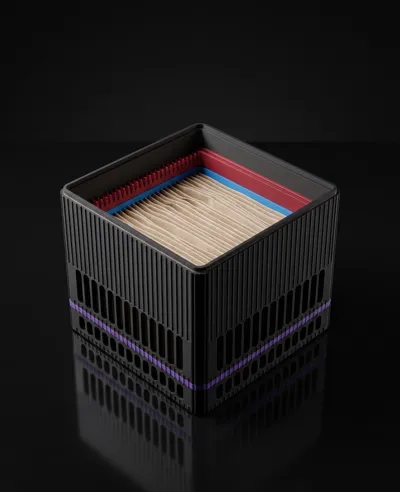
- HEPA Filter: A standard Opel Corsa D cabin/air filter. This is a highly cost-effective and brilliant hack! You just cut it down to 135x135x35mm to fit perfectly.
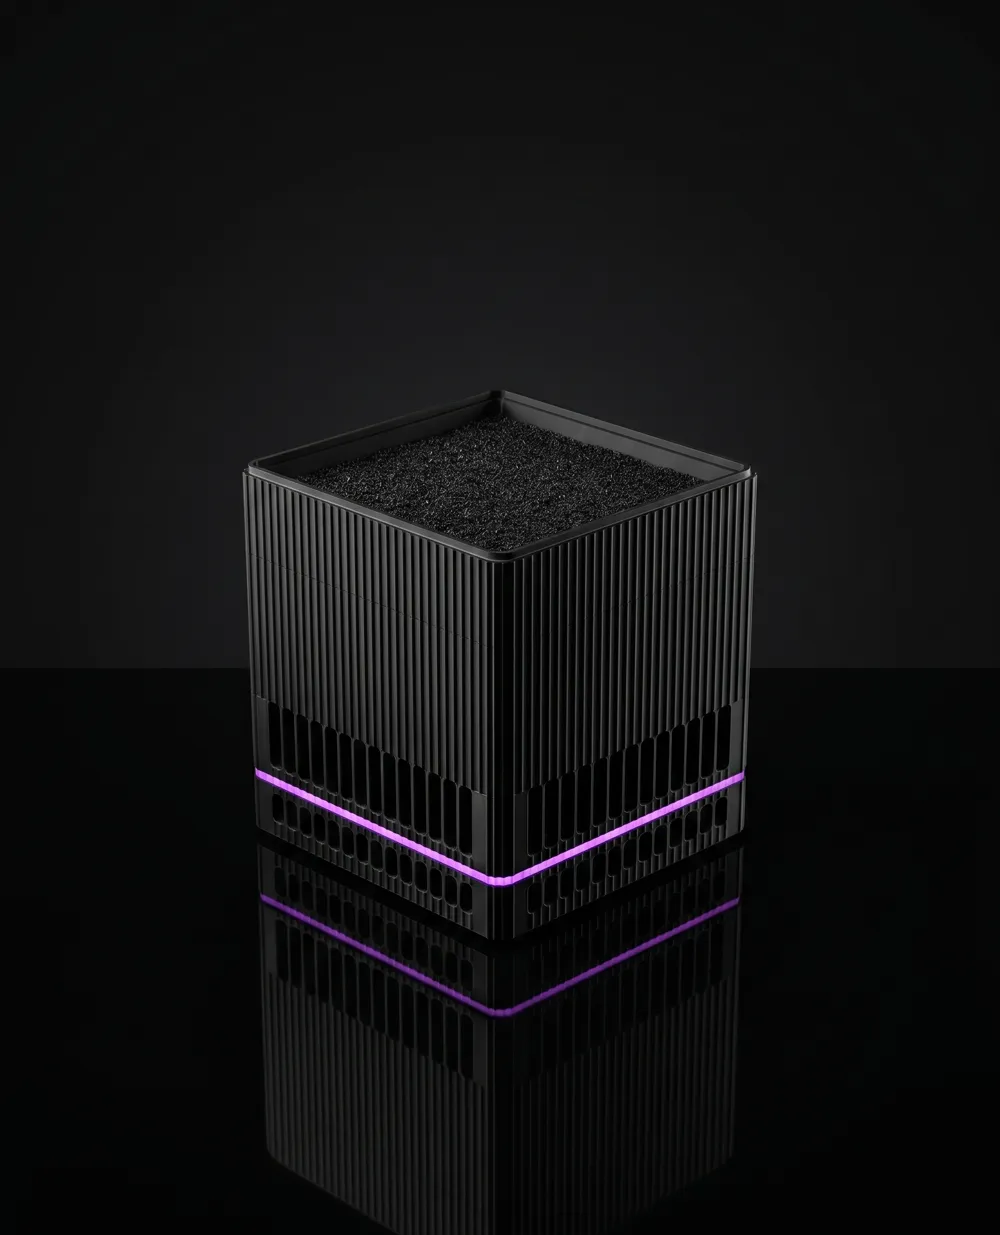
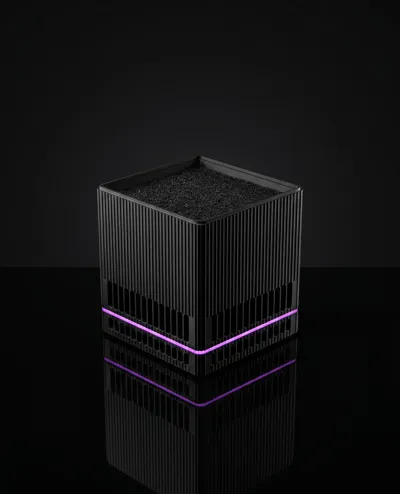
- Carbon Filter: Cut-to-size activated carbon sponge/pad.
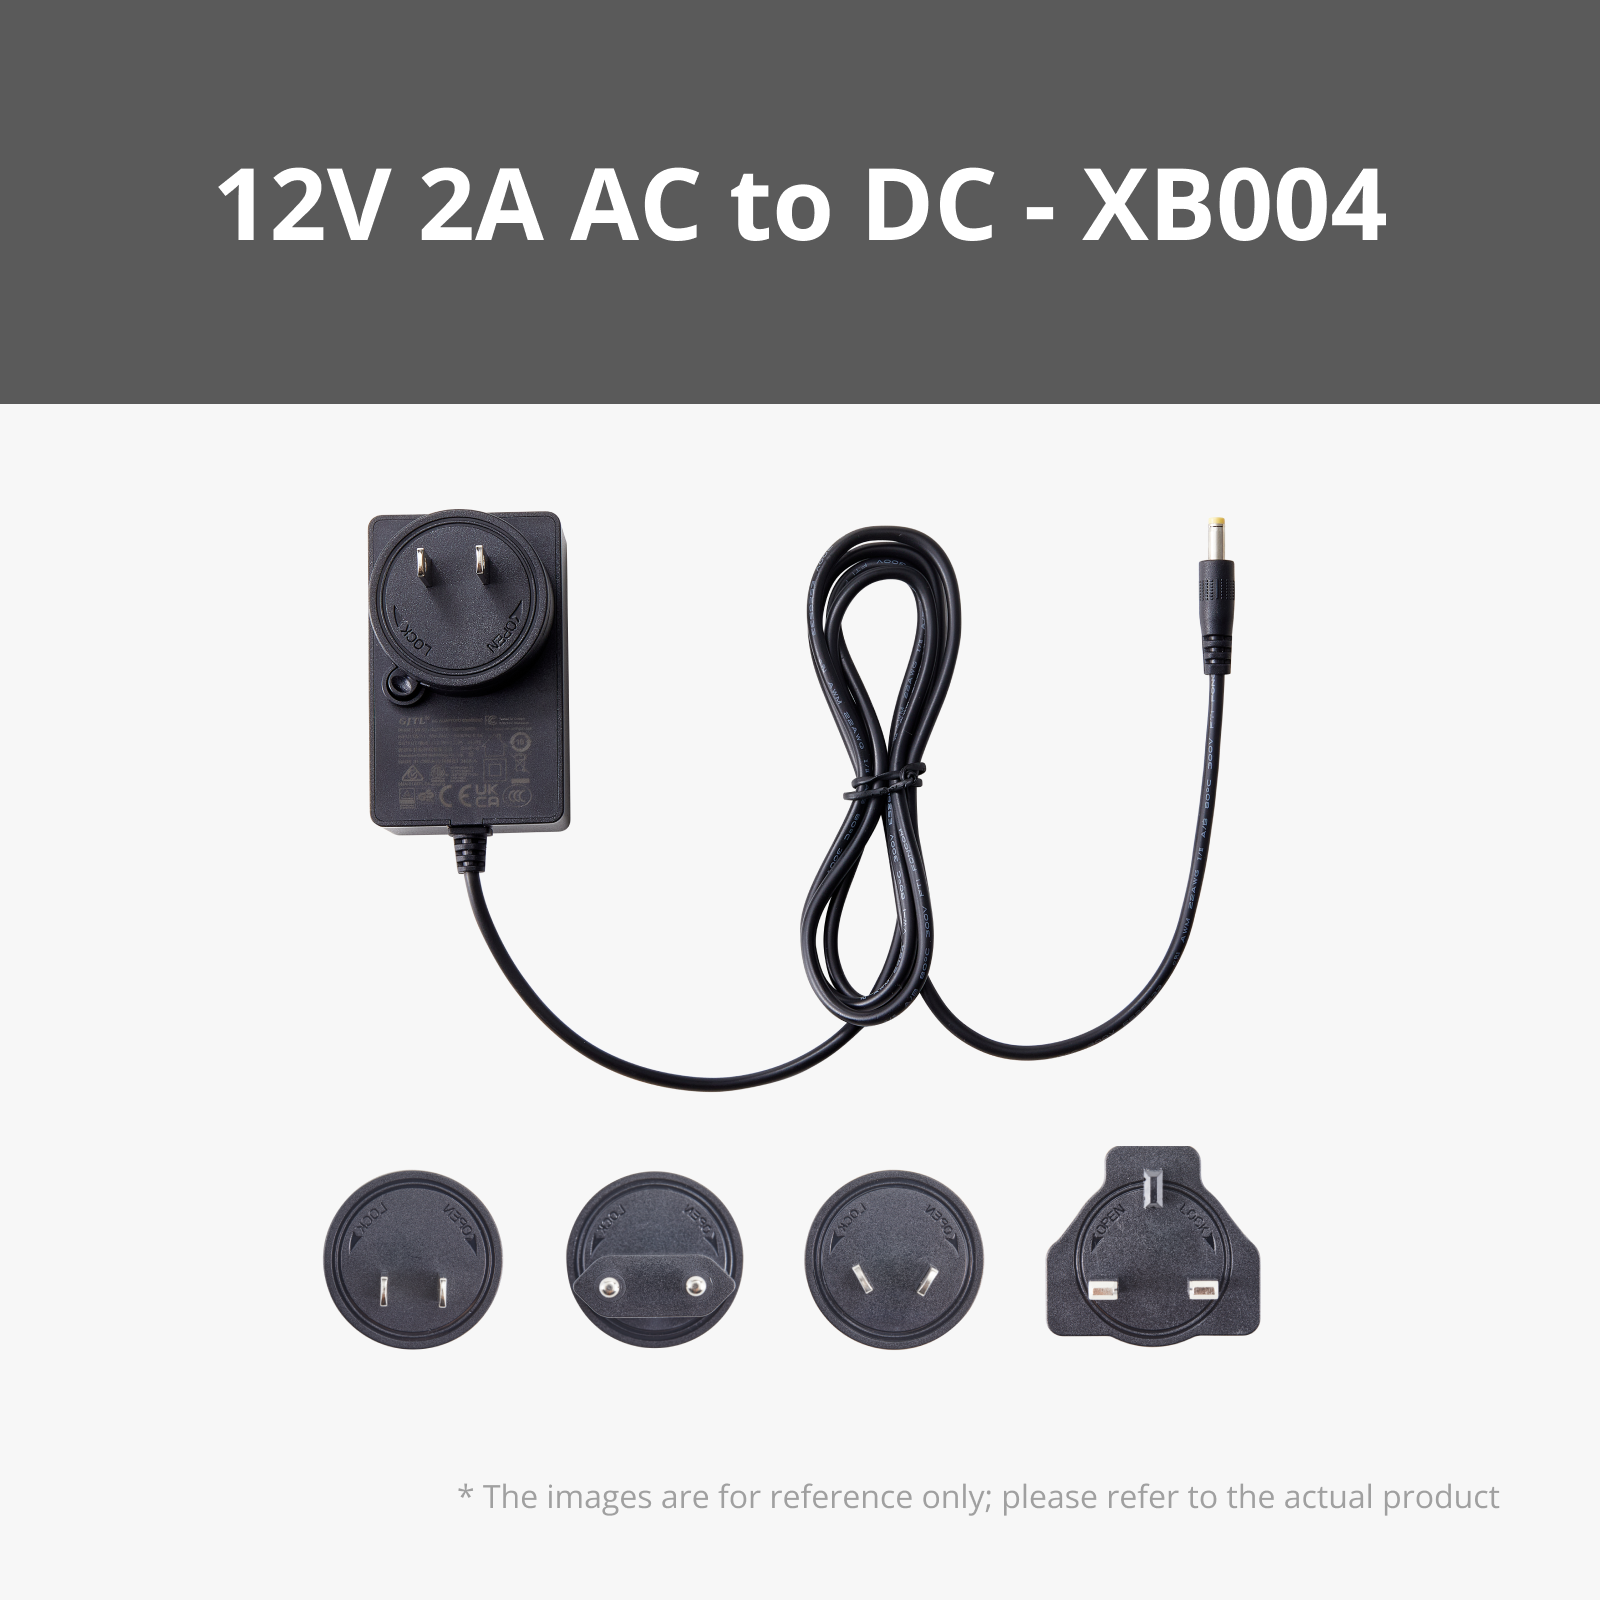
- Power: 1x 12V 1A DC Power Supply + DC Barrel Jack.
- Switch: 1x Mini Rocker Switch (e.g., KCD1 15x10mm).
- Screws: 4x standard PC Fan mounting screws.
🛠️ Assembly Instructions:
- Preparing the HEPA: Take the Opel Corsa D cabin filter and cut a square section measuring exactly 135 x 135mm.
- HEPA Cartridge (Kasnak): Place the cut HEPA filter into the "Bottom Kasnak". Then, take the "Top Kasnak" and press it down over the bottom one. The wavy teeth will interlock with a satisfying click, sealing the raw edges of the filter completely! Drop this assembled cartridge into the main HEPA Chamber.
- Carbon Layer: Cut your carbon filter sponge and place it flat inside the Carbon Chamber.
- Fan Installation: Screw your 140mm fan into the Fan Housing from the top, ensuring the airflow direction pulls air upward through the filters. Wire the fan to your DC jack and Rocker Switch on the side panel.
- Stack It Up: Start with the Base -> Carbon Chamber -> HEPA Chamber -> Fan Housing -> Louvered Grille. Enjoy your clean air!
🖨️ Recommended Print Settings:
- Material: PETG is highly recommended for the Fan Housing (due to slight motor heat), but PLA/PLA+ works perfectly fine for the rest of the body.
- Layer Height: 0.20mm for a perfect balance of speed and quality.
- Wall Loops (Perimeters): 3 (Crucial for an airtight seal and structural rigidity).
- Infill: 15% Gyroid.
- Supports: NONE! (Ensure all flat surfaces are oriented to the build plate).
- Brim: Recommended only for the tall "Wavy" Cartridge parts to prevent any corner warping during long prints.
License

You shall not share, sub-license, sell, rent, host, transfer, or distribute in any way the digital or 3D printed versions of this object, nor any other derivative work of this object in its digital or physical format (including - but not limited to - remixes of this object, and hosting on other digital platforms). The objects may not be used without permission in any way whatsoever in which you charge money, or collect fees.


Comment & Rating (0)