
X2D Filament Track Switch Holder (Flipper compat.)
Print Profile(1)
Bill of Materials




Description
Check out my latest new model - the AMS HT mount for X2D/P2S Standalone or AMS Flipper compatible with my X2D Filament Track Switch Holder and Cable Organizer for AMS HT side-mount.
Boost Me (for free)
If my model was helpful, I always appreciate a thanks, a note, or even a boost :)
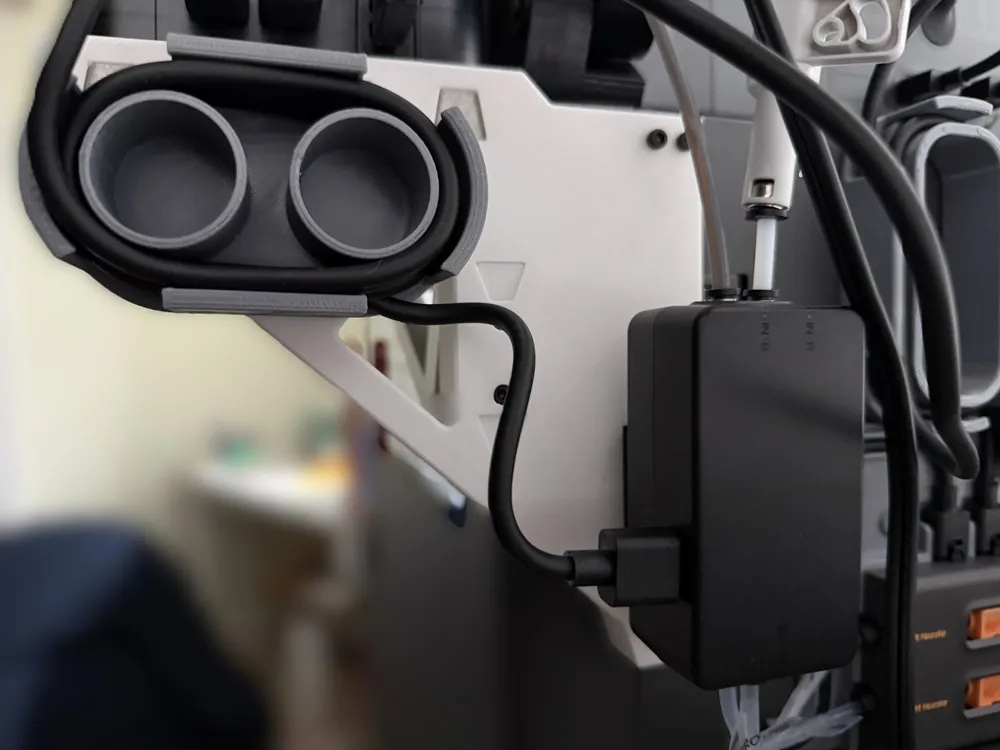
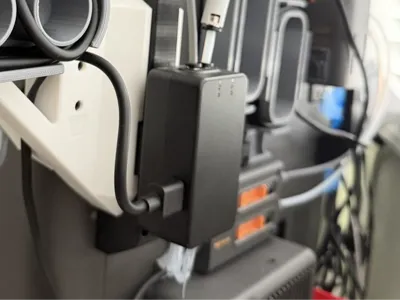
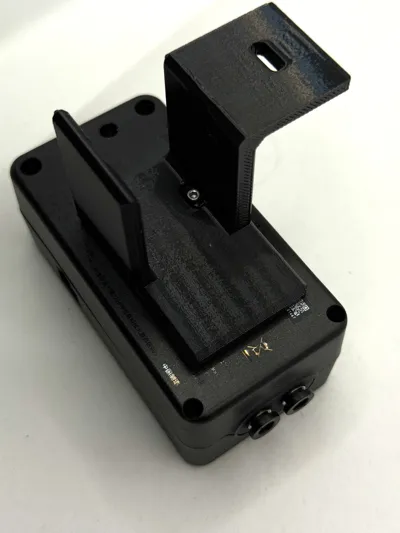
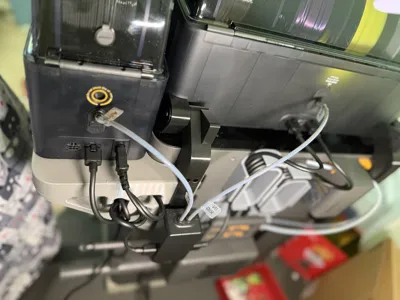
X2D Filament Track Switch mount (AMS Flipper compatible)
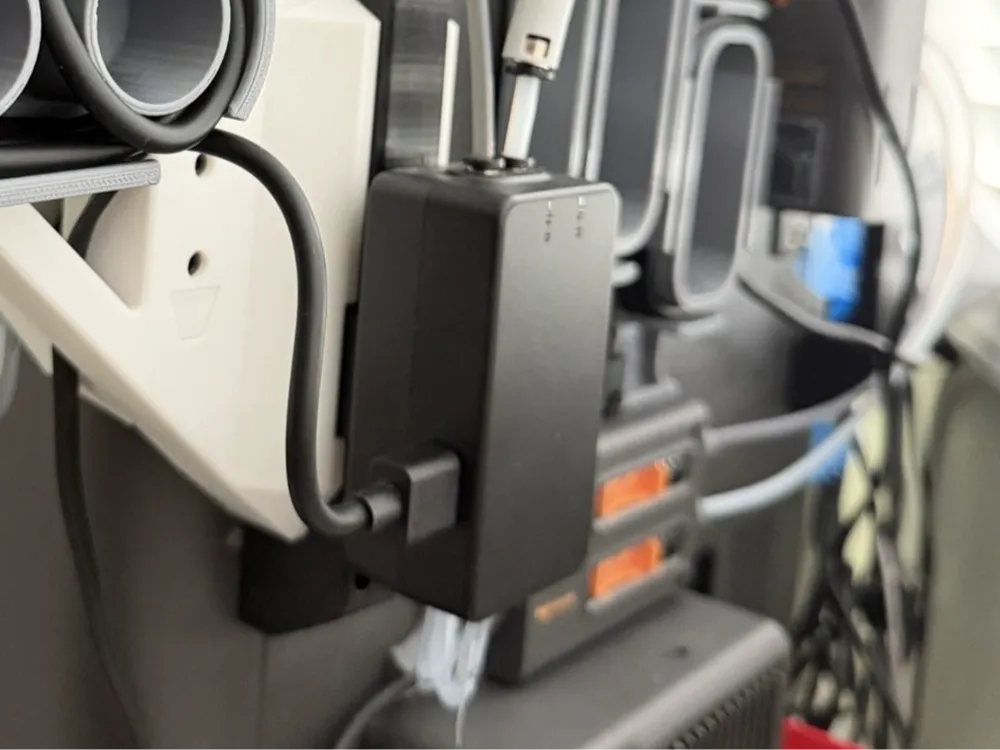
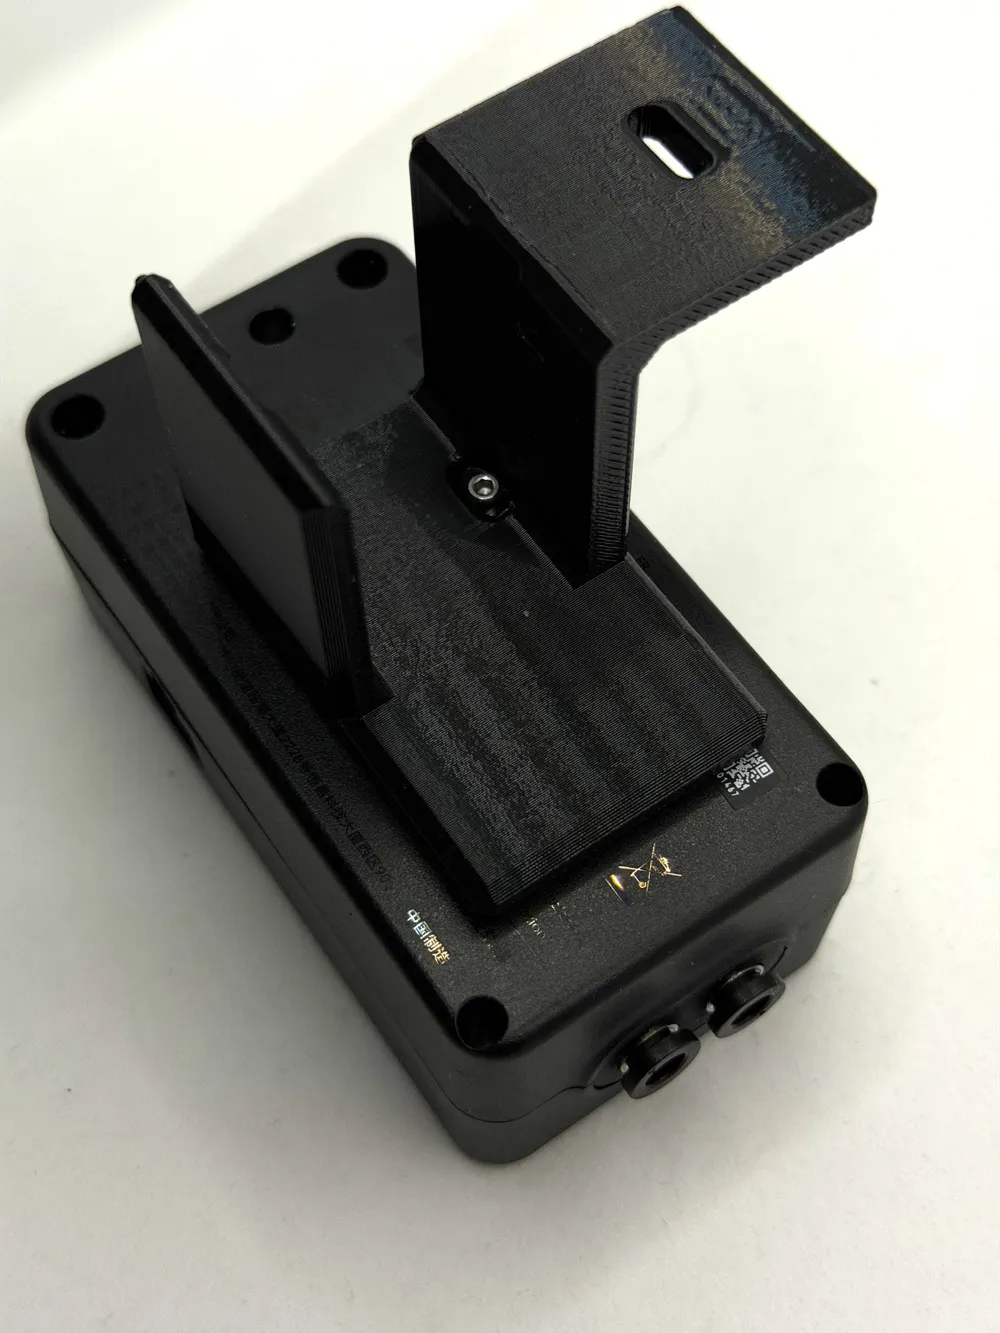
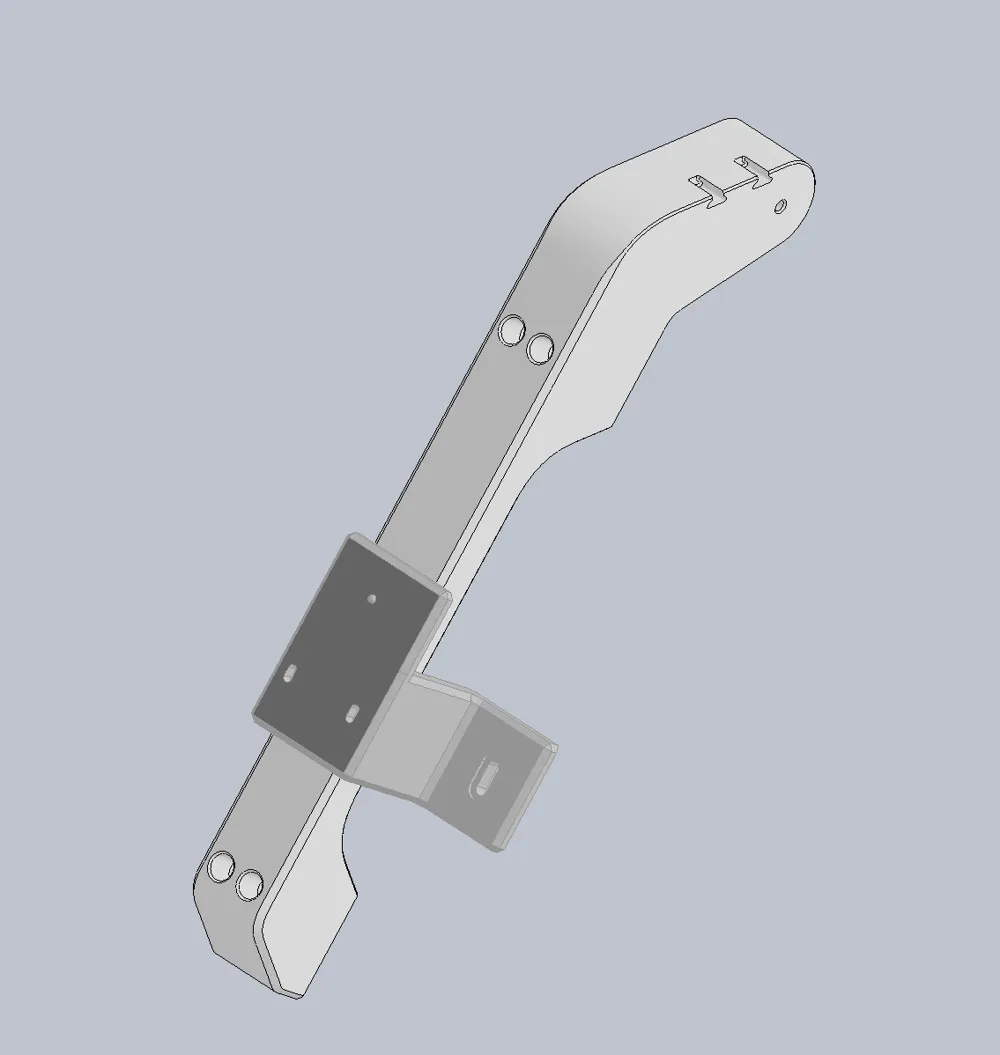
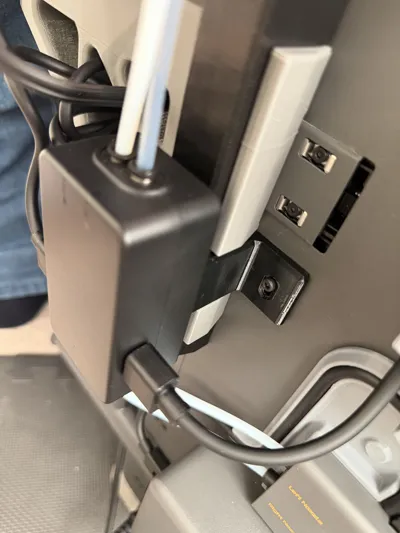
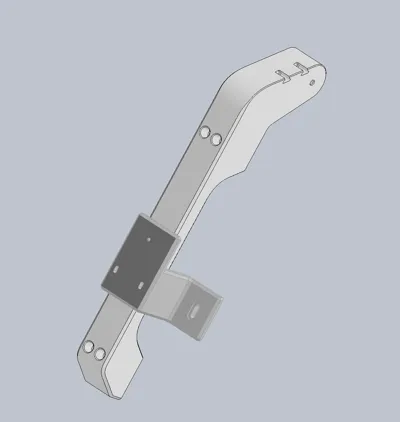
This is an adapter to mount the new Filament Track Switch for the new X2D. The model is fully compatible with the AMS Flipper mount for X2D/P2S with AMS Pro 2 by @Jakob_K_Design, or can be used standalone by itself.
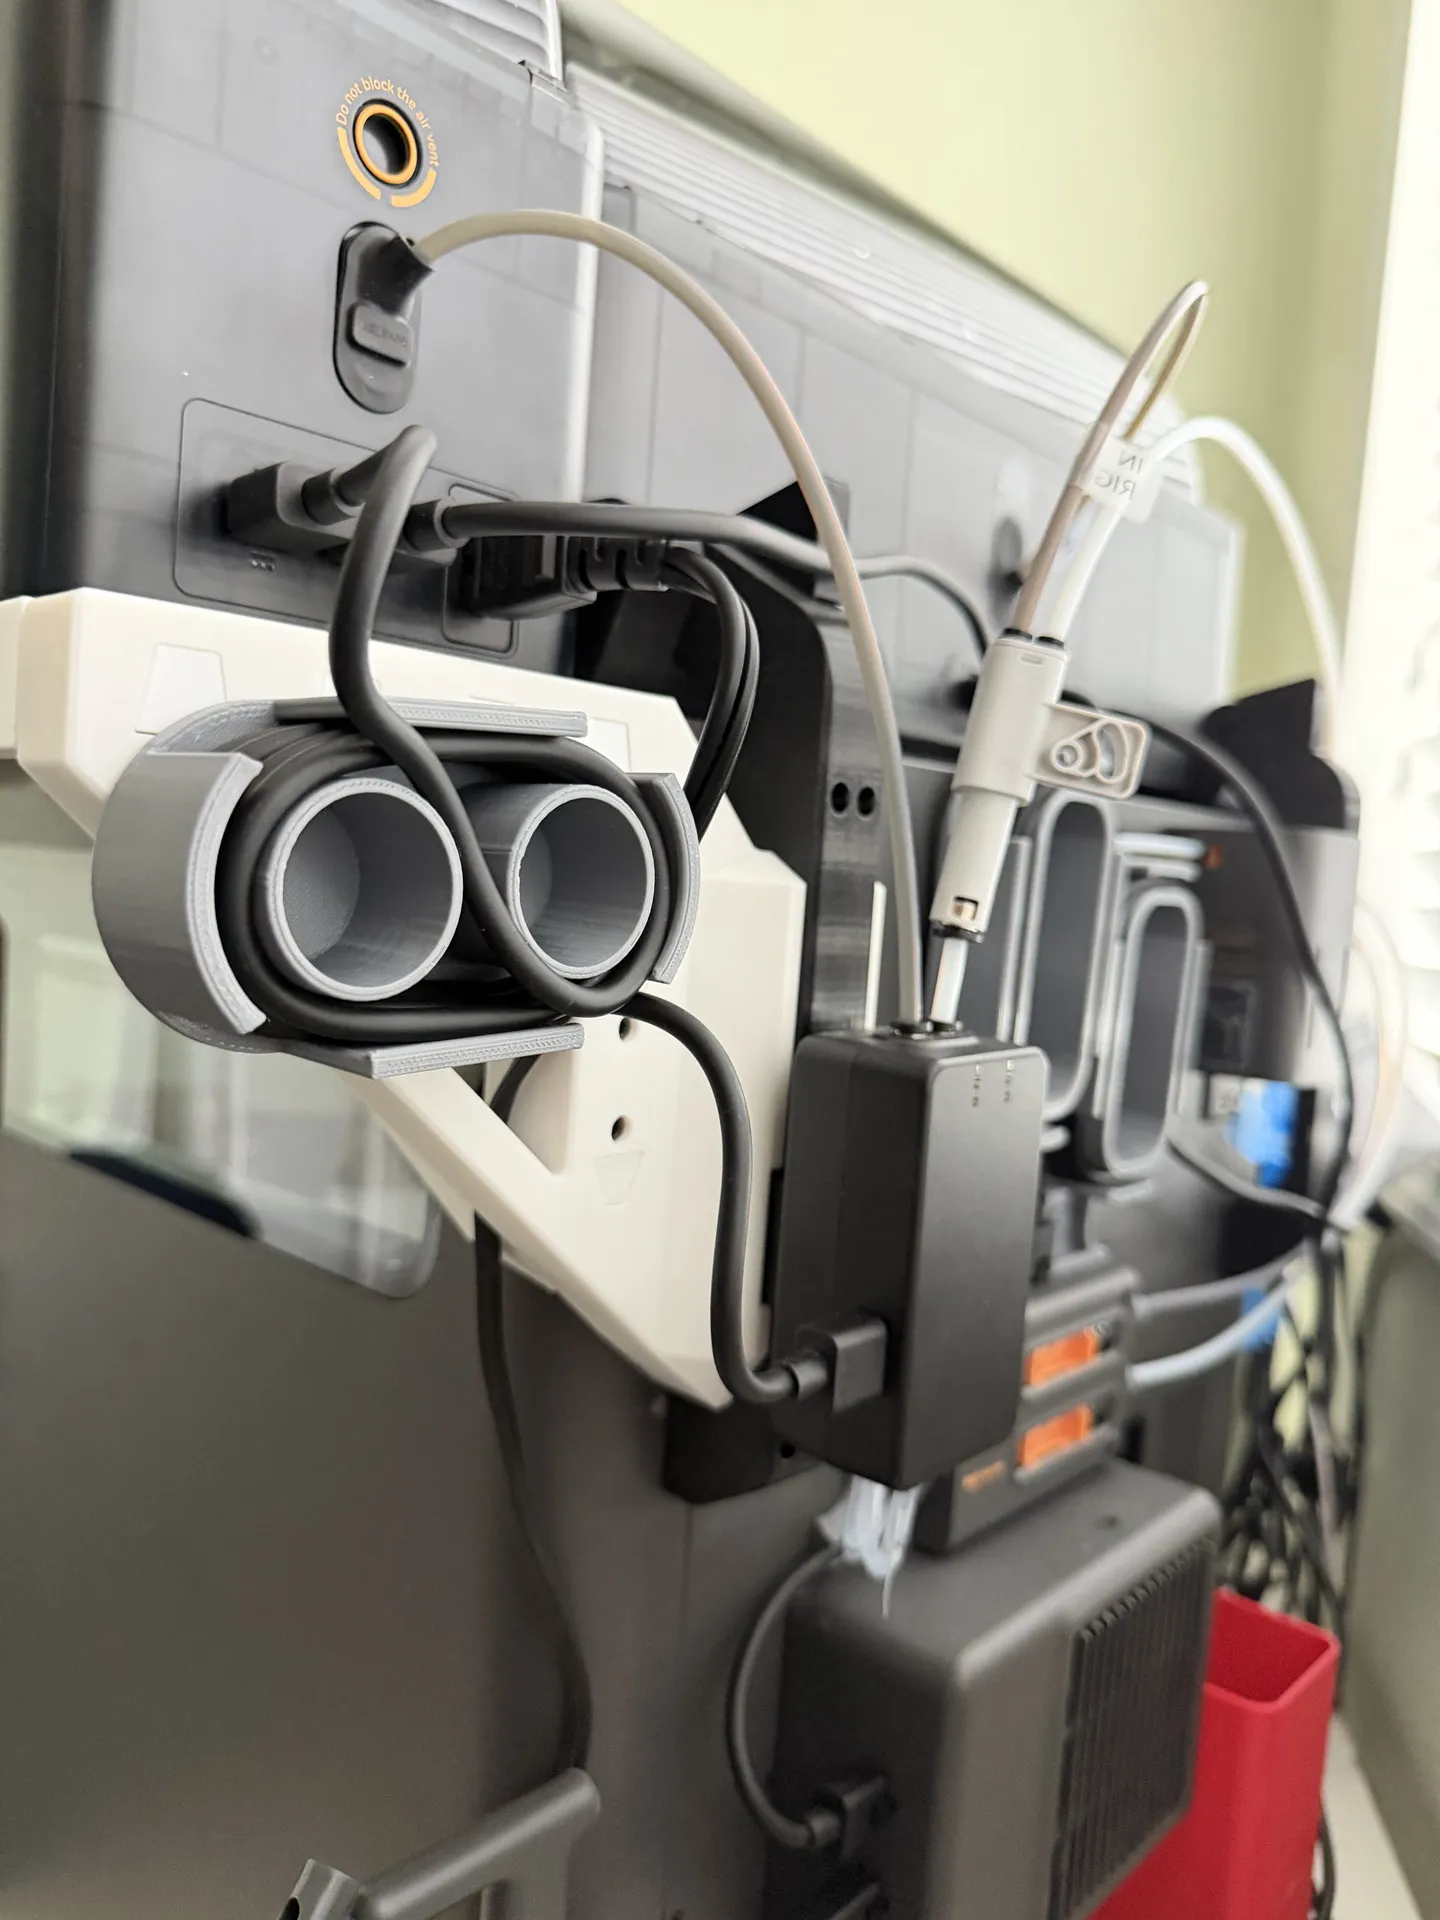
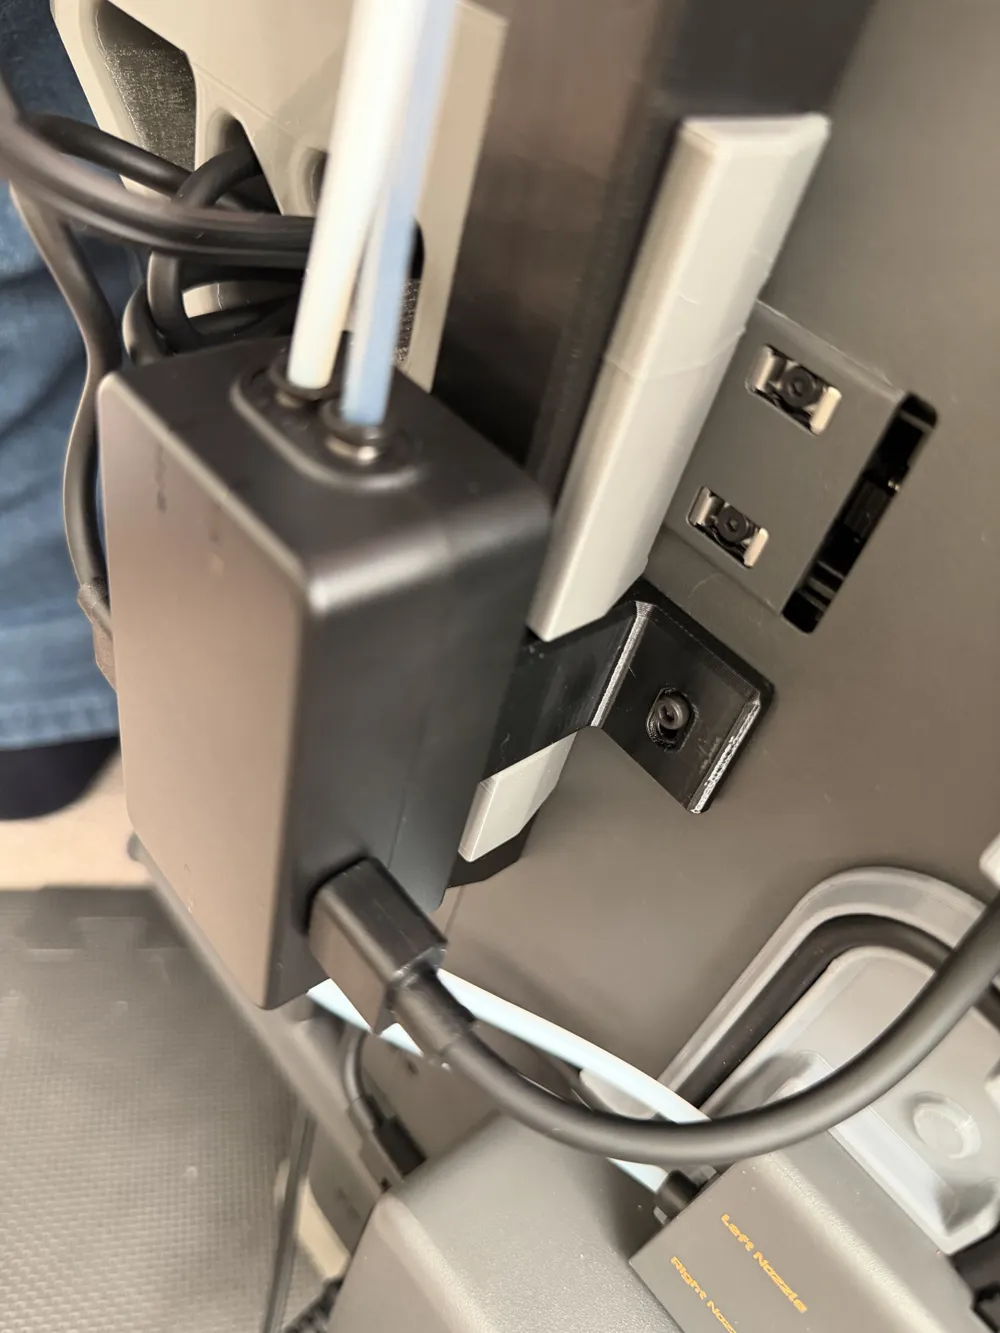
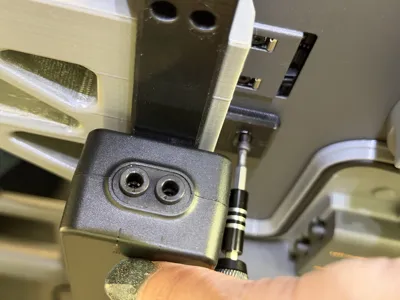
It simply mounts over the left (from the back) AMS Flipper handle and is held in place using the screw that was used to hold the external spool holder, which can be removed from the location at the flipper handle and moved to the bottom of the X2D.
It is also compatible with my (optional) AMS HT mount for X2D/P2S Standalone or AMS Flipper if you want to also mount an AMS-HT to the side of your printer and does not require an AMS Flipper.
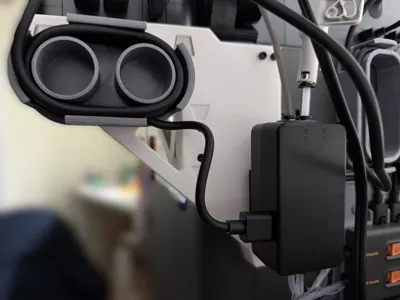
The AMS HT side-mount has cutouts that double as a wire organizer to keep the 6-pin and power chords organized.
And if you want extra neat cable organization, I also have an accompanying cable organizer to organize the cable between the track switch and extra AMS units like an AMS HT.
Installation
The installation is very simple and quick and can be done in a few minutes.
Parts required:
- AMS Filament Track Switch from Bambu Lab
- 1x M3x10mm Allen Screw to attach the mount to the back of the X2D frame
- 2x small silver BT2x8mm mounting screws (come with the Filament Track Switch)
- 2x PTFE tubes to lead from the Filament Track Switch to the Filament Buffer (come with the Filament Track Switch)
- Cut to size to create a comfortable curve without excessive length or sharp corner
- One tube will be slightly shorter than the other - do not cut them until you have mounted the holder with the Filament Track Switch onto the back of the printer and can check to find the right length.
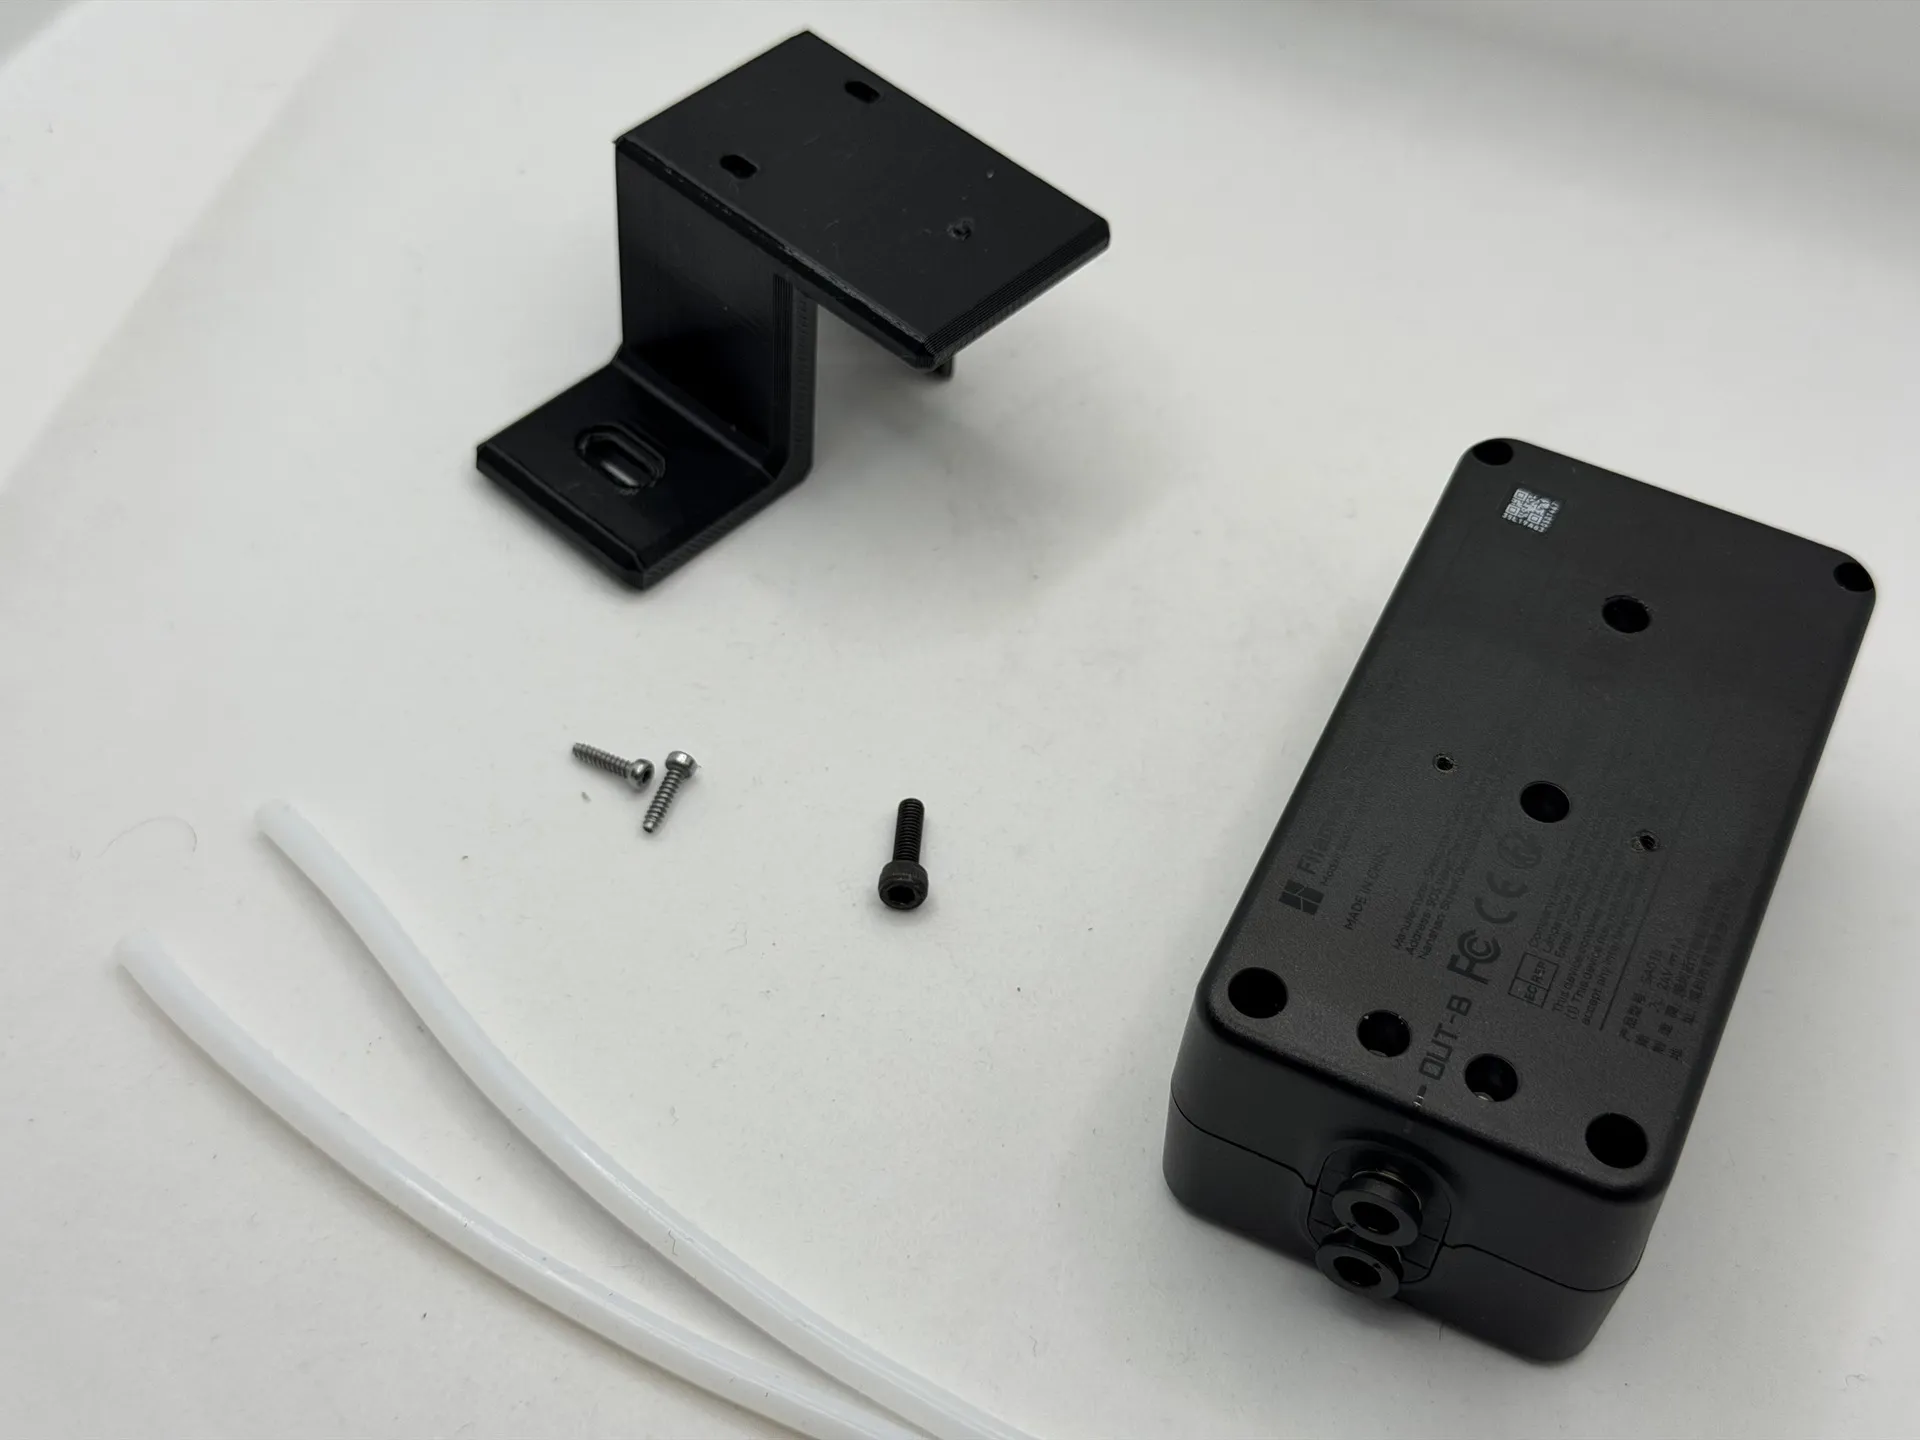
Tools required
- H1.5 Allen Key for the BT2X8 Filament Track Switch mounting screws
- H2.5 Allen Key for the M3x10mm screw to mount the holder to the back of the printer
- PTFE cutter to cut the PTFE tubes to the correct size
Installation Steps
- Prerequisites:
- Mount the AMS Flipper onto your printer following the instructions of the model.
- Optionally, install the AMS HT mount for X2D/P2S Standalone or AMS Flipper with it and if you wish, the Cable Organizer for AMS HT mount for X2D/P2S.
- Remove the top external spool holder mount to free it up to be used by the Filament Track Switch mount.
- Mount the AMS Flipper onto your printer following the instructions of the model.
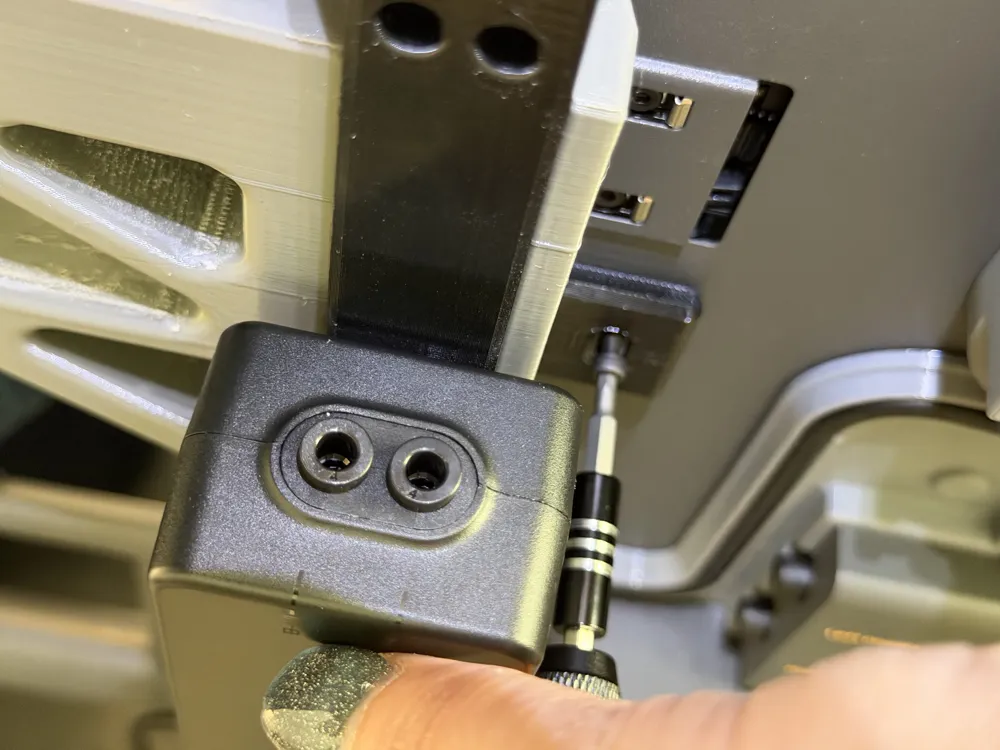
Align the alignment notch at the top of the mount with the top center screw hole on back of the Filament Track Switch
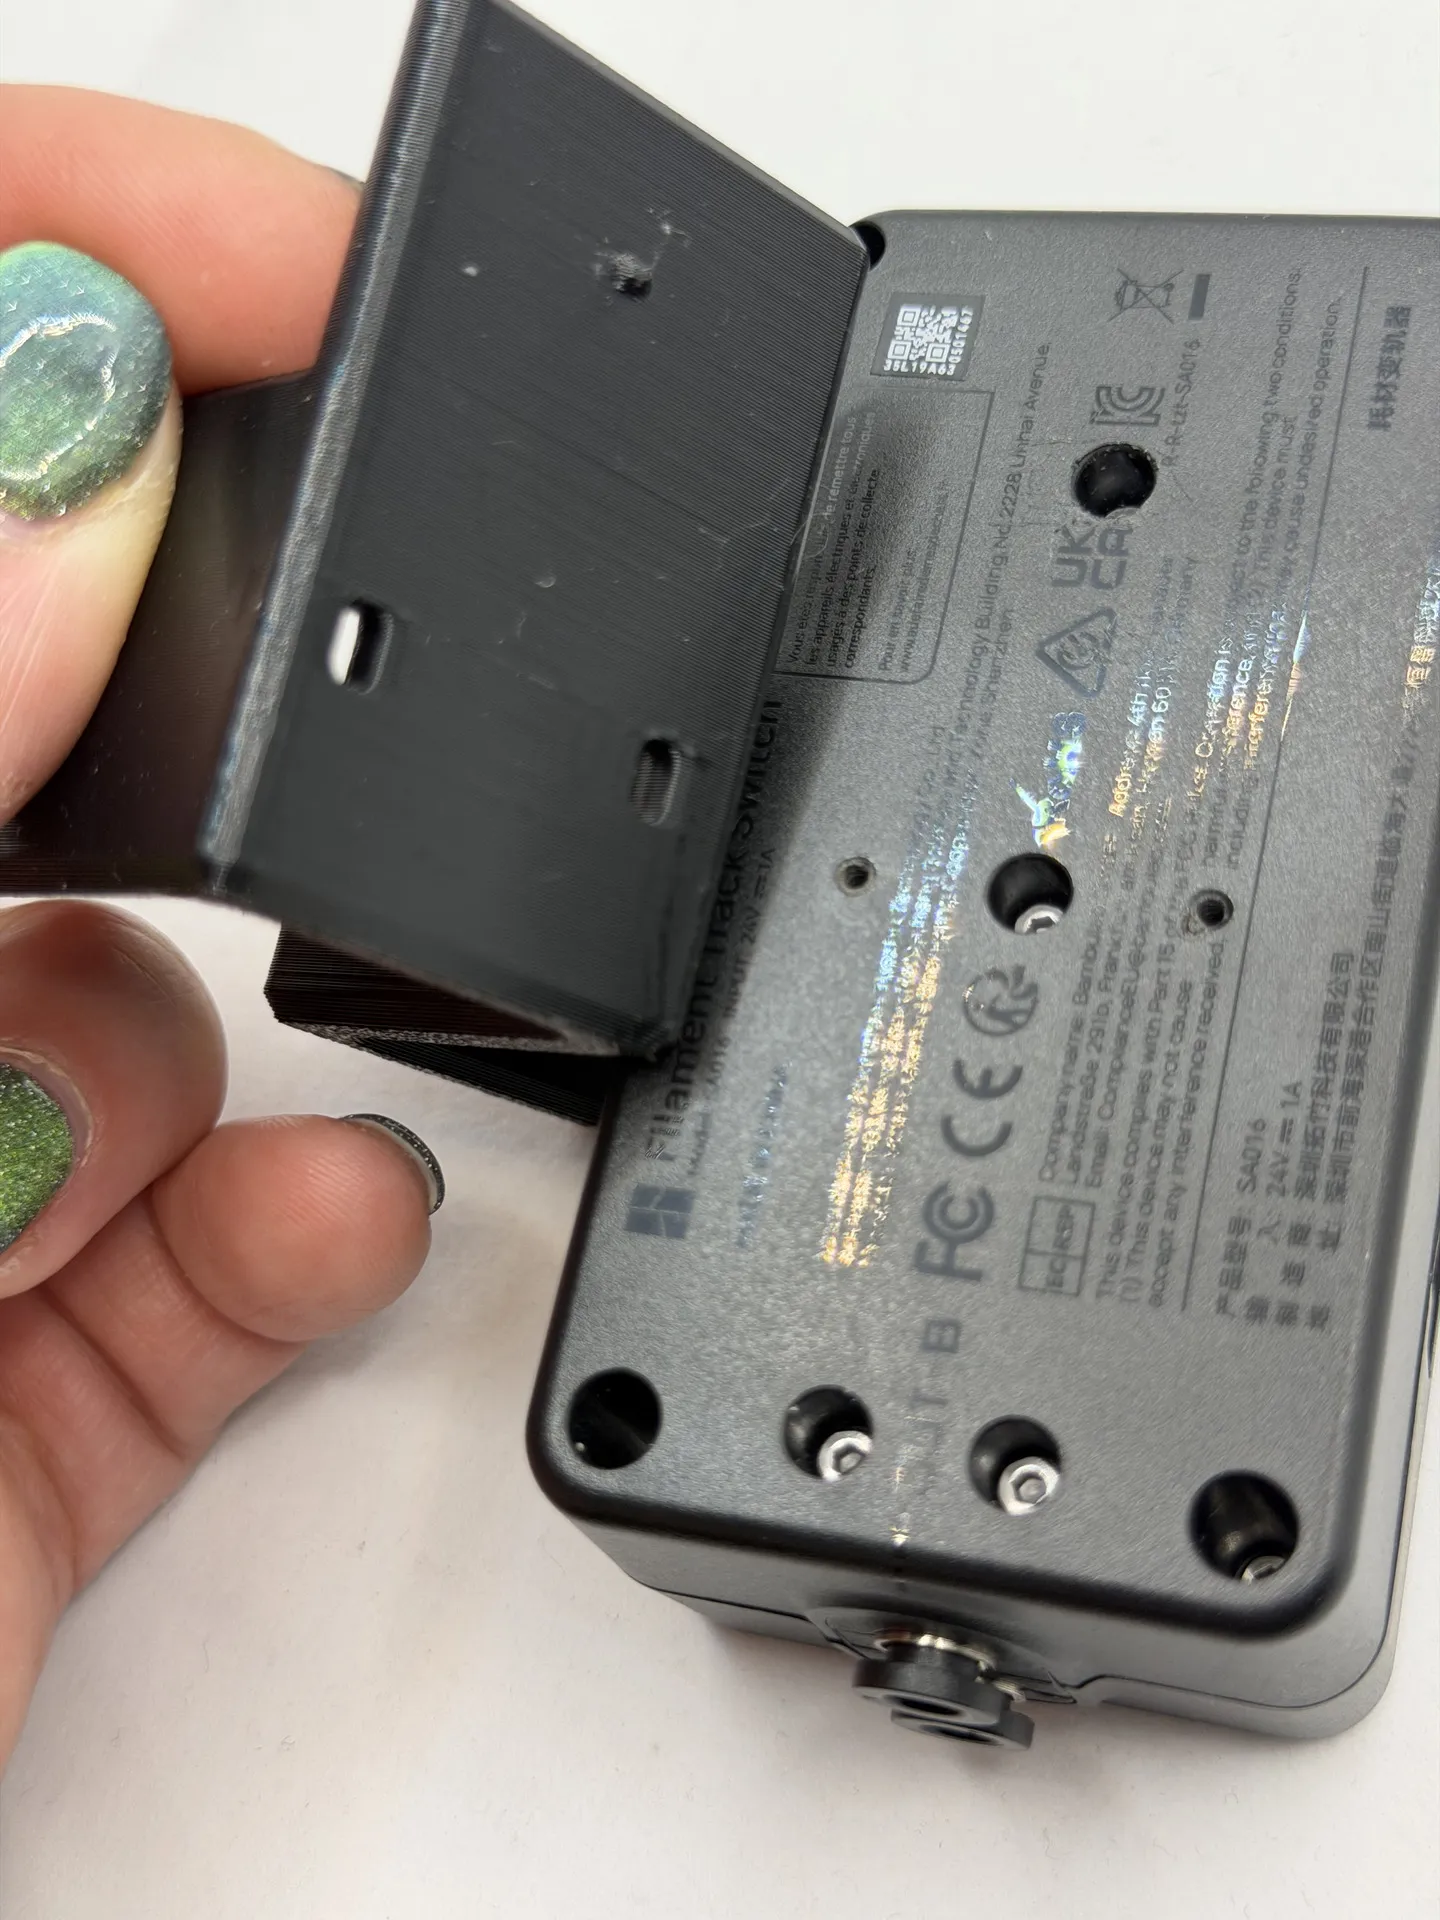
Align the two holes with the holes on the back of the Track Switch
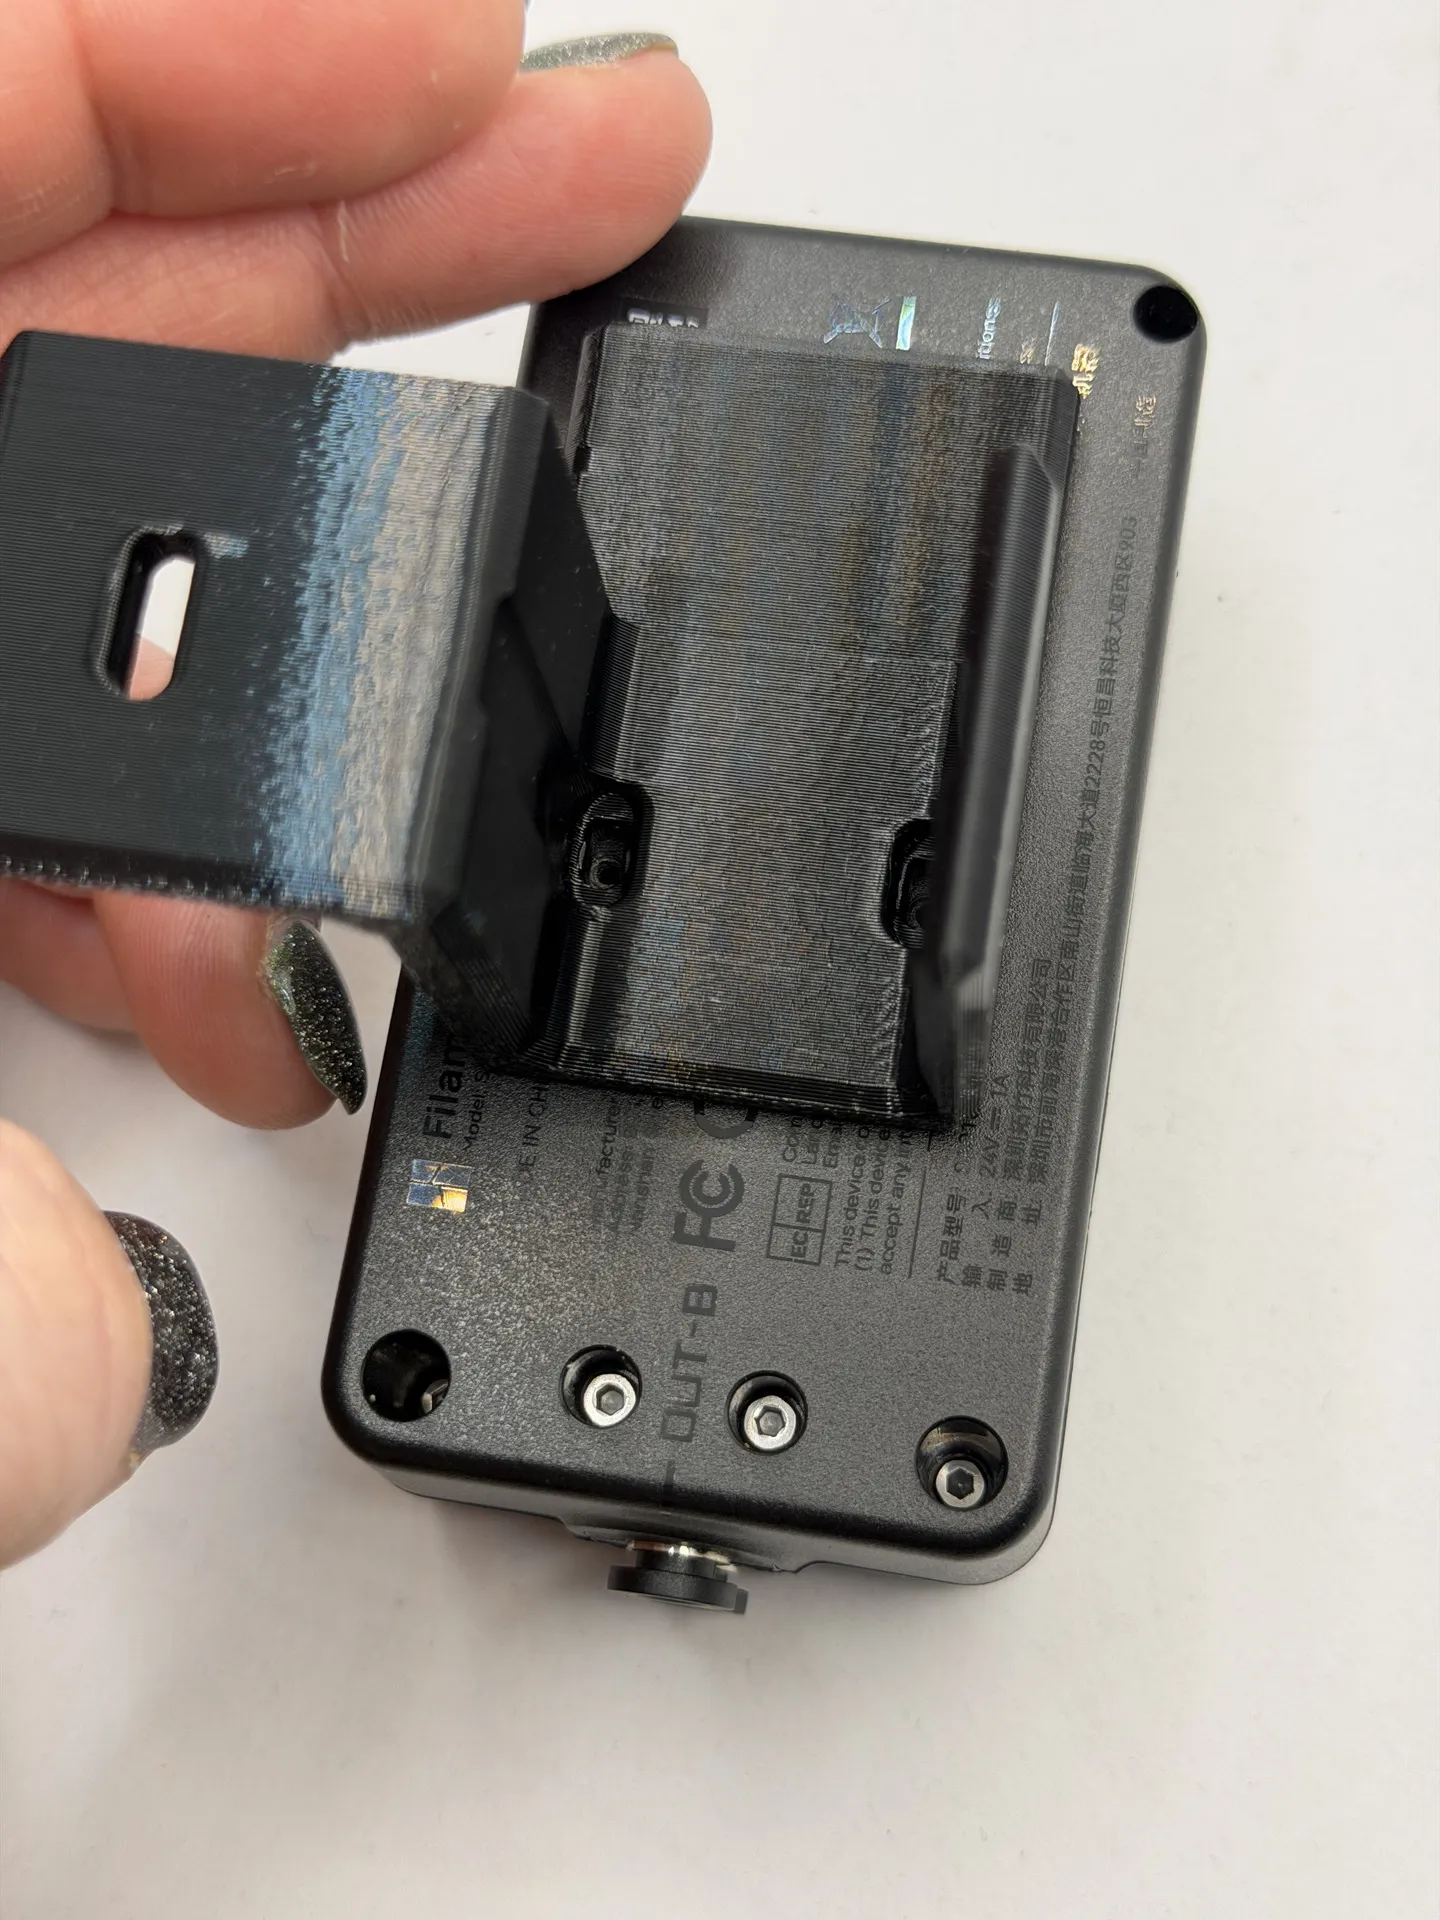
- Screw the two small silver BT2x8 mounting screws through the holder into the Filament Track Switch using a H1.5 Allen Key
NOTE: Do not overtighten these screws as they are self-tapping and could strip the hole on the Track Switch
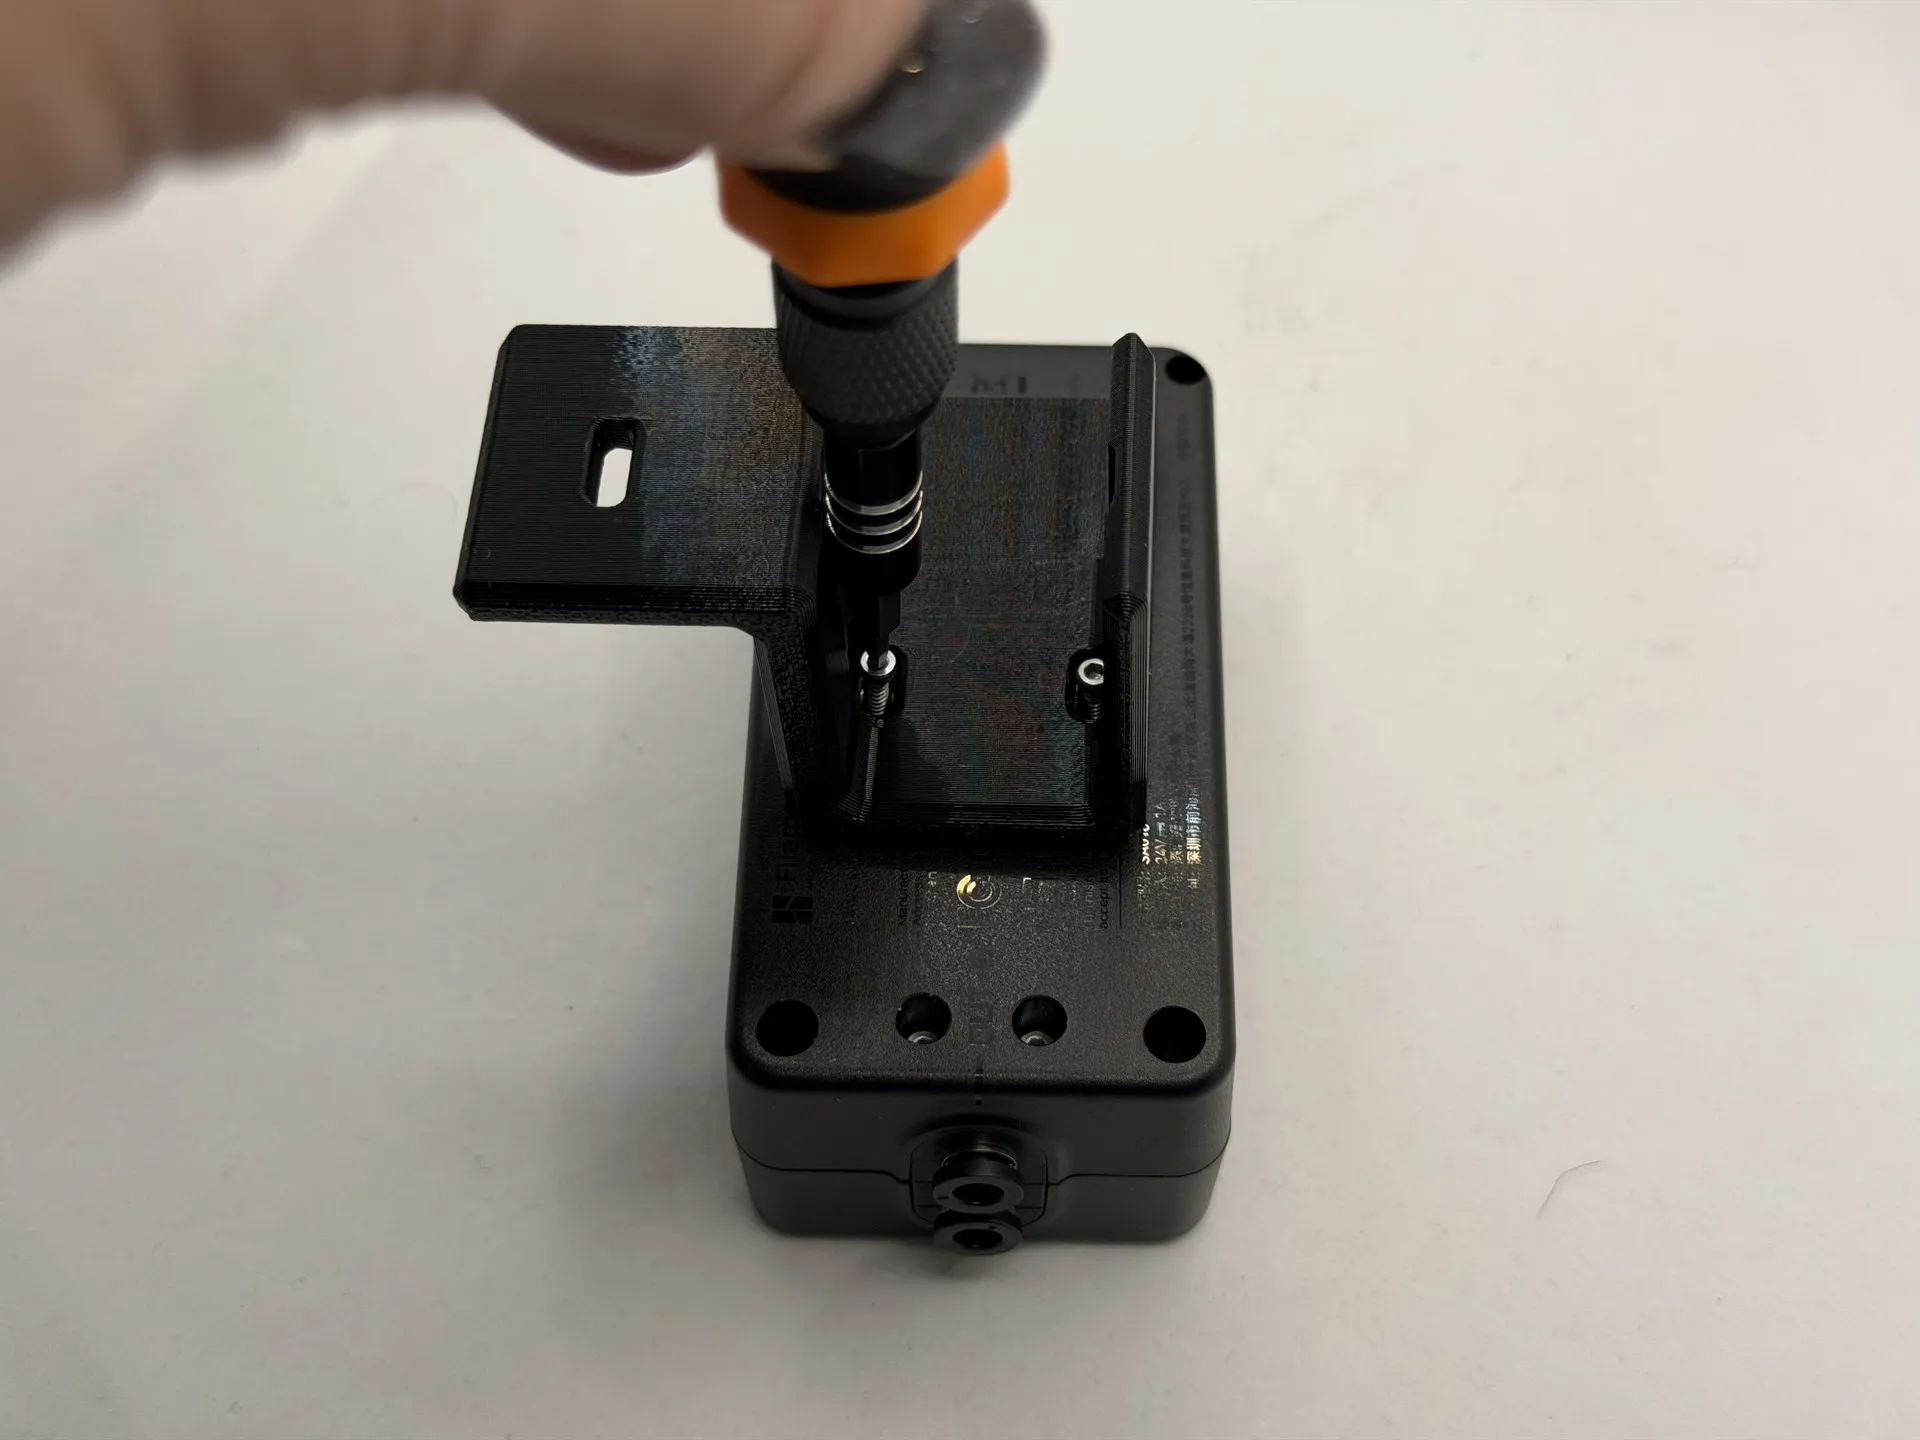
Now turn over the mount and wrap it around the left side AMS Flipper arm below the Linear Rail tightening screws
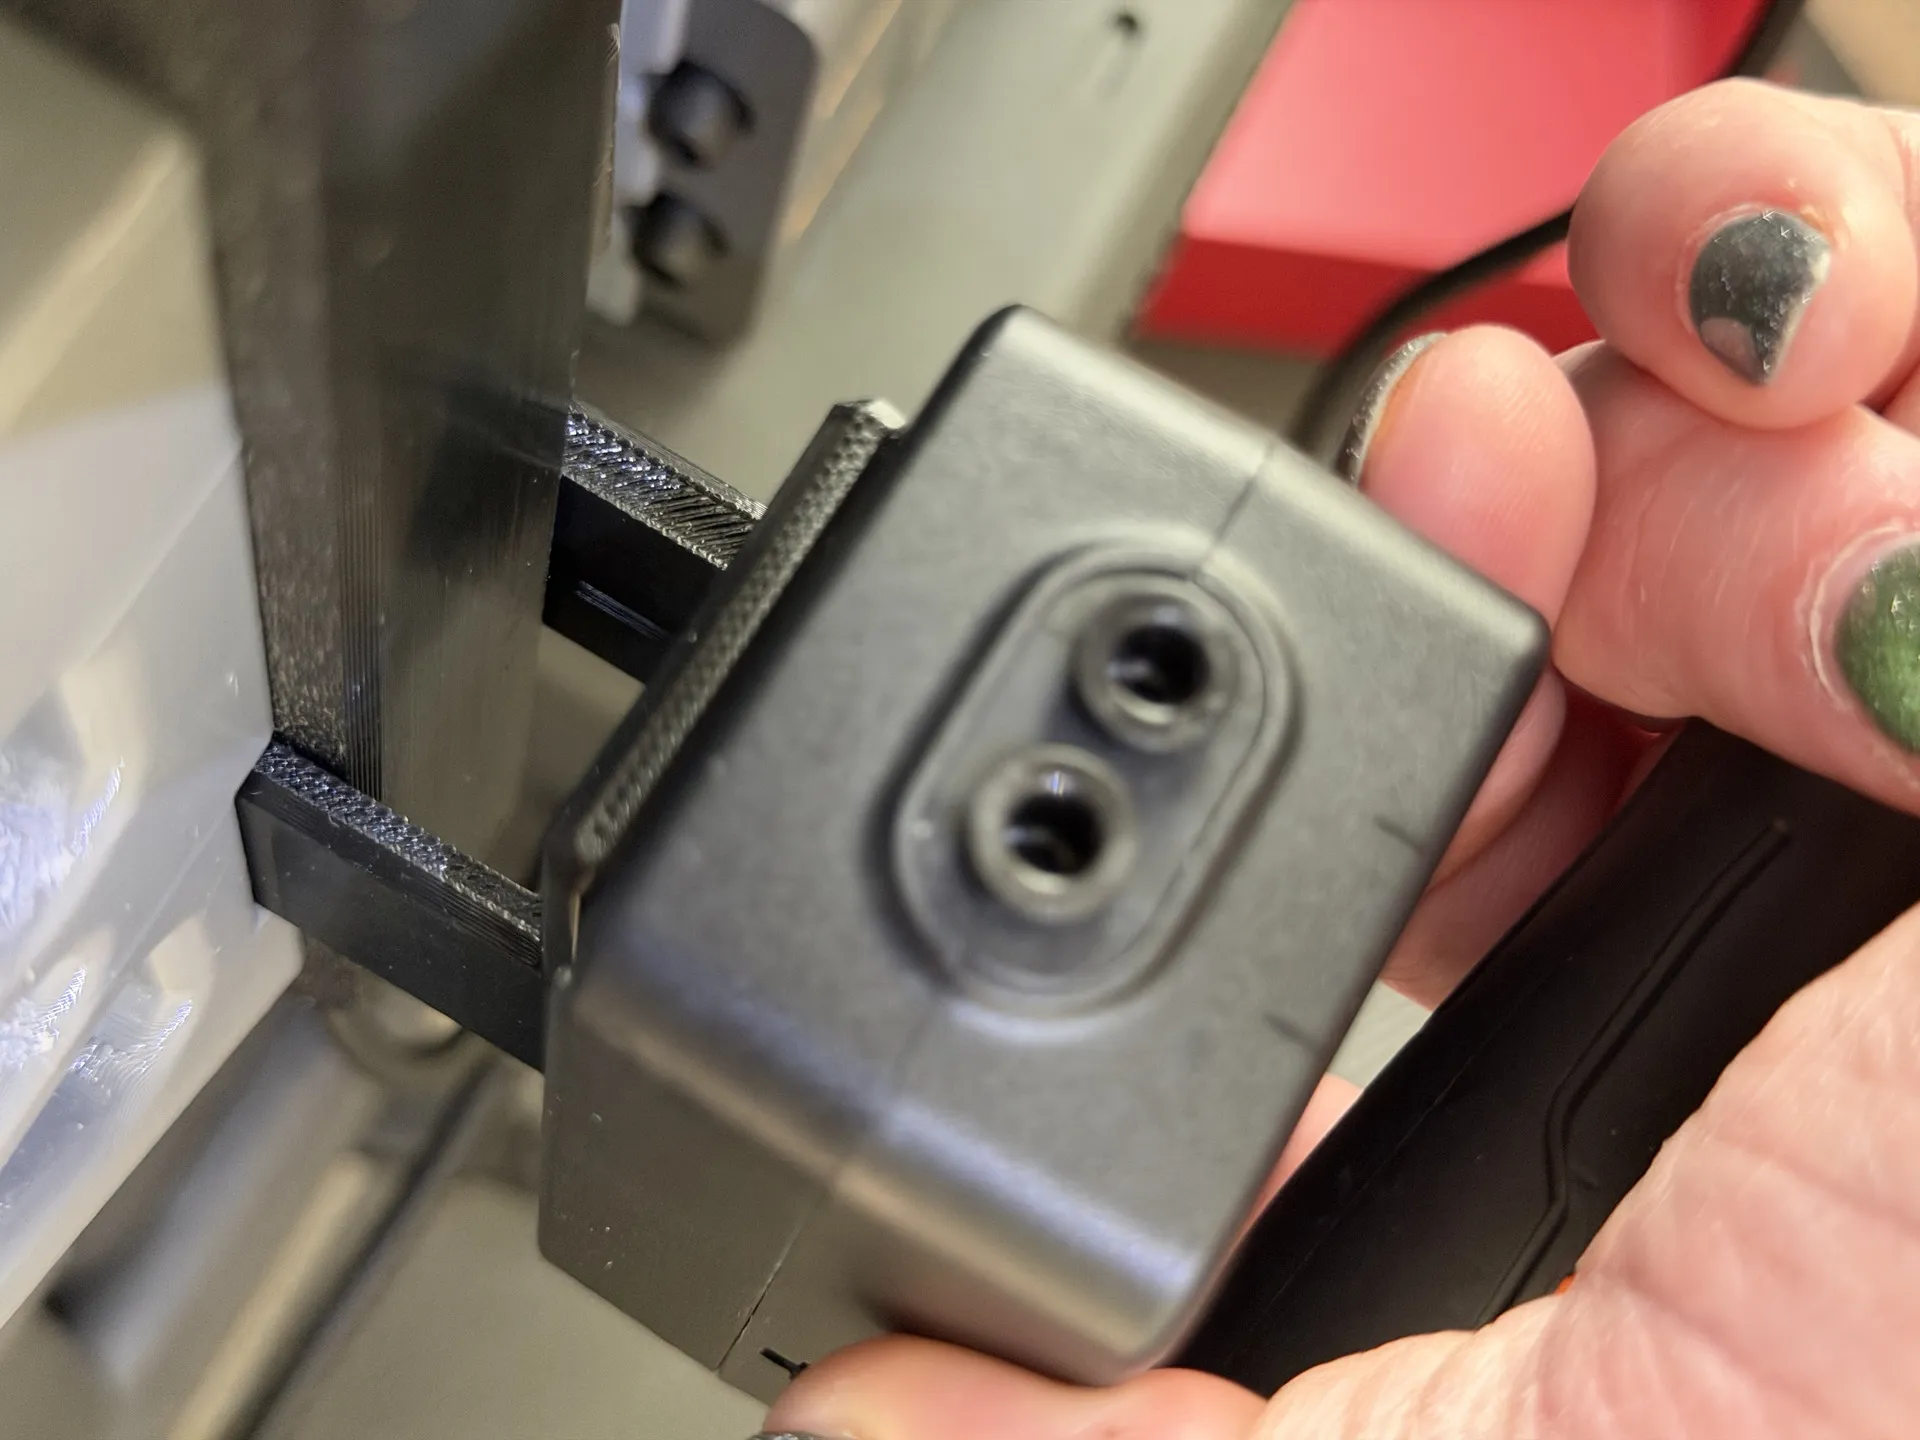
- Align the screw hole of the mount with the screw hole on the back of the printer
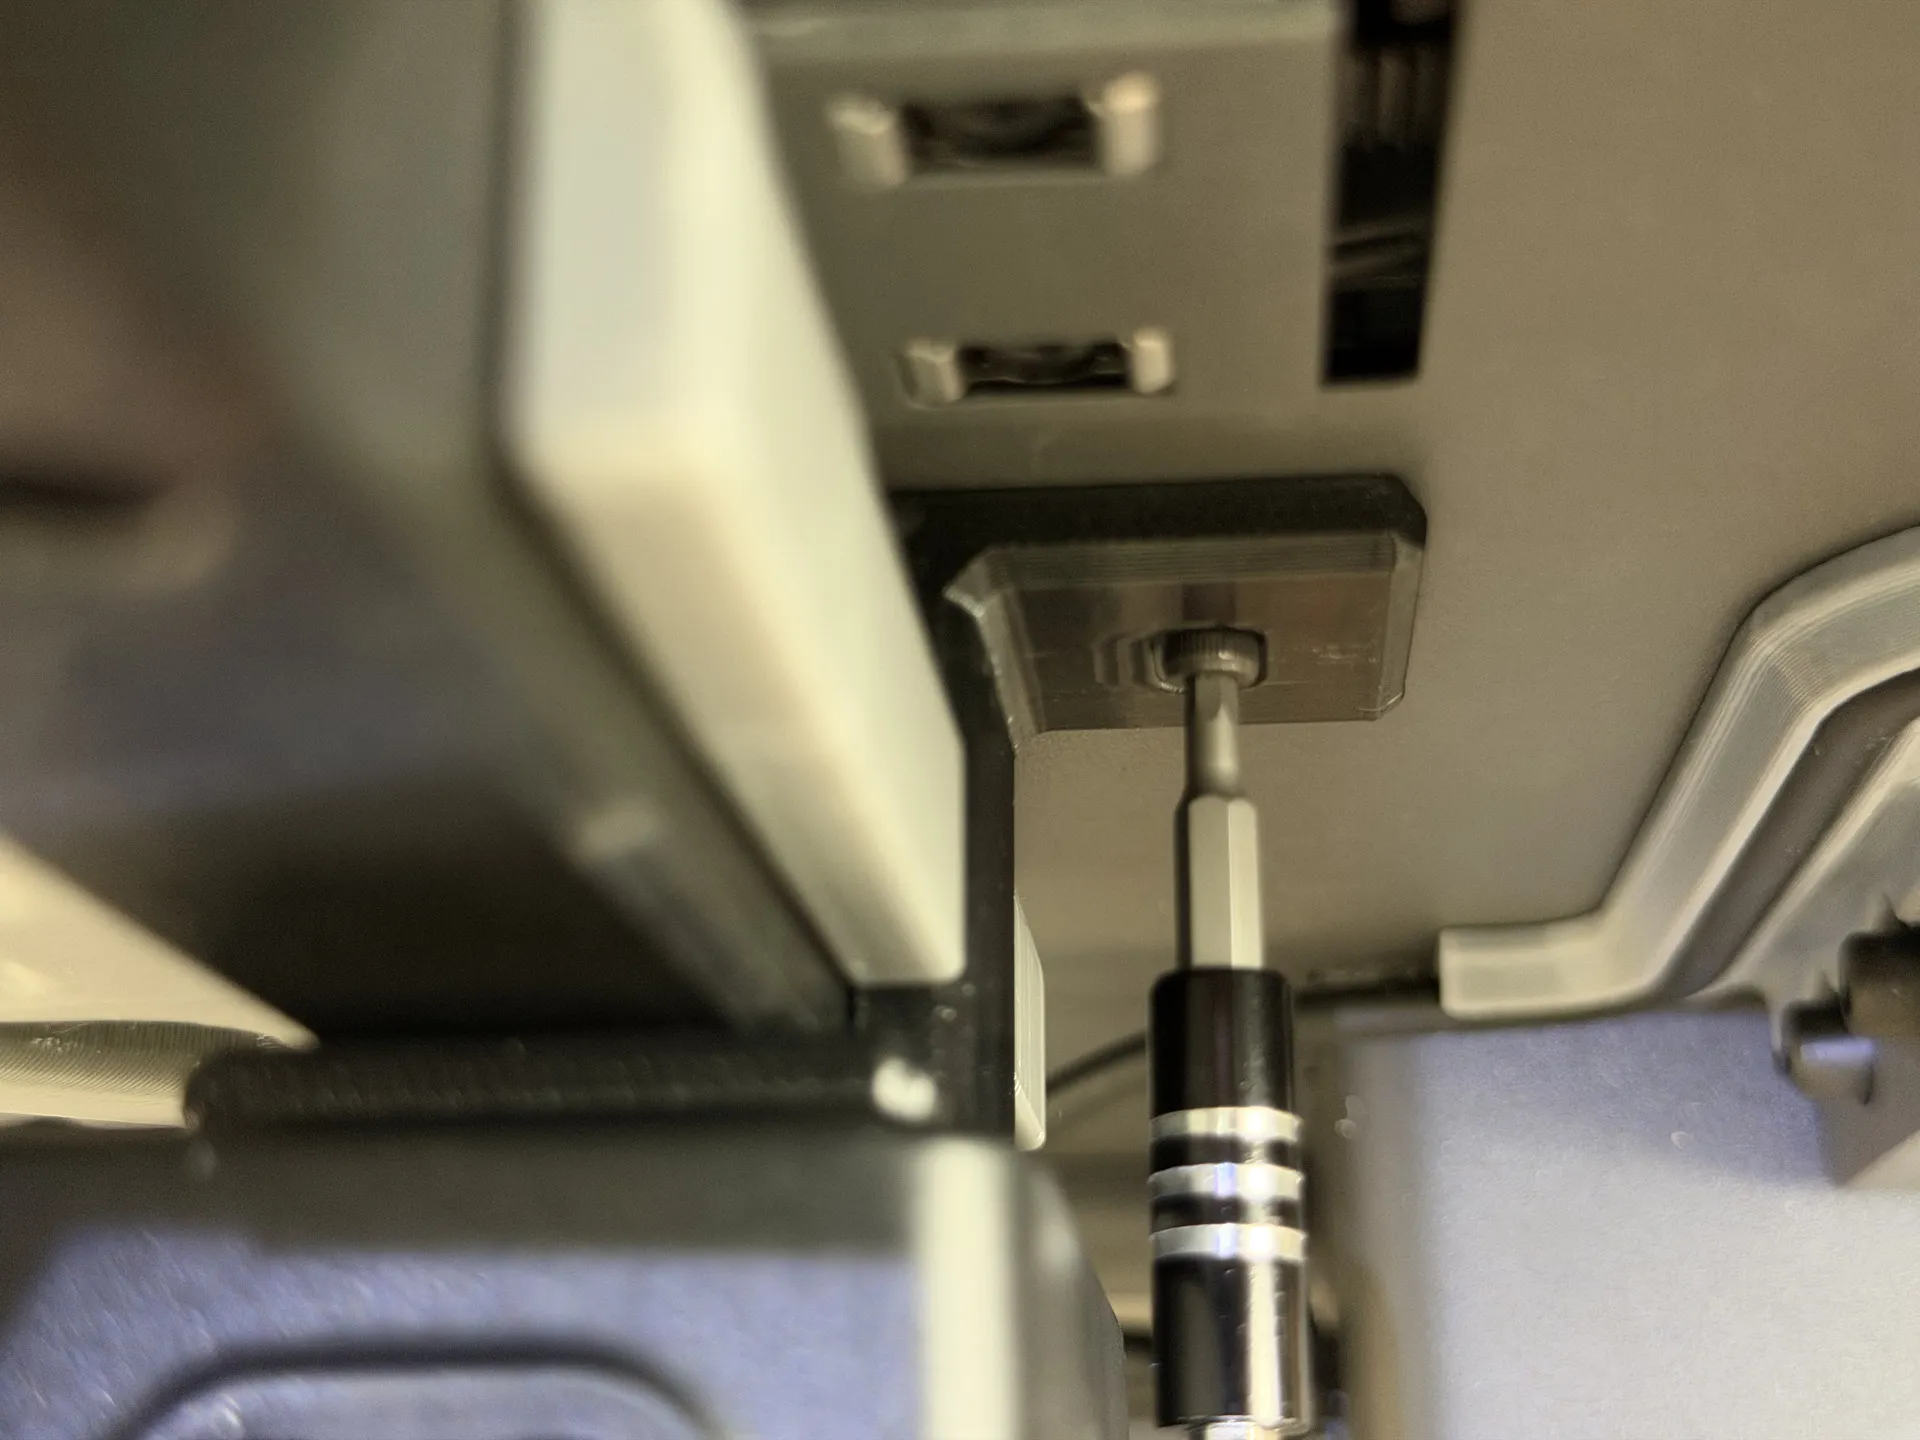
Screw the M3x10mm Allen screw using a H2.5 Allen Key through the mounting hole to lock the mount in place
For the PTFE tubes on the bottom of the Filament Track switch that connect to the filament buffer on the back of the printer, I recommend you start with two pieces cut a tiny bit longer and then shorten until you have two nice curves that are not too sharp.
NOTE: Make sure that you use the PTFE tubes with the wider 2.5mm inner diameter that are supplied in the Filament Track Switch kit (or equivalent 4.0mm outer diameter (OD), 2.5mm inner diameter (ID) tubes), and NOT the narrower spare 2.0mm ID Bowden tubes that come with the printer itself (but use the same white color as the tubes supplied in the Filament Track Switch kit) as this may cause the filament to hang when exiting the Filament Track Switch. You can tell the difference if you hold tubes next to each other and can see that the Bowden 2.0mm tubes have a thicker wall and are thus narrower inside: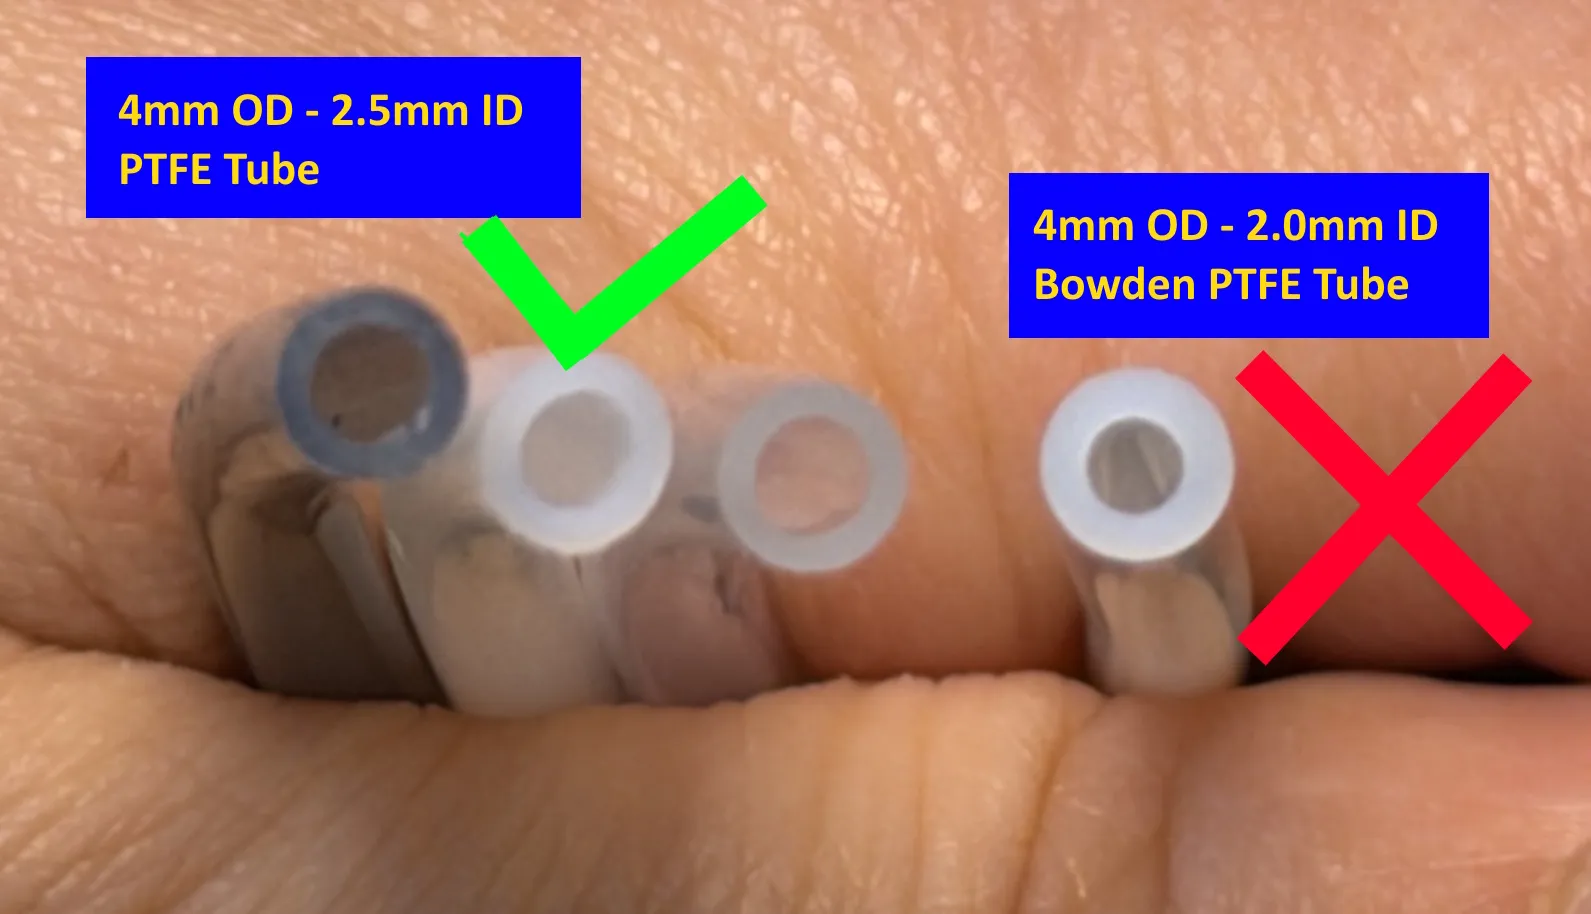
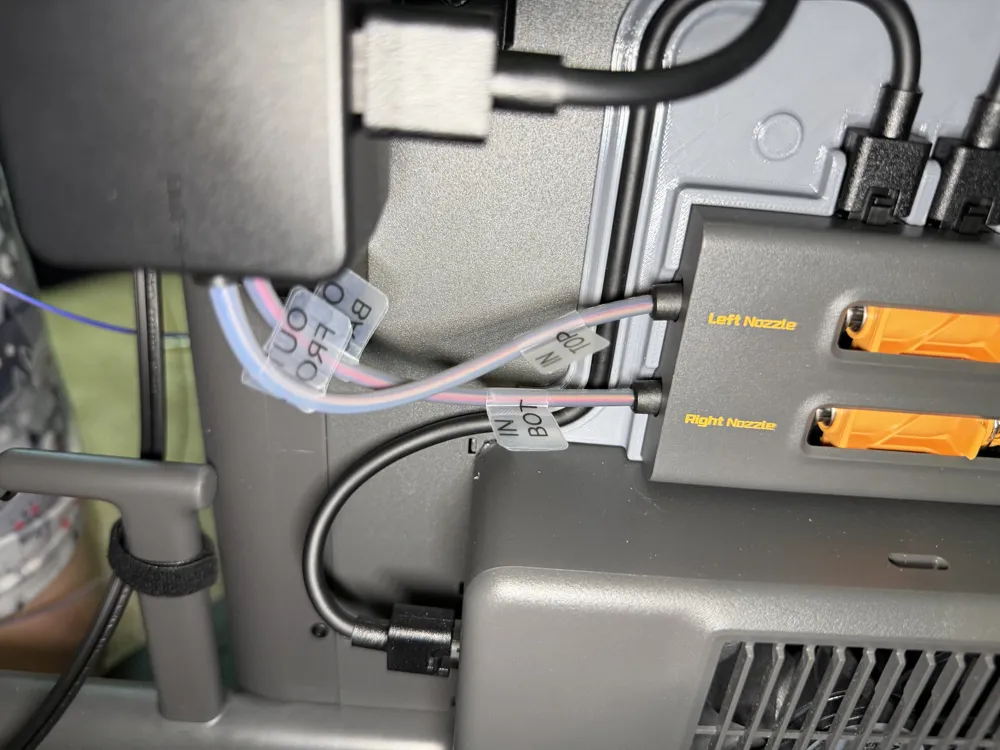
I've done extensive testing of the combinations of which outlet should go into which inlet for the setup and found that my below recommendation creates the easiest flow for filament to run without interference.
As guidance for the length of the two tubes:
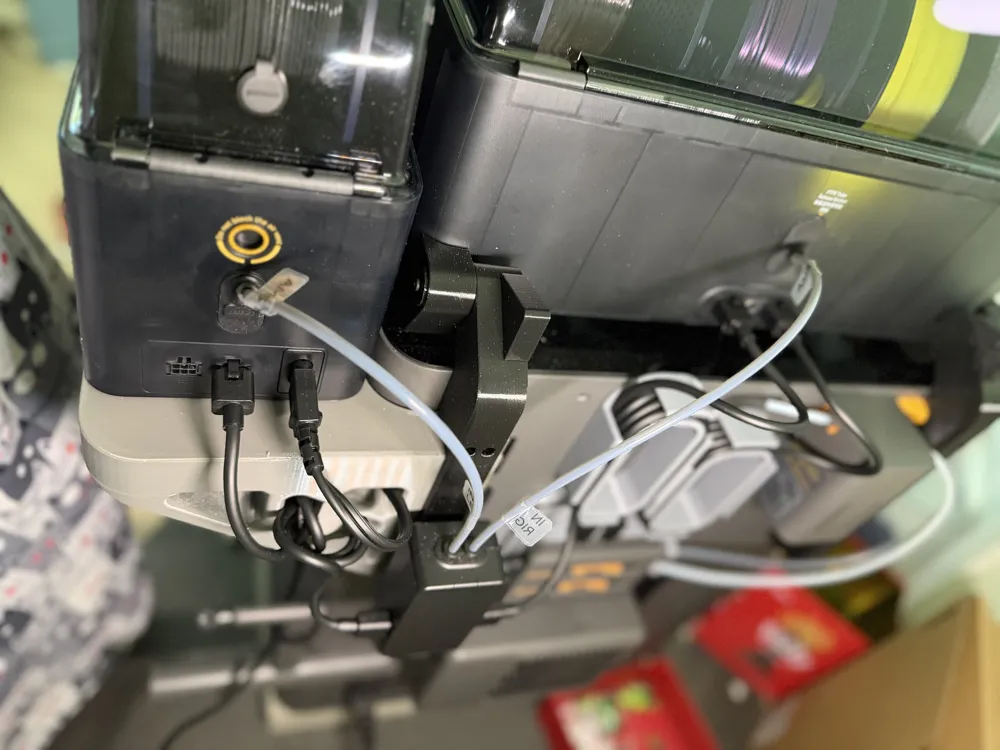
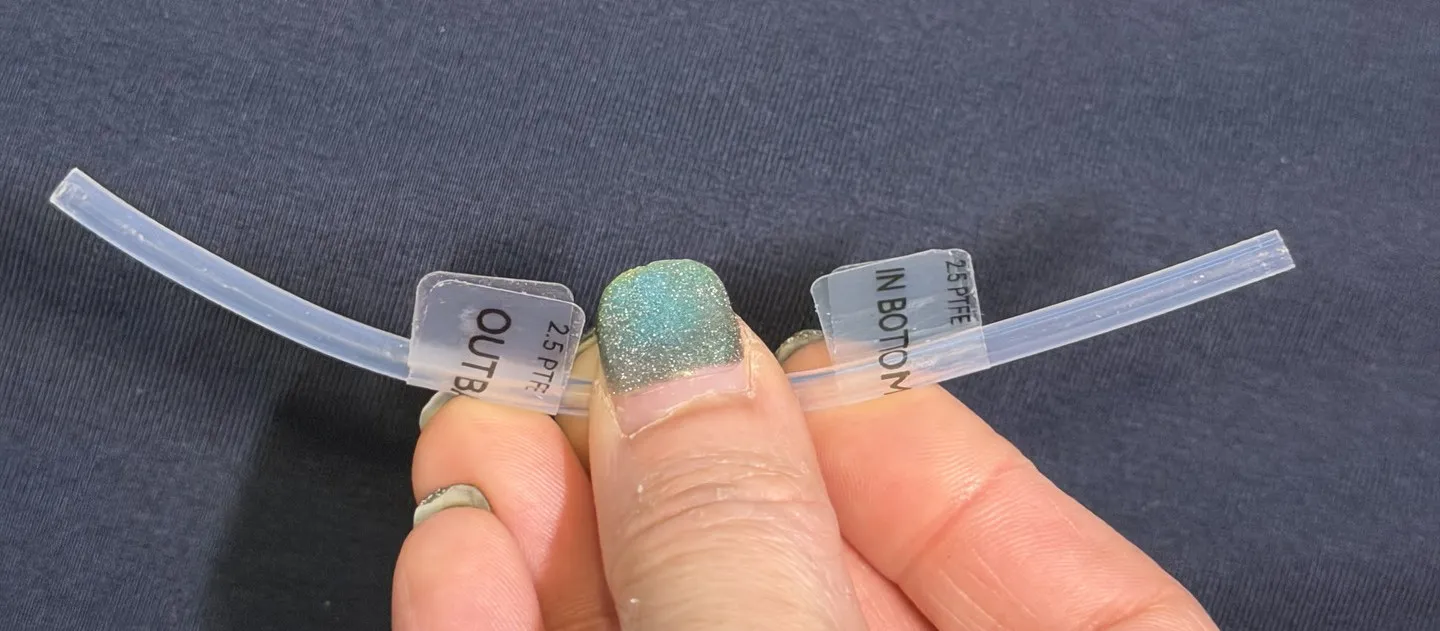
The OUT BACK to IN BOTTOM tube should measure around 127mm length:
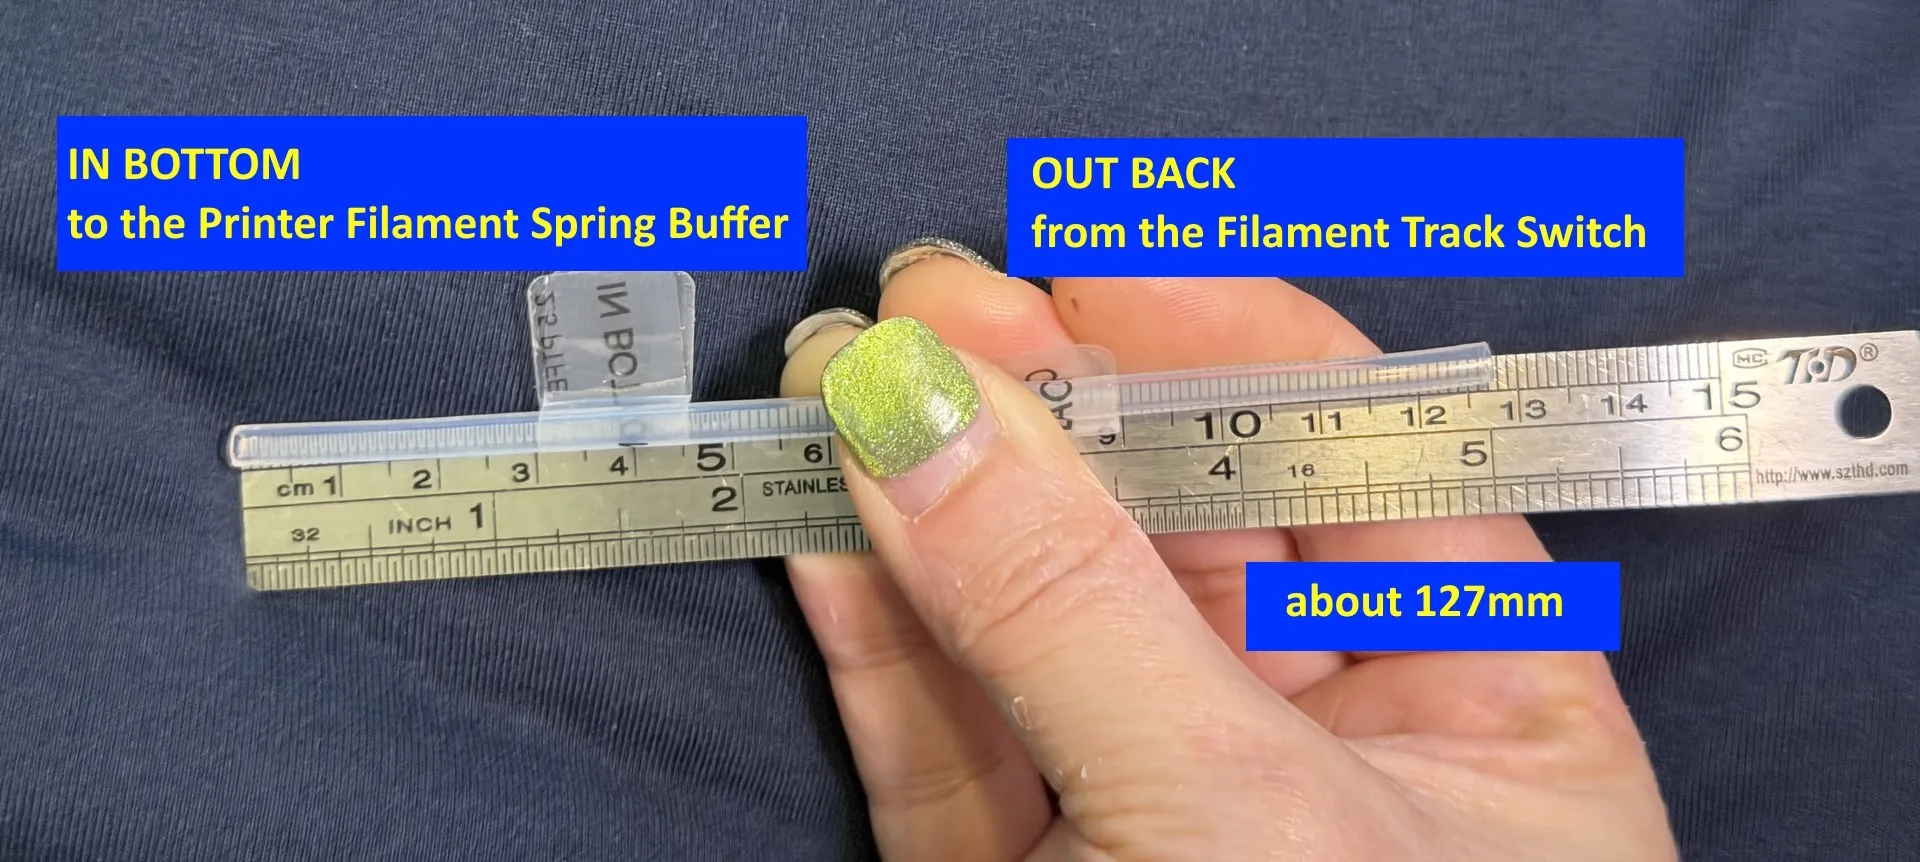
And will just have a slight curve below the Filament Track Switch:
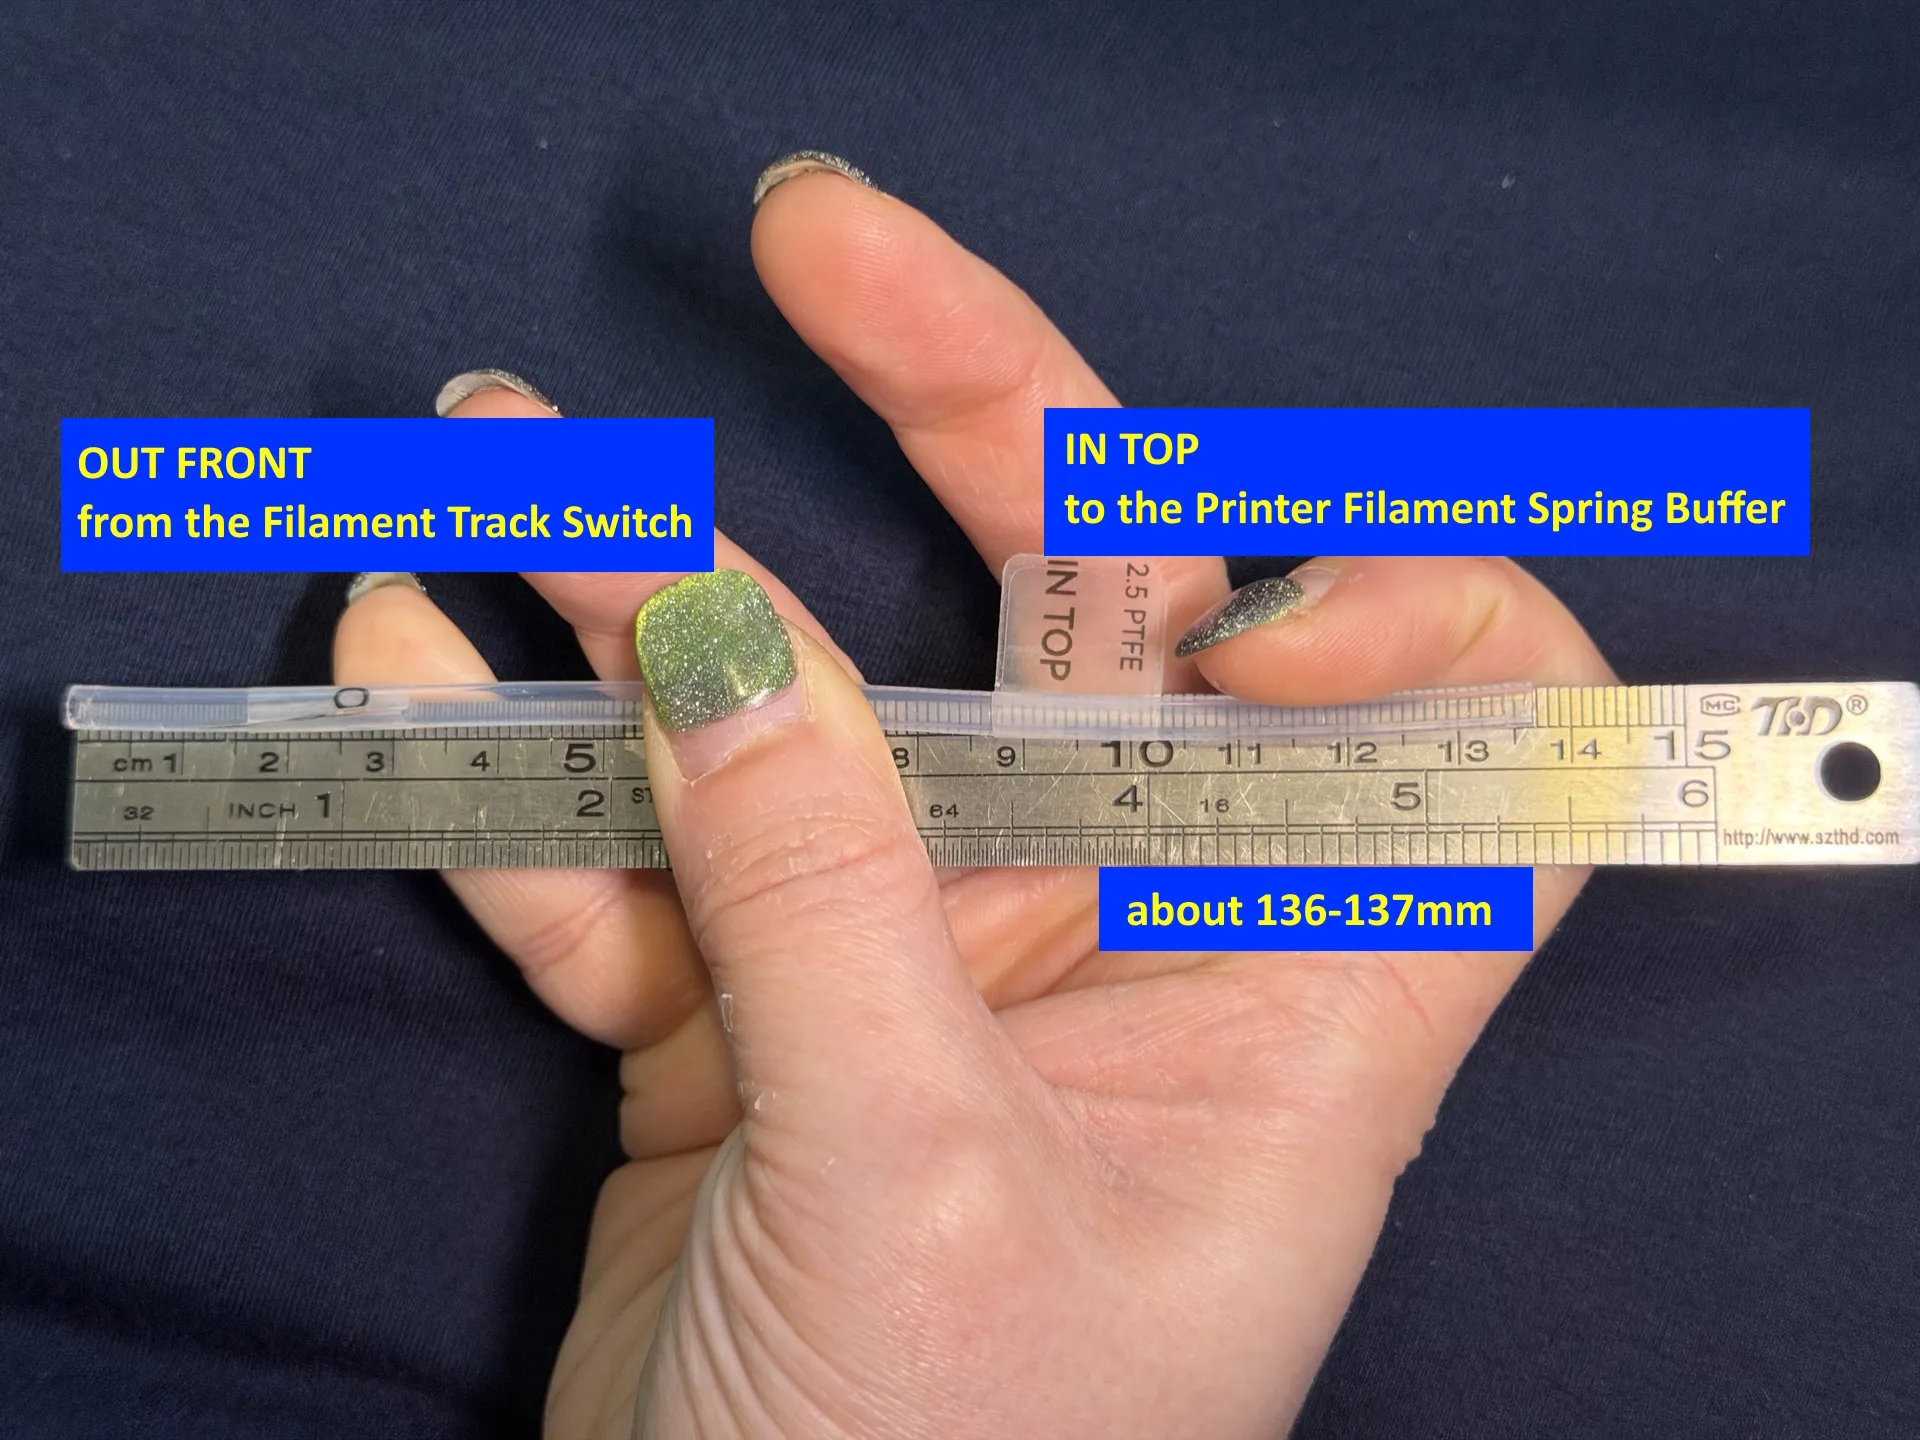
The OUT FRONT to IN TOP tube should measure around 136-137mm length:
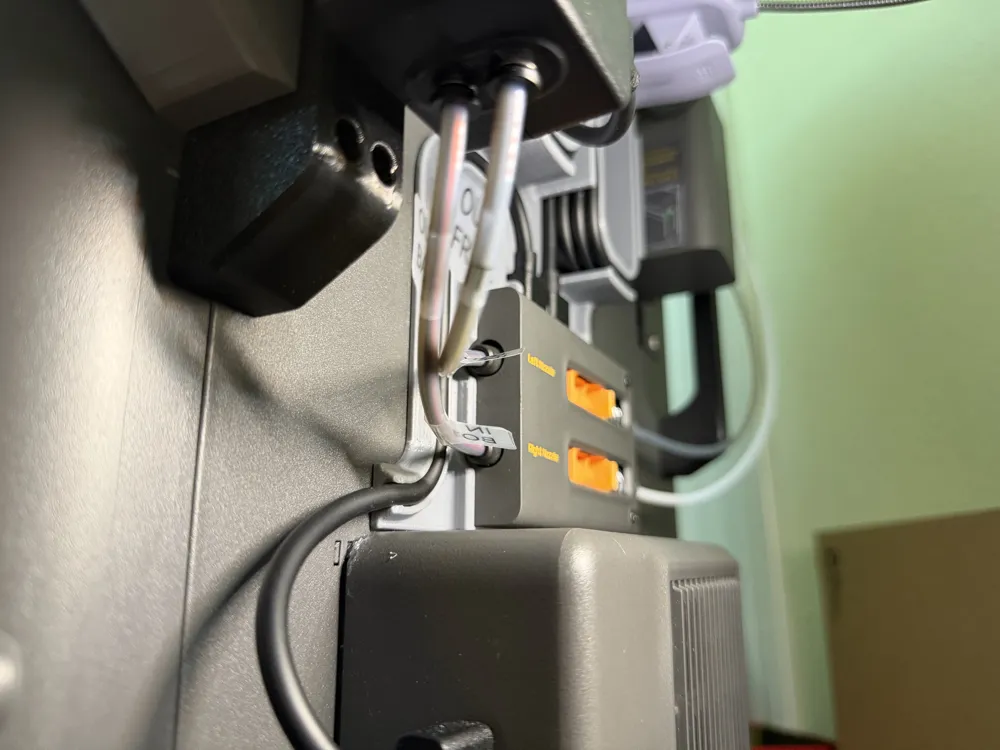
And will have a slight bend to the side and back, followed by a slight bend to straighten out: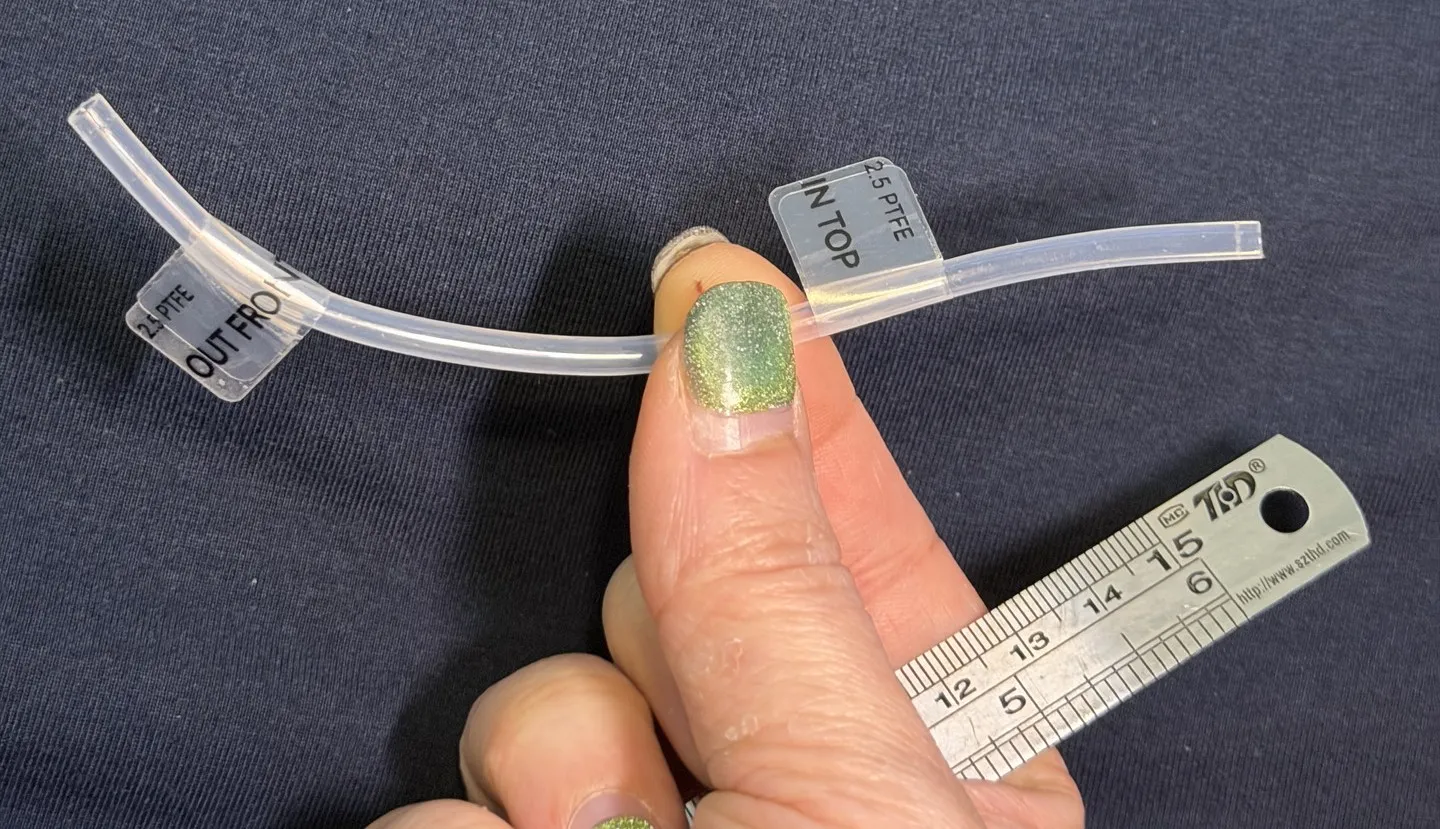
- Once you have the two tubes cut to the appropriate lengths and have given them the slight curves, careful not to kink them, I recommend you connect:
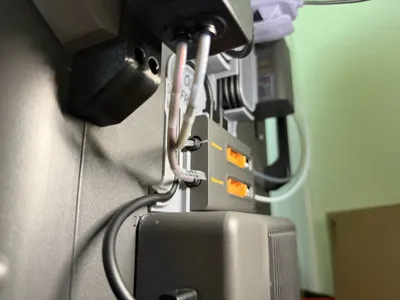
- the outlet on the Filament Track Switch which is closer to the back of the printer (see image) to the bottom of the filament buffer on the printer using a PTFE tube cut to size,
and the outlet that is further out front from of the printer to the top of the filament buffer. This will create two neat curves without resistance for the filament.
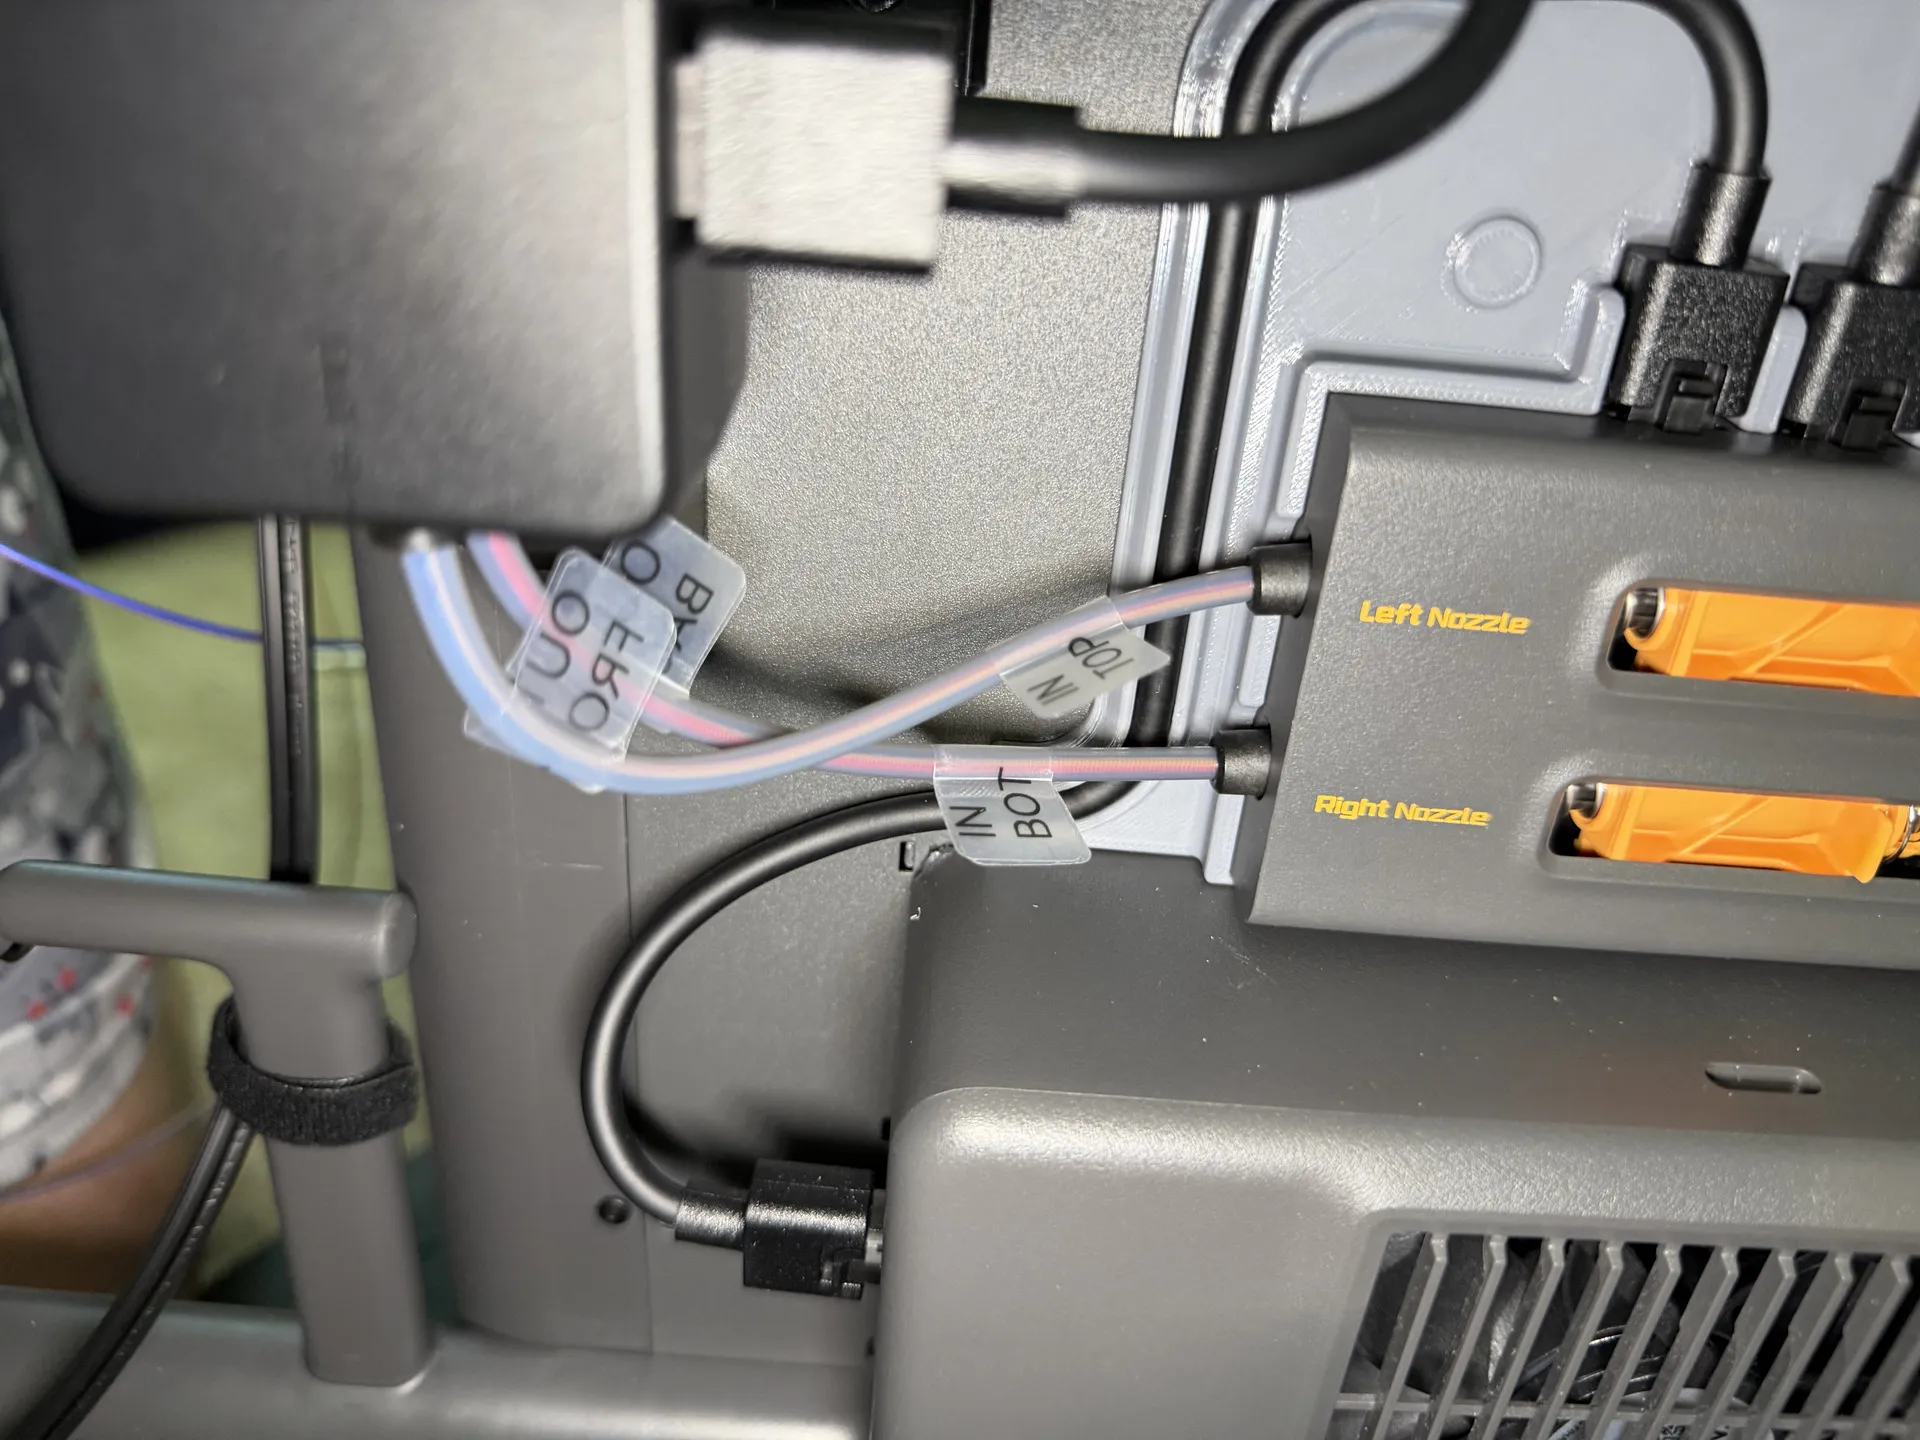
Connect the back of the Filament Track switch to the bottom of the Filament Spring Buffer
and the Front of the Track Switch to the Top of the Filament Buffer
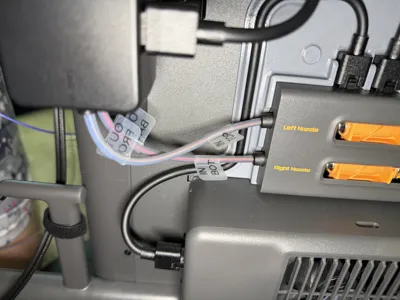
- You can now follow the rest of the regular Filament Track Switch User Guide in the Bambu Wiki for the AMS connections to attach the remaining PFTE tubes and 6-pin cables from your printer and AMS Units to the Filament Track Switch
- Test the filament loading and unloading to ensure everything is connected correctly and that the filaments can travel freely from either outlet to the toolhead without resistance
- Done, you can now enjoy using the filament track switch and your AMS Flipper
Optional parts:
- (Optional) - If you previously installed my AMS HT mount for X2D/P2S Standalone or AMS Flipper you can organize the wiring between the AMS HT and the Filament Track switch utilizing the triangle cutouts of the mount to wrap the 6-pin and power chord through the mount.
(Optional) - If using the AMS HT side-mount, you may also wish to install the Cable Organizer for AMS HT mount for X2D/P2S to organize the 6-pin wire neatly using a snap-fit adapter for the side-mount using the triangle brackets.
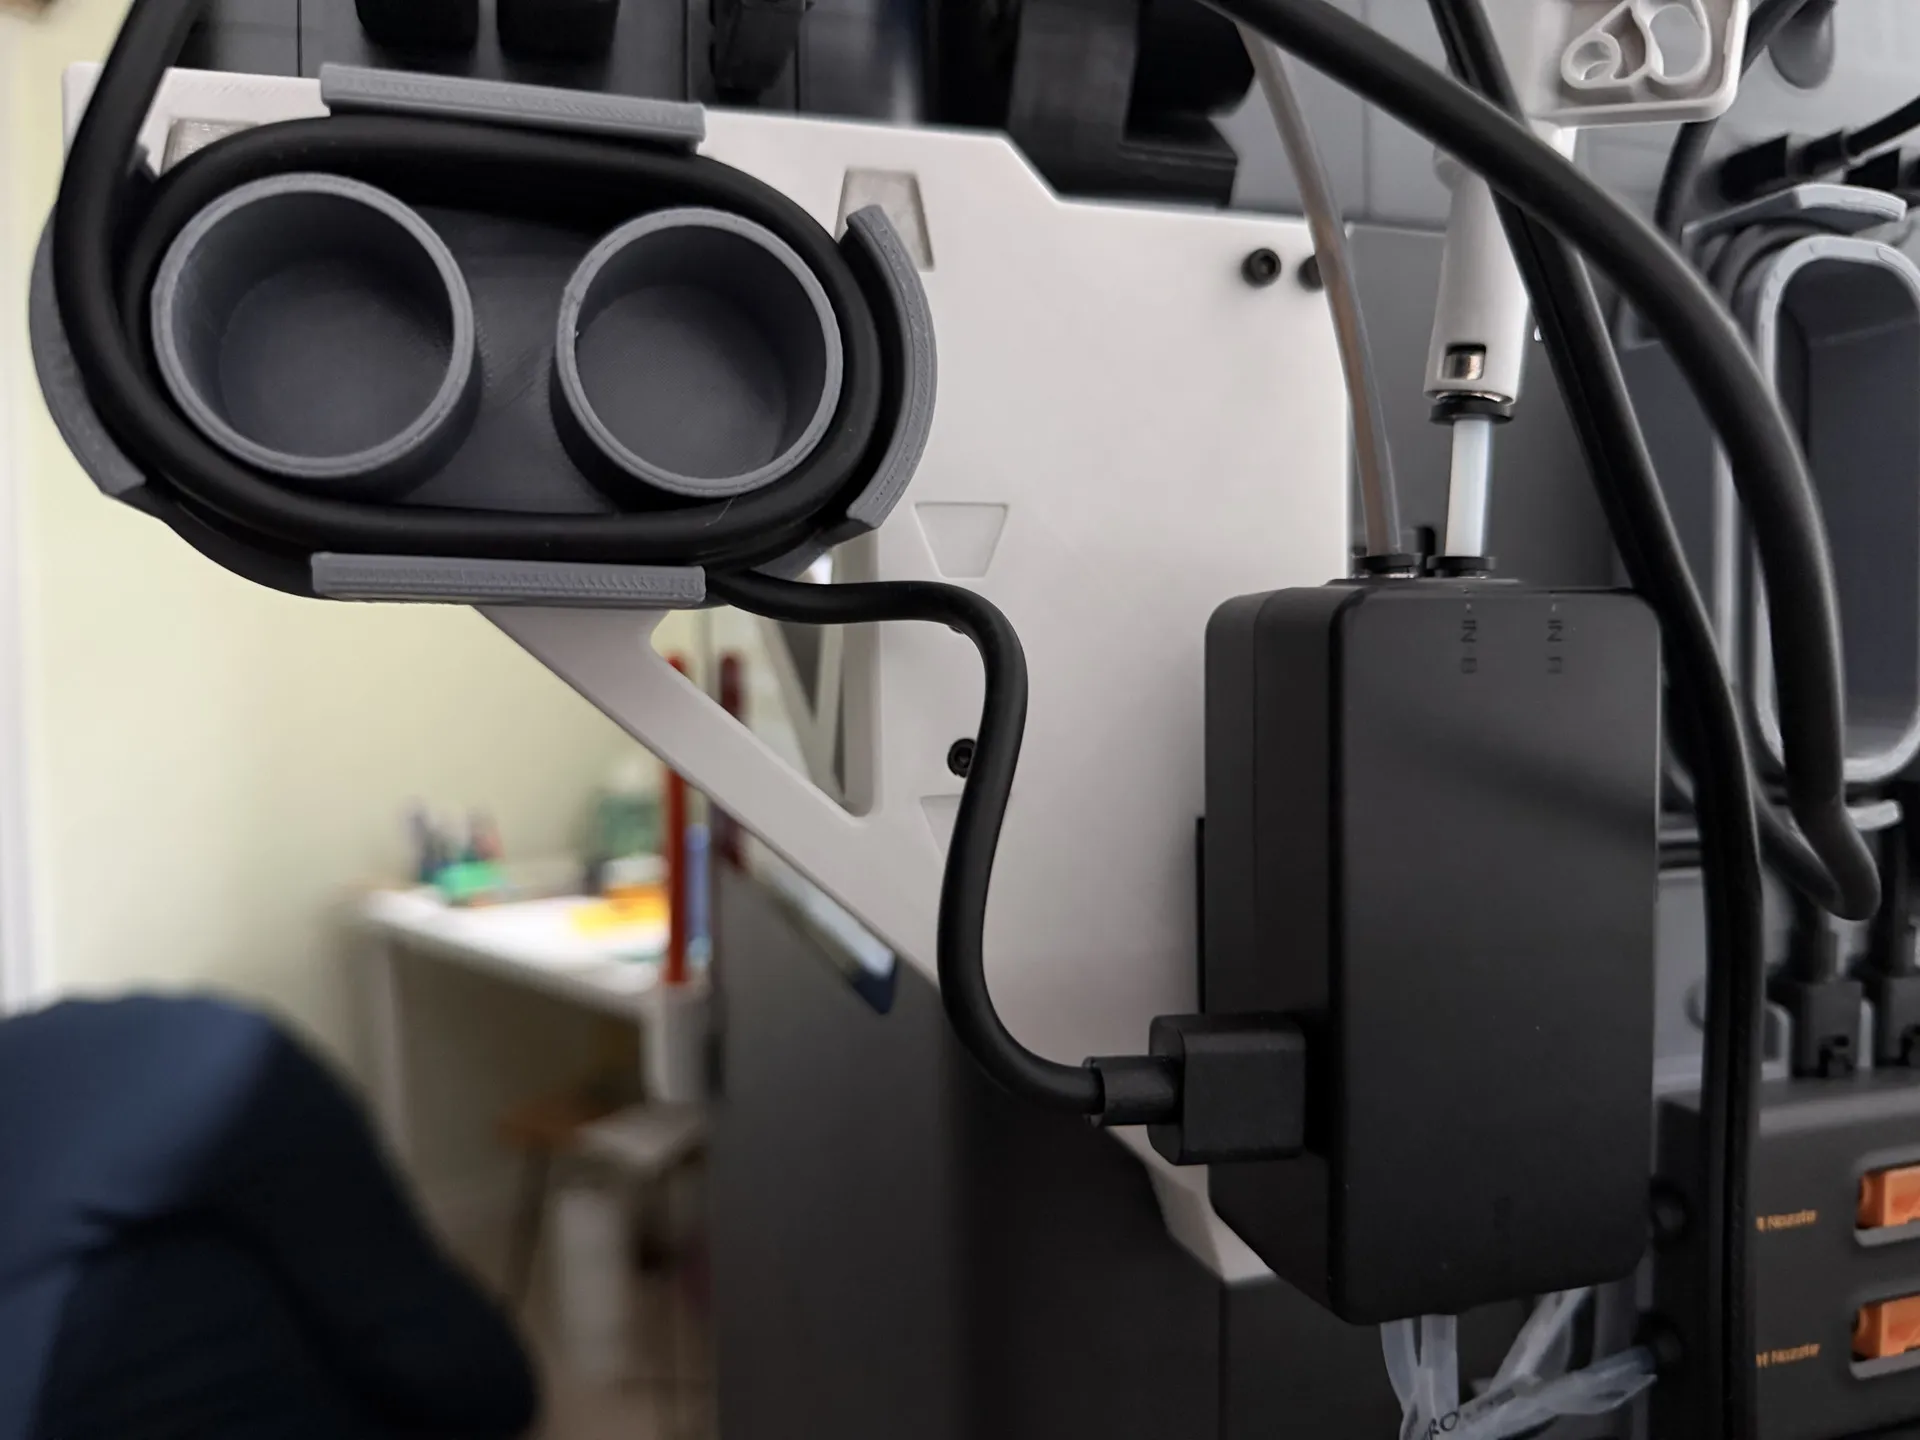
- If you installed the External Spool holder on the bottom of the printer frame, you can route the power chord of the AMS HT through the triangle frame and down and using a cable tie (ideally a good quality Velcro one) attach the chord to the external spool holder for a clean installation.
Print Settings
- Supports: No
- Layer Height: 0.20mm
- Infill: 20% gyroid for strength
- Walls: 5
- Print orientation:
- on its side, flat on the bed
- Material:
- PETG for strength and temperature resistance due to the close proximity to the printer. Loaded into Primary (left) nozzle
Boost Me (for free)
If you like my model and would like to share your thanks, a boost is always graciously appreciated. Thanks :)
I enjoy crafting and making things, from practical tools to make life easier, to crafty bits and silly or pretty artsy things.
Check out my other models and see if something takes your fancy.
I love seeing people's prints and applications of my models, so if you print one of my models, please don't forget to leave a review or comment with a picture :)
License

You shall not share, sub-license, sell, rent, host, transfer, or distribute in any way the digital or 3D printed versions of this object, nor any other derivative work of this object in its digital or physical format (including - but not limited to - remixes of this object, and hosting on other digital platforms). The objects may not be used without permission in any way whatsoever in which you charge money, or collect fees.


Comment & Rating (12)