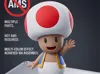
Toad Sapo / No need AMS / Super Mario Movie 23 cm


Print Profile(2)
Description
Instagram: CanariasPrinter3D
***05/16/2026
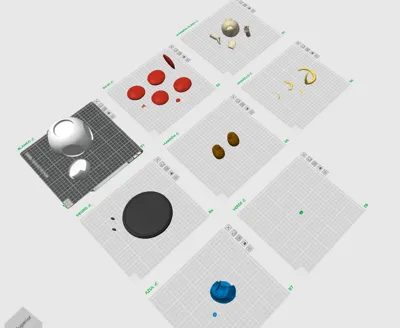
I have updated the 2 print profiles, where I have segmented both the white part of Toad's hat and his pants into 2 parts so that they can be printed flat and improve the design's print quality. Thanks to everyone for the feedback.
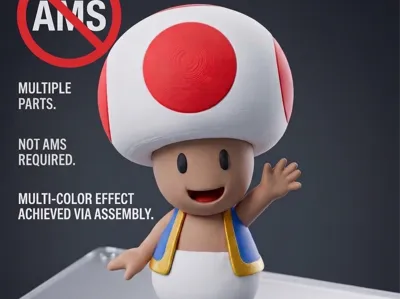
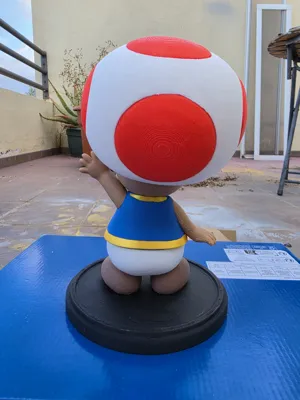
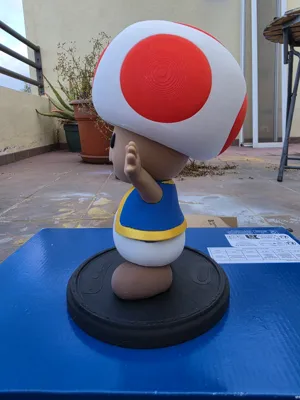
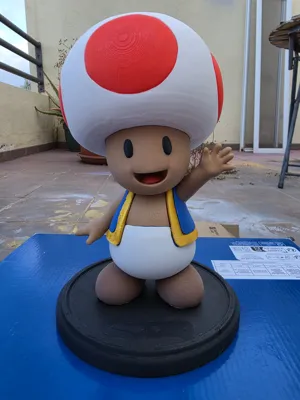
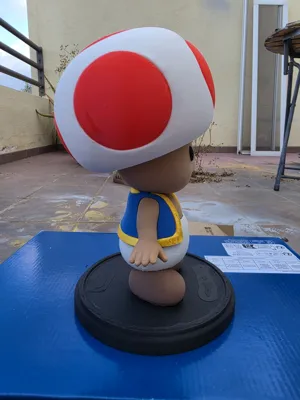
Print your own TOAD without the need for an AMS, without purges and without color changes!
I have created this work solely for you, to make printing easier for anyone who does not have an AMS or does not want to waste filament.
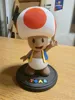
This model (TOAD FanArt, approximately 23 cm tall), after weeks and weeks of work, has been meticulously segmented by color, allowing for a professional finish on any FDM printer through simple assembly.
Advantages:
- Zero Waste: No filament purges; you only print what you need.
- Full Compatibility: Optimized for any print volume. You can scale it up or down.
- Intuitive Assembly: Parts designed for logical and quick fitting.
- Clean Finish: Tolerances tested to not require post-processing.
Assembly Instructions:
- Printing: Follow the suggested plate configuration by color.
- Fitting: Perform a test fit before applying adhesive.
- Adhesion: The use of Cyanoacrylate (super glue) or a similar high-strength adhesive is necessary to ensure a permanent bond.
- Details: Pay special attention to the alignment of the vest edges (Vest_Trim) for a perfect finish.
Risk Analysis:
To ensure excellence in the final result, please note:
- Tolerances: If your printer has over-extrusion and the parts fit too tightly, apply an "XY Size Compensation" of -0.1mm in the slicer.
- Adhesion: Since some parts are small (like the eyes), the use of brim is recommended if you detect stability issues on the heated bed.
Optimize your time and material. If you like the design, a positive rating helps to continue creating content without waste.
Boost Me (for free)
Thank you for your support!
🔧 Printing Tips
Before printing, please clean your printer's bed for better results. I recommend using a 3D printing stick or spray for firm and secure adhesion. This will prevent adhesion problems and ensure a better finish from the first layer.
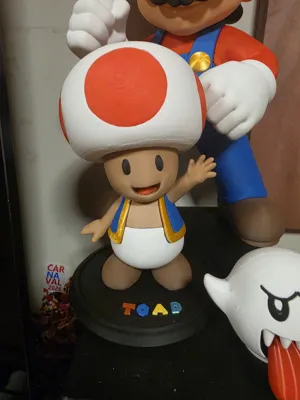
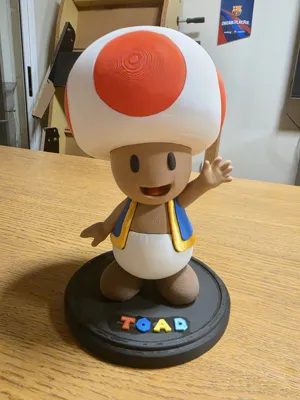
📸 Share Your Result
Each printer and every setting can greatly change the final finish. How did your figure turn out? I would love to see it. Upload it and share your photos with the community so we can all continue to grow!
ENJOY!!!
License
You shall not share, sub-license, sell, rent, host, transfer, or distribute in any way the digital or 3D printed versions of this object, nor any other derivative work of this object in its digital or physical format (including - but not limited to - remixes of this object, and hosting on other digital platforms). The objects may not be used without permission in any way whatsoever in which you charge money, or collect fees.
Comment & Rating (26)