
Gym-Shaker MagSafe Phone mount "GymDockr"
Print Profile(1)
Bill of Materials

- Klettverbinder 2,5cm x 45cm x 1: Länge hängt von dem Durchmesser der Flasche ab
- M4 Mutter x 1:
- M4x40mm Sechskantschraube x 1:
Description

Stop leaning your phone against dumbbells and equipment to film yourself while working out!
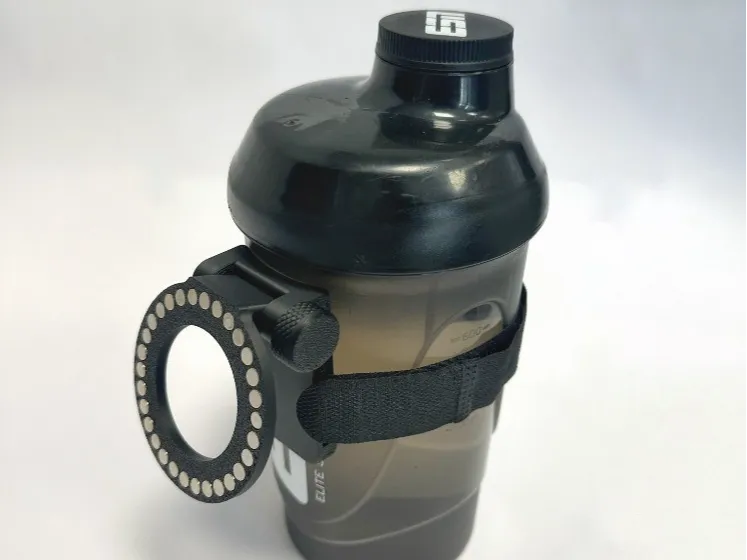
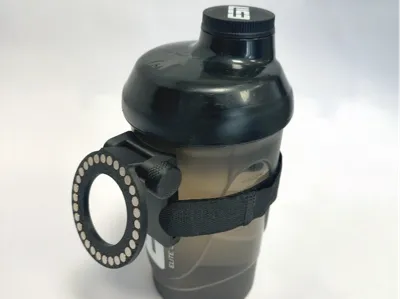
Our phone holder for shaker bottles solves this problem:
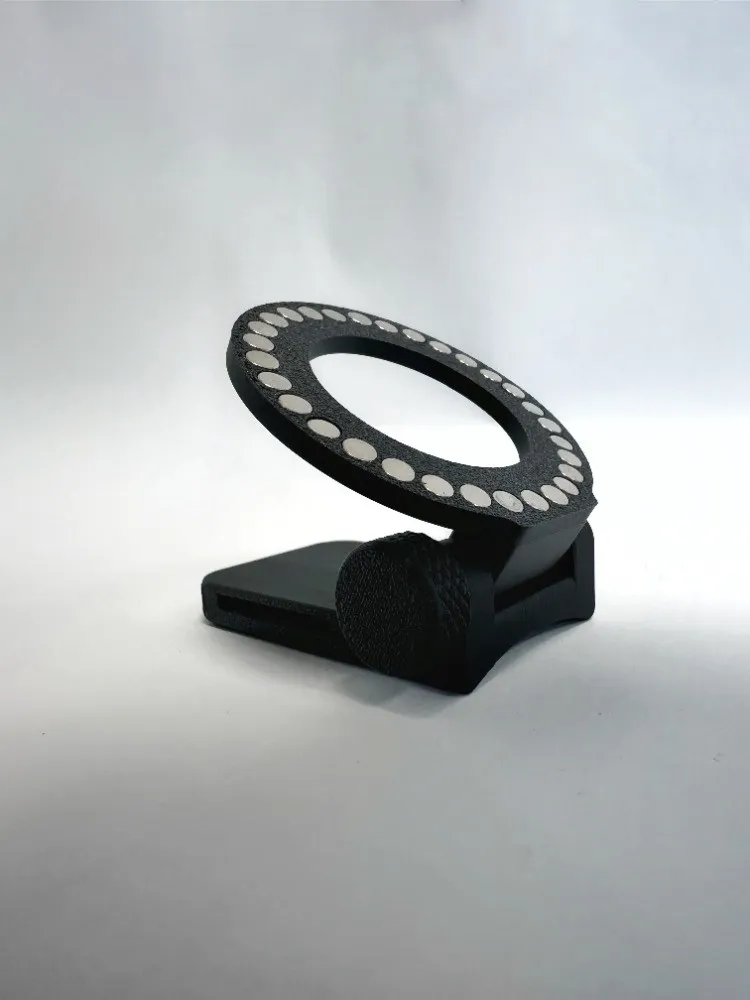
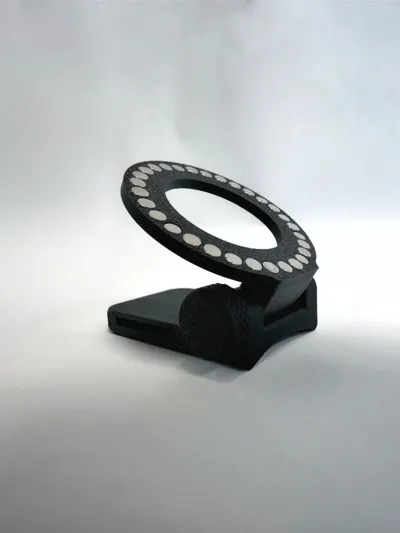
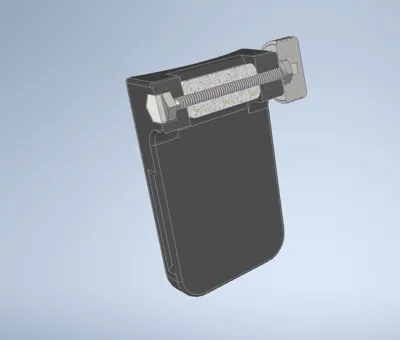
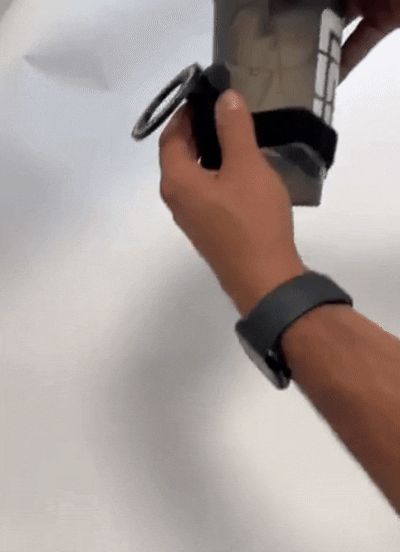
Your phone is held by the built-in MagSafe, and by tightening the knob, the angle for filming with the front camera(!) is continuously adjustable.
To complete the GymDockr, in addition to the 3D print files, you will need the following items (we sourced them from Amazon):
•30 pieces Neodymium magnets ⌀5x3mm (we chose this product https://amzn.eu/d/03BLt4MN)
•1 piece M4x40mm hex screw
•1 piece M4 nut
•Velcro fastener or similar (e.g. cable ties) for attaching the holder to the bottle (We chose this product https://amzn.eu/d/00yCDZf6)
Assembly:
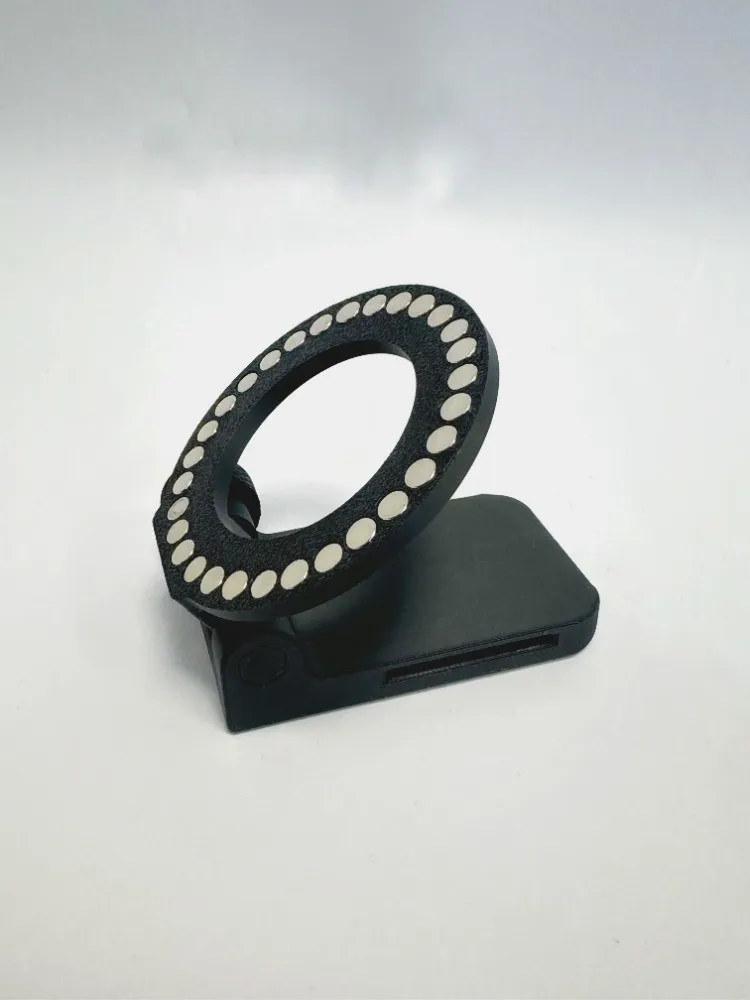
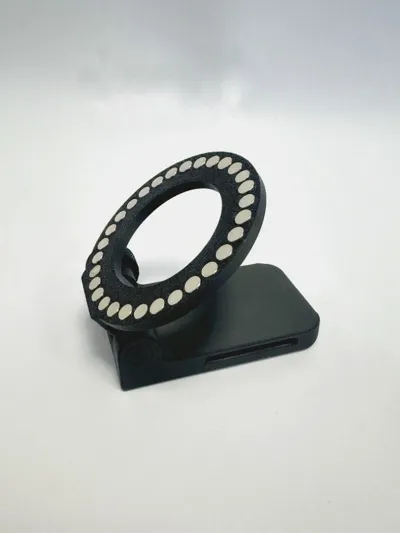
Press the neodymium magnets into the holes of the Magsafe adapter, paying close attention to the correct orientation of the magnets.
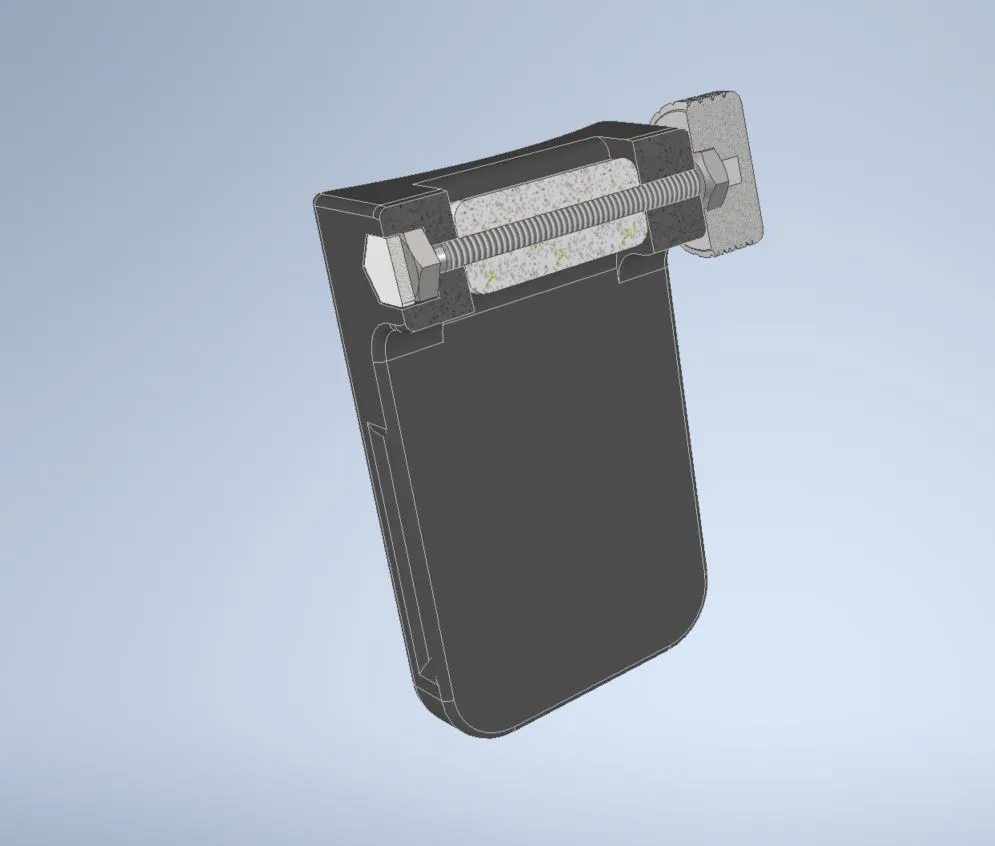
Slide the base and the Magsafe adapter together so that the holes align and you can push the M4 screw through both parts until the hex head of the screw rests in the recess in the base.
Insert the M4 nut into the recess in the knob.
Screw the knob onto the protruding part of the M4 screw's thread. Hide the screw head by inserting the plug.
By tightening the knob, you can now influence the resistance of the hinge (the tighter it is, the less likely it is that the hinge will adjust itself independently while filming.)
Now take the Velcro fastener or strap of your choice, thread it through the recess in the base, and attach the part to your shaker or bottle.
Print Instructions
•Print the base lying on its side, with the hexagonal recess pointing upwards
•Print the Magsafe adapter with the holes pointing towards the build plate
License

You shall not share, sub-license, sell, rent, host, transfer, or distribute in any way the digital or 3D printed versions of this object, nor any other derivative work of this object in its digital or physical format (including - but not limited to - remixes of this object, and hosting on other digital platforms). The objects may not be used without permission in any way whatsoever in which you charge money, or collect fees.


Comment & Rating (0)