ATX Bench Power Supply Case – No Soldering DIY


Print Profile(1)
Description
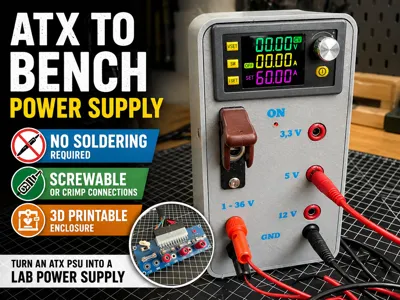
Turn a standard PC power supply into a functional bench power supply – without soldering.
This 3D printable enclosure allows you to build a clean and practical lab power supply using a typical ATX PSU. The design focuses on simplicity and accessibility: no soldering required, only basic tools.
All connections are designed to be screwable or crimped, making the build process straightforward and beginner-friendly.
Key Features
- No soldering required
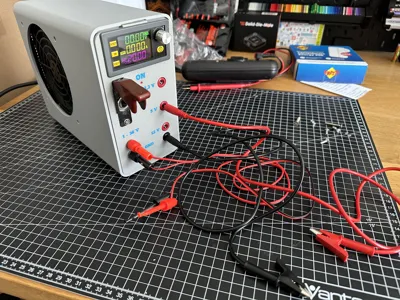
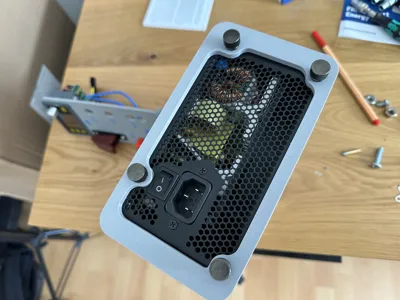
- Clean and compact enclosure design
- Supports standard ATX power supplies
- Screw terminals / crimp connections
- Organized cable management
Build Concept
- Remove unnecessary cables from the ATX PSU
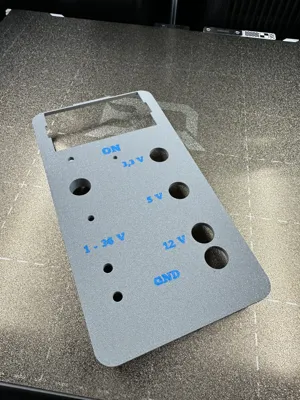
- Keep only required voltage lines (Yellow and Black for 12 Input of DC Converter)
- Route and connect wires using screw terminals or crimps
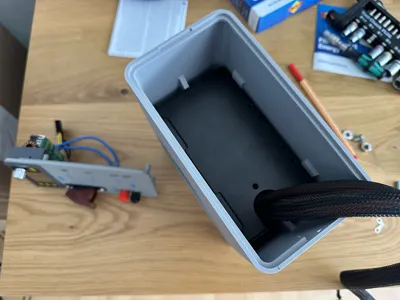
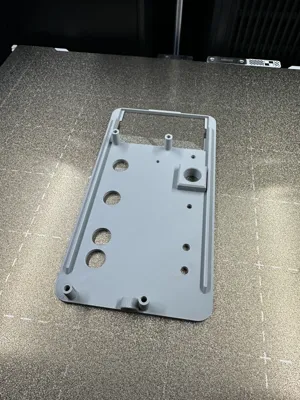
- Mount everything inside the printed enclosure
Perfect for makers who want a quick, reliable and clean power solution for electronics projects.
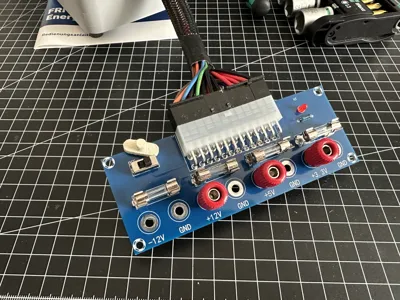
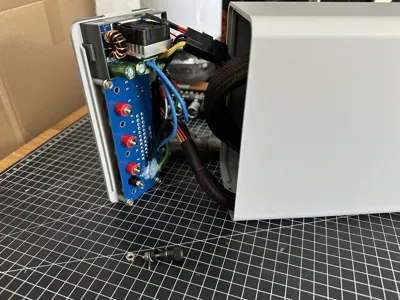
Uses a standard SK120 DC Buck Boost Converter, XH-M229 HU-M28W 24Pin ATX Adapter Board and Banana Bulkhead Connectors. The original connectors of the adapter board are removed as they are not banana type, new ones are installed via their screws and nuts. As Ground is the same throuout the board, only lower one is used.
For the DC Boost Converter you can just cut a molex cable and screw it onto the included socket or use an old adapter which you cut up. All other cables need to be removed if you use a modular powersupply, just disconnect them.
⚠️ Safety Note
This project involves working with power supplies. Make sure you understand basic electrical safety before building. Always unplug the PSU before modifying it.
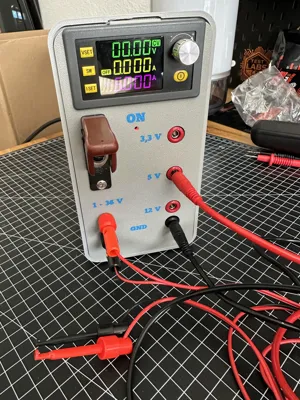
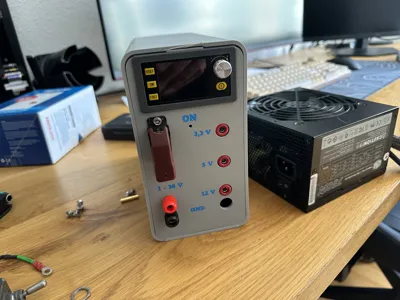
I used an extra switch for on and off, but the Adapter Board comes with one, so the print profile has a litte slider to extend that to the front plate. With premitives you can just add or close holes in the slicer if you want to alter the design to add your own switch for example.
⚙ Recommended Print Settings
Recommended Print Settings
- Material: PLA (PETG recommended for durability & heat resistance)
- Layer height: 0.2 mm
- Infill: 15 %
- Supports: ❌ Not required (depending on design)
- Orientation: Print parts flat
License
You may create derivative works based on this object, provided that all such derivative works are published exclusively on the MakerWorld platform and include proper attribution to the original creator. You may not share, upload, host, distribute, or publish this object—or any derivative work of this object—on any other digital platform, marketplace, or distribution channel. Commercial use of this object and any derivative works is strictly prohibited. This includes, but is not limited to, selling, renting, sublicensing, or using the object in any context in which you receive monetary compensation or other financial benefits.
Comment & Rating (7)