
X2D Toolhead LED Custom Kit & LED Bracket Remover
Print Profile(1)
Description
The model details are just below—feel free to scroll down!
Boost Me (for free)
Thanks for checking out my design! If you liked it, a Boost would mean a lot. I truly appreciate every follow, download, like, and boost. Thank you for your support!

- Making 3D Printing More Fun & Functional. -
◀ Printer Upgrade Collection ▶


◀ Next / Previous ▶
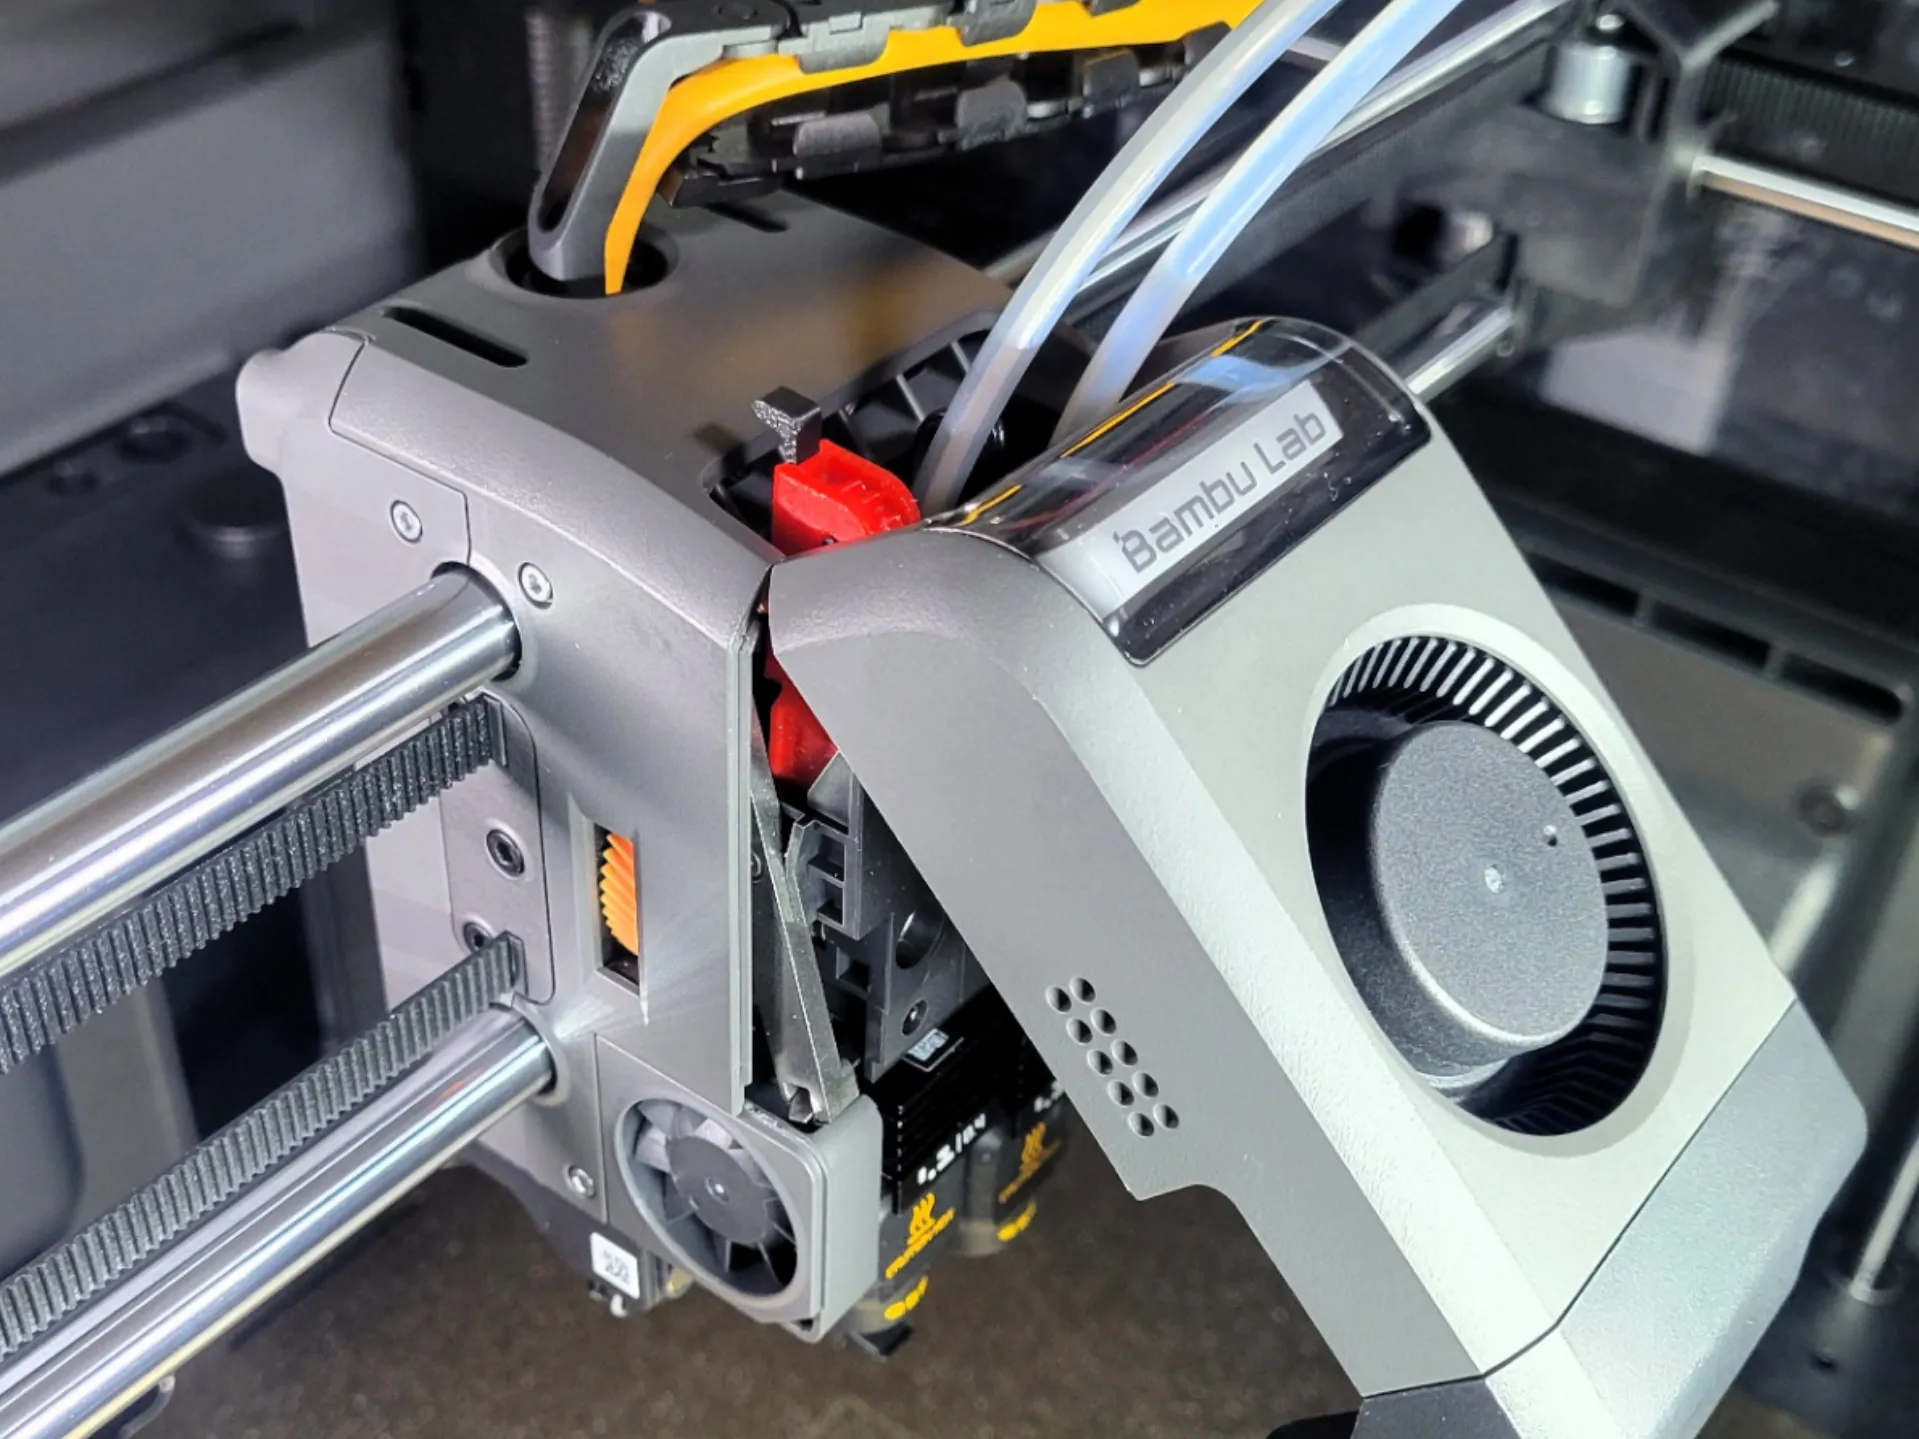
X2D Toolhead LED Custom Kit & LED Bracket Remover
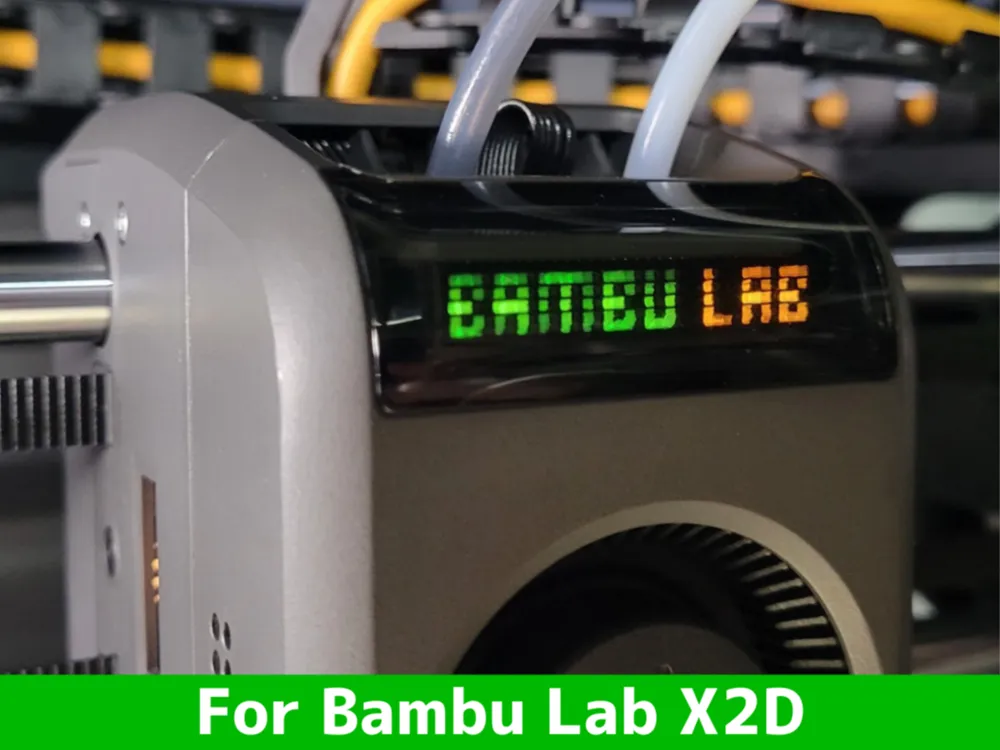
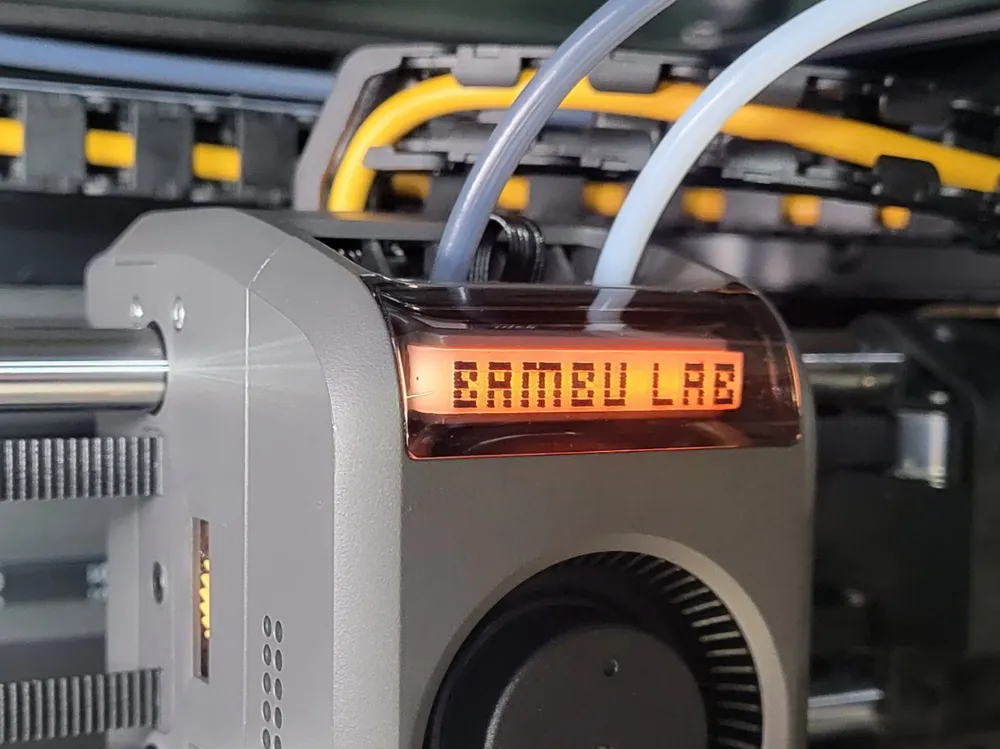
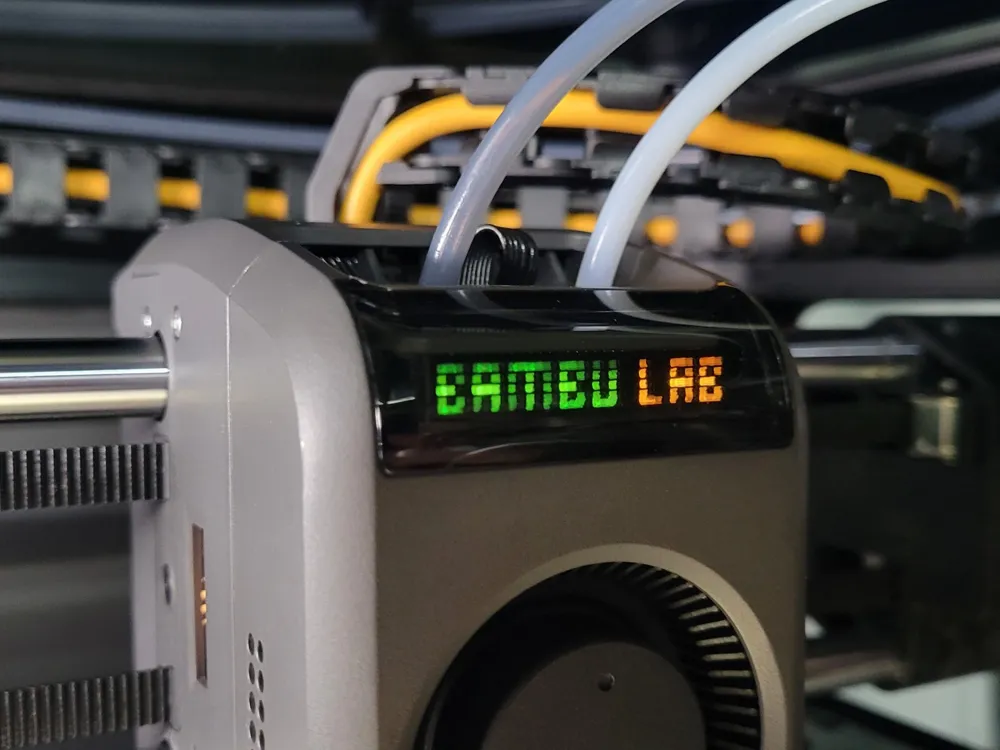
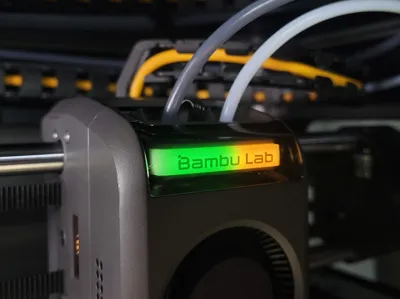
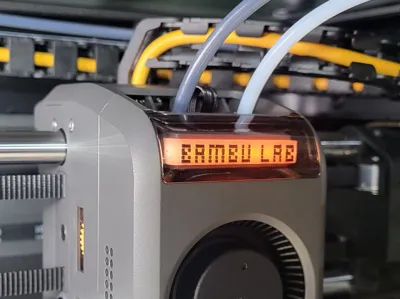
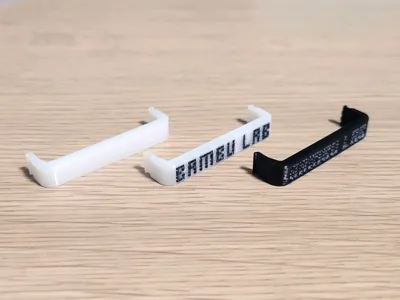
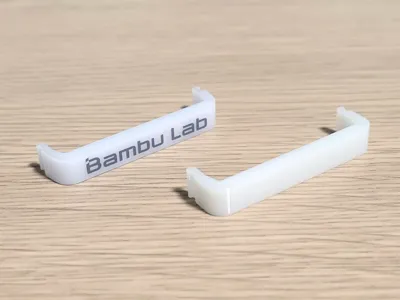
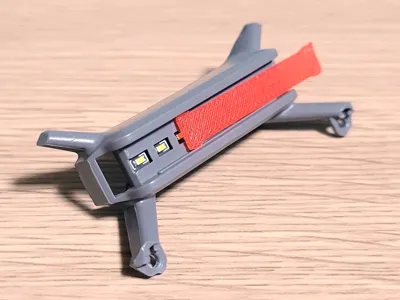
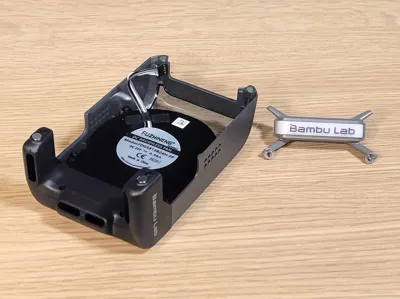
This is a comprehensive kit for customizing the toolhead LED of your Bambu Lab X2D. It includes a specialized jig to assist in disassembly, a customizable diffuser with editable text, and color filters.
Share Your Custom Looks! I’d love to see how your customized toolhead turned out! Please share your photos and makes in the print profile reviews. Seeing your unique designs and color combinations is the best part of creating these models!
Kit Components
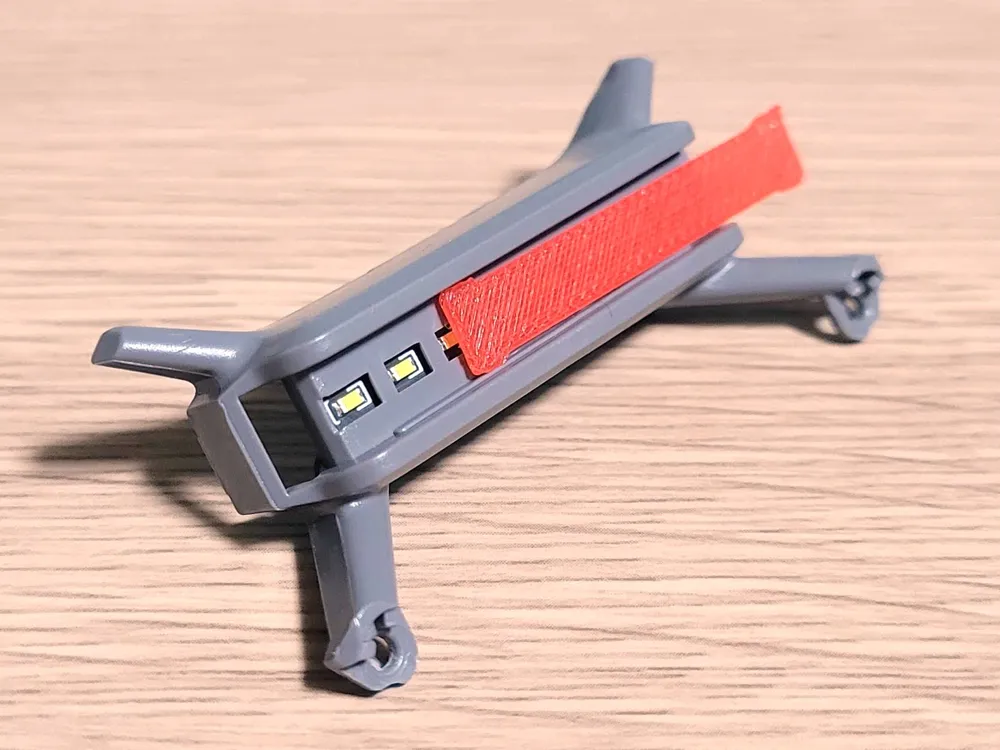
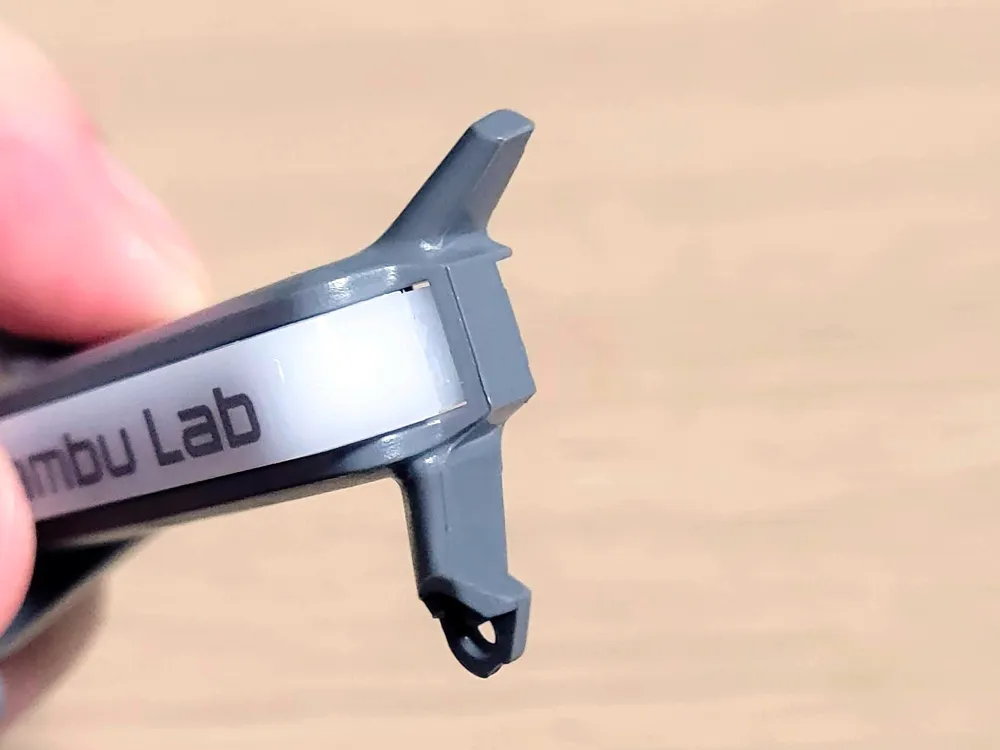
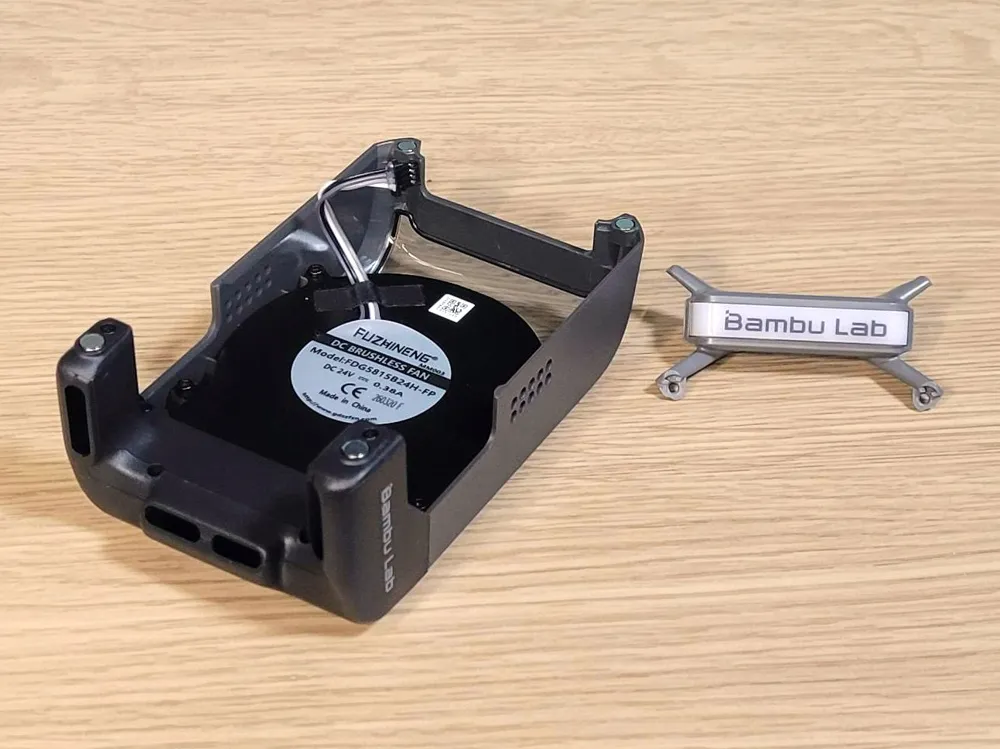
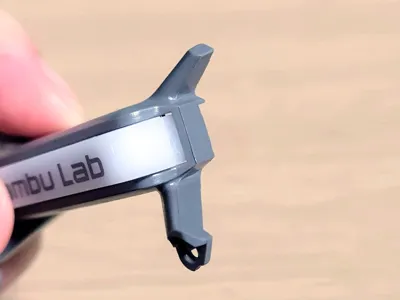
1. LED Bracket Remover (Disassembly Aid Jig)
The LED bracket inside the X2D toolhead is very tight and can be difficult to remove by hand.
- Smooth Operation: Using this jig to slide the bracket allows for controlled force, assisting in a smoother removal.
- Specialized Shape: Specifically designed for the cramped toolhead interior to efficiently release the locks using a sliding motion.
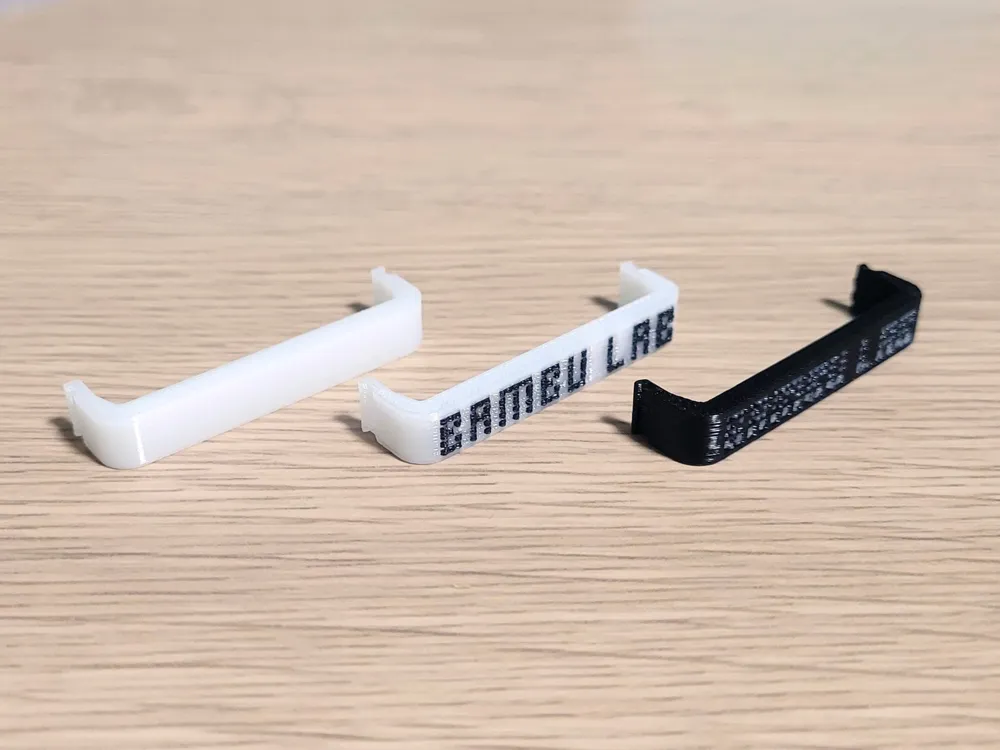
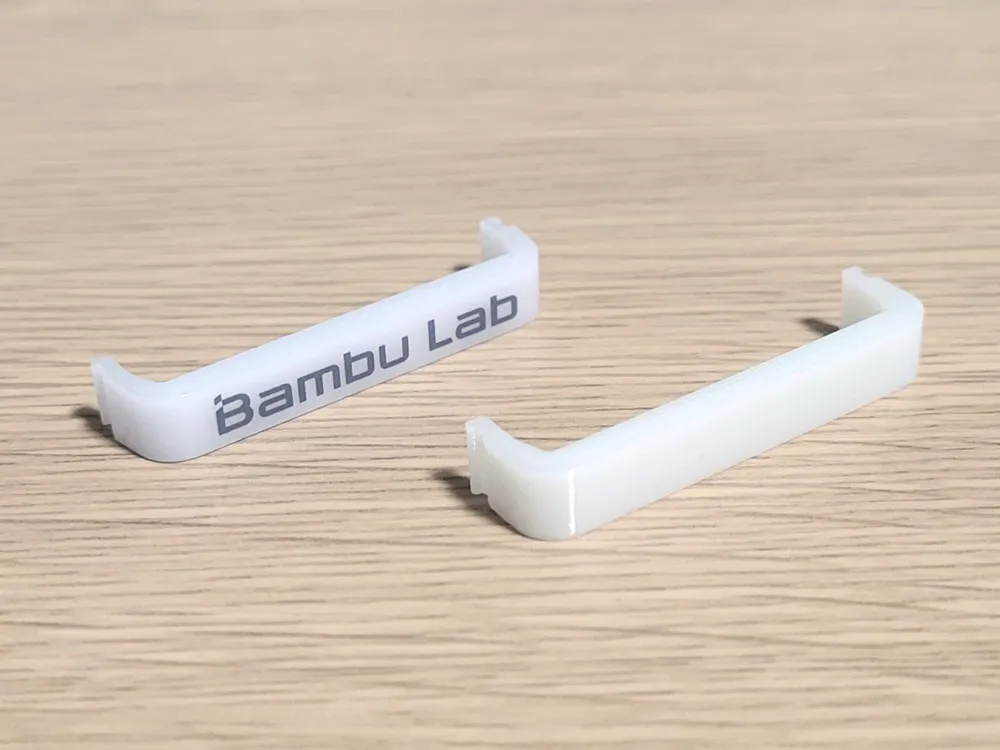
2. Customizable LED Diffuser(Two Styles)
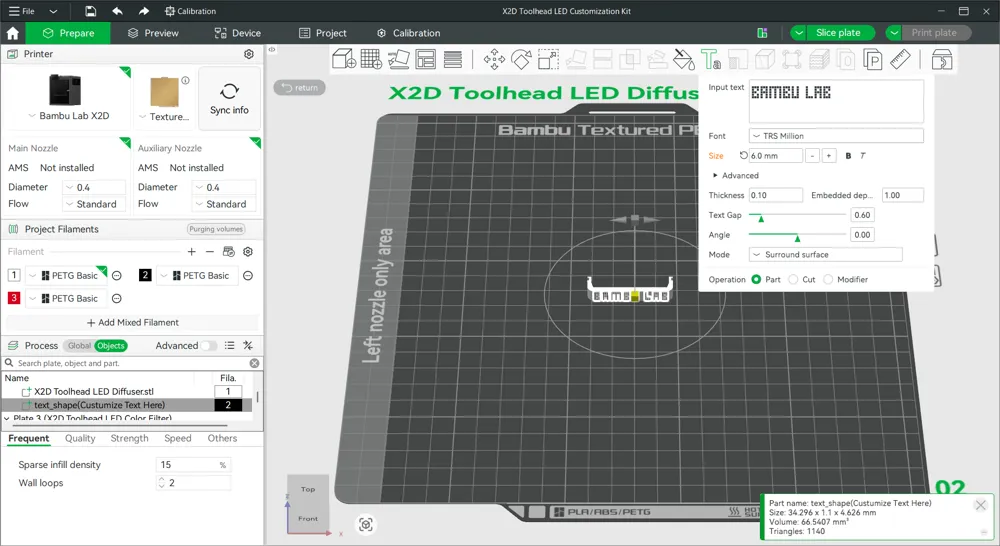
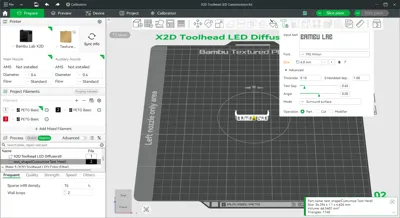
The kit includes two styles of diffusers to match your preference. Editable Text: Easily change the text to your preferred name or logo using the "Text Shape" tool in Bambu Studio.
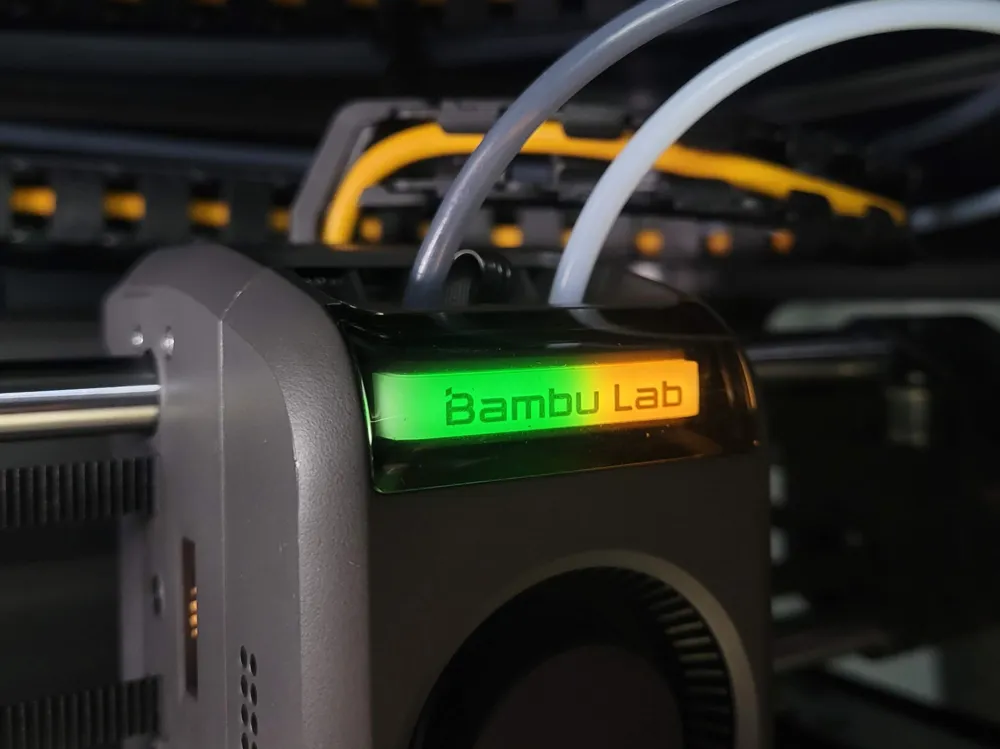
- Glow-Surface (Positive): The entire background glows, making black text or logos stand out clearly.
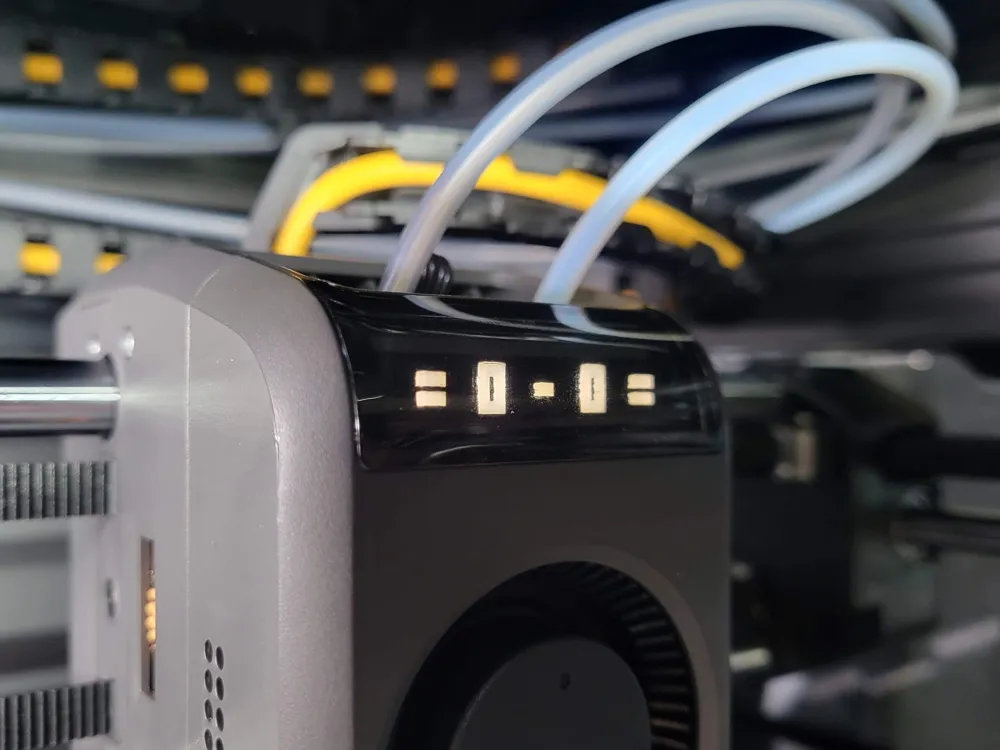
- Glow-Text (Negative): Only the text glows against a dark, sleek background for a modern, subtle look.
3. Color Change Filters(Two Styles)
The kit includes both Single-Color and Multi-Color filter options to suit your customization needs.
- Single-Color Filter: A simple, thin filter for a uniform color across the entire LED panel.
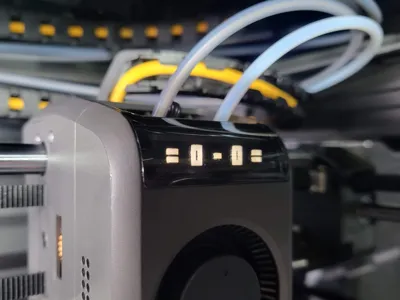
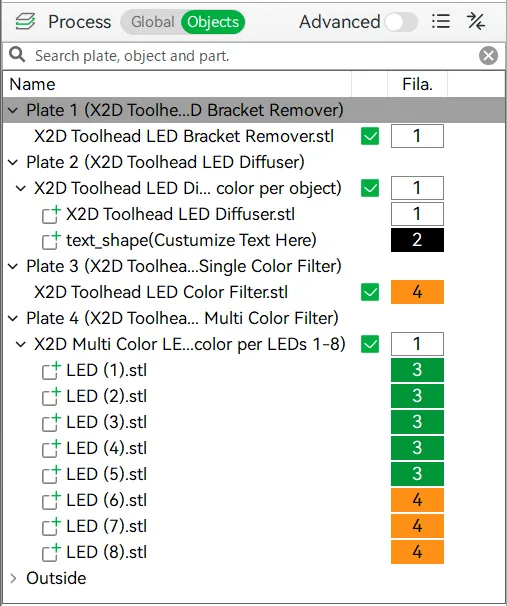
- Multi-Color Filter (Segmented): Since the X2D features 8 LEDs, this segmented filter allows you to assign up to 8 different colors directly in Bambu Studio for a stunning gradient or rainbow effect.
LED Bracket Removal
When performing the work, ensure that you do not apply excessive force and handle the board with care.
Removal Steps
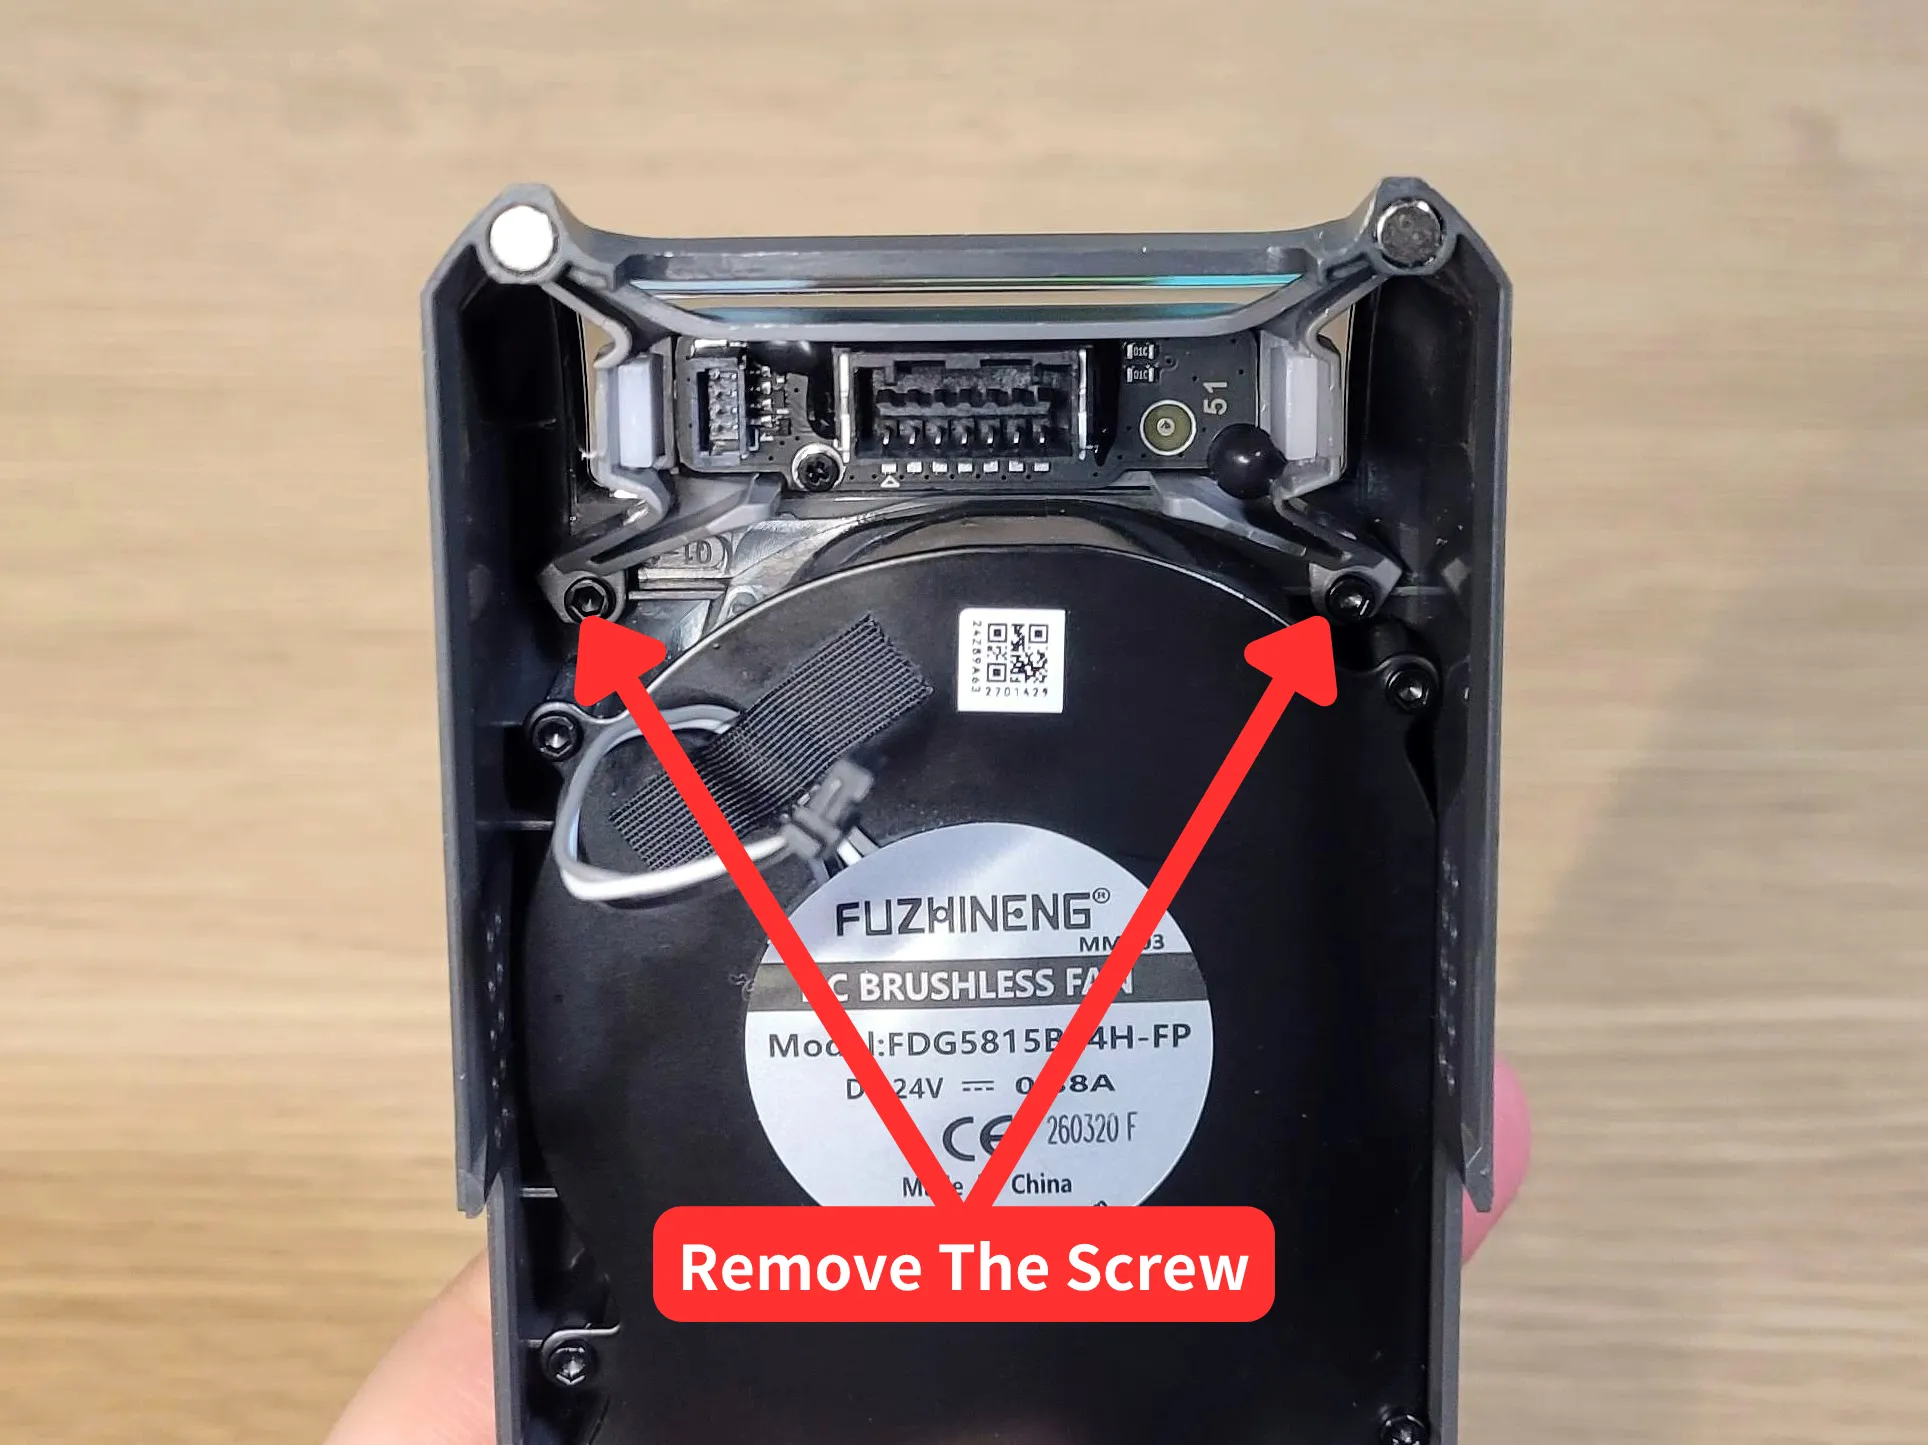
- Disconnect Cables: Carefully disconnect all cable connectors attached to the LED bracket board.
Remove Screws: The bracket is secured with two screws. Remove them before using the jig.
Attach the Jig: Attach the specialized removal jig to the bracket.
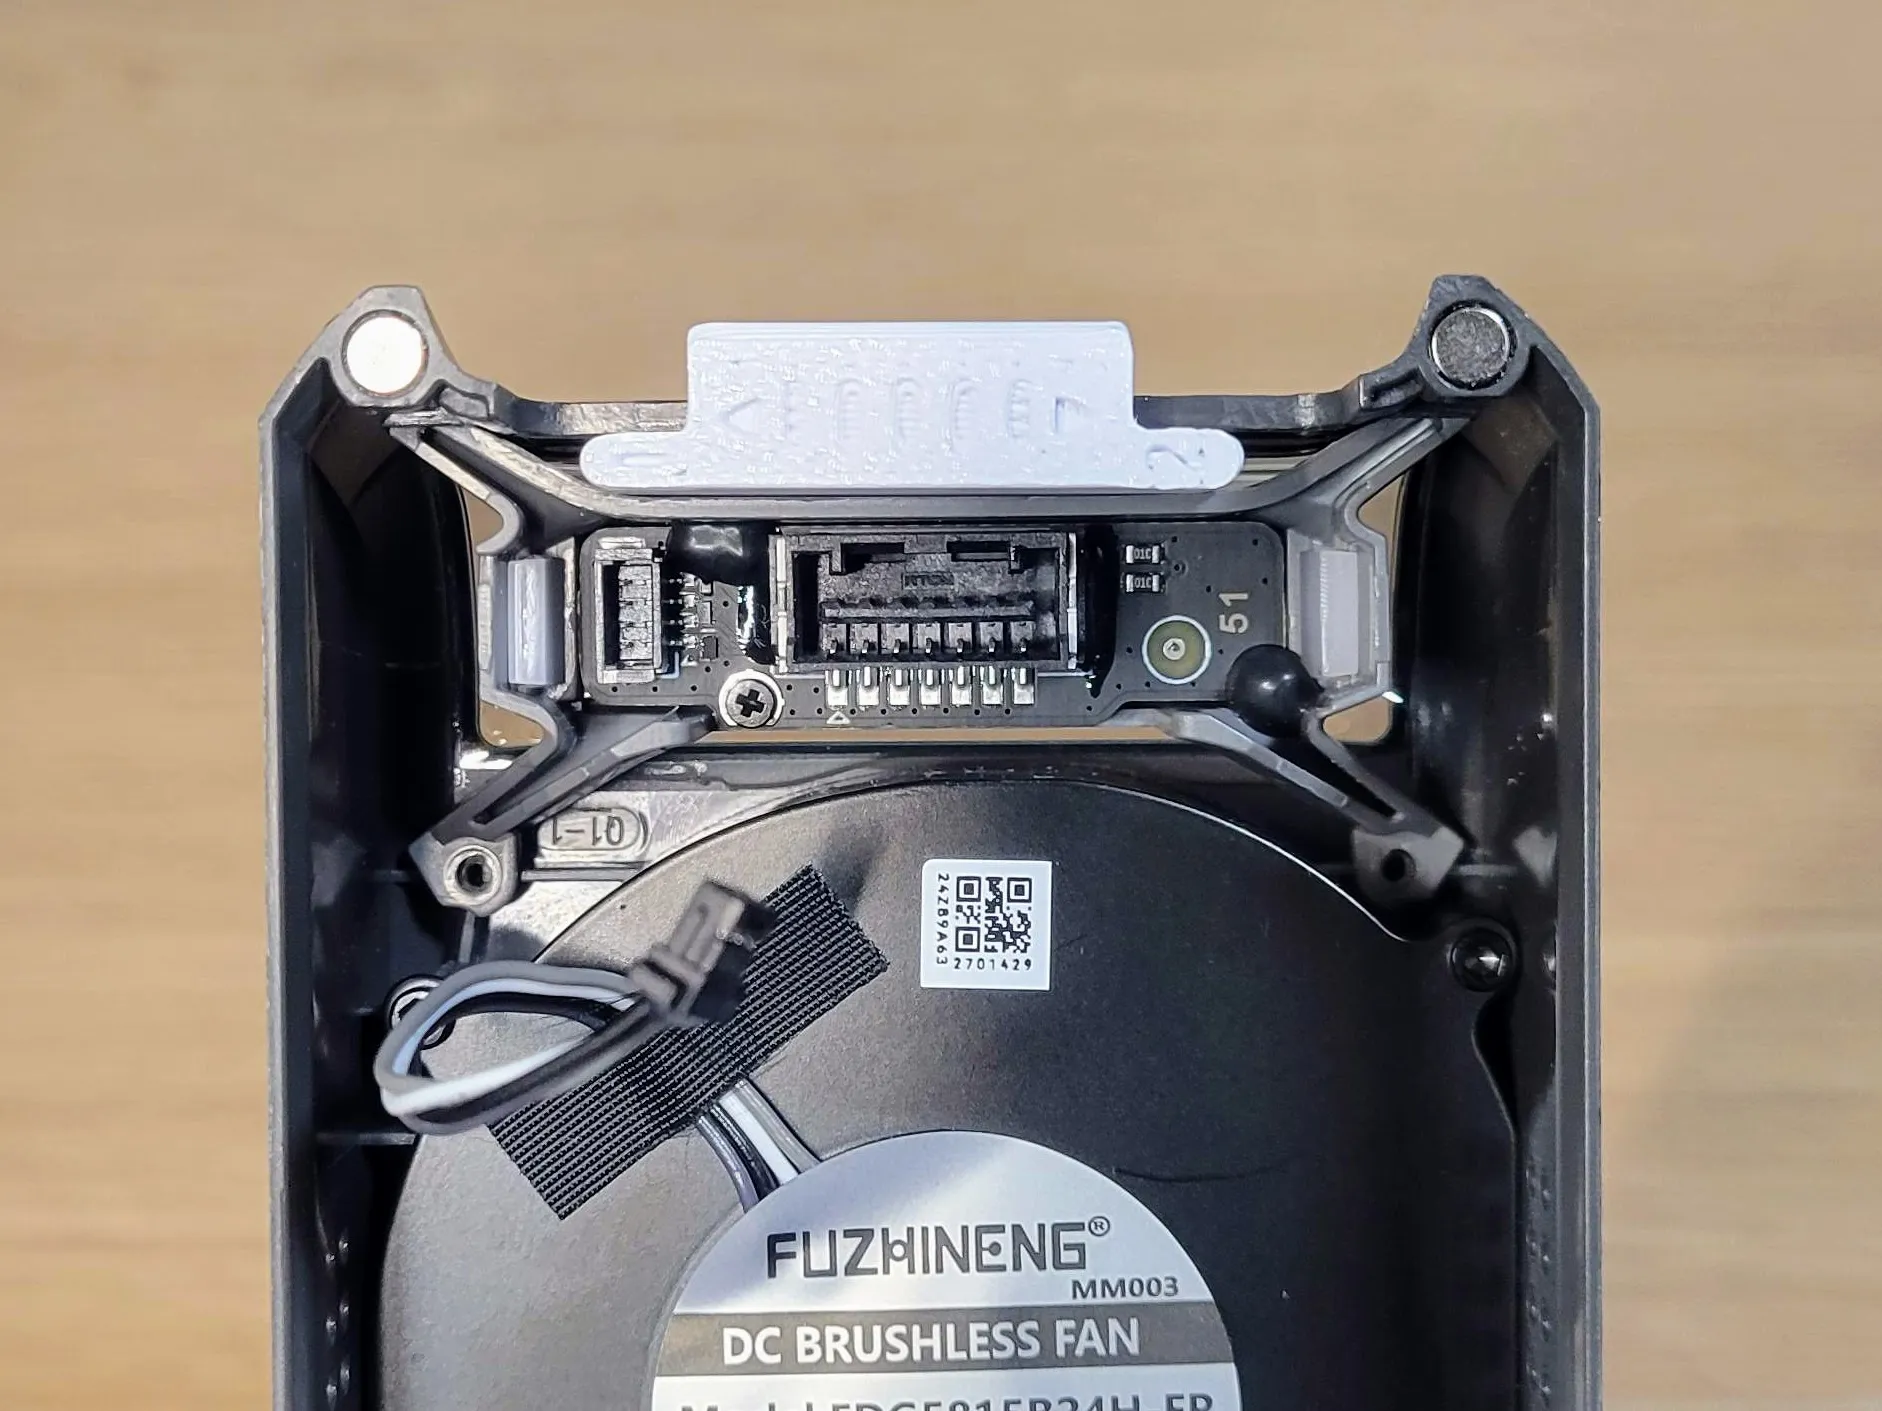
- Slide Operation: Following the numbers engraved on the remover, slide it slowly and steadily:
Step 1 (Upward): While holding the remover in your right hand, slowly slide it upward from your perspective.
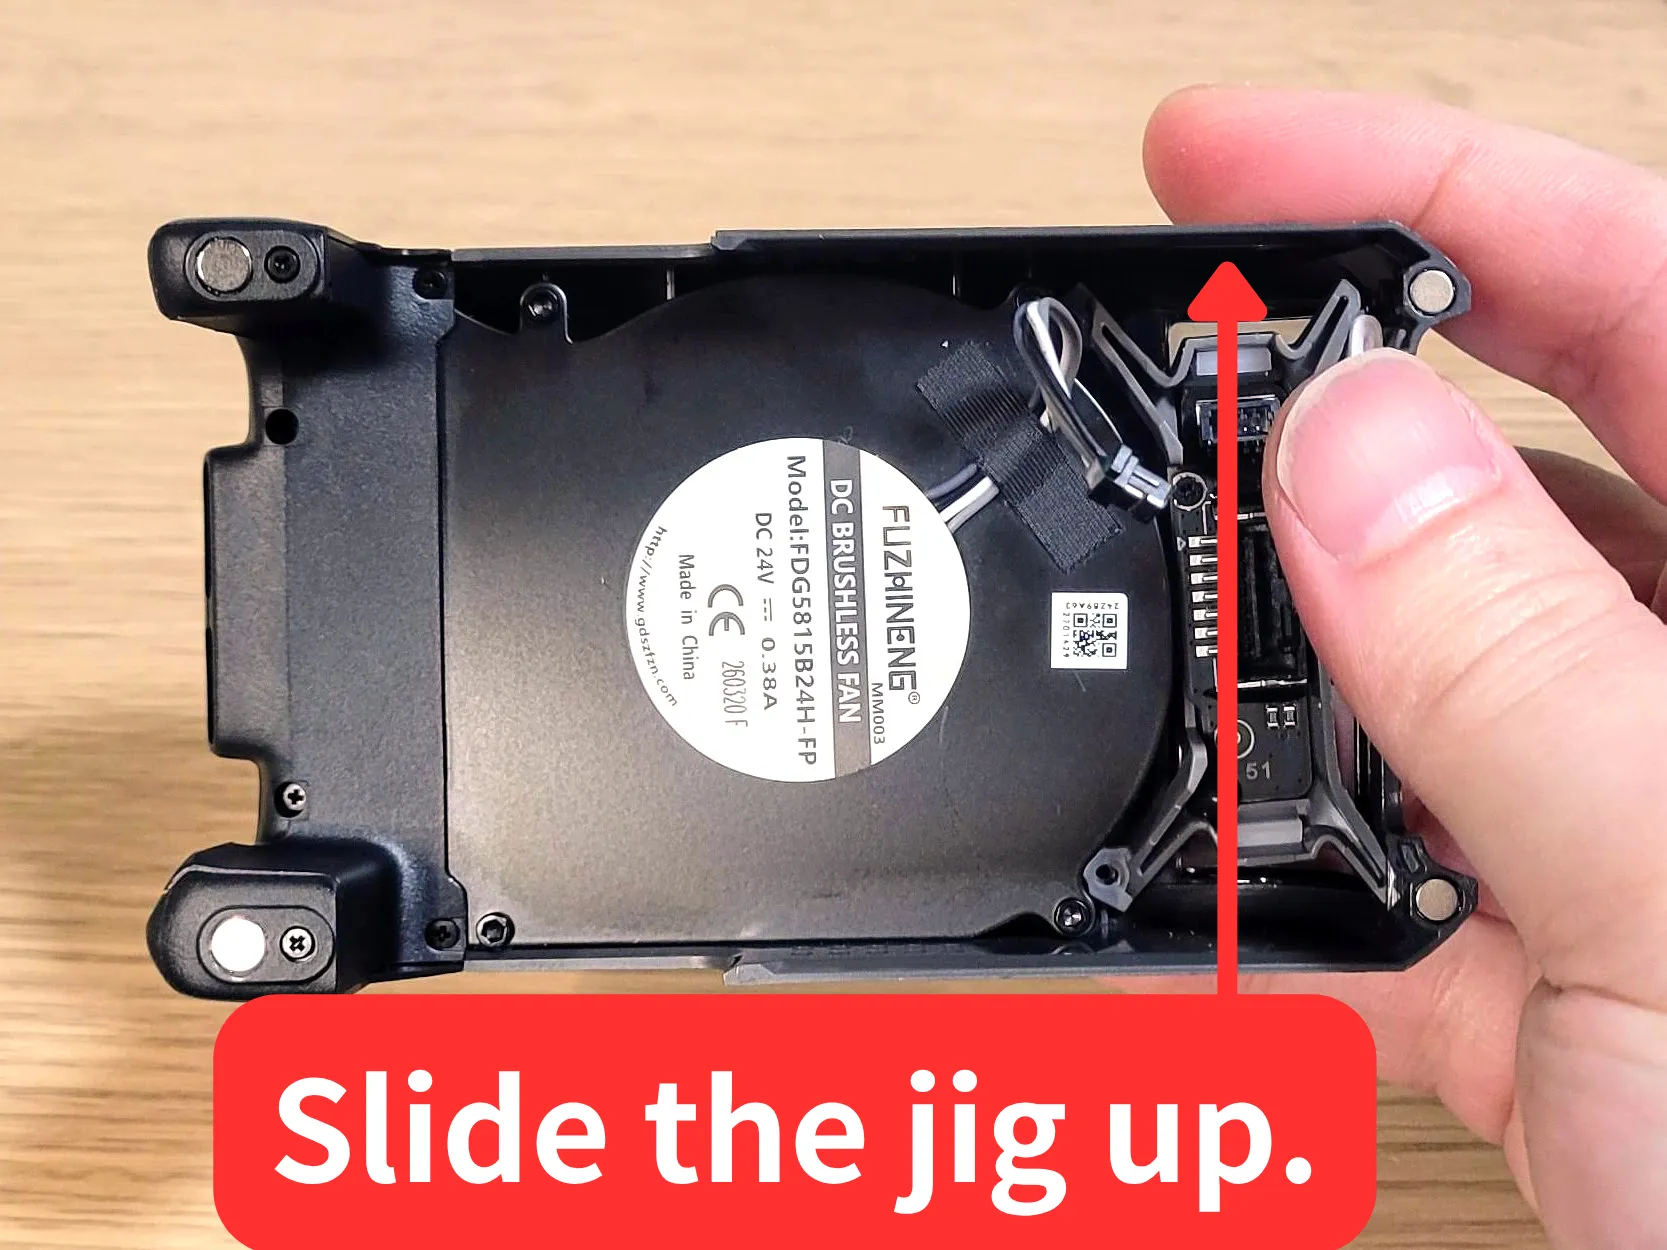
Step 2 (Downward): Next, slide it downward with your left hand to release the bracket lock.
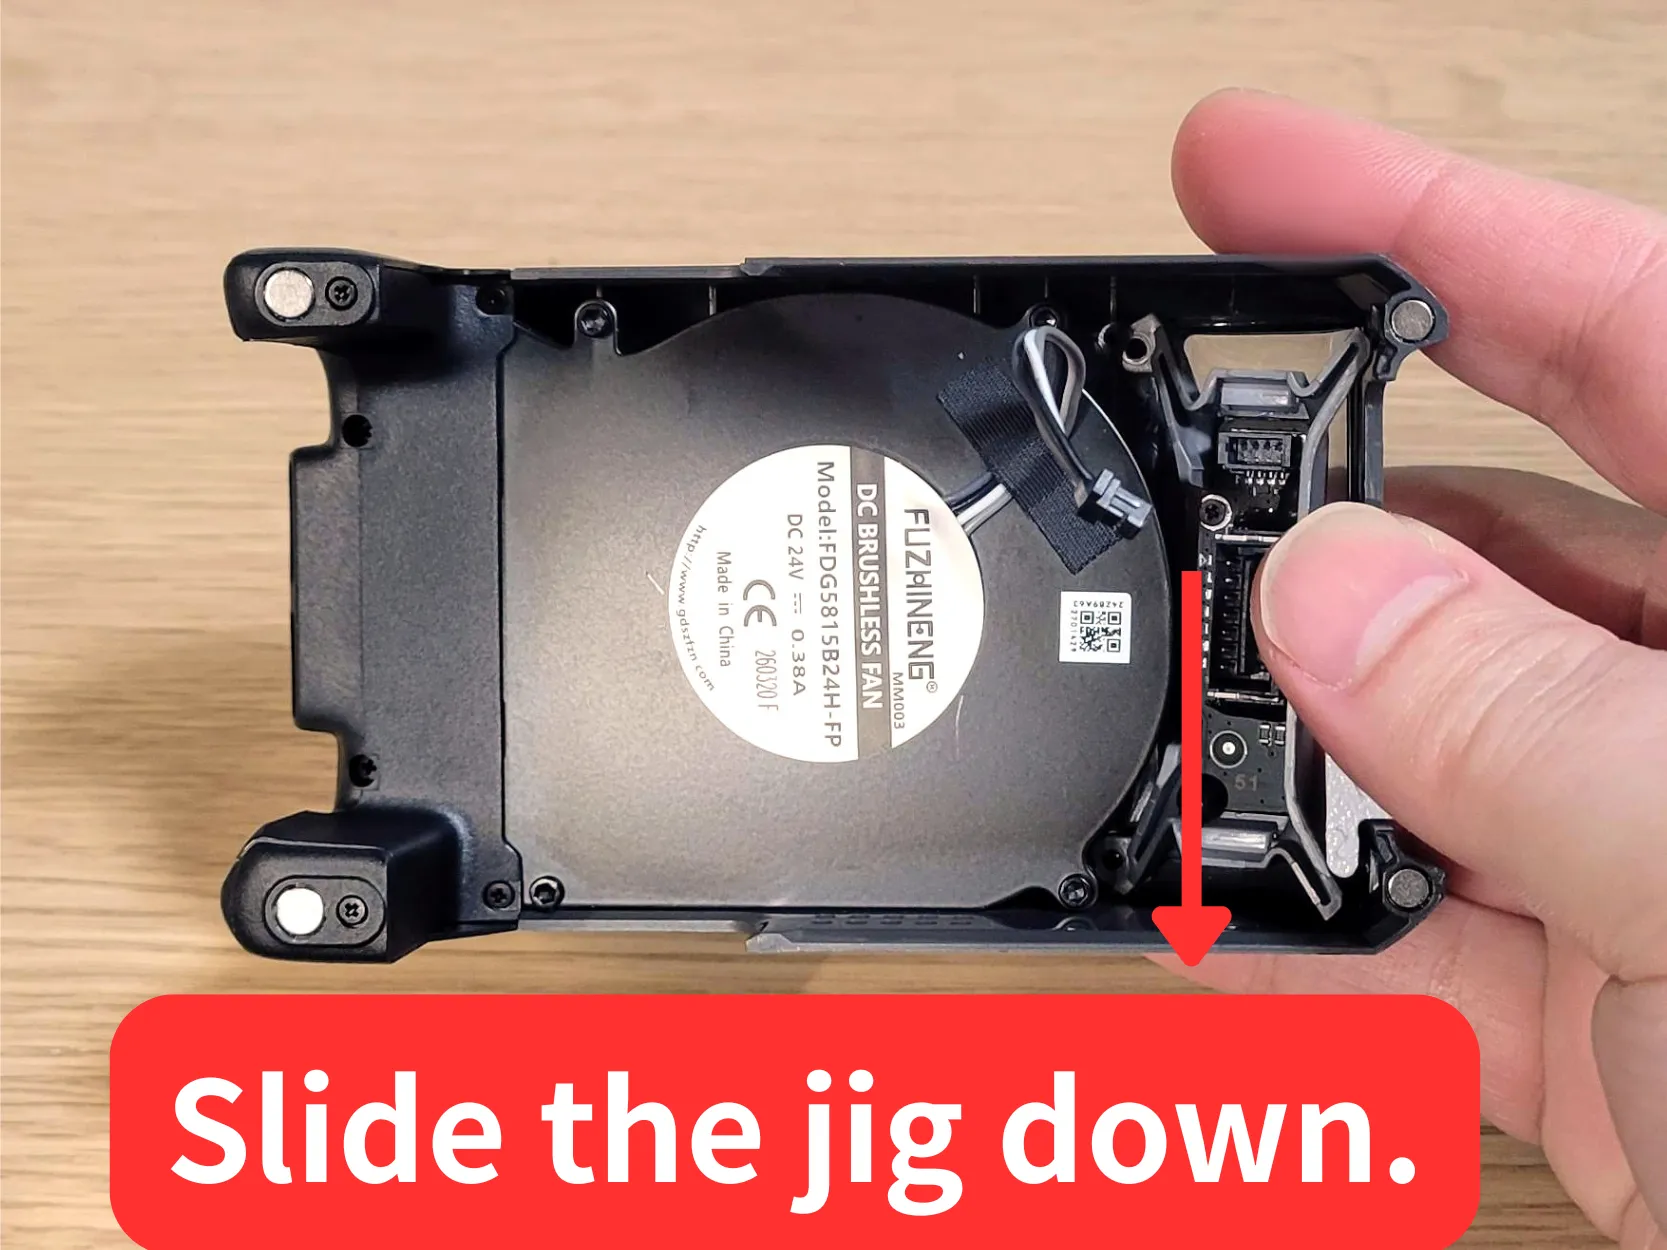
- Remove the Bracket: The sliding motion will release the bracket tabs from the toolhead housing. Once released, the bracket can be easily removed by pulling it toward you.
Diffuser Removal
Using the new "Diffuser Removal Jig" to safely swap out the stock part.
Removal Steps
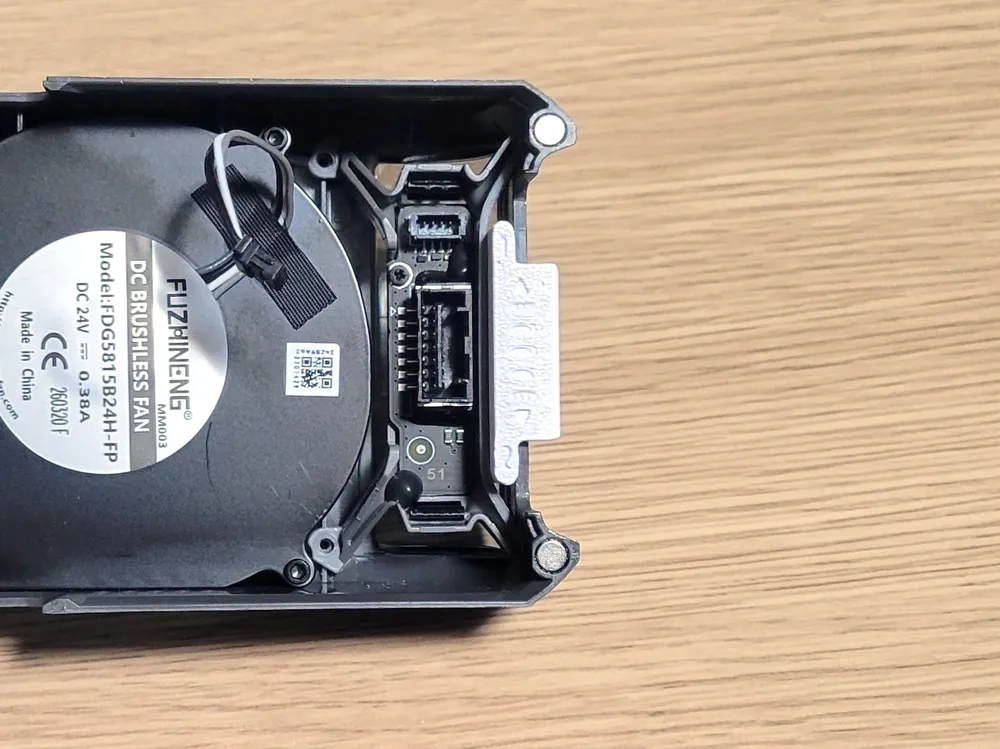
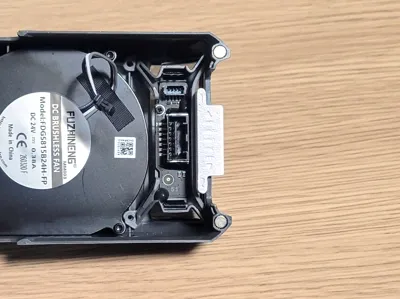
- Locate the Tabs: Look at the back of the mount base. You will see the tabs that hold the white stock diffuser in place.it is best to access the tab from the side opposite the fan connector to ensure a safer and easier work space.
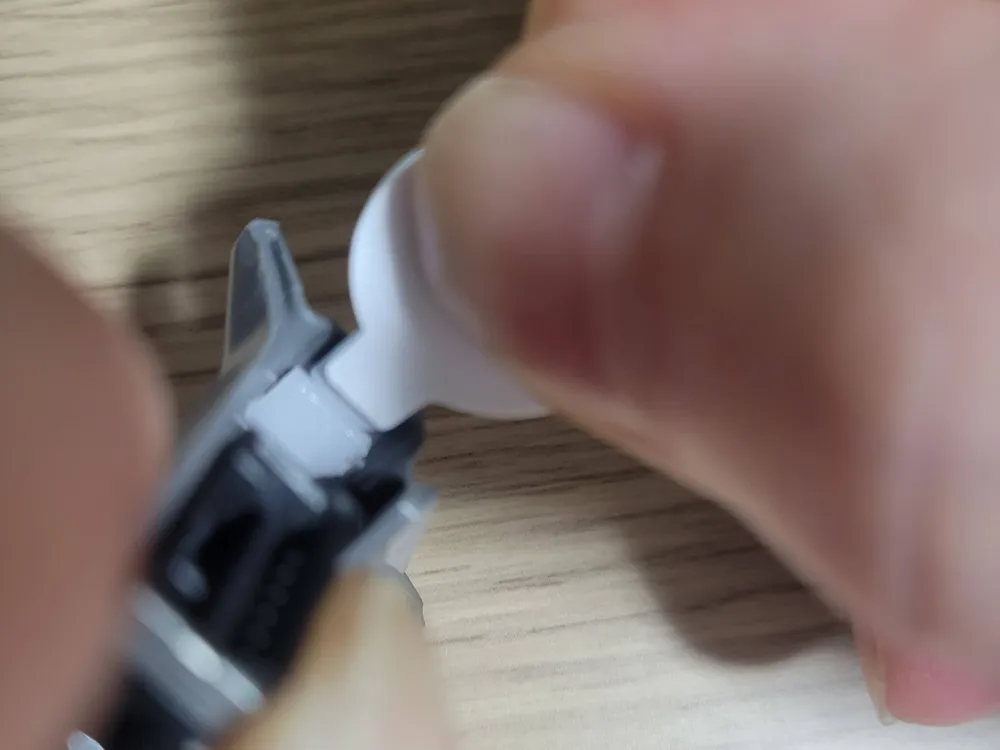
Insert the Jig: Insert the specialized Diffuser Removal Jig into the tab area. It should go in about 1mm deep.
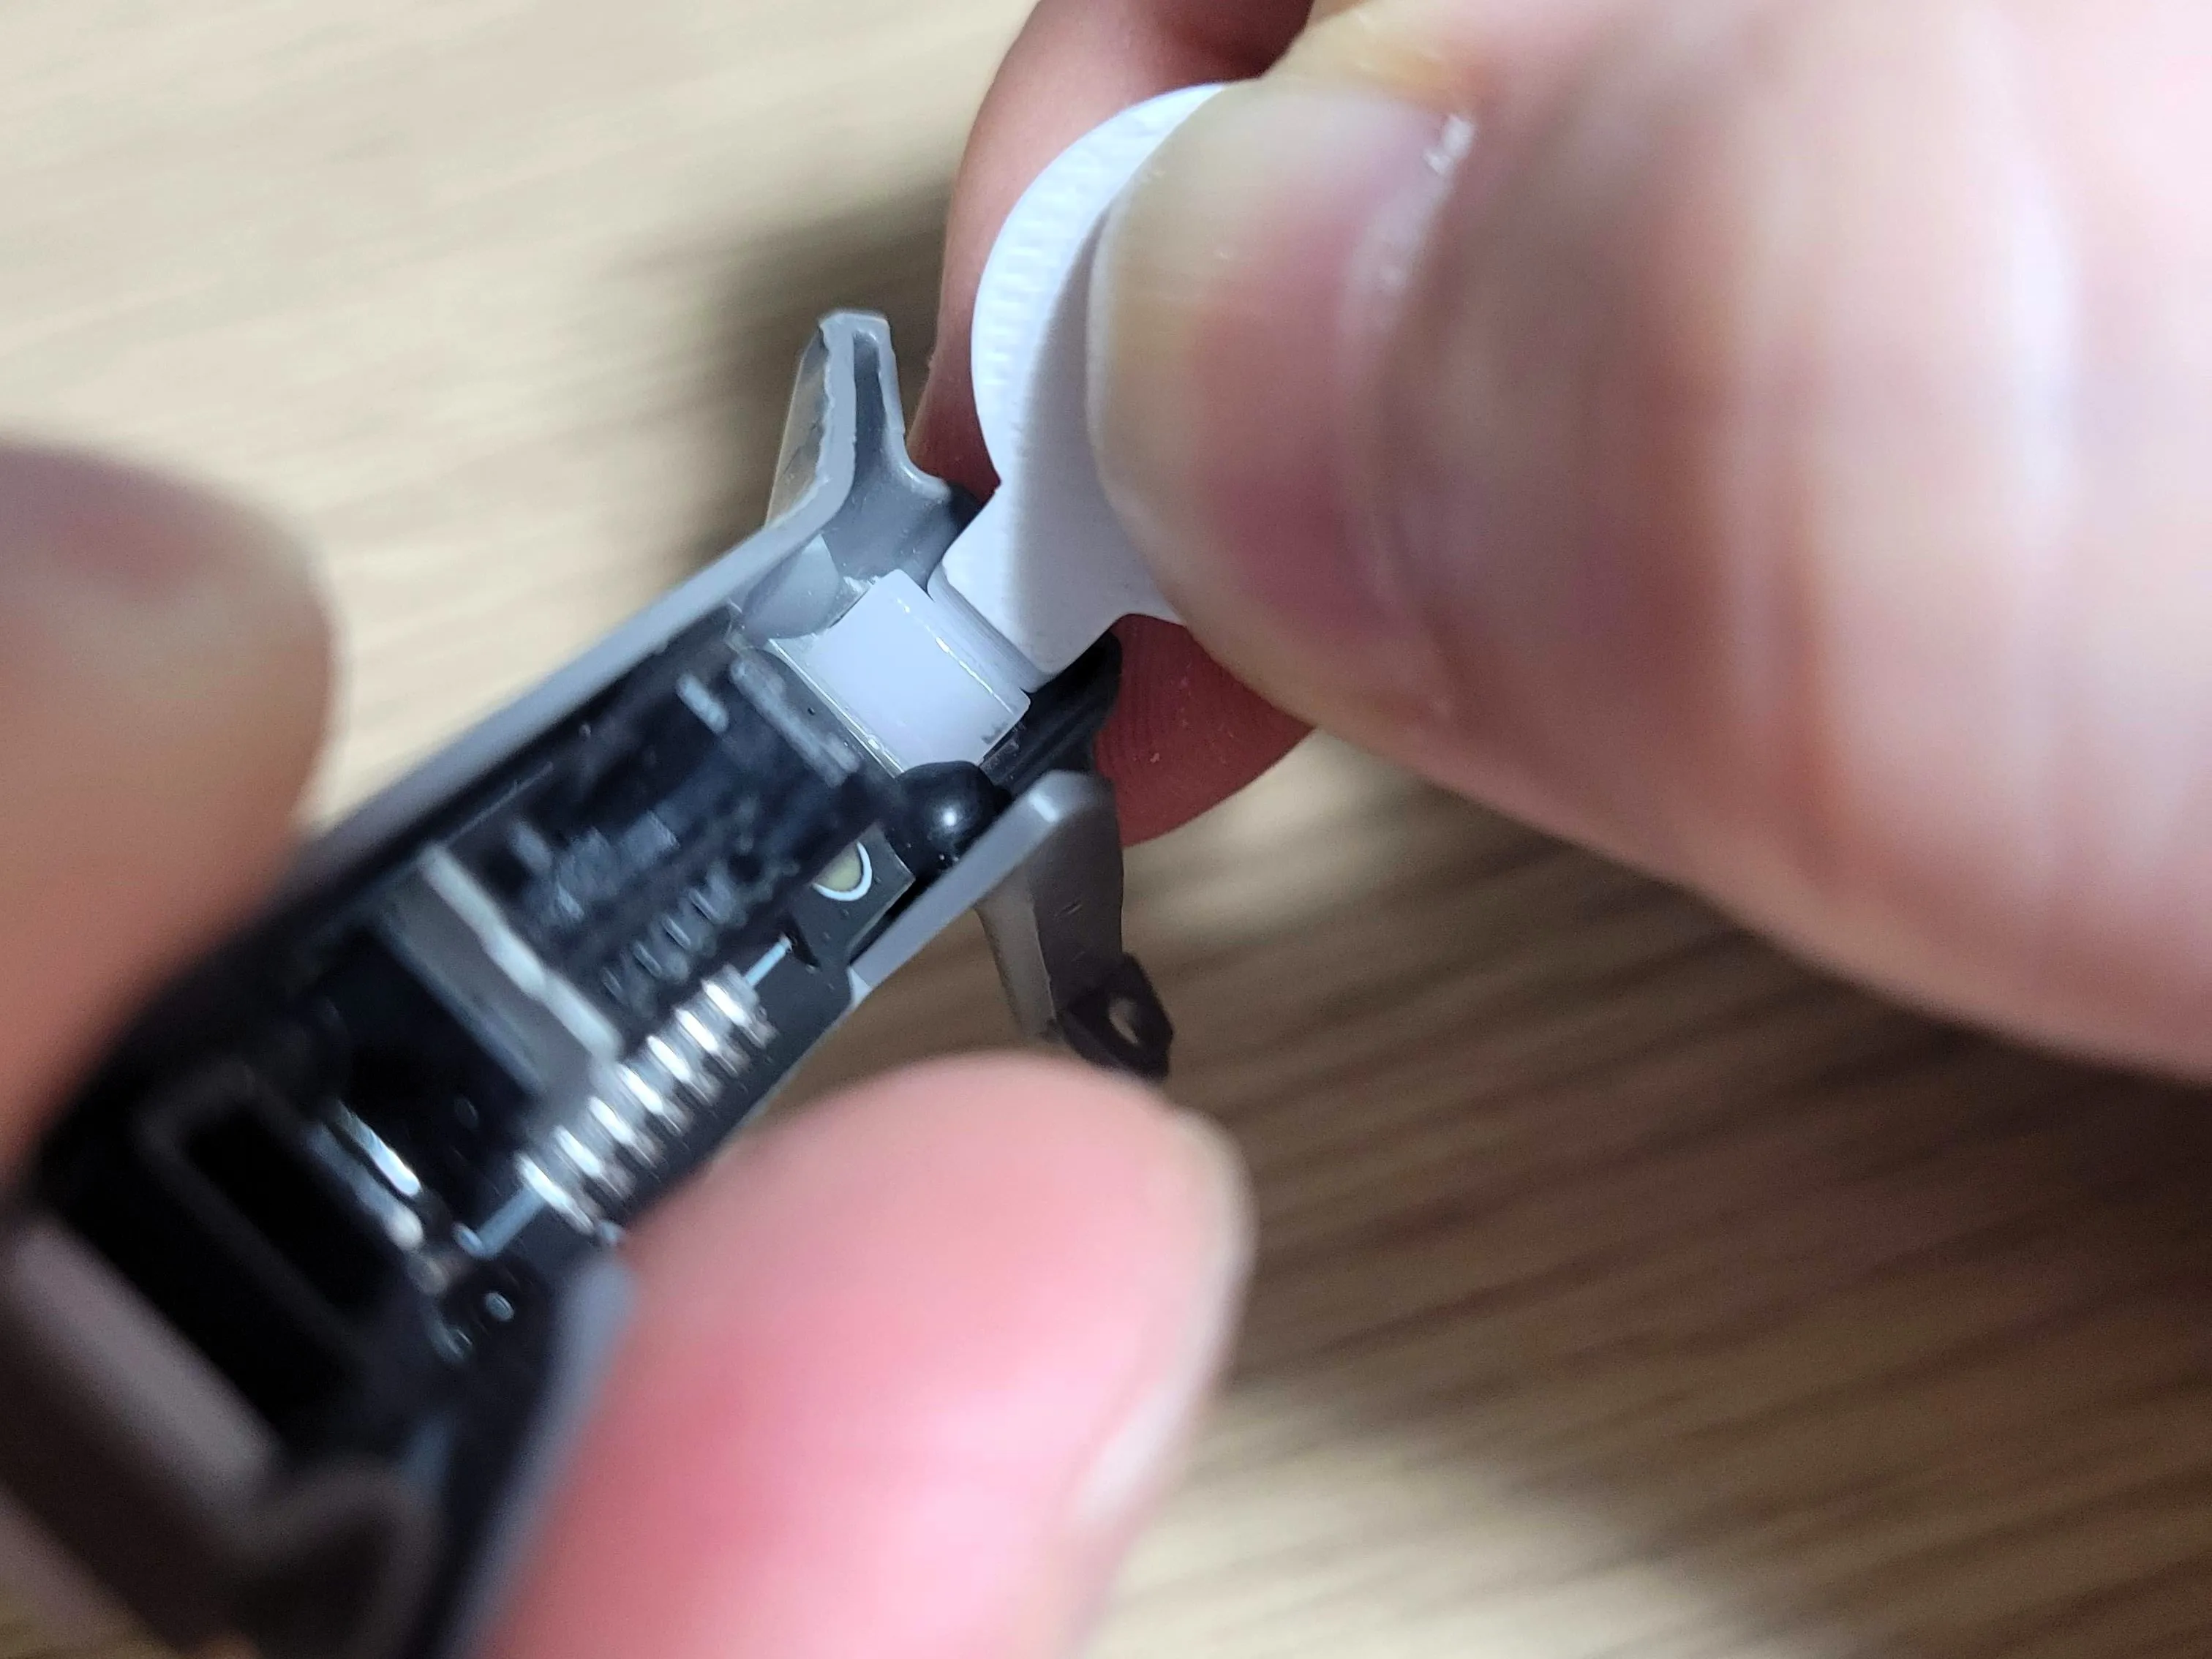
- Twist to Release: Give the jig a slight twist counter-clockwise. This motion will push the internal tabs inward.
- Pop it Out: Once the tabs are released, the stock diffuser will pop out easily. You can now replace it with your custom "Glow-Surface" or "Glow-Text" version.
Print Note
- Material: PETG recommended.
- Reasoning:
- Heat Resistance: To prevent deformation caused by LED heat or rising temperatures inside the toolhead.
- Light Diffusion: Using high-transparency materials (such as clear PETG) allows the LED light to spread more evenly and beautifully.
🛑 Disclaimer: Use at your own risk. The designer is not responsible for any damage caused by the use or misuse of this part.
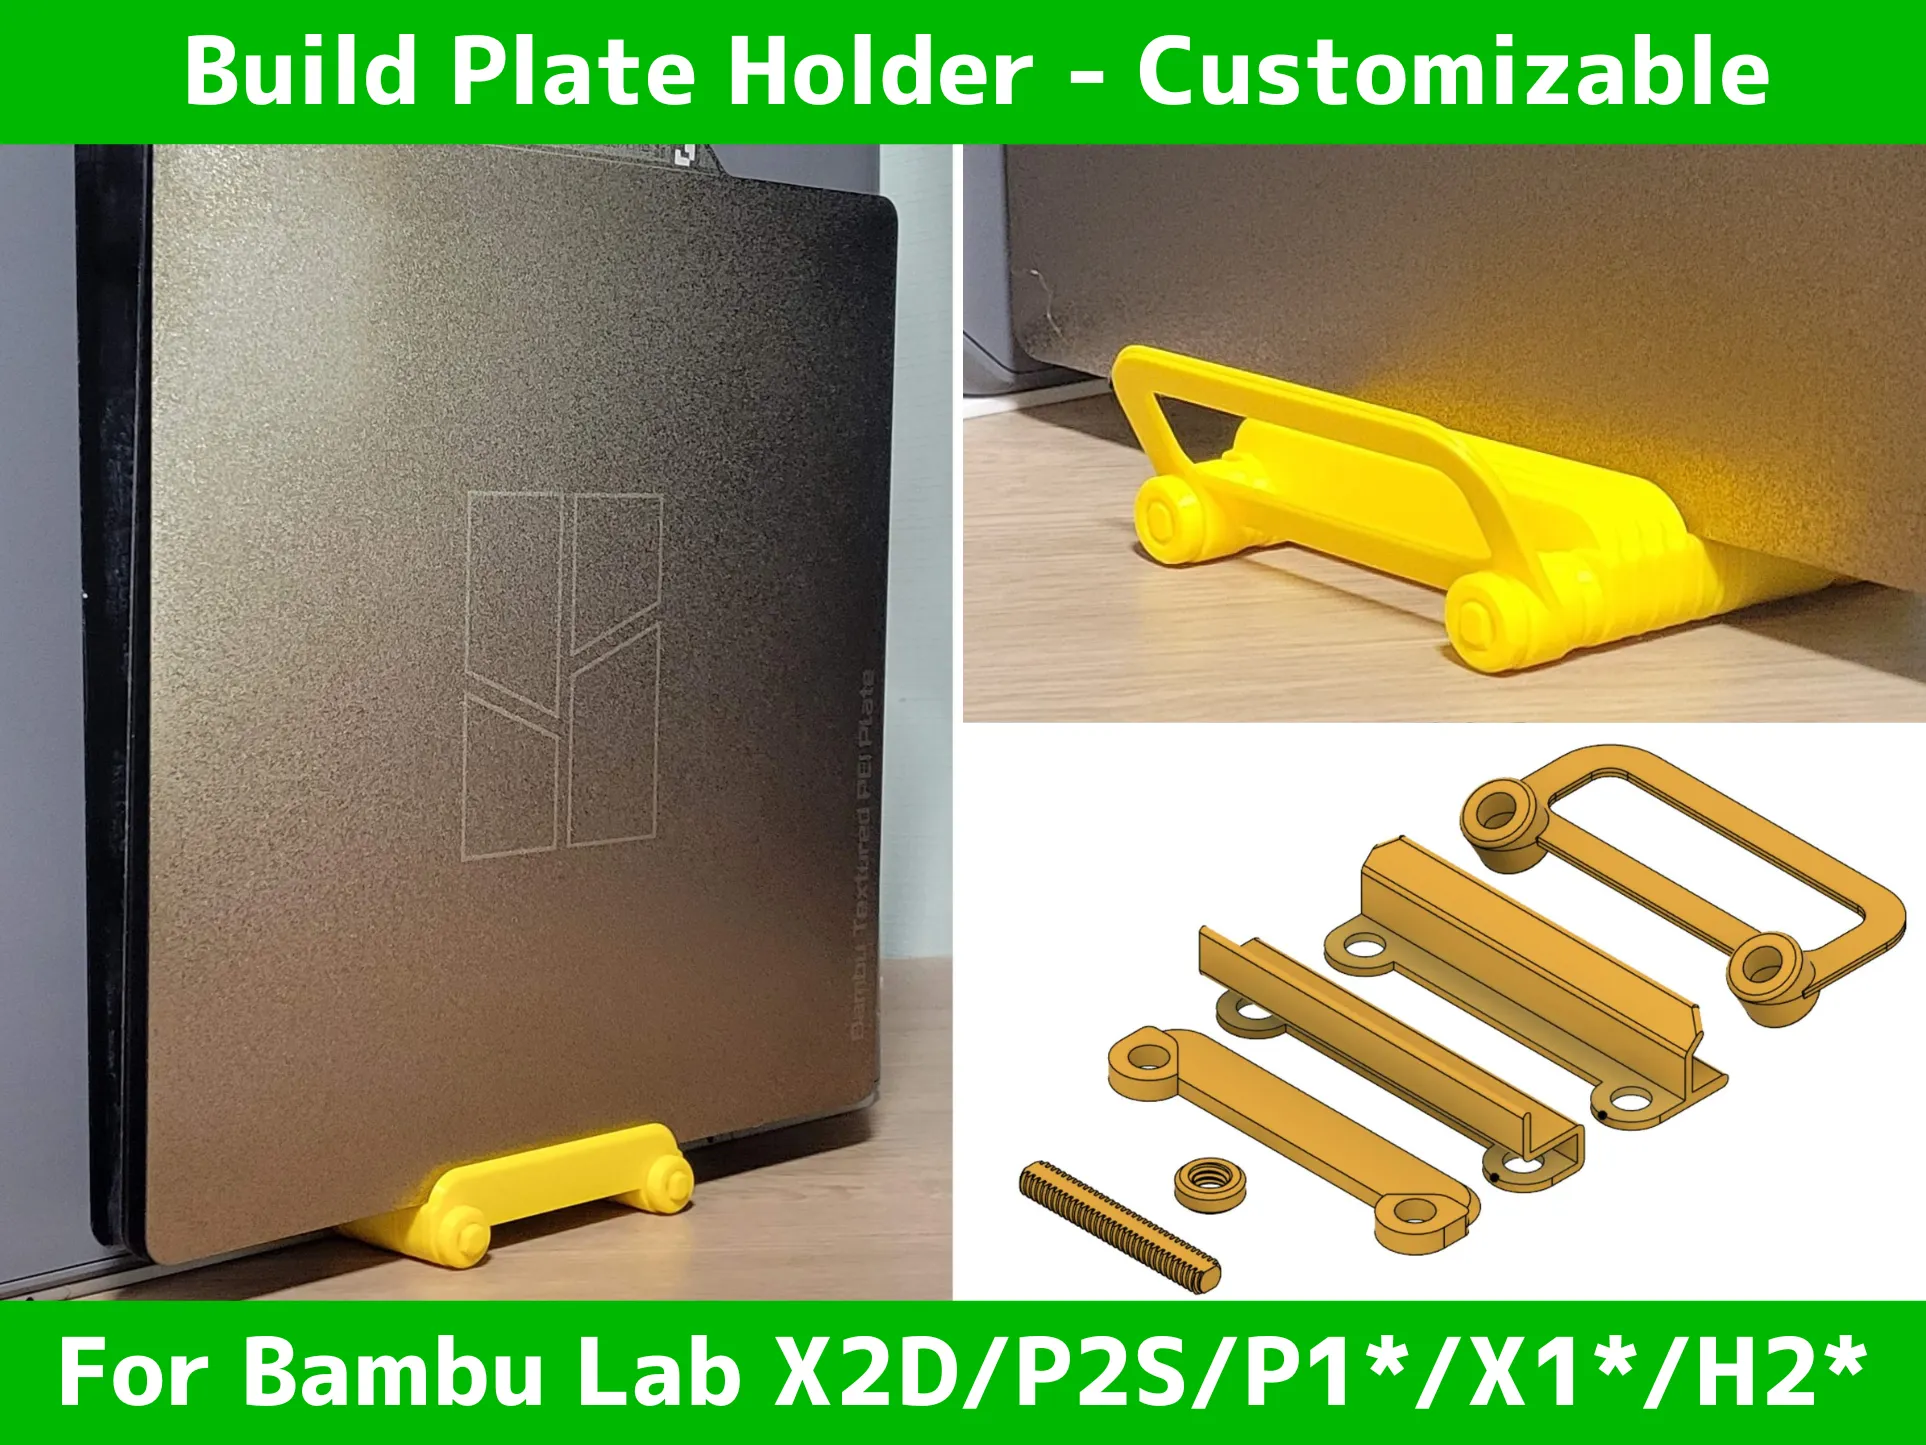
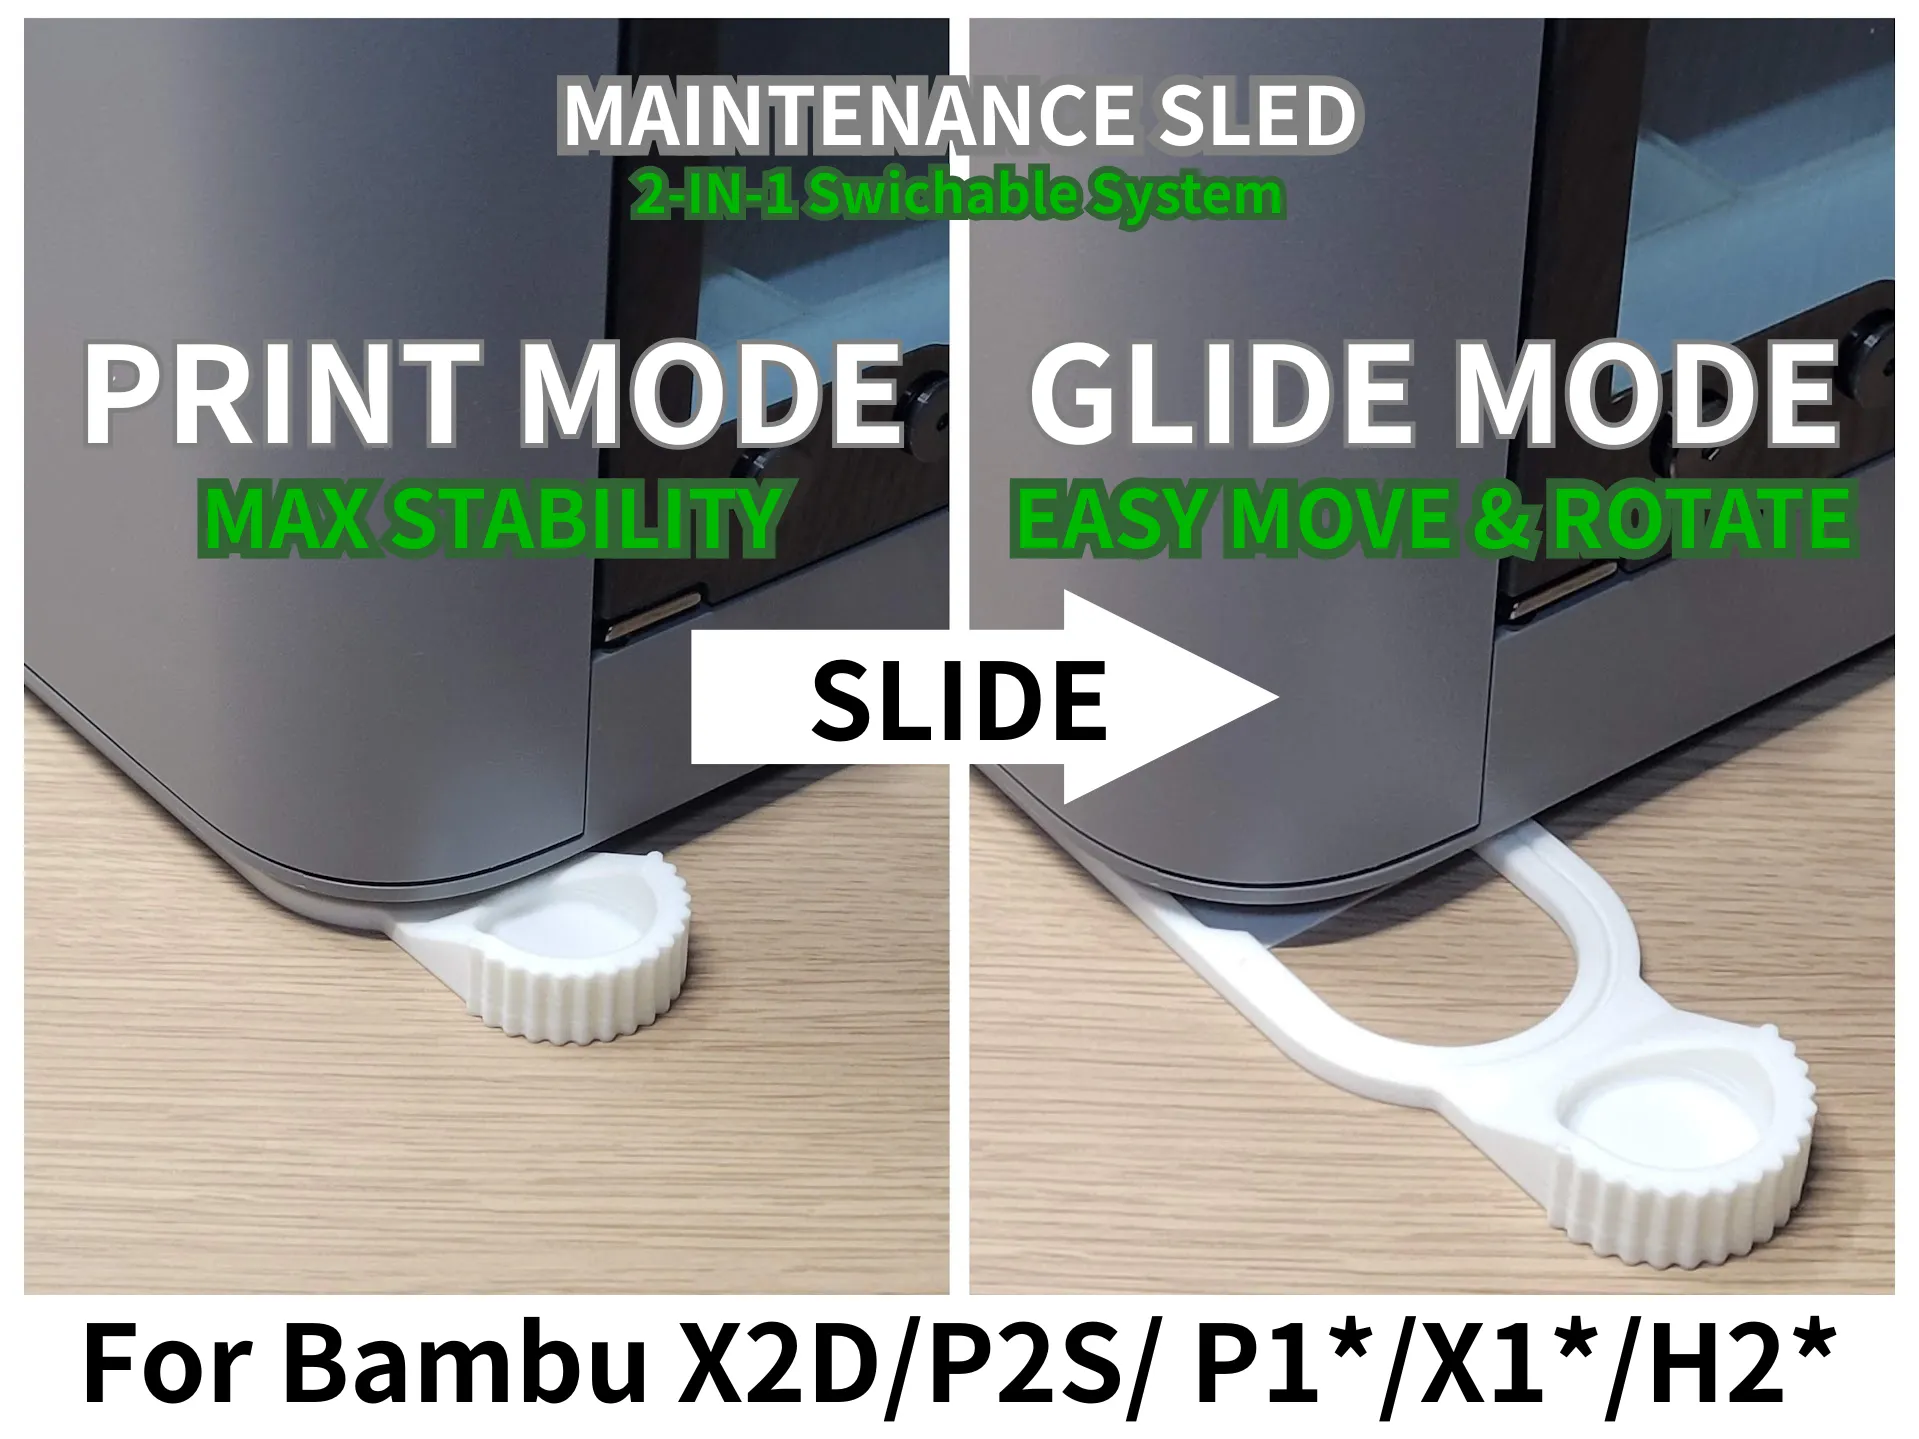
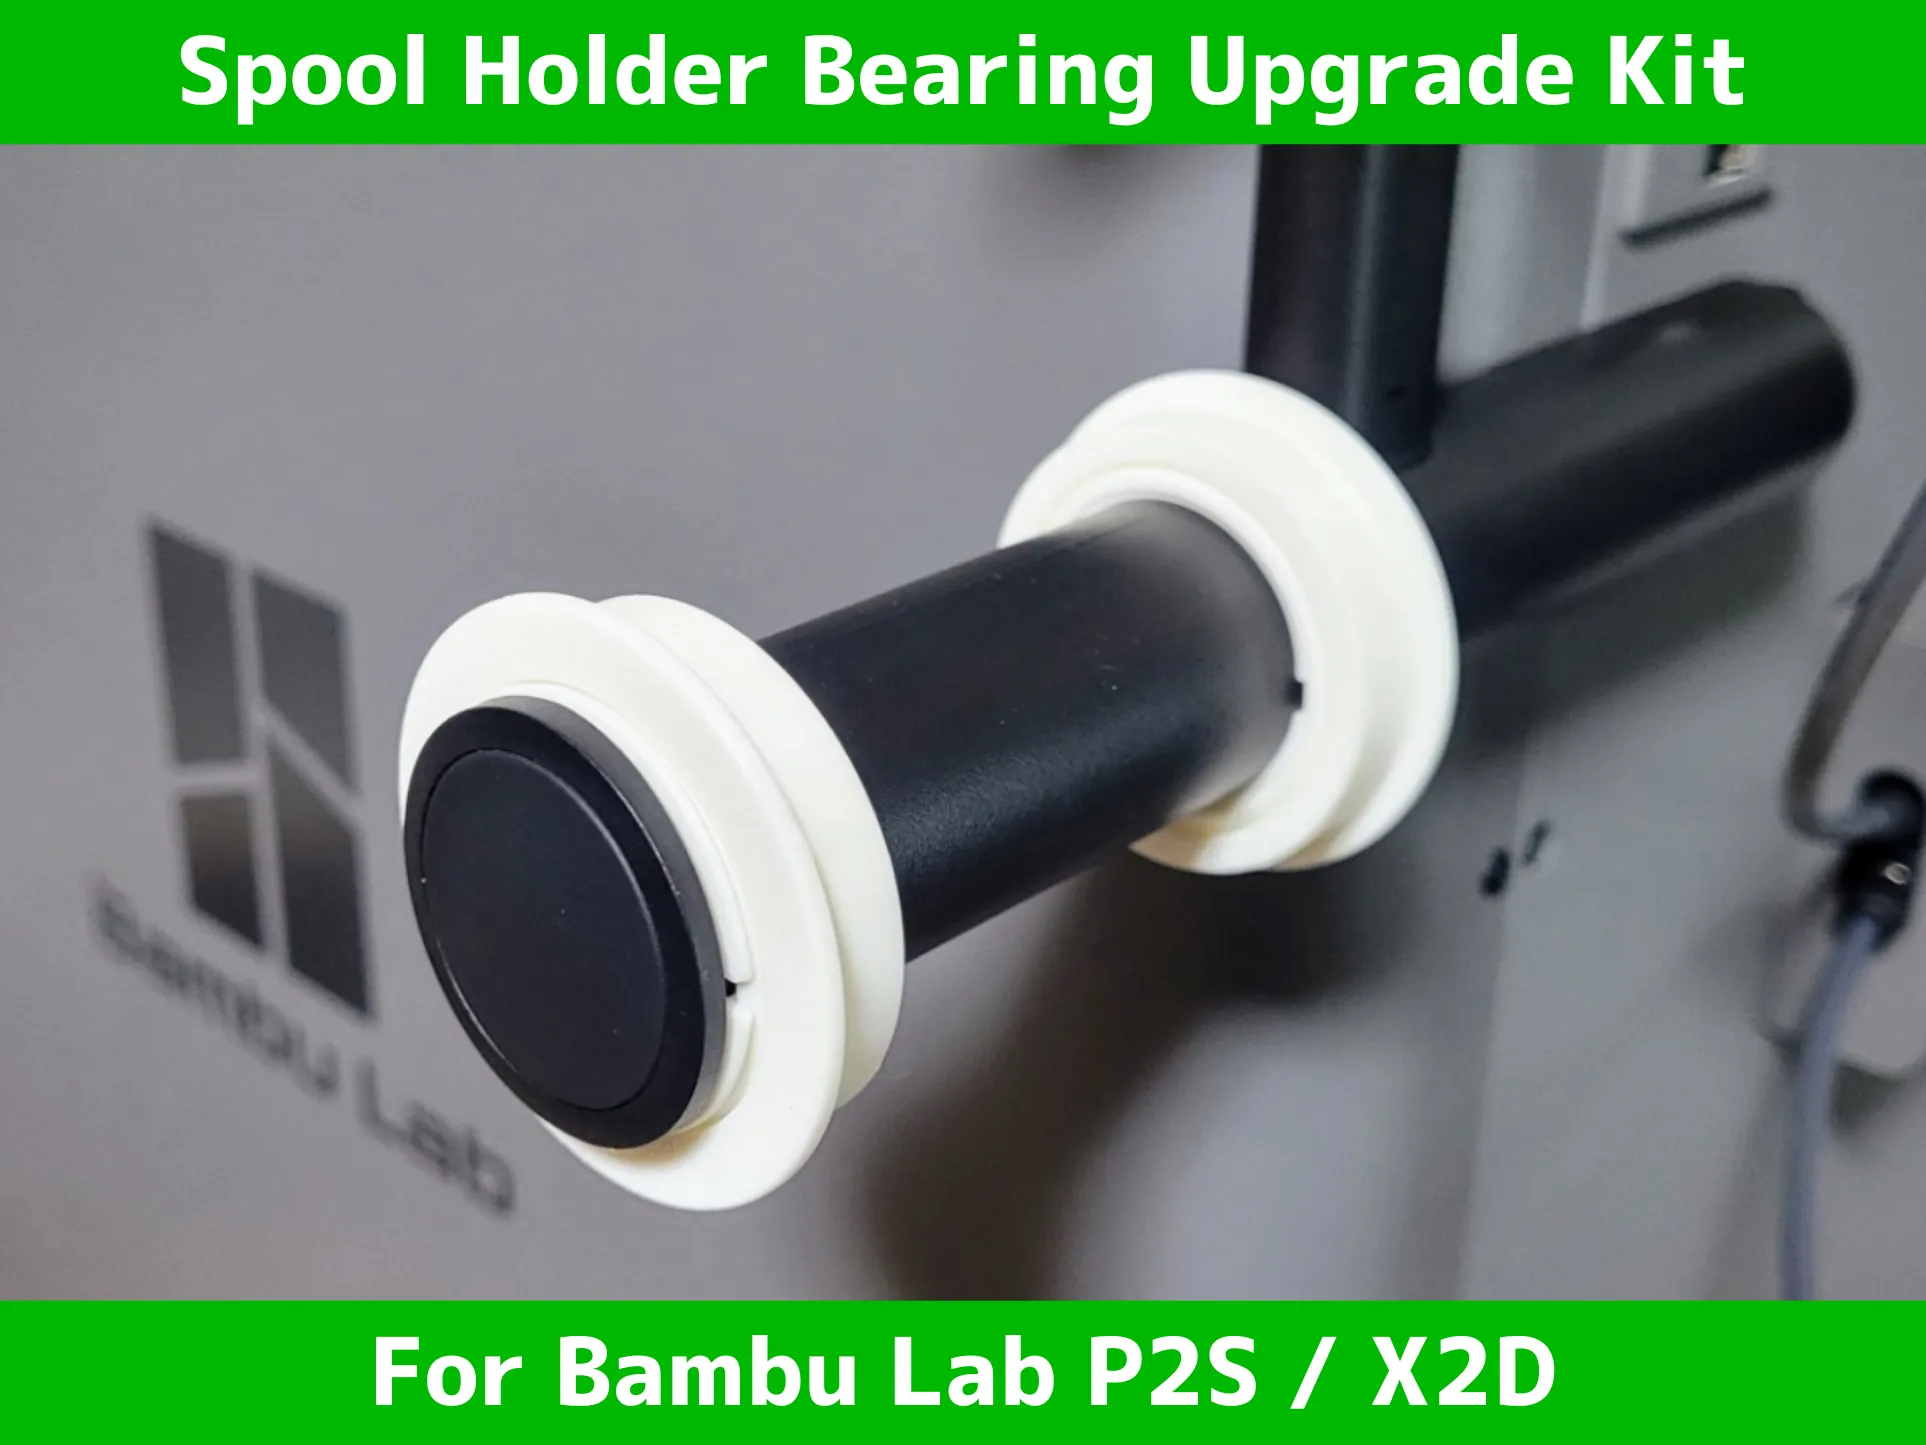
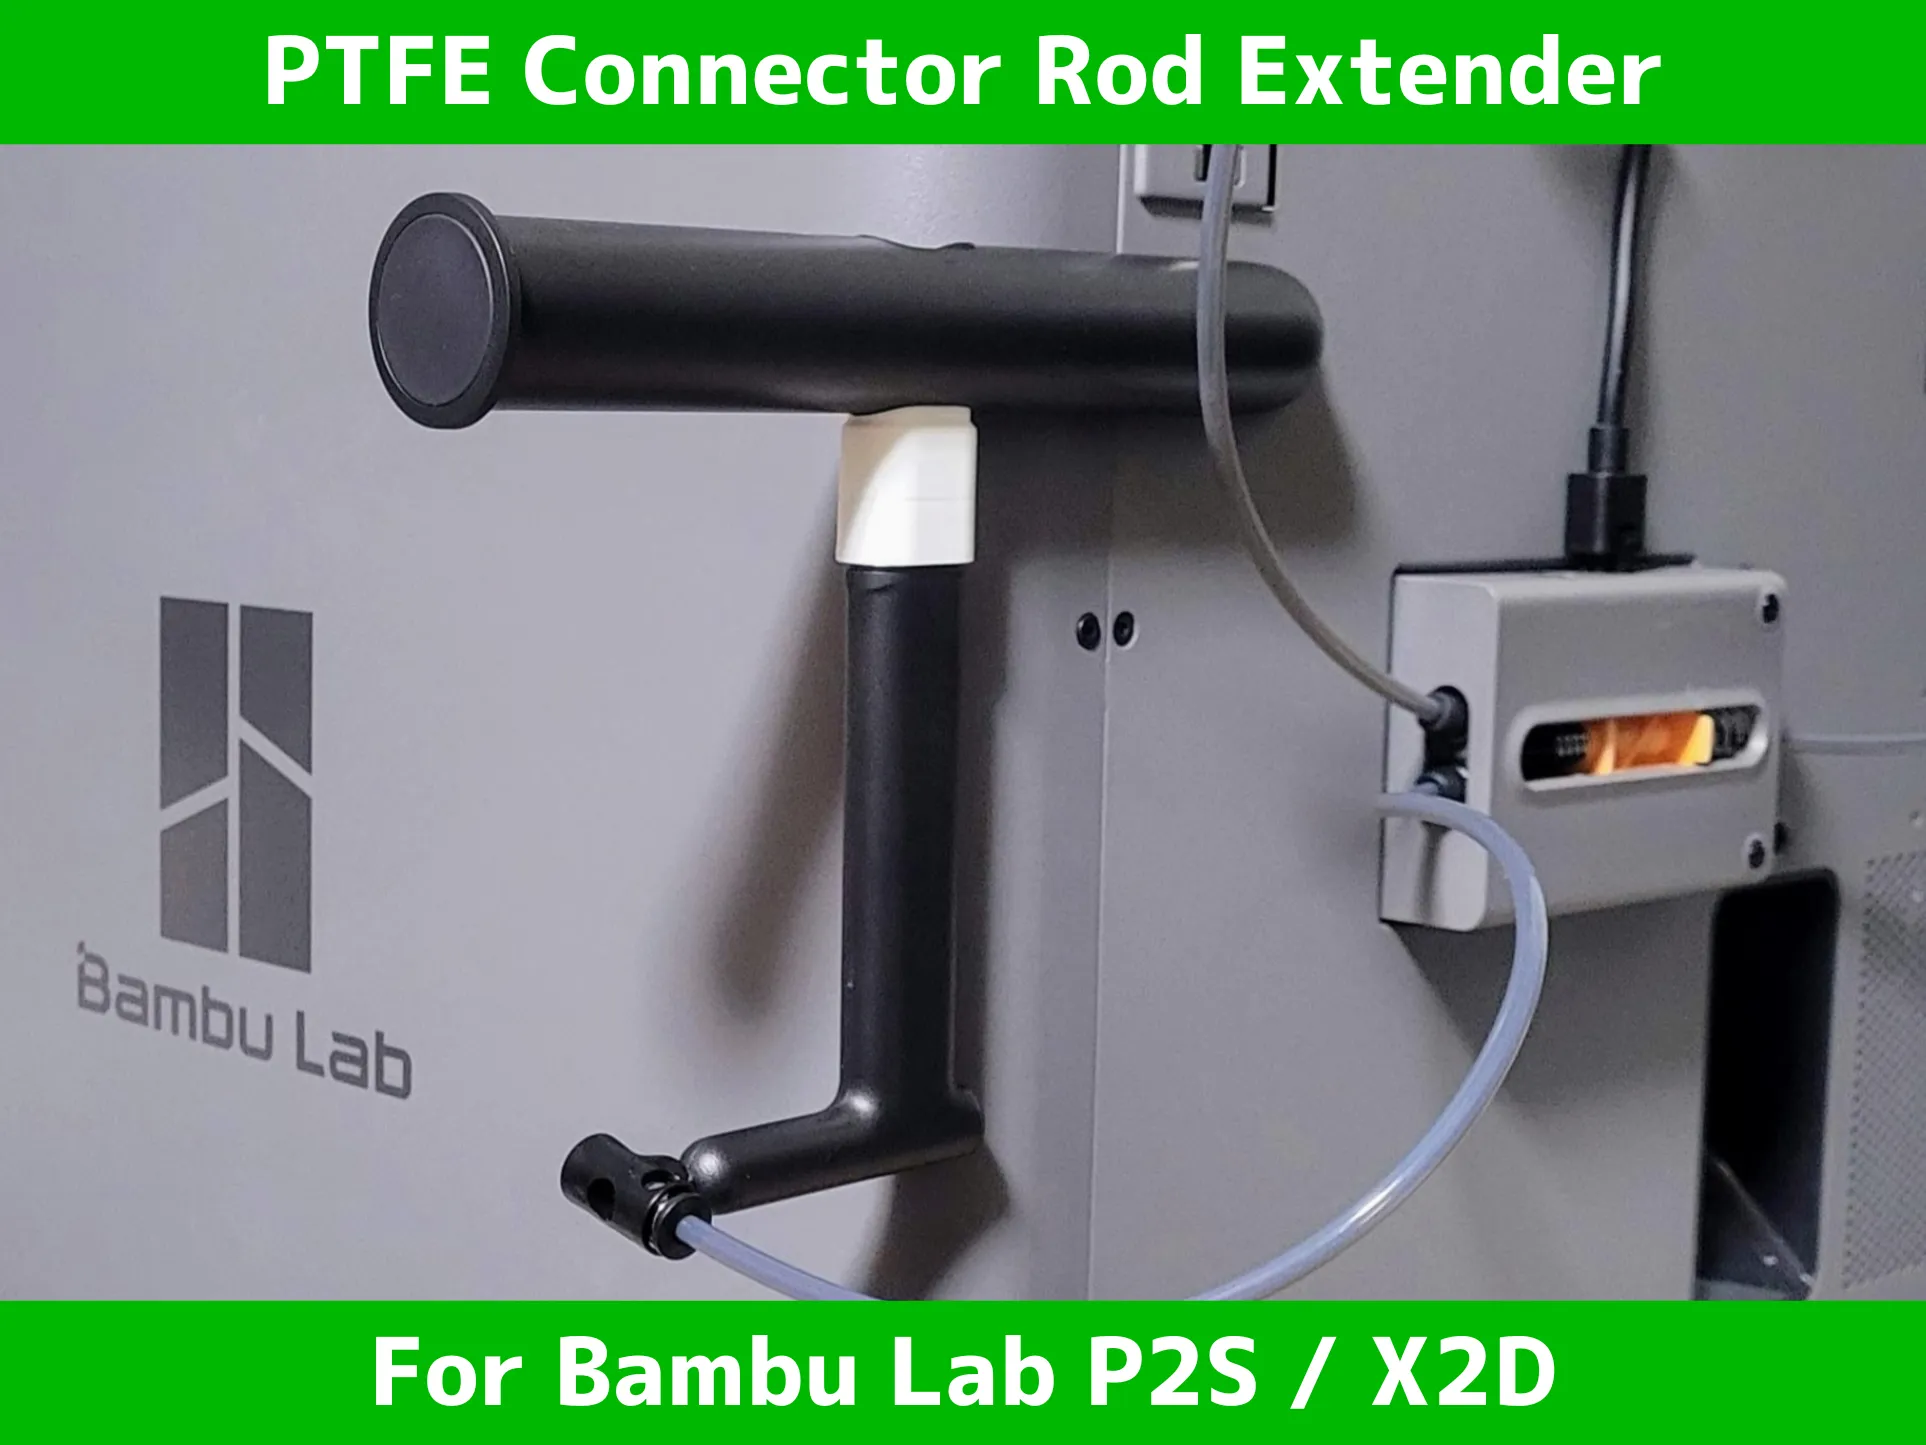
🔥 my favorite printer upgrade for X2D 🔥 | |
 |  |
 |  |
 |  |
 |  |
License

You shall not share, sub-license, sell, rent, host, transfer, or distribute in any way the digital or 3D printed versions of this object, nor any other derivative work of this object in its digital or physical format (including - but not limited to - remixes of this object, and hosting on other digital platforms). The objects may not be used without permission in any way whatsoever in which you charge money, or collect fees.


Comment & Rating (24)