Sphere Poké Ball Game Card Case for Switch/Switch2


Print Profile(1)
Description
Boost Me (for free)
Boosts help my project grow ✨ If you like this model, please consider giving it a Like or a Boost! Your support helps me keep creating new designs.
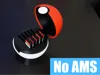
Sphere Poké Ball Game Card Case for Nintendo Switch / Switch 2
[Overview]
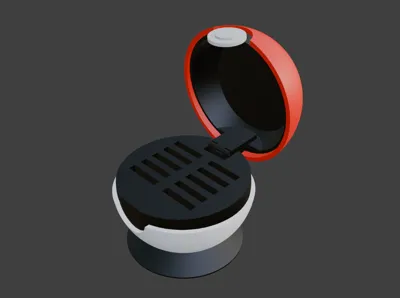
By popular demand, the Sphere version of the Poké Ball Game Card Case is finally here!
Built on the mechanical foundation of the original Cube version, this model focuses on a sleek, authentic aesthetic.
It is fully compatible with both the latest Nintendo Switch 2 and original Switch game cards.
[Features]
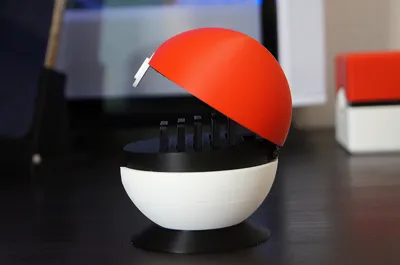
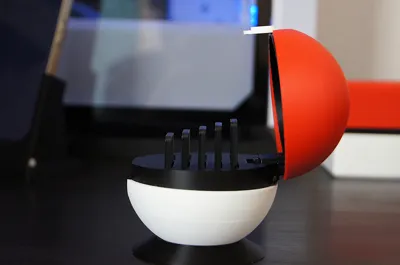
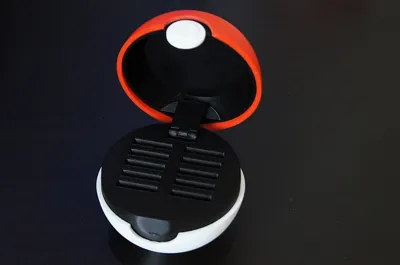
Pop-up Mechanism:
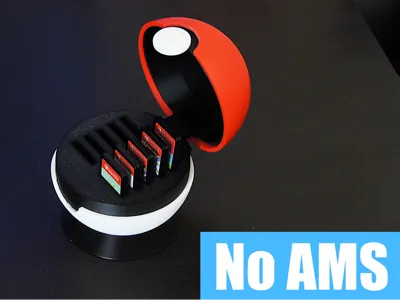
Opening the case automatically lifts the card slots, providing a clear view and easy access to all 10 games at once.


Interactive Push-Button Release:
Pressing the front button disengages a small internal catch to release the lid, mimicking the iconic mechanical feel of a real Poké Ball.
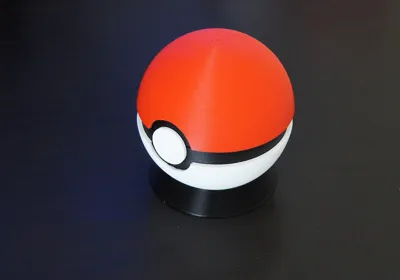
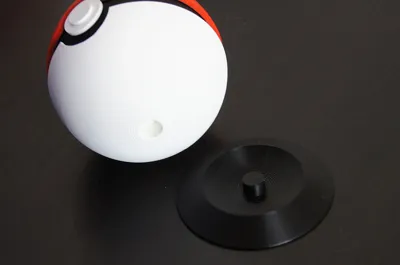
Pure Aesthetics:
A perfectly balanced spherical form that serves as both a functional case and a high-quality display piece for your setup.
No AMS Required:
Intelligently designed for multi-color printing through part separation—no AMS (Automatic Material System) needed.
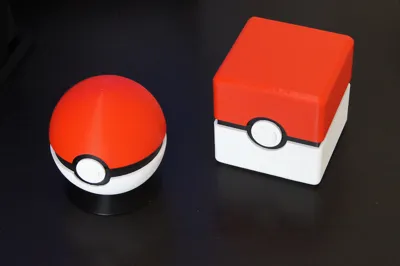
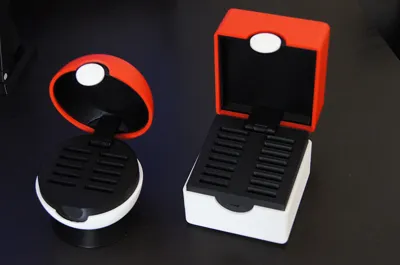
[Two Styles to Suit Your Needs]
- Sphere Version (This Model): Focused on aesthetics and sleek form (Holds up to 10 cards).
Square Version: Focused on stability and high capacity (Holds up to 16 cards). (Get the Square Version here)


Can’t decide between the stability of the Cube or the elegance of the Sphere?
Why choose?
Print them both!
They look fantastic as a set and allow you to switch up your setup whenever you like.
I highly recommend printing both versions to complete your collection—they look amazing side-by-side on any desk.
[Assembly Notes]
In addition to the printed parts, you will need a 16mm piece of filament (black recommended) to use as the hinge pin for assembly.
For instructions on how to assemble the black connecting parts (joints/tabs), please refer to the explanatory video on this model page (Square Version), which utilizes the exact same interlocking structure.
⚠️ Assembly Guide & Important Notice
I have received many inquiries regarding assembly, so I have created a visual guide (images 1-3) to help you!
Please read the notes below before assembly.
Due to 3D printing tolerances and clearances, some manual adjustments may be required.
- Crucial Adjustment Notes:
Hinge Hole & Pin Fit:
Depending on your printer's calibration and filament expansion, the hinge holes may feel too tight.
Please be prepared to slightly widen the holes using a small drill bit/tool, or gently sand down the hinge pins/filaments for a smooth fit.
Outer Box Glue Note:
Please use a small amount of super glue where indicated in the guide to permanently secure the outer box components.
⚙️ Step-by-Step Instructions
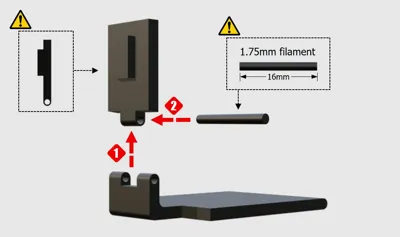
- Internal Hinge Assembly
- Align the inner structural parts as shown in step (1).
- Cut a piece of standard 1.75mm filament to exactly 16mm in length.
Insert the 16mm filament straight into the aligned hinge hole as shown in step (2).

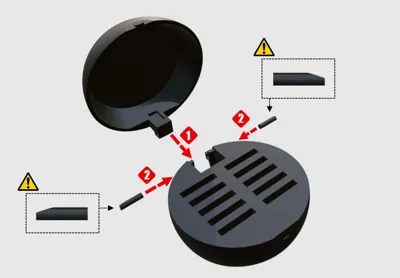
- Main Shell Assembly
- Connect the upper half and lower half of the main ball sphere together at the rear hinge (1).
Insert the designated pins into both sides of the hinge (2) to secure the upper and lower shells.

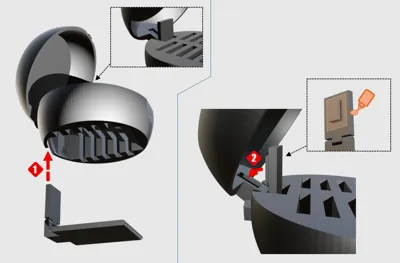
- Final Core Integration & Glue
- Insert the assembled internal card structure straight up into the bottom of the main shell (1).
Apply a small drop of super glue to the designated flat surface on the internal part (as shown in the orange highlighted diagram),
then securely push the locking tab forward into place (2).

Boost Me (for free)
Boosts help my project grow ✨ If you like this model, please consider giving it a Like or a Boost! Your support helps me keep creating new designs.
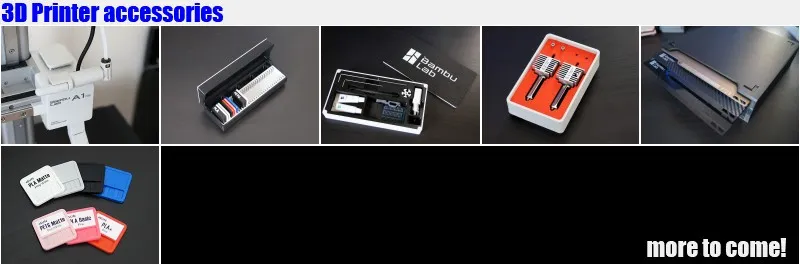
*Please check out my other designs as well!
(Click the image to check out my other designs!)


License
You shall not share, sub-license, sell, rent, host, transfer, or distribute in any way the digital or 3D printed versions of this object, nor any other derivative work of this object in its digital or physical format (including - but not limited to - remixes of this object, and hosting on other digital platforms). The objects may not be used without permission in any way whatsoever in which you charge money, or collect fees.
Comment & Rating (17)